How to Make a Floating Desk
Are you looking for an easy way to increase your workspace at home or the office? Have you been searching high and low for creative ideas that will turn any corner of your room into a viable work spot? Well, look no further. This blog post gives you a step-by-step guide on how to make a floating desk easily!
With very few materials required and just a bit of know-how, this simple project can transform any area into the perfect space for productivity. Keep reading to learn about the detailed instructions needed to create this dream desk!
What is a Floating Desk?
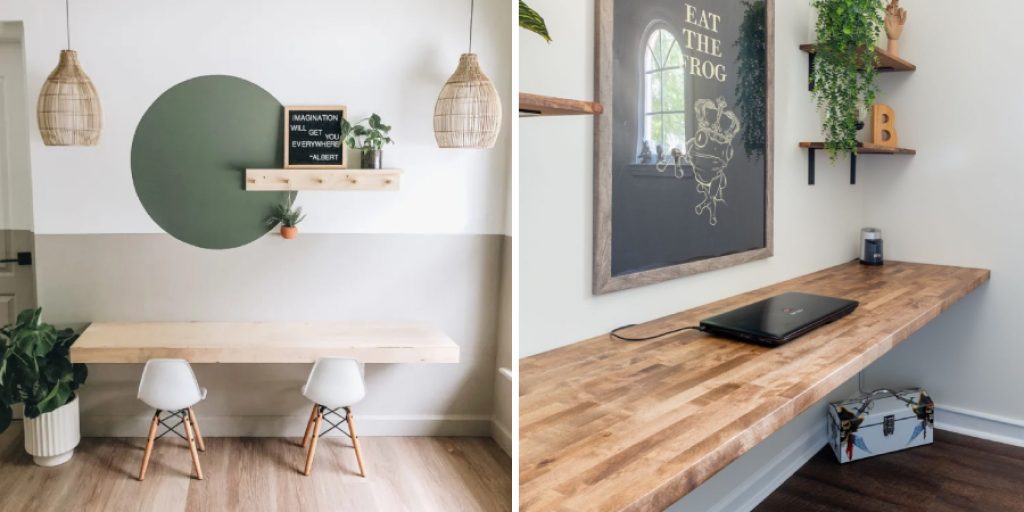
A floating desk is a type of desk that does not rest on the ground but rather hangs from the wall or ceiling. This is achieved by attaching the desk to a rail system, which is usually composed of two horizontal pieces of wood and one vertical support beam.
The shelf that holds the items you need for work (i.e., a laptop, notebooks, and other office supplies) is attached to the rail system. This type of desk not only adds a unique look to any space but also provides many practical benefits such as freeing up floor space and making it easier to organize items in an orderly fashion on the shelf.
Necessary Tools
Given below is a list of materials needed for the project:
• Saw
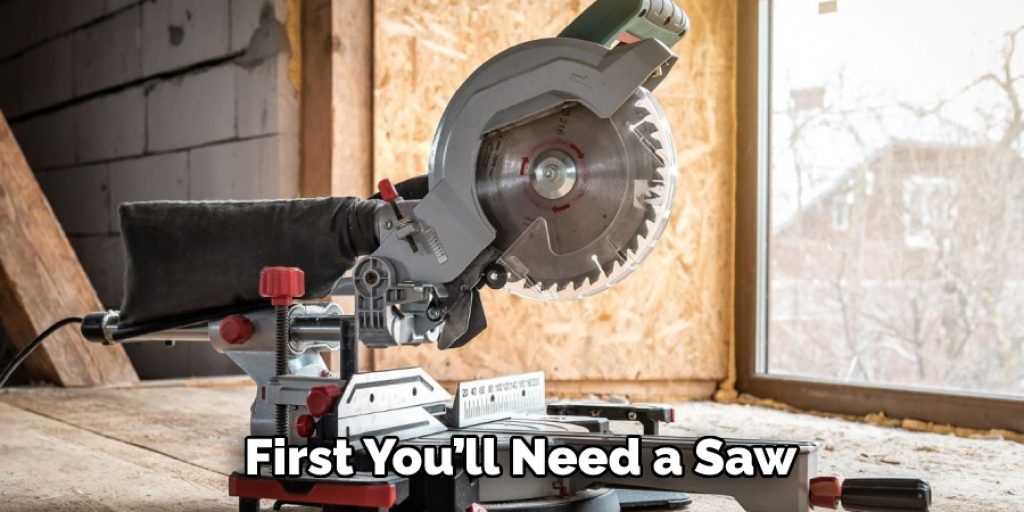
First, you’ll need a saw. This is used to cut the wood into the appropriate sizes for the desk.
• Tape Measure
Use a tape measure to accurately measure the space where you want to build your desk. This will ensure that all pieces fit properly together when the construction is finished.
• Screws & Nails
Screws and nails are necessary for attaching the pieces together and keeping your desk stable. Make sure to get the appropriate size screws and nails for the job.
• Sandpaper
Sandpaper is used to smooth out any rough edges on the wood after it has been cut. This will ensure the desk has a neat, professional look.
• Wood
The type of wood used for this project can vary depending on personal preference and budget. However, it is recommended to use sturdy hardwood such as oak or maple for optimal stability.
10 Simple Steps on How to Make a Floating Desk
Step 1: Measure the Space
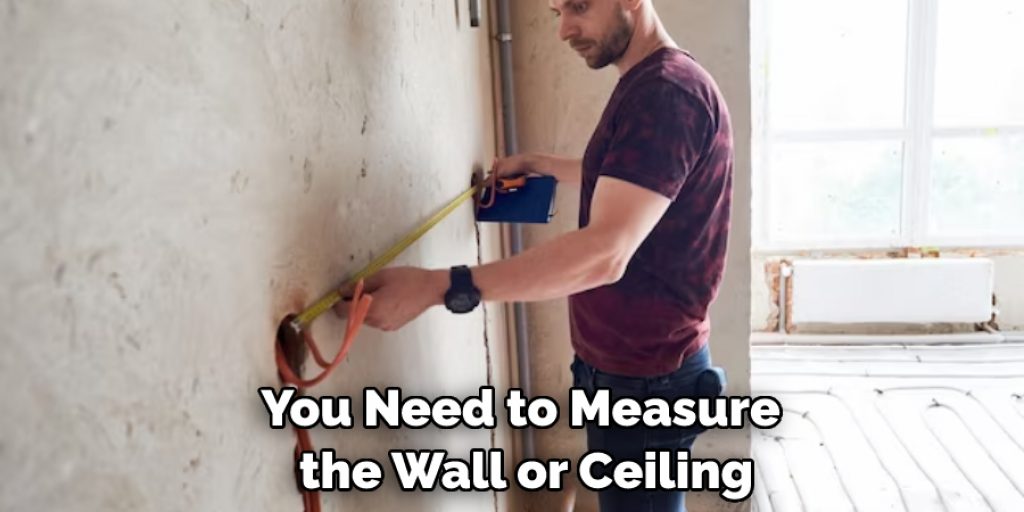
At this stage, you need to measure the wall or ceiling where you plan to install the desk. This will help ensure that all pieces fit together correctly and that there is enough space for all of your items. If desired, you can also sketch a diagram of the desk on paper to give you an idea of what it will look like when completed. However, it is not necessary.
Step 2: Cut the Wood
Now it’s time to cut the wood into the appropriate sizes. Measure twice and cut once to avoid any mistakes. It is recommended to use a saw for this step. But if you don’t have one, then a jigsaw or handsaw will do the job as well. This step will require some patience and accuracy, so take your time and measure everything carefully.
Step 3: Sand the Pieces
Use sandpaper to smooth out any rough edges on the wood. Make sure to check that all pieces are even before proceeding. That way, when the desk is assembled, it will have a neat, professional look. If desired, you can also use wood gloss to give the desk a glossy finish. That said, it is not necessary. If time is of the essence, you can skip this step.
Step 4: Drill Holes for Screws & Nails
Drill holes in the wood for the screws and nails that will attach your desk together. This step is important as it helps make sure everything stays in place when completed. But make sure not to drill too close to the edge of the wood. Otherwise, you risk splitting it apart. If you are unsure of how far to drill the holes, it is better to err on the side of caution and go a bit closer to the edge.
Step 5: Assemble the Parts
Using the screws and nails, assemble all of the parts together according to your plans. Make sure each piece is securely fastened before moving on to the next step.
That way, you’ll avoid any unnecessary stress on the desk when it is in use. It is also recommended to use clamps in order to keep the pieces together while they are being assembled. That way, you’ll get a more professional look in the end.
Step 6: Attach Rails to Wall/Ceiling
Using the necessary screws, attach the rail system to the wall or ceiling. Make sure that it is properly secured and able to bear the weight of the shelf. If you are mounting it to a wall, make sure that the screws are drilled into studs. But if you are mounting it to a ceiling, make sure that the screws are able to penetrate through the drywall and into the joists.
Step 7: Attach Shelf To Rails
Once the rail system is installed, attach the shelf to it using screws. Make sure that each piece is secure before proceeding with any further work. However, it is important to note that since the shelf will be floating, you don’t need to use too many screws. A few should suffice. It is also recommended to use washers in order to distribute the weight of the shelf more evenly. But again, this is not necessary.
Step 8: Mount Desk Organizers
Now you can mount any desk organizers that you may need onto your new floating desk (i.e., pencil holders, cup holders, etc.). This step helps keep everything organized and within reach while you are working. If you plan to use a desktop computer, make sure that the mounting brackets are sturdy and able to bear its weight.
Step 9: Add Finishing Touches
At this stage, you can add any finishing touches to your desk such as paint or varnish. This will help make the desk look even more attractive and professional. You can also add any decorative accents that you desire to make it truly unique. But keep in mind that these are optional, and you can always leave them as is.
Step 10: Enjoy Your Finished Desk!
Your floating desk is now complete! Sit back, relax, and enjoy all the benefits of having a stylish and efficient workspace in your home. You can now store all of your supplies and documents with ease, and make the most of each day. Congratulations on your new floating desk!
If you followed these instructions properly, you should have no problem making the most of your workspace. By following these simple steps on how to make a floating desk, you can create an amazing floating desk that will enhance any space while also providing great practical benefits. So what are you waiting for? Get to work and start building your dream desk today!
Do You Need Professional Carpenter’s Support?

If you run into issues while building your floating desk or would like a professional carpenter to help you build it, you can always contact a local carpenter for advice or assistance. They should be able to provide you with the necessary help and guidance so that you can get your project done quickly and efficiently. Good luck!
Frequently Asked Questions
Q: How Much Weight Can a Floating Desk Bear?
A: It depends on the type of materials used and how they were secured to the wall or ceiling. However, as a general rule of thumb, you should be able to safely store up to 50 pounds on your floating desk without any issues. To be sure, it is always best to check with a professional carpenter for advice.
Q: How Long Does It Take to Build a Floating Desk?
A: It typically takes about two hours to build a basic floating desk from scratch. However, the actual time can vary depending on your level of experience and how many additional features you plan to add (i.e., desk organizers, paint, etc.).
Q: Are There Any Special Tools Needed to Build a Floating Desk?
A: Yes, you will need some basic tools such as a drill, screws, and washers in order to complete the project. Additionally, it is also recommended to have a stud finder or level handy for the installation process. Again, it is best to consult a professional carpenter if you need any assistance with the project.

Conclusion
Thanks for reading this article on how to make a floating desk. All in all, making a floating desk is an easy and straightforward process. Crafting your own piece of furniture adds character and charm to your home, becoming a conversation starter that everyone will admire. Keeping it simple with the minimal-style look provides an opportunity for stylistic choices without overcomplicating the process.
As long as you have the tools on hand and are organized, you can build a beautiful and highly functional floating desk in no time at all. And don’t forget safety: measuring twice and being extra diligent to secure the pieces completely is always important for a project like this one!
Do you have an empty corner in your home that’s begging for something useful? Look no further than crafting your own DIY floating desk! With materials budget-friendly and easy installation, it’s an investment worth making – so get creative and get building!

