How to Make a Heart Pinata
Creating a heart piñata is a fun and delightful project that can add a unique touch to any celebration, whether it’s a birthday, Valentine’s Day, or even a wedding. This charming decoration not only serves as an entertaining activity for guests to enjoy but also doubles as a stunning centerpiece.
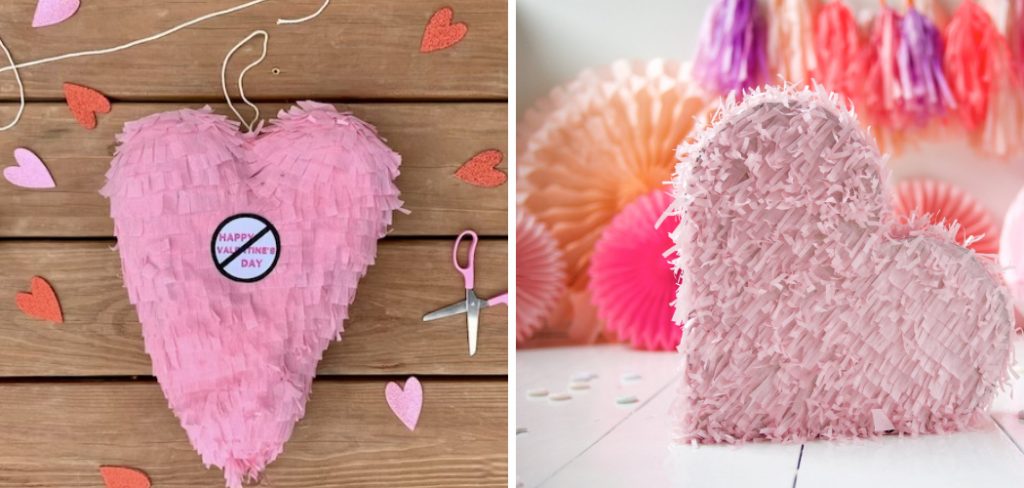
In this guide on how to make a heart pinata, we will walk you through the step-by-step process of crafting a heart-shaped piñata that is both visually appealing and filled with treats. Gather your materials and get ready to unleash your creativity as we dive into making this festive masterpiece!
What is a Pinata?
Before we get started, let’s first understand what a piñata is. Originating in Mexico, a piñata is a decorated container filled with goodies such as candy or small toys. The traditional piñata is made of papier-mâché and shaped like an animal or object, but you can also find them in various shapes and sizes nowadays.
The piñata has become a popular party game where blindfolded participants take turns trying to break open the piñata with a stick or bat while others cheer them on. Once the piñata breaks open, everyone eagerly gathers up the treats that have spilled out.
Now that we have a better understanding of what a piñata is let’s dive into making our heart-shaped version!
Materials Needed
To make your own heart pinata, you will need the following materials:
- Cardboard
- Tissue Paper or Crepe Paper in Various Colors
- Scissors
- Glue (Elmer’s Glue Works Well)
- Paintbrush
- Stapler
- String or Twine for Hanging
- Candy or Small Toys for Filling
- Optional: Confetti, Glitter, and other Decorative Materials
8 Step-by-step Guidelines on How to Make a Heart Pinata
Step 1: Create the Template
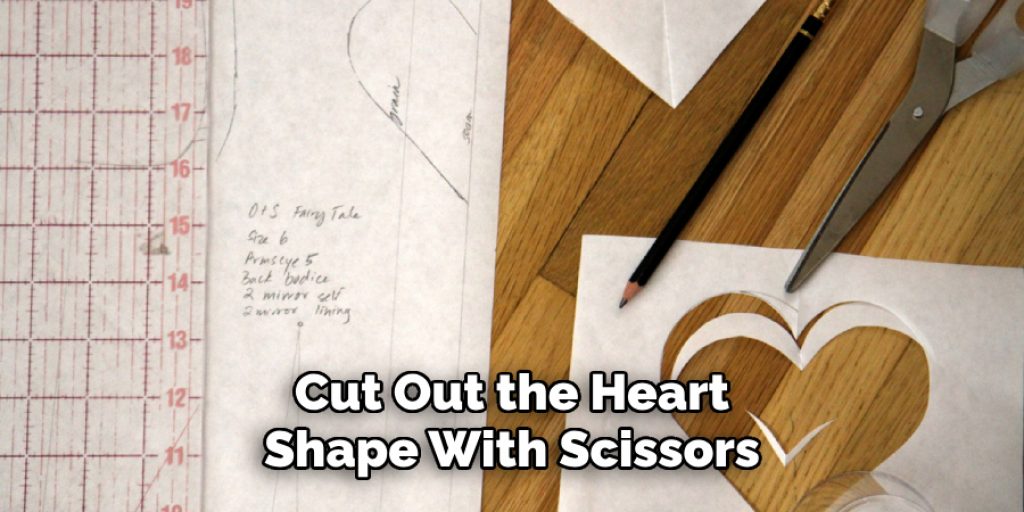
To start, create a heart-shaped template on a piece of cardboard. You can freehand it or use a printable template from online. Cut out the heart shape with scissors, making sure to have two matching pieces.
Next, cut long strips of cardboard about 2 inches wide that will be used to create the sides of the piñata. Thinner strips can be used to create the curves of the heart shape.
Step 2: Assemble the Sides
Once you have your heart-shaped template and strips ready, it’s time to assemble the sides of your piñata. Take one of the heart-shaped pieces and attach the cardboard strips along the edges using glue or a stapler. Start at the bottom point of the heart and work your way around, ensuring that the strips stand upright to form the sides of the piñata.
Once the entire perimeter is secured, attach the second heart-shaped piece on top to complete the structure. Make sure all edges are well-sealed to prevent any gaps. This will create a sturdy base that will hold your desired treats. Allow the glue to dry completely before moving on to the next step.
Step 3: Add a Hanging Loop
Before moving on to the next step, it is important to add a hanging loop. Take a piece of string or twine and thread it through the top of the heart. Tie a secure knot and make sure there is enough length to hang your piñata from.
You can also choose to add a decorative touch to your hanging loop by using colorful ribbons or attaching tassels.
Step 4: Cut and Fringe the Tissue Paper
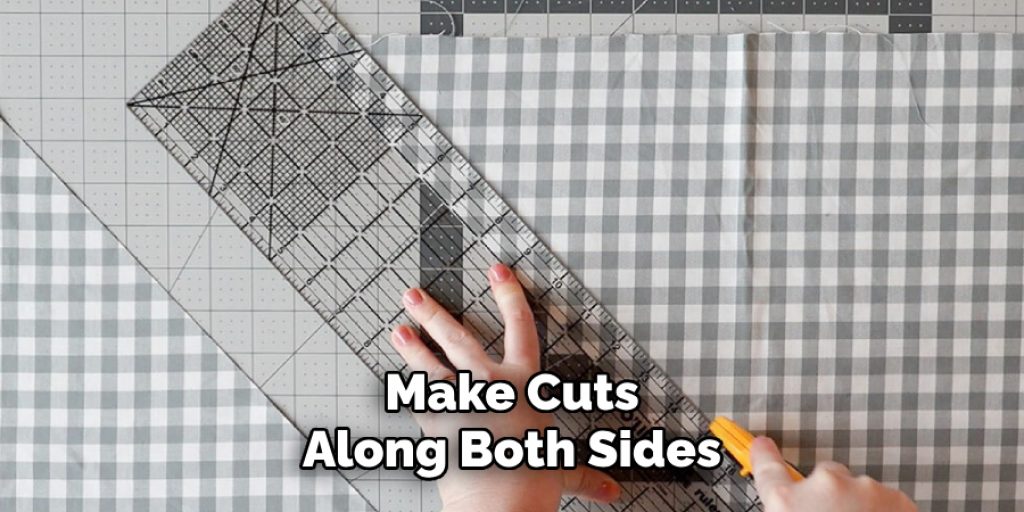
Now it’s time to work on the outside of the piñata. Take tissue paper or crepe paper in various colors and cut them into long strips approximately 1-2 inches wide. Then, using scissors, make cuts along both sides of each strip. These will be used to create a fringed look.
If you prefer a more polished look, you can also opt for solid pieces of tissue paper without fringe.
Step 5: Glue on the Tissue Paper
Starting from the bottom of the piñata, begin gluing on the fringed tissue paper strips. Overlap each strip slightly to create a layered effect. Continue working your way up until the entire piñata is covered.
If you are using solid pieces of tissue paper, simply glue them on one by one until the entire piñata is covered.
Step 6: Decorate and Add Details
This is where you can let your creativity shine! Use additional tissue paper, confetti, glitter, or any other decorative materials to add details and personalize your heart pinata. You can also paint or draw designs directly onto the tissue paper for a unique touch.
It’s best to let your imagination guide you, but here are some ideas for inspiration:
- Use different shades of one color for an ombre effect.
- Create a pixelated design using small squares of tissue paper in various colors.
- Make a rainbow heart by layering different colored strips of tissue paper onto the piñata.
Step 7: Fill with Goodies
Now comes the fun part – filling your piñata with treats! Carefully fill the opening at the top with candy, small toys, or any other goodies that fit inside. You can also add confetti for an extra surprise when it breaks open. Don’t overfill, as this can make it harder to break open.
You can also choose to leave the piñata unfilled and let guests fill it themselves during the party.
Step 8: Hang and Break Open
With your heart pinata beautifully decorated and filled with treats, it’s time to hang it up! Find a sturdy tree branch, hook, or other hanging device and secure the string or twine in place. Make sure to hang the piñata at a height that is safe for participants to reach when blindfolded.
When everyone is ready, take turns trying to break open the piñata with a stick or bat. Have fun and celebrate as the goodies spill out!
Following these step-by-step guidelines on how to make a heart pinata, you can create a beautiful and unique heart pinata for any celebration. The best part? You can customize it to fit any theme or occasion by using different colors and decorations.
How Long Will It Take to Make a Heart Piñata?
Creating a heart piñata can be a delightful project that typically requires about 2 to 4 hours to complete, depending on your crafting experience and the complexity of your design. The initial steps, including cutting the template and assembling the structure, may take about 1 to 1.5 hours.
Allowing time for glue to dry is crucial, so plan for at least 30 minutes of drying time before moving on to the decoration phase. Decorating and filling the piñata can take an additional 1.5 to 2 hours, particularly if you opt for intricate designs and personalization. Overall, it’s a fun and rewarding craft that can be done in the afternoon, making it perfect for parties or special occasions!
Frequently Asked Questions
Q: How Long Does It Take to Make a Piñata?
A: It can take anywhere from 30 minutes to a few hours, depending on the level of detail and customization you choose. It’s a great project to do with friends or family, and splitting up the tasks can help speed up the process.
Q: Can I Use Different Materials for My Piñata?
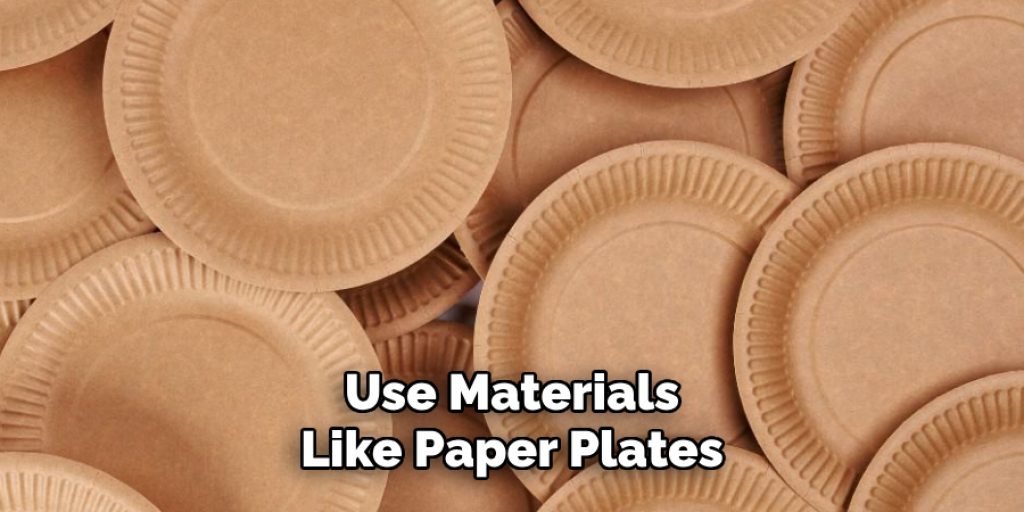
A: Absolutely! While traditional piñatas are made of papier-mâché, you can also use materials like paper plates, cardboard boxes, or even balloon shapes as a base. The key is to make sure it is sturdy enough to hold your desired treats and withstand being hit.
Q: How Do I Know When It’s Time to Break Open the Piñata?
A: You can either set a specific time during the party when everyone gathers to break open the piñata together, or you can let guests take turns until it breaks open. You can also choose to have a designated person in charge of breaking open the piñata for safety reasons. Make sure to have a designated spot for collecting the goodies as they spill out.
Q: Can I Reuse My Piñata?
A: If you want to reuse your piñata, make sure it has not been damaged too much during the breaking process. You can also choose to fill it with small prizes or confetti instead of candy, making it easy to refill and use again. Alternatively, you can repurpose the piñata as a decoration or even turn it into a fun craft project for kids by letting them paint over the tissue paper and decorate it in their own way.
Conclusion
Creating your own heart-shaped piñata is not only a fun and engaging craft project, but it also adds a unique and personal touch to any celebration. As you gather friends and family to fill the air with laughter and excitement, the moment the piñata breaks open becomes a cherished memory filled with joy and shared treats.
Whether it’s for a birthday party, a festive holiday, or just a gathering with loved ones, a homemade piñata can be the highlight of the event. So gather your materials, unleash your creativity, and enjoy the process of making and celebrating with your very own heart piñata! Thanks for reading this article on how to make a heart pinata.


