
How to Make a Loop Yarn Wreath
Creating a loop yarn wreath is a delightful and creative way to add a personal touch to your home décor. This craft project not only allows you to express your individual style through various colors and textures of yarn, but it also serves as a fun activity suitable for crafters of all skill levels. Whether you’re preparing for a seasonal celebration or simply want to brighten up your living space, a loop yarn wreath can be a charming addition.
In this guide, we will walk you through the materials needed and the step-by-step process of how to make a loop yarn wreath.
What is a Loop Yarn Wreath?
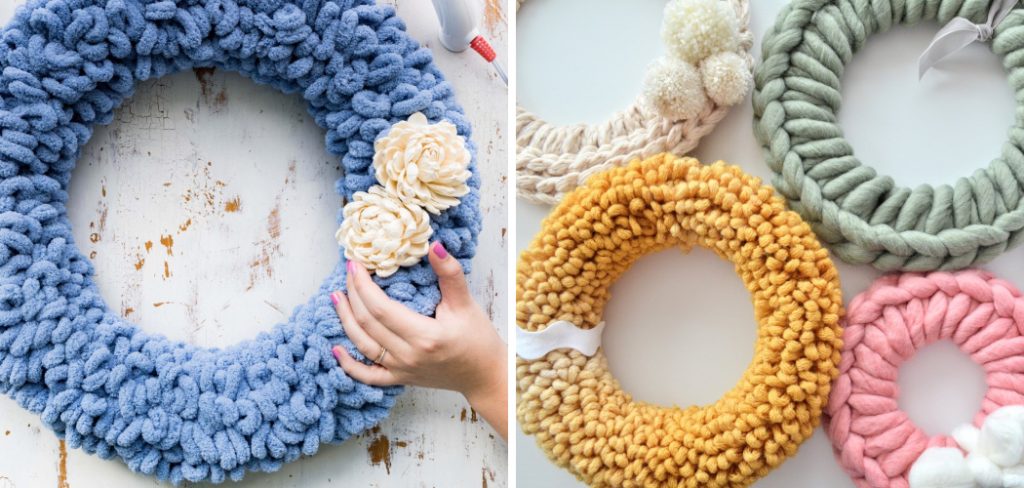
A loop yarn wreath is a decorative craft that consists of a circular frame adorned with loops of yarn. Unlike traditional wreaths that may utilize flowers or foliage, the loop yarn wreath captures a cozy and textured aesthetic, making it perfect for various seasons and occasions. This craft typically involves wrapping lengths of yarn around a foam or wire wreath form, creating a vibrant and plush appearance.
The loops can be made in a single colour for a more monochromatic look or a variety of hues to achieve a playful and lively design.
Why Make Your Own Loop Yarn Wreath?
Creating your own loop yarn wreath offers numerous advantages that go beyond just a fun crafting experience. Firstly, it allows for complete customization, enabling you to choose colors, textures, and styles that reflect your personal taste and complement your home decor. Making your own wreath also gives you a sense of accomplishment—transforming simple materials into a beautiful, finished product.
Additionally, crafting can be a therapeutic activity, providing a creative outlet that reduces stress and enhances mindfulness. Furthermore, a handmade wreath makes for a thoughtful gift, showing someone you care with a unique and personal touch that store-bought options simply can’t match.
10 Methods How to Make a Loop Yarn Wreath
1. Selecting the Right Wreath Form
The foundation of any loop yarn wreath is the wreath form. Choosing the right one is crucial for the success of your project. Wreath forms come in various materials, including foam, wire, and grapevine. Foam wreath forms are particularly popular for loop yarn wreaths because they provide a solid, easy-to-cover base. Wire forms are also a good choice, especially for more intricate designs.
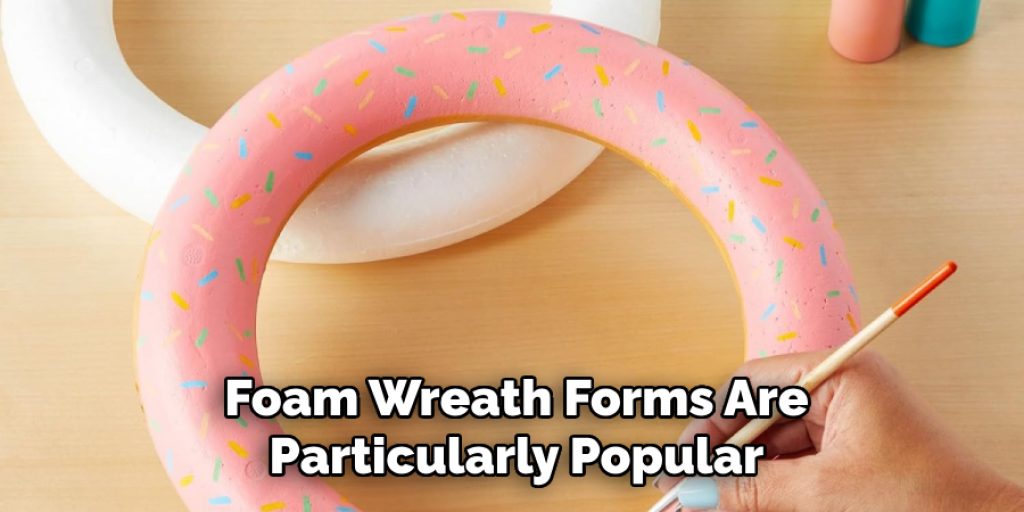
Grapevine wreath forms add a rustic touch and can be partially covered to showcase the natural beauty of the vines. Selecting the appropriate form based on your design vision will ensure a sturdy and visually appealing wreath.
2. Gathering Your Materials
Before you start crafting, gather all the materials you will need. Apart from the wreath form, you’ll need loop yarn in your chosen colors, a hot glue gun, scissors, and any decorative embellishments you wish to add, such as flowers, ribbons, or ornaments. It’s also helpful to have a ruler or measuring tape on hand. Having all your materials ready and within reach will streamline the crafting process, allowing you to focus on creativity without interruptions.
3. Preparing the Wreath Form
Preparing the wreath form sets the stage for a smooth crafting experience. If using a foam wreath form, consider covering it with fabric or ribbon to create a neat base. Apply a small amount of hot glue to secure the end of the ribbon or fabric, and wrap it around the form, slightly overlapping each layer until the entire form is covered. This step not only provides a polished appearance but also helps the loop yarn adhere more effectively. A well-prepared wreath form is essential for a professional-looking final product.
4. Attaching the Loop Yarn
Attaching the loop yarn is the primary step in creating your wreath. Begin by applying a dab of hot glue to the back of the wreath form and pressing the end of the loop yarn into the glue. Allow it to cool and set before you start wrapping the yarn around the form. Wrap the loop yarn snugly but not too tightly, covering the entire surface evenly.
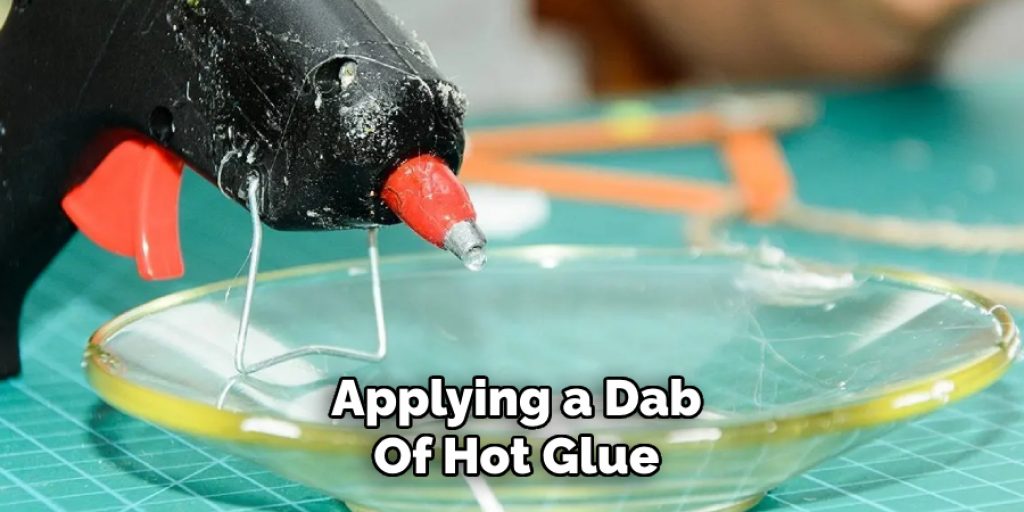
The loops should sit close together, creating a plush, full look. Continue wrapping until the entire wreath form is covered, securing the end with hot glue and trimming any excess yarn. This method ensures a seamless and uniform base for your wreath.
5. Creating Layers and Adding Texture
To add depth and interest to your wreath, consider creating layers with different colors or textures of loop yarn. After covering the wreath form with the base color, you can add additional layers by wrapping more loop yarn in contrasting or complementary colors. This technique adds visual complexity and makes the wreath more dynamic. You can also vary the direction of the wrapping to create different patterns and textures.
Experimenting with layers and textures allows you to customize the wreath to your taste and achieve a unique look.
6. Incorporating Decorative Elements
Decorative elements such as flowers, leaves, ribbons, and ornaments can enhance the beauty of your loop yarn wreath. Arrange your chosen decorations on the wreath before attaching them to ensure you’re satisfied with the layout. Once you’re happy with the arrangement, secure each element with hot glue.
For a cohesive design, select decorations that complement the colors and textures of the loop yarn. Adding decorative elements creates focal points and adds a touch of personalization to your wreath, making it more visually appealing and festive.
7. Making a Themed Wreath
Themed wreaths are perfect for celebrating holidays and special occasions. To create a themed loop yarn wreath, select colors and decorations that align with your chosen theme. For instance, a Christmas wreath might feature red, green, and white loop yarn, along with ornaments, pinecones, and holly leaves. An Easter wreath could use pastel-colored yarn with decorative eggs and bunnies.

Tailoring your wreath to a specific theme adds relevance and charm, making it a perfect addition to your seasonal decor. This method allows for endless creativity and seasonal updates to your home decorations.
8. Crafting a Monogram Wreath
A monogram wreath adds a personalized touch and makes for a thoughtful gift. Start with a standard loop yarn wreath base, then add a large monogram letter. You can cover the letter with loop yarn to match the wreath or paint it in a complementary color. Attach the monogram letter to the wreath using hot glue or wire, positioning it centrally or slightly off-center for a modern look. Monogram wreaths are elegant and personalized, making them suitable for front doors or as unique home decor pieces.
9. Adding a Bow
A bow is a classic addition to any wreath, adding elegance and a touch of tradition. To create a bow, choose a ribbon that complements your loop yarn and decorations. Cut a length of ribbon and create loops by folding the ribbon back and forth, securing the center with wire or another piece of ribbon. Fluff the loops to create a full bow.
Attach the bow to the wreath using hot glue or wire, positioning it at the top, bottom, or side of the wreath, depending on your design preference. A well-made bow enhances the wreath’s overall aesthetic and provides a focal point.
10. Hanging and Displaying Your Wreath
Once your loop yarn wreath is complete, it’s time to hang and display it. Choose a sturdy wreath hanger or ribbon for hanging. If using a ribbon, loop it through the top of the wreath and tie it in a bow or knot, securing the ribbon to a hook or nail on your door or wall. Ensure the wreath is level and hangs securely.
Consider the height and placement for the best visual impact. Displaying your wreath in a prominent location, such as the front door or above a mantel, allows it to become a focal point in your home decor. This method ensures your hard work is showcased beautifully.
Common Mistakes to Avoid
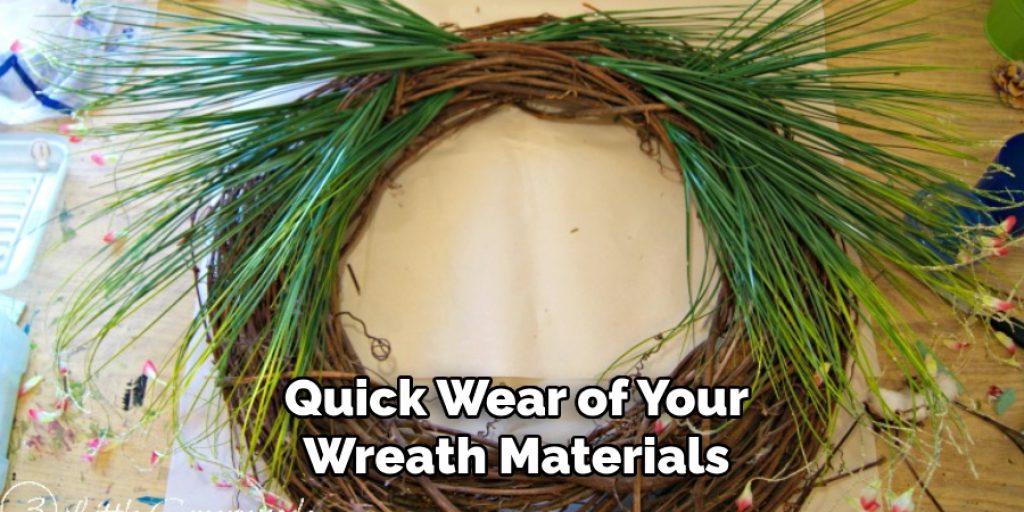
Crafting a loop yarn wreath can be a fulfilling project, but certain common mistakes can hinder your results. One frequent error is applying glue too liberally, which can lead to unsightly glue strings or quick wear of your wreath materials. It’s best to use small dabs of hot glue to secure yarn and decorations without overwhelming the piece.
Additionally, failing to properly secure the ends of the loop yarn can result in unraveling as the wreath is handled. Always make sure to trim any excess yarn and secure ends with glue. Another mistake is neglecting the arrangement of decorative elements before gluing them down; taking a moment to plan your layout can make a significant difference in the overall appearance of your wreath.
Conclusion
In conclusion, making a loop yarn wreath involves several detailed steps, each contributing to the creation of a beautiful and personalized decoration. By following these ten methods—selecting the right wreath form, gathering materials, preparing the form, attaching the loop yarn, creating layers and texture, incorporating decorative elements, making a themed wreath, crafting a monogram wreath, adding a bow, and hanging and displaying your wreath—you can craft a stunning loop yarn wreath that enhances your home decor. Thanks for reading, and we hope this has given you some inspiration on how to make a loop yarn wreath!
Elizabeth Davis
Elizabeth is a creative writer and digital editor based in the United States. She has a passion for the arts and crafts, which she developed from a young age. Elizabeth has always loved experimenting with new mediums and sharing her work with others. When she started blogging, she knew that DIYquickly would be the perfect platform to share her tutorials and tips. She's been writing for the blog from the beginning, and her readers love her helpful advice and easy-to-follow instructions. When she's not writing or editing, Elizabeth enjoys spending time with her family and friends.


