How to Make a Paper Towel Holder
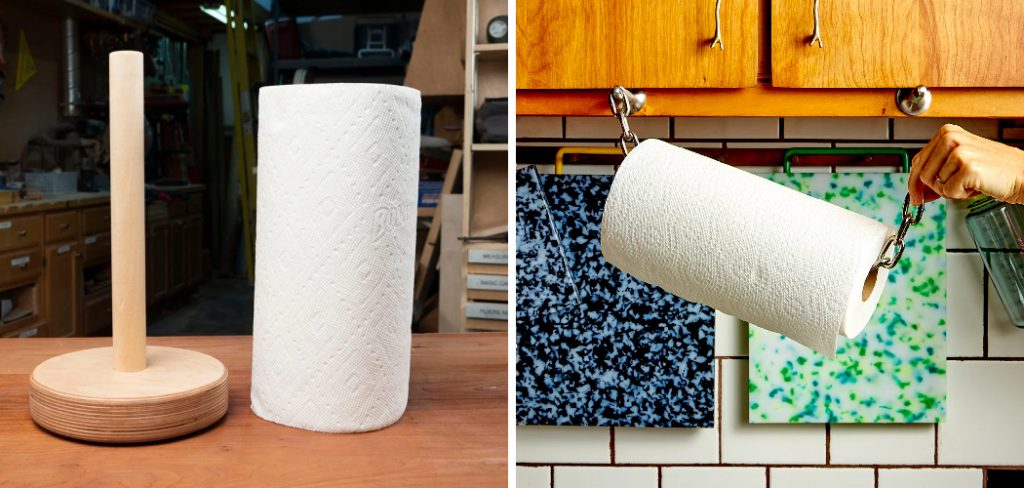
Creating your own paper towel holder can be a fun and practical project that enhances your kitchen or workspace. Not only does it serve a functional purpose by keeping your paper towels organized and accessible, but it also allows you to express your creativity and personalize your space.

In this guide on how to make a paper towel holder, we will explore various materials and methods to craft a stylish and sturdy paper towel holder that suits your décor while being easy to assemble. Whether you’re an experienced DIY enthusiast or a beginner, this project is suitable for all skill levels. Let’s get started!
Why Make Your Own Paper Towel Holder?
Making your own paper towel holder has several advantages over purchasing one from the store. Here are a few reasons why you should consider making your own:
Cost-effective:
DIY projects often save money compared to buying ready-made items. In this case, you can save on the cost of a paper towel holder while creating a custom piece that fits your budget.
Personalization:
When making your own paper towel holder, you have complete control over its design and style. You can choose materials and colors that match your kitchen or workspace décor, giving it a personal touch.
Customizable size:
By making your own paper towel holder, you can adjust the dimensions to fit any size of paper towel. This way, you won’t have to worry about buying a specific size from the store.

Environmental impact:
Crafting your own paper towel holder means less packaging waste from store-bought options. Additionally, you can use recycled materials or repurpose items to make your holder, reducing your carbon footprint.
Materials and Tools You’ll Need
To make a paper towel holder, you will need the following materials and tools:
- A Wooden Dowel (or Any Sturdy Cylindrical Object)
- Wood Glue or Hot Glue Gun
- 4 Pieces of Wood (for the Base and Stand)
- Sandpaper
- Paint or Stain (Optional)
- Brush or Roller for Paint Application
- Hand Saw or Electric Saw
- Measuring Tape
- Pencil
- Hammer and Nails (Optional)
8 Step-by-step Guidelines on How to Make a Paper Towel Holder
Step 1: Measure and Cut
Begin by measuring the length of the wooden dowel or cylindrical object you plan to use for your paper towel holder. This will determine the size of your base and stand. Using the measuring tape, mark the dimensions on the four pieces of wood that will form the base and stand. For stability, aim for a base size that is wider than the height of the stand.
Once you have marked the dimensions, carefully cut the wood pieces with your saw. Be sure to wear safety goggles and follow proper safety procedures when using cutting tools. After cutting, use sandpaper to smooth any rough edges, ensuring that your pieces fit together comfortably.
Step 2: Assemble the Base and Stand
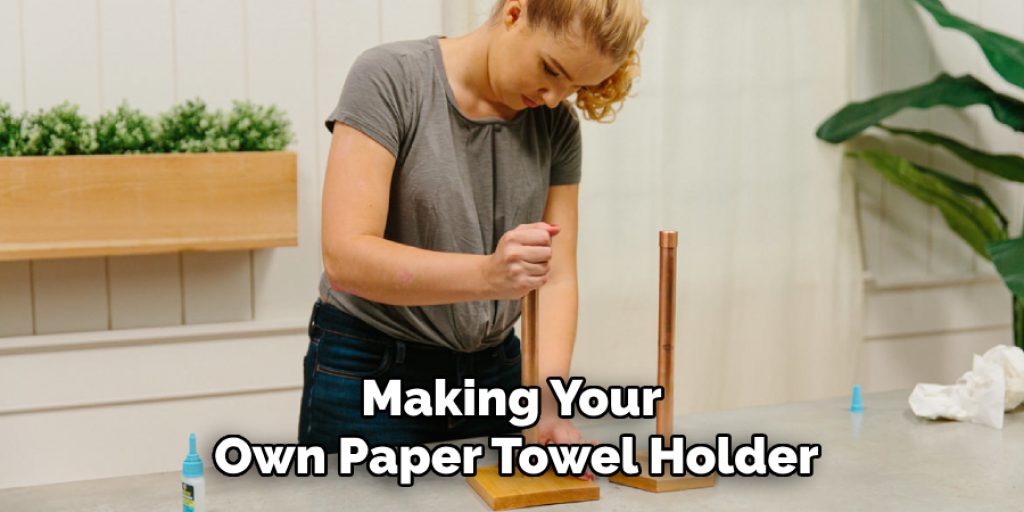
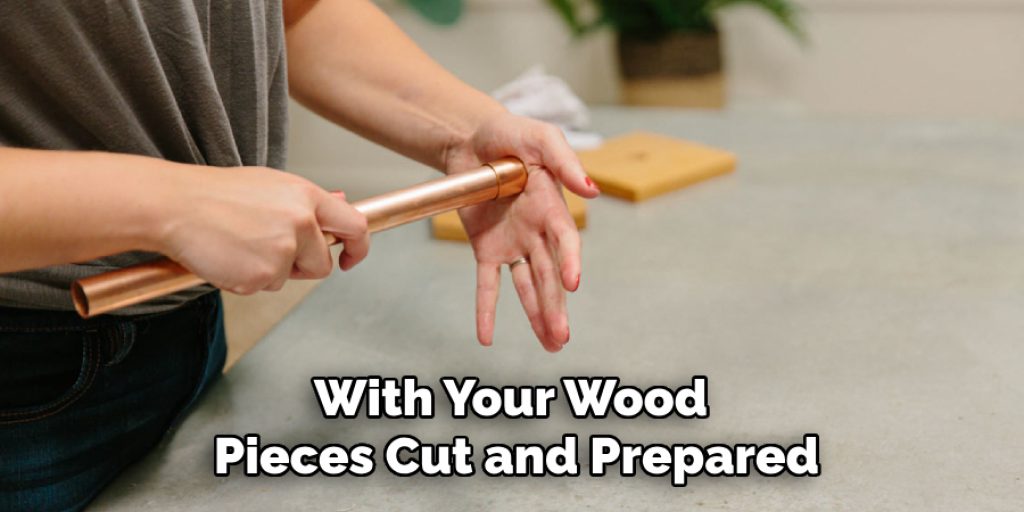
With your wood pieces cut and prepared, it’s time to assemble the base and stand of your paper towel holder. Start by laying out the four pieces of wood designated for the base on a flat surface, ensuring they are arranged in a square or rectangular shape, depending on your design choice. Use wood glue or hot glue to secure the corners of the base together, applying enough glue to ensure a sturdy hold. If you wish for added strength, you may opt to hammer in nails at each corner after the glue has dried.

While the base is drying, take the piece of wood you will use for the stand and attach it to the center of the base using more glue. Ensure it is perpendicular to the base for proper stability. You may want to use a level to make certain it stands straight. After securing the stand, allow the entire assembly to dry completely before moving on to the next step. This will ensure that your paper towel holder is stable and secure once completed.
Step 3: Prepare the Dowel
While waiting for the base and stand to dry, you can prepare your wooden dowel. Use sandpaper to smooth out any rough edges or imperfections on the surface of the dowel. Depending on your preference, you may also choose to paint or stain the dowel at this point. If painting, be sure to let it dry completely before moving on.
It’s worth noting that you can also use other materials for your dowel, such as PVC pipes or metal rods. Be creative and choose whatever fits your design and budget.
Step 4: Attach the Dowel to the Stand
Once everything is dry, it’s time to attach the dowel to the stand. Apply some wood glue on one end of the dowel and carefully insert it into a pre-drilled hole on top of the stand.
You may need to use a hammer or mallet to gently tap it in if it’s a tight fit. Repeat this process for the other end of the dowel, ensuring it is level with the first end. Allow this assembly to dry before moving on to the next step.
Step 5: Finishing Touches
At this point, your paper towel holder is almost complete. You can now add any personal touches you desire, such as painting or staining the base and stand. This will give your holder a more polished look and make it blend in with your décor.
You may also choose to add decorative elements like stencils or decals for an extra touch of personality. Allow the paint or stain to dry completely before moving on to the next step.
Step 6: Insert Paper Towel Roll
With the finishing touches complete, the final step is to insert your paper towel roll onto the dowel. Carefully slide the roll onto the dowel, ensuring it fits snugly without being too tight. This allows for smooth tearing and easy access to the paper towels when you need them. If you’ve chosen a dowel that is adjustable in diameter, ensure it’s suitably sized for the role you have.
Once the roll is in place, give your paper towel holder a gentle test to ensure stability and functionality. Congratulations! You’ve now crafted a practical and stylish paper towel holder that enhances your space.

Step 7: Optional Additions
If you wish to add more features to your paper towel holder, there are countless options to explore. You can attach hooks or clips on the sides of the stand for hanging kitchen cloths or dish towels. Another option is to incorporate a storage compartment at the bottom of the base for holding small items like spices or utensils.
The possibilities are endless when it comes to customization and personalization with DIY projects. Have fun and get creative with your design!
Step 8: Maintenance and Care
To ensure longevity, be sure to take proper care of your homemade paper towel holder. Clean it regularly by wiping it down with a damp cloth and mild detergent, and dry it thoroughly. This will prevent any buildup of dust or grime which can cause damage over time.
If you notice any loose parts or wear and tear, make necessary repairs to keep your paper towel holder in top condition. With proper maintenance, it will last for years and continue to serve its purpose in a sustainable and eco-friendly manner.
Tips
- When choosing the materials for your paper towel holder, consider durability and strength. Opt for sturdy types of wood or alternative materials that can withstand the weight of a paper towel roll.
- Don’t shy away from incorporating different design elements and techniques such as painting, staining, or decoupage to add personality to your project.
- If you are new to woodworking or DIY projects in general, start with simpler designs before tackling more complex ones.
- Always prioritize safety when using cutting tools and equipment. Wear appropriate protective gear and follow proper procedures.
- Have fun and get creative with your design choices – there are no limits to what you can create! Overall, making a homemade paper towel holder is a rewarding and practical project that adds a personal touch to your space while reducing waste and promoting sustainability. Happy crafting!
Following these tips and steps on how to make a paper towel holder, you should now have a functioning paper towel holder that you can proudly display in your kitchen or any other area of your home.

Not only is it a useful and stylish addition to your space, but it also serves as a reminder that with a little effort and creativity, we can reduce our environmental footprint one DIY project at a time. So go ahead and give it a try – you’ll be surprised at what you can create with your own two hands. Happy crafting!
Conclusion
Making a paper towel holder at home is not only a fun DIY project but also an easy way to reduce waste and save money. By using recycled materials or repurposing items, you can create a functional and stylish holder while reducing your carbon footprint.
Plus, with our step-by-step guide on how to make a paper towel holder, you now have all the tools and knowledge to create your own unique paper towel holder. So go ahead, grab your materials, and get crafting! Remember to have fun and let your creativity shine through. Happy DIY-ing!


