How to Make a Rosette Ribbon
Creating a rosette ribbon is a delightful craft that allows you to add a personal touch to awards, decorations, or special events. Whether you’re celebrating a winner at a competition or simply wish to embellish a gift, making a rosette ribbon is both fun and straightforward.
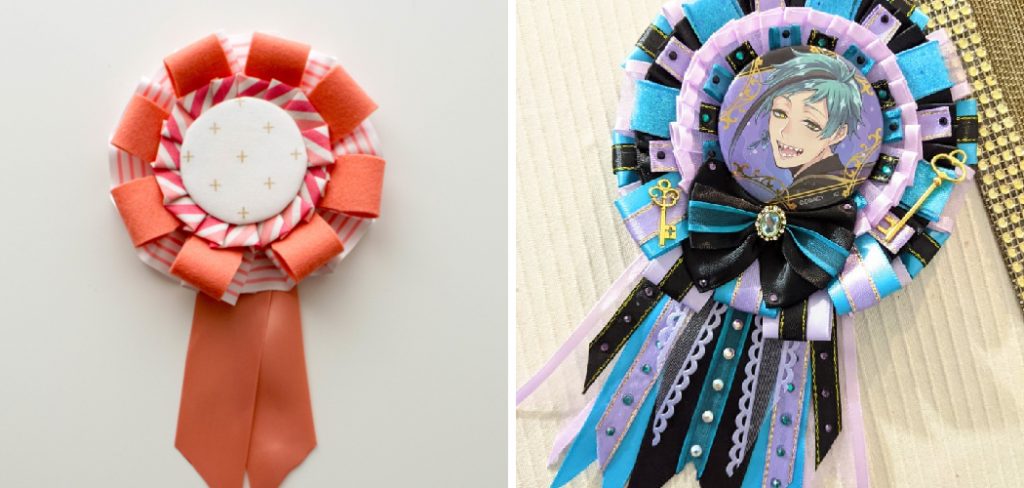
With just a few materials and some basic techniques, you can craft a beautiful ribbon that showcases your creativity and effort. In this guide on how to make a rosette ribbon, we’ll walk you through the step-by-step process of making your own rosette ribbon, ensuring that you can achieve professional-looking results.
Why Make a Rosette Ribbon?
There are many reasons why you might want to make your own rosette ribbon. Here are just a few:
Personalization:
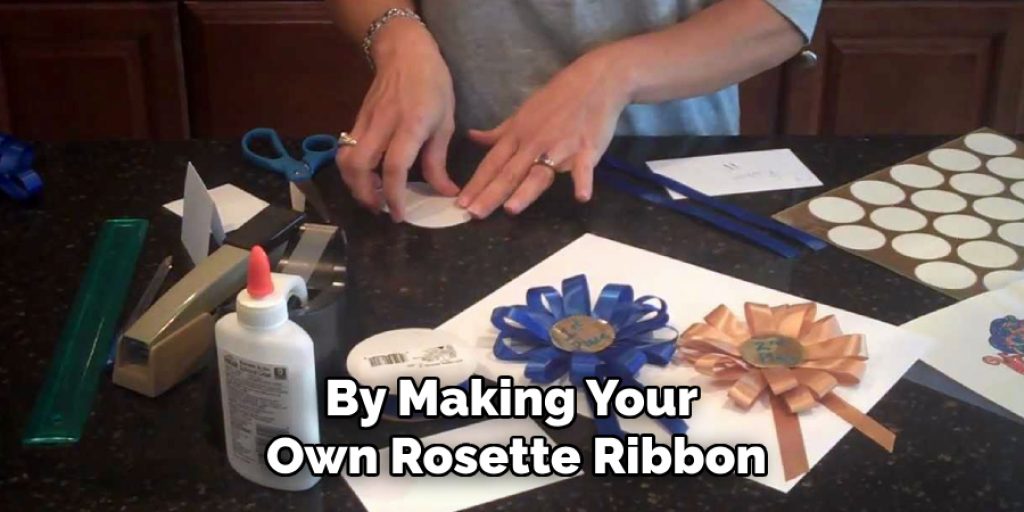
By making your own rosette ribbon, you can customize the design, colors, and message to fit any occasion or recipient. This adds a personal touch that cannot be achieved with store-bought ribbons.
Cost-effective:
Making your own rosette ribbon can be a cost-effective alternative to buying one. With just a few materials, you can create multiple ribbons for a fraction of the cost of purchasing them.
Fun and creative:
Crafting a rosette ribbon allows you to tap into your creativity and have fun while doing so. It’s an enjoyable activity for both adults and children.
What You Will Need
To make a rosette ribbon, you will need the following materials:
- Ribbon (in Any Color or Width of Your Choice)
- Cardboard or Stiff Paper
- Scissors
- Glue (Hot Glue or Craft Glue)
- Stapler
- Decorative Items (Optional, Such as Glitter, Stickers, or Beads)
8 Step-by-step Guidelines on How to Make a Rosette Ribbon
Step 1: Cut the Ribbon
Begin by measuring and cutting a length of ribbon that will form the loops of your rosette. Typically, you will need about 20 to 30 inches of ribbon, depending on the size you want for your rosette. Ensure that the ends of the ribbon are cut at an angle to prevent fraying.
If you desire additional layers or a more luxurious look, consider cutting multiple lengths of ribbon in varying colors or widths to layer together in your design.
Step 2: Create the Rosette Base
To form the base of your rosette, take a piece of cardboard or stiff paper and cut it into a circle approximately 4 to 6 inches in diameter. This circle will serve as the foundation for your ribbon loops. Next, use a hole punch or a sharp tool to create a small hole in the center of the cardboard circle. This hole will allow you to secure the ribbon in place later.
To add stability, you may also consider reinforcing the circle with an additional layer of cardboard. Once your base is ready, you can begin attaching the ribbon loops that will create the beautiful rosette effect.
Step 3: Loop the Ribbon
Fold one end of your ribbon over and staple it to the back of the cardboard circle near the center hole. Pull the ribbon across to the opposite side, forming a loop, and secure it with another staple. Repeat this process until you have created a row of loops around the entire circumference of the circle.
It’s important to leave enough slack in each loop to create a full and voluminous rosette. Don’t worry about the staple marks showing, as they will be covered by additional layers of ribbon loops.
Step 4: Add More Layers
To enhance the dimension and beauty of your rosette ribbon, you can add additional layers of ribbon loops. Select different colors or patterns of ribbon to create a more visually striking effect. Begin by cutting ribbon lengths similar to those used for the first layer, and then repeat the loop-making process.
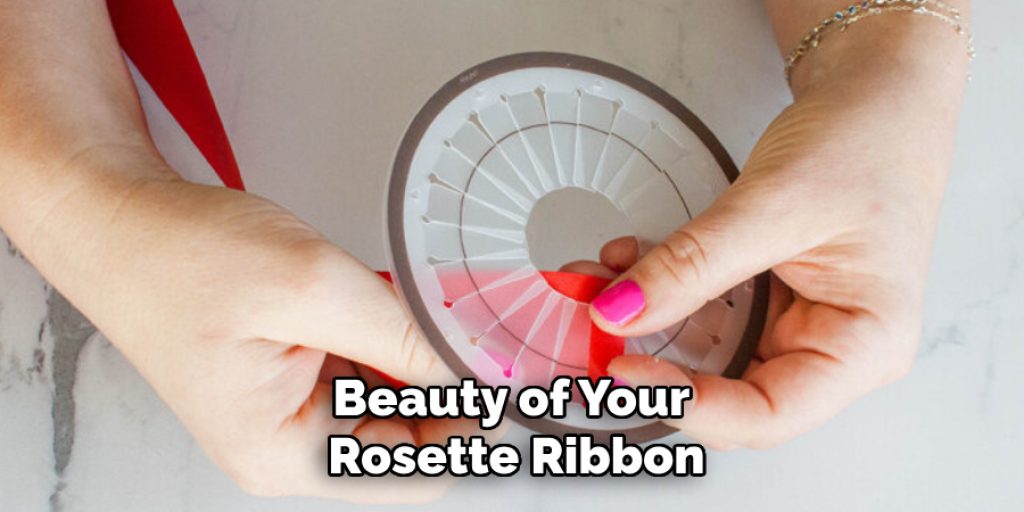
While adding each new layer, overlap the previous loops slightly to ensure they are well covered and to achieve a lush, fuller appearance. As you layer, feel free to adjust the height and spacing of the loops for a more dynamic design. Once satisfied with the look, secure the ends of the ribbons at the back with glue or staples to keep everything in place.
Step 5: Create the Rosette Center (Optional)
To complete your rosette ribbon, you may want to create a decorative center that adds an extra touch of elegance. Start by cutting a small circle from cardboard or stiff paper, around 2 to 3 inches in diameter. You can cover this circle with fabric, felt, or even some of the ribbon you used for the loops. Secure the covering in place using glue.
Once your centerpiece is prepared, attach it to the middle of the rosette by using hot glue or craft glue to ensure a strong hold. If desired, you can embellish the center further with decorative items such as rhinestones, buttons, or a printed label that conveys a specific message or theme. This step is entirely optional, but it can provide a polished focal point for your beautiful rosette ribbon.
Step 6: Finishing Touches
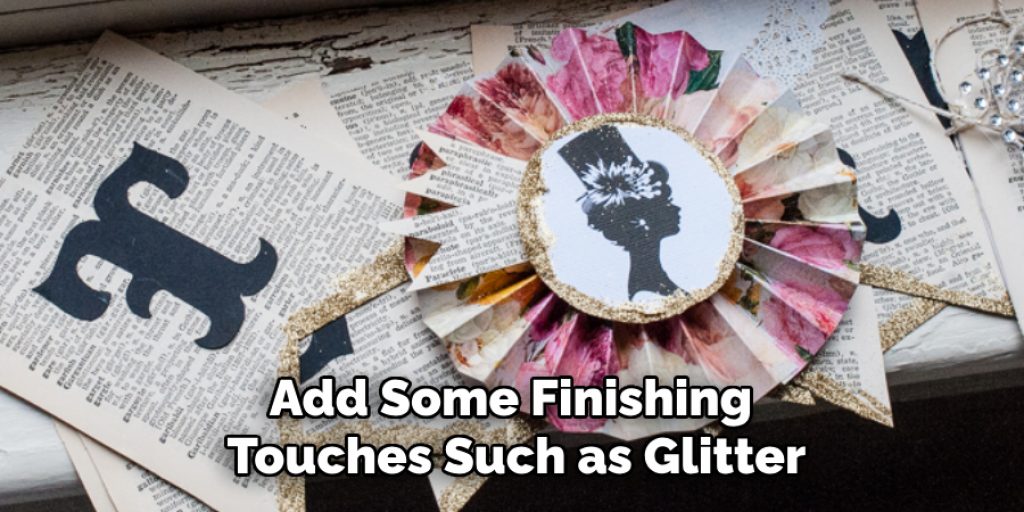
To complete your rosette ribbon, you can add some finishing touches such as glitter, stickers, or beads to add sparkle and interest. You may also choose to cut the ends of your ribbon into decorative shapes for a more polished look. Use hot glue or craft glue to attach these elements securely.
You can also add a pin or safety clip to the back of the rosette for easy attachment to clothing or accessories. It’s all up to you!
Step 7: Allow Time for Drying
If you use hot glue, allow your rosette ribbon to cool and dry completely before handling it. This will ensure that all the elements are securely attached and prevent any accidents or unraveling later on. Once dry, gently fluff and adjust the loops as needed for a more cohesive appearance.
You can also use a hair dryer on a low, cool setting to speed up the drying process. It’s important to be patient and avoid handling the rosette too soon, as this may cause it to come apart.
Step 8: Celebrate Your Achievement!
Congratulations! You have successfully made your own beautiful rosette ribbon. Now, you can use your creation to celebrate, decorate, or gift it to someone special. The possibilities are endless with this simple yet impressive DIY craft.
Following these steps on how to make a rosette ribbon, you can create rosette ribbons for any occasion, whether it’s a birthday party, graduation ceremony, or just as a fun activity with friends and family. Have fun experimenting with different colors, materials, and designs to make your rosette ribbon truly unique. Enjoy the cost-effectiveness and creativity of this DIY craft and spread joy wherever you go with your handmade rosette ribbons! Happy crafting!
Frequently Asked Questions
Q: Can I Use Different Types of Ribbon for My Rosette?
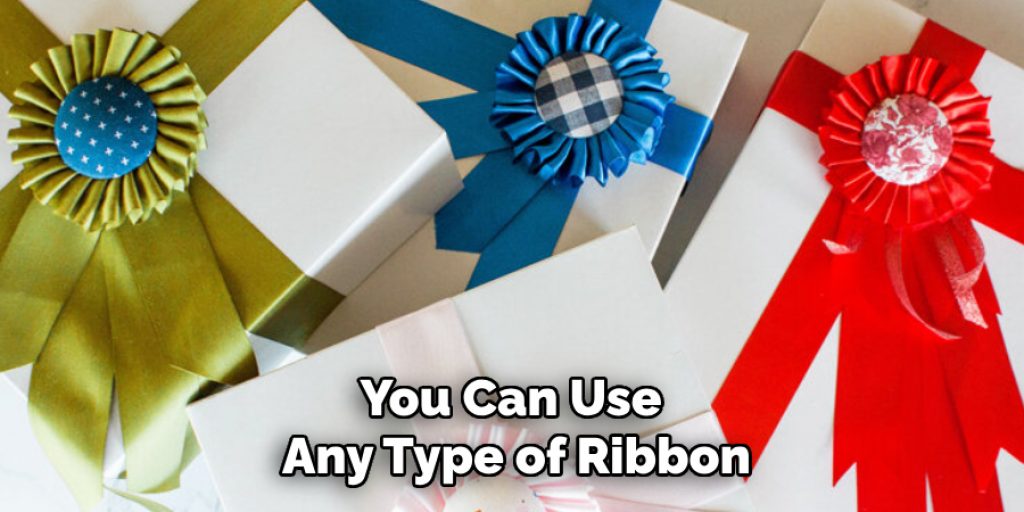
A: Yes, you can use any type of ribbon, including satin, grosgrain, or even burlap. Just ensure that the ribbon is wide enough to create full loops and that it can hold its shape when folded.
Q: Do I Have to Use a Circular Base for My Rosette?
A: No, you can use any shape of base that you desire, such as a square or heart. Just make sure it’s sturdy enough to support the weight of the ribbon loops and decorations. It’s also important to create a hole in the center of the base for securing the ribbon.
Q: Can I Make Smaller or Larger Rosettes?
A: Yes, you can adjust the size of your rosette by using a smaller or larger base and cutting shorter or longer ribbon lengths. Just keep in mind that larger rosettes may require more layers and time to create a full and voluminous look.
Q: How Long Will It Take to Make a Rosette Ribbon?
A: The time it takes to make a rosette will depend on your skill level, the size and complexity of your design, and any additional embellishments you choose to add. On average, it can take anywhere from 30 minutes to an hour to create a rosette ribbon.
Q: Can I Wash My Rosette Ribbon?
A: It’s not recommended to wash your rosette ribbon as it may cause the glue or decorations to come undone. However, you can spot clean any areas that may get dirty using a damp cloth and mild soap. Store your rosette in a dry place to prevent any damage. Overall, it’s best to treat your rosette ribbon as a delicate decorative item.
Conclusion
Creating a rosette ribbon not only allows for a delightful hands-on crafting experience but also results in a beautiful and versatile decoration that can enhance any occasion. By following the straightforward steps on how to make a rosette ribbon outlined above, you can express your creativity while making personalised gifts or embellishments for celebrations.
Whether you keep it simple or opt for elaborate designs, each rosette you craft is a testament to your artistic flair. So gather your materials, unleash your imagination, and enjoy the process of bringing your unique rosette creations to life! Happy crafting!


