
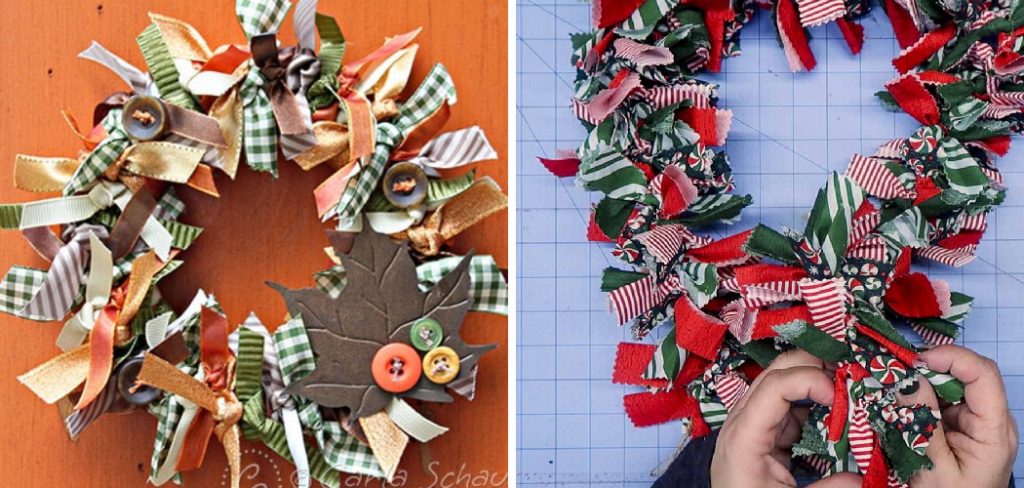
How to Make a Tied Ribbon Garland
Creating a tied ribbon garland is a simple and enjoyable DIY project that can add a touch of whimsy and color to any space. Perfect for parties, celebrations, or just to brighten up a room, these garlands are customizable to fit any theme or color scheme.
With just a few basic materials and some creative flair, anyone can craft a beautiful decoration that brings personality and charm to their environment. Whether you’re a seasoned crafter or a DIY novice, this guide on how to make a tied ribbon garland will walk you through the steps to create your very own tied ribbon garland.
What is a Tied Ribbon Garland?
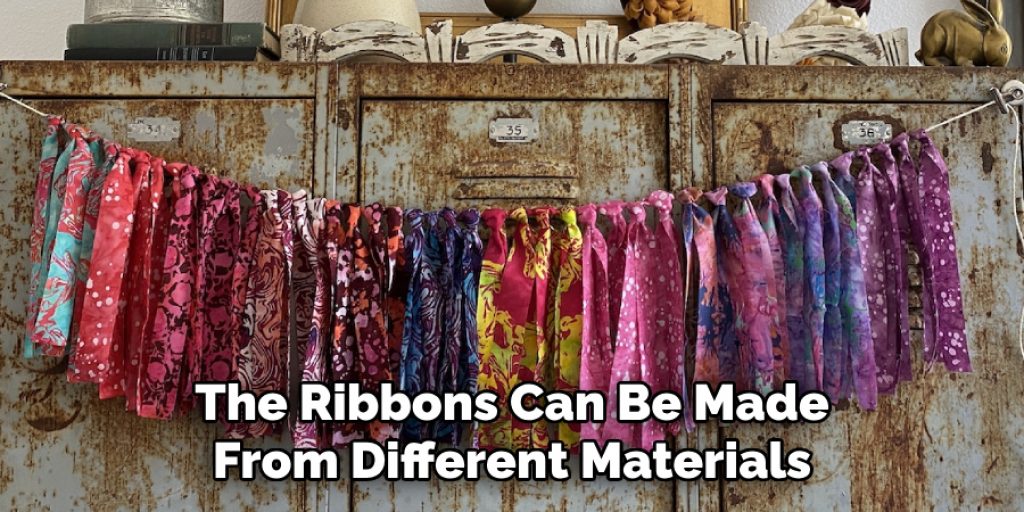
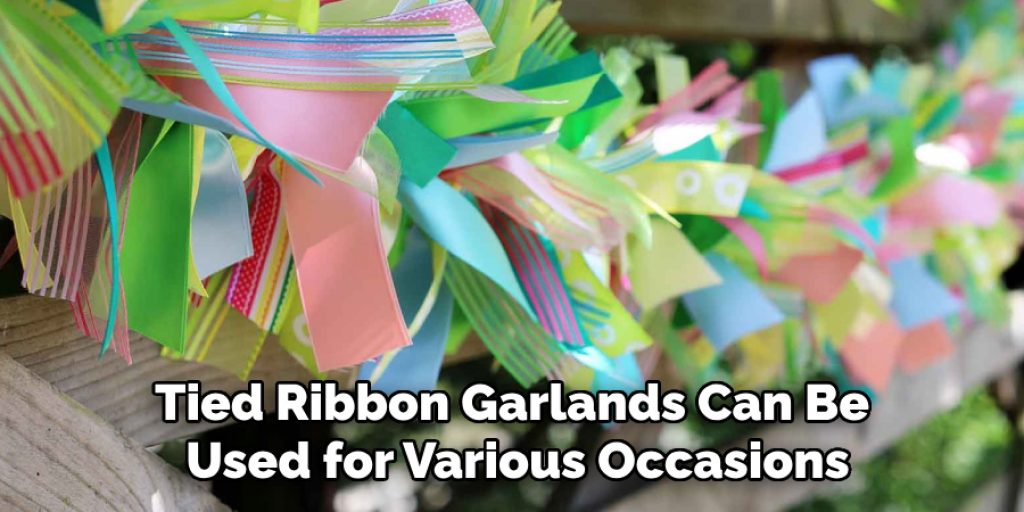
A tied ribbon garland is a decorative string of ribbons that can be hung or draped to add a festive and playful element to any space. It consists of multiple pieces of ribbon, usually varying in length, that are tied onto a string or rope. The ribbons can be made from different materials such as satin, grosgrain, organza, or even tulle, and can come in a variety of colors and patterns. The end result is a beautiful and eye-catching garland that can be used for various occasions or as everyday decor.
You can use a tied ribbon garland to add a pop of color to a plain wall, as a backdrop for photos, or even as a decorative accent on furniture or doorways. The possibilities are endless and the best part is that they are easy to make and cost-effective.
Why Make a Tied Ribbon Garland?
There are many reasons why making a tied ribbon garland is a great idea. Here are just a few:
It’s Budget-friendly:
You don’t need to break the bank to create a beautiful garland. With just some ribbons and string, you can make something stunning that adds character to any space.
Customizable:
As mentioned earlier, tied ribbon garlands are highly customizable. You can choose the type of ribbons, colors, and patterns to suit your taste or theme of any occasion.
Easy to Make:
No complicated tools or skills are required to make a tied ribbon garland. It’s a simple process that anyone can do, making it a fun activity for all ages.
Versatile:
Tied ribbon garlands can be used for various occasions such as birthday parties, weddings, baby showers, or even as everyday decor. They are also easy to store and reuse for future events.
Materials Needed
To make your own tied ribbon garland, you will need the following materials:
Ribbons (in Assorted Colors, Patterns, and Lengths):
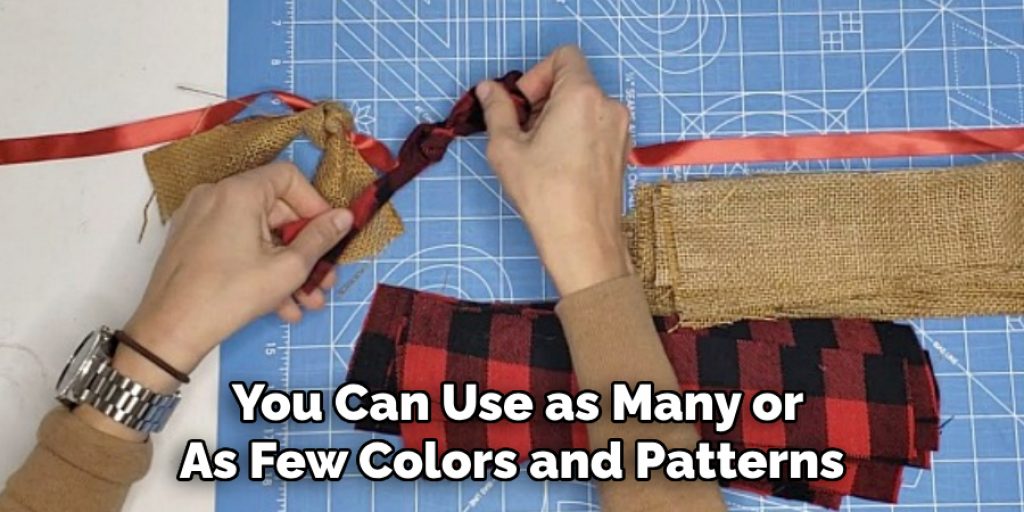
Choose ribbons that match your desired color scheme or theme. You can use as many or as few colors and patterns as you like, but make sure to have a variety of lengths for added dimension.
String or Rope:
This will serve as the base for your garland. You can use twine, yarn, or any other string-like material that is sturdy enough to support the weight of the ribbons.
Scissors:
You will need a good pair of scissors to cut the ribbons and string to your desired lengths.
Optional: Embellishments
To add extra flair to your garland, you can include additional decorations such as beads, flowers, or glitter. These are completely optional but can elevate the look of your garland.
10 Step-by-step Guidelines on How to Make a Tied Ribbon Garland
Step 1: Choose Your Ribbons
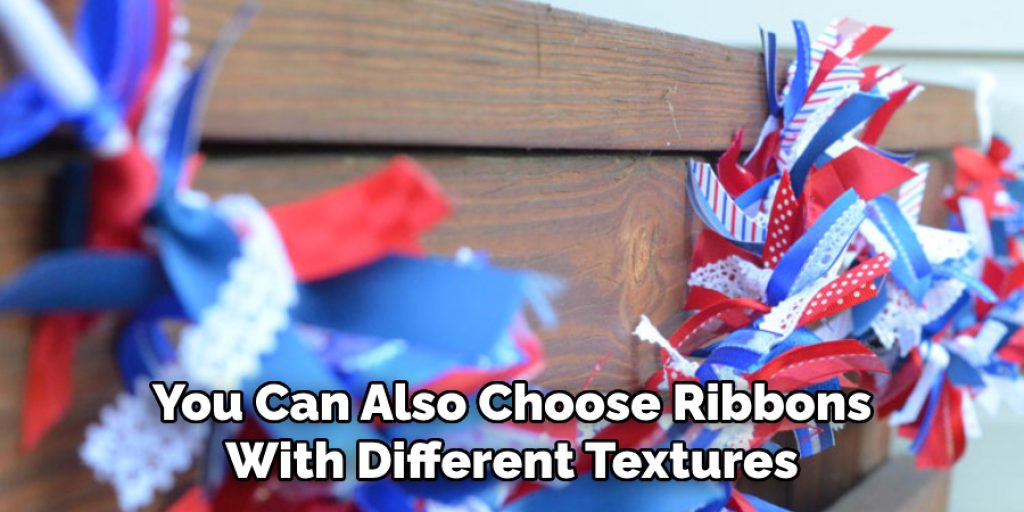
Decide on the colors, patterns, and lengths that you want to use for your garland. Make sure to have a good variety of ribbons for added visual interest. You can also choose ribbons with different textures or widths for a more dynamic look. But remember, it’s your garland, so have fun and be creative! It’s also a good idea to cut your ribbons into different lengths beforehand. The recommended length is anywhere between 8-12 inches, but you can adjust it according to your preference. It’s better to have more ribbons than you need, as you can always trim them later.

Step 2: Cut the String or Rope
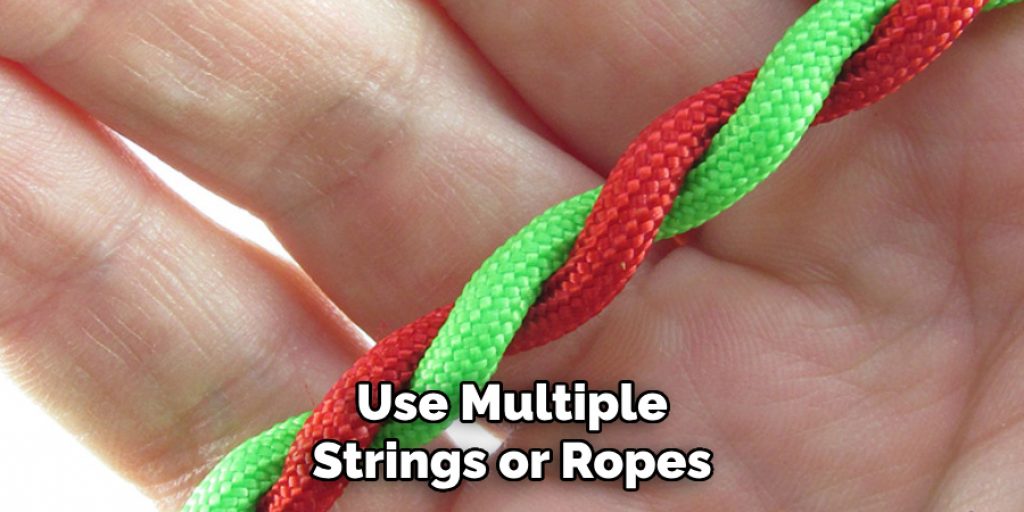
Cut your string or rope to your desired length, keeping in mind where you plan to hang or drape your garland. Make sure to leave a bit of extra length on each end for tying and hanging. Otherwise, you can always trim it later. You can also use multiple strings or ropes for a longer garland. But for this tutorial, we will be using one string as the base. The length of the string will depend on how long you want your garland to be. You can also cut it shorter and add more strings later if you need a longer garland.
Step 3: Tie a Loop at One End of the String
Take one end of your string and fold it over to create a small loop. This will serve as the base for hanging your garland. Secure it by tying a knot with the string. It doesn’t have to be perfect as it will be covered by the ribbons. But make sure it’s tight enough to hold the weight of your garland. The size of the loop will depend on where you plan to hang your garland, so make it bigger or smaller accordingly.
Step 4: Start Tying Ribbons onto the String
Take one of your ribbon pieces and fold it in half. Place the folded end under the string, with the loop facing upwards. Then, take the two ends of the ribbon and pull them through the loop at the top. Pull tightly to secure it onto the string. Repeat this process with different ribbons, spacing them out evenly along the string. If you want a more seamless look, you can also alternate between colors and patterns.
Step 5: Add Embellishments (Optional)
If you want to add extra decorations such as beads, flowers, or glitter, now is the time to do so. Simply thread them onto the string in between the ribbons and secure them in place with a knot. The placement and amount of embellishments are entirely up to you. It’s a fun way to add some extra sparkle and personalization to your garland. The possibilities are endless! The only limit is your imagination. You can even use small trinkets or photos for a more personalized touch.
Step 6: Continue Tying Ribbons Until You Reach the Desired Length
Keep tying ribbons onto the string until you reach your desired length for the garland. Make sure to leave a bit of space at the other end of the string for tying a loop. You can also adjust the placement and spacing of the ribbons as you go along to create a balanced and visually appealing garland. The great thing about this process is that you can always add or remove ribbons as needed. But try to avoid overcrowding the string as it may cause your garland to sag or become too heavy.
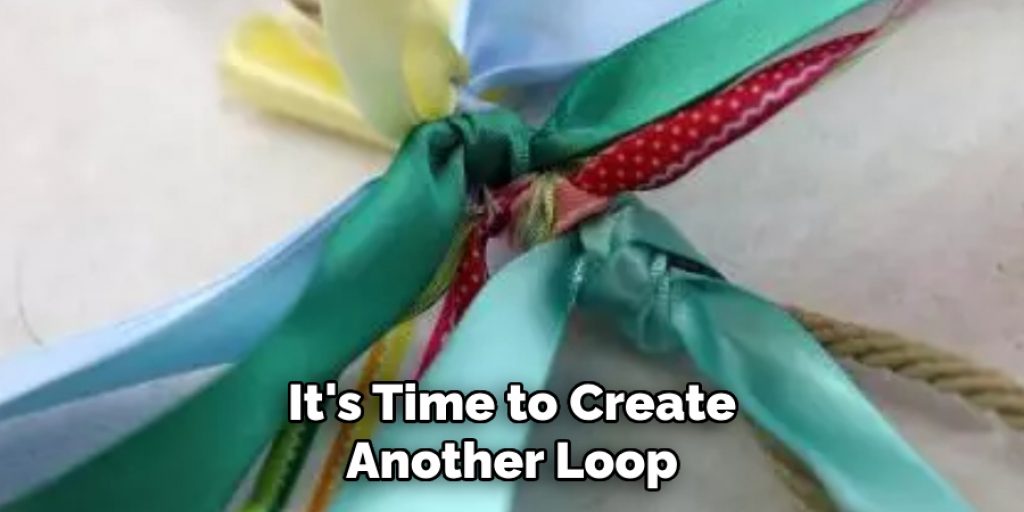
Step 7: Create Another Loop at the Other End of the String
Once you have added all your desired ribbons, it’s time to create another loop at the other end of the string. This loop will allow you to hang your garland, so make sure it’s big enough to fit over a hook, nail, or any other hanging device. The size of the loop will also depend on how you want your garland to drape or hang. Test it out by hanging the string and adjusting the loop if needed. It’s better to have a bigger loop than a smaller one, as you can always trim the string later.
Step 8: Trim Any Excess String or Ribbons
Now that your garland is complete, it’s time to clean up any excess string or ribbons. Use scissors to trim any uneven ends or extra material sticking out. This will give your garland a more polished and professional look. You can also trim the ribbons to different lengths if you want a more layered effect. But be careful not to cut the ribbons too short, as they may come loose from the string. The key is to achieve a balanced and visually appealing look.
Step 9: Final Adjustments
Take a step back and evaluate your garland. Make any final adjustments by moving or adding ribbons as needed. You can also play around with the placement and spacing to create a more cohesive look. Don’t be afraid to experiment and have fun with it! Your garland is unique to you, so make it your own. The beauty of this DIY project is that no two garlands will be exactly the same. The imperfections and personal touch make it all the more special. It’s a representation of your creativity and style. You can also use this technique to make garlands for different occasions, such as birthdays, weddings, or holidays.
Step 10: Hang Your Garland
Once you are satisfied with your garland, it’s time to hang it up! You can use a hook, nail, or any other hanging device to display your masterpiece. Make sure it’s secure and stable before letting go. You can also adjust the placement and draping of the garland once it’s hung up. And voila! Your beautiful ribbon garland is now ready to add a pop of color and texture to any room or event. Enjoy and be proud of your creation! Keep in mind that this DIY project is not limited to just ribbons. You can also use other materials such as fabric strips, tassels, or even paper, for a more unique look. The possibilities are endless, so let your imagination run wild. Have fun and happy crafting!
Following these steps, you can easily create a beautiful and personalized ribbon garland to decorate your home or event. It’s an inexpensive and fun way to add some color, texture, and personality to any space. You can also involve kids in this project by letting them choose the ribbons and helping with the tying process. It’s a great activity for a rainy day or a party. Be creative and experiment with different colors, patterns, and materials. And most importantly, have fun!
Do You Need to Use Professionals?
No, you do not necessarily need to use professionals for this DIY project. It can easily be done at home with just a few materials and basic crafting skills. However, if you are planning on using more delicate or expensive materials, such as silk ribbons or beads, it may be helpful to have some professional guidance.
You can also seek inspiration from online tutorials and photos to guide you in your creation. Remember, this is a fun and creative project, so don’t stress too much about perfection. Embrace imperfections and make them your own! So go ahead and try making a ribbon garland for your next event or home decor. It’s a simple yet impactful way to add some charm and character to any space.
The beauty of DIY projects is that they allow you to express your creativity and individuality. You can customize and personalize them to fit your style and taste. So why not give this ribbon garland a try? It’s a fun, easy, and budget-friendly way to elevate your home decor or event decorations.
Frequently Asked Questions
Q: How Long Does It Take to Make a Ribbon Garland?
A: The time it takes to make a ribbon garland depends on the length and complexity of the design. Generally, it can take anywhere from 30 minutes to an hour. You can also break up the process into different sessions if needed. It’s a great activity to do in your spare time or as a fun project with friends and family. The more you make, the faster and easier it will become.
Q: Can I Use Different Types of Ribbons?
A: Yes, you can use different types of ribbons such as satin, grosgrain, organza, or even lace. Each type will give a unique texture and look to your garland. You can also mix and match different sizes and materials for a more interesting design. Just make sure the ribbons are similar in weight, so your garland hangs evenly. You can also use ribbons with different patterns or prints for a more vibrant and fun look.
Q: Can I Use This Technique to Make Garlands for Different Occasions?
A: Absolutely! This DIY project is versatile and can be used for different occasions, events, or holidays. You can customize the colors, patterns, and materials to fit the theme or aesthetic of your event. For example, you can use pastel ribbons for a baby shower, red and green ribbons for Christmas, or black and orange ribbons for Halloween. The possibilities are endless!
Q: Is There A Limit to The Amount of Ribbons I Can Use?
A: There is no limit to the amount of ribbons you can use for your garland. However, be mindful of the weight and spacing of the ribbons to avoid causing strain on the string or sagging. You can also use different lengths and textures to create a layered effect without overcrowding the garland. It’s all about finding a balance and experimenting with what looks best to you.
Q: Can I Use This Technique to Make Garlands for Outdoor Decorations?
A: Yes, you can use this technique to make garlands for outdoor decorations. However, keep in mind that weather conditions such as wind or rain may affect the durability of the ribbons and string. It’s best to use sturdier materials such as waterproof fabric or plastic ribbons, for outdoor garlands. You can also secure the garland with stronger and more weather-resistant hanging devices such as hooks or clips.
Q: Can I Wash or Clean the Ribbon Garland?
A: Washing or cleaning a ribbon garland is not recommended, as it may cause damage or distort the shape of the ribbons. If necessary, you can gently spot-clean any visible dirt or stains with a damp cloth and mild detergent. Avoid using harsh chemicals or excessive rubbing, as it may affect the color and texture of the ribbons. It’s best to store your garland in a dry and clean place when not in use to maintain its quality. So go ahead and add some color, texture, and charm to your space with a beautiful ribbon garland. Have fun creating and customizing it to fit your style and event needs!
Conclusion
Creating a ribbon garland is not just a craft; it’s an opportunity to express creativity, add personal touches to celebrations, and spend valuable time on a fulfilling project. This guide aims to inspire and equip you with the knowledge to bring a burst of color and joy into your space, regardless of the occasion. Remember, the beauty of a DIY ribbon garland lies in its flexibility and the personal flair you bring to it. Whether it’s stringing together vibrant hues for a party or designing a subtle arrangement for everyday decor, the process itself is as rewarding as the final display.
We encourage you to take these basic steps on how to make a tied ribbon garland and tailor them to your vision. Experiment with different materials, explore various themes, and most importantly, enjoy the process of creating something unique. Your ribbon garland is more than just decoration; it’s a reflection of your imagination and craftiness brought to life.
Elizabeth Davis
Elizabeth is a creative writer and digital editor based in the United States. She has a passion for the arts and crafts, which she developed from a young age. Elizabeth has always loved experimenting with new mediums and sharing her work with others. When she started blogging, she knew that DIYquickly would be the perfect platform to share her tutorials and tips. She's been writing for the blog from the beginning, and her readers love her helpful advice and easy-to-follow instructions. When she's not writing or editing, Elizabeth enjoys spending time with her family and friends.


