How to Make a Velvet Wreath
Velvet wreaths epitomize elegance and charm, creating a luxurious touch to any home décor. Their soft texture and rich colors make them a striking addition, whether displayed on a front door or as a centerpiece in your living space. Crafting your own velvet wreath not only allows for personalization and creativity but also proves to be a cost-effective option compared to store-bought alternatives. By making your own, you can customize colors and designs to perfectly fit your style and home environment.
In this guide, we will explore how to make a velvet wreath step-by-step, covering everything from selecting materials and preparing the velvet to adding decorative elements and finishing touches, ensuring a unique and beautiful creation that reflects your personal flair. Whether you are an experienced crafter or a novice, this project will inspire your creativity and enhance your home.
Materials and Tools Needed
To create your stunning velvet wreath, you will need the following materials and tools:
Materials:
- Velvet Fabric: Choose your preferred colors and textures.
- Wreath Form: A foam or wire wreath base to wrap your velvet around.
- Floral Wire: This is used to secure floral elements and decorations.
- Hot Glue Gun: Essential for attaching velvet and decorative pieces.
- Ribbon: Used for hanging and creating embellishments.
Tools Required:
- Fabric Scissors: These are used to cut the velvet fabric accurately.
- Measuring Tape: To determine the dimensions of your fabric pieces.
- Wire Cutters: To trim floral wire as needed.
- Pins: These are for temporarily holding materials in place during assembly.
Optional Materials:
- Decorative Elements: Consider adding faux flowers, beads, or ornaments for added detail and flair.
Choosing and Preparing the Velvet
Selecting the right type of velvet is crucial for achieving your wreath’s desired look and feel. Consider the color scheme of your home decor and choose rich, complementary colors that will enhance your overall aesthetic. Additionally, pay attention to the texture; a plush, soft velvet can give your wreath a luxurious appearance, while a more structured velvet may offer a contemporary feel. Be sure to select high-quality velvet to ensure durability and longevity, particularly if the wreath will be displayed outdoors.

Once you’ve chosen your velvet, the next step is to estimate the amount needed. This will depend on the size of your wreath form; for instance, a standard 12-inch wreath typically requires 1-2 yards of fabric. It’s always better to purchase a little extra to accommodate any design alterations you wish to make during crafting.
When it comes to cutting the velvet, consider your design choice. For wrapping techniques, cutting the velvet into 2-4 inches-wide strips will allow for a smooth, even coverage. If you prefer to create floral shapes, opt for 6-inch squares, which can be folded into petal shapes for a beautiful layered effect.
How to Make a Velvet Wreath: Creating the Velvet Base
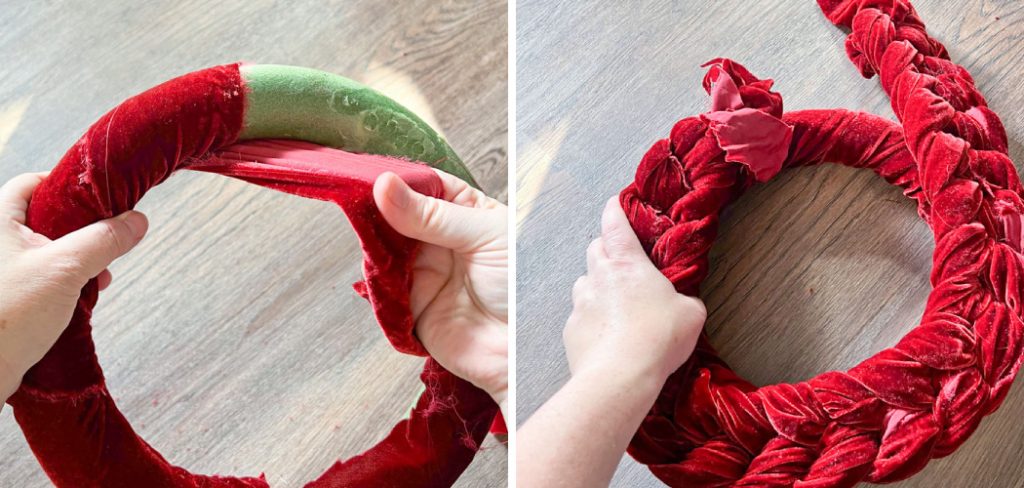
1.Wrapping the Wreath Form
Secure one end of a velvet strip to the wreath form using either hot glue or pins to start creating your velvet wreath. Make sure to press down firmly so the strip holds in place. Begin wrapping the strip tightly around the form, ensuring you overlap slightly with each turn to fully cover the surface beneath. This overlapping technique not only helps to hide the base but also gives your wreath a seamless and polished finish. Keep an even tension on the fabric as you wrap to maintain a neat look.
When you reach the end of the strip, secure it firmly using additional glue or pins to keep it in place. Continue this process, working your way around the entire wreath form until it is completely covered in luscious velvet.
2.Folding Velvet Squares
If you prefer to use velvet squares for a more textured design, begin by folding each square into a triangle followed by another fold to create a petal shape. This technique will give your leaves a more dynamic and layered appearance. With your petal shapes ready, the next step is to attach the base of each petal to the wreath form. You can use hot glue or floral wire to firmly secure them. Start arranging the petals closely, ensuring they overlap slightly, creating a lush and full look that enhances the overall design. This method adds depth and allows for creative color and texture combinations, making your wreath truly unique.
3.Combining Techniques
For a striking and original design, you might consider combining both the wrapped strips and the folded petals. By merging these techniques, you can create varied textures and visual interest in your wreath. Start by wrapping the wreath form with the velvet strips for a solid foundation, then strategically place the folded petals throughout the fabric. This method ensures that you achieve even coverage while still highlighting the beauty of the velvet and the petals.
Pay attention to balance as you work, ensuring no area appears over or under-decorated. If you encounter any gaps in the design, fill them in with additional velvet pieces or decorative elements. This thoughtful layering adds dimension and personalizes your wreath, resulting in a stunning focal piece that reflects your style.
Adding Decorative Elements
Once you have created a beautiful base for your velvet wreath, it’s time to elevate its aesthetic with a variety of decorative elements. Adding faux flowers, beads, ornaments, and ribbons can enhance the visual appeal and provide a unique touch that personalizes your creation.
Incorporating Faux Flowers
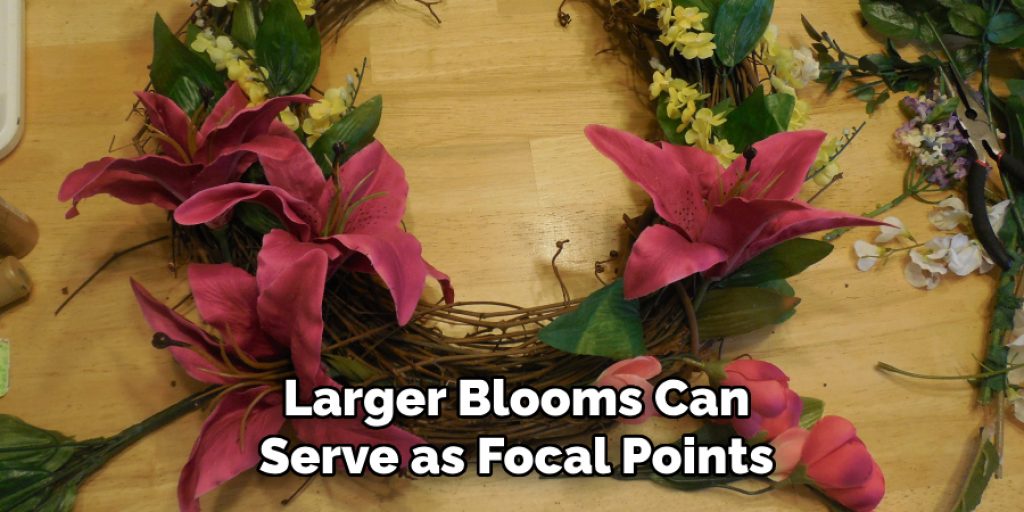
When selecting faux flowers for your wreath, choose blossoms that complement the colors of your velvet fabric. Opt for a mix of sizes and textures to create visual interest; for example, larger blooms can serve as focal points while smaller flowers fill in gaps. To attach the flowers, use floral wire for a more secure hold or a hot glue gun for a quicker application. When arranging the flowers, consider clustering them in certain areas for a bolder impact or spacing them evenly around the wreath for a harmonious look.
Don’t shy away from layering different types of foliage and flowers, as this will add depth and vitality to your design.
Adding Beads and Ornaments
To further enhance your wreath, consider incorporating beads, ornaments, or other embellishments that align with your chosen color scheme. These elements can provide a delightful shimmer and additional texture. Start by selecting ornaments that fit your overall aesthetic, whether glossy, matte, or sparkly. Secure these decorative pieces to the wreath at various points using a hot glue gun.
Distributing the decorations evenly is essential, but you may also choose to concentrate some embellishments in specific areas to create a striking focal point. This combination can transform your wreath into a truly eye-catching piece.
Using Ribbon
Ribbons are a fantastic way to add a finishing touch to your velvet wreath. Begin by tying a ribbon around the top of the wreath for hanging; select a ribbon that contrasts beautifully with your velvet for maximum impact. To elevate the design further, create a decorative bow using additional ribbon and attach it securely to the wreath. Consider letting ribbon tails or streamers cascade down for added flair, creating movement and an elegant touch. The choice of ribbon width and texture can significantly influence the overall appearance, so feel free to experiment until you achieve your ideal look.
Final Touches and Adjustments
Inspecting and Adjusting
Once your wreath is fully assembled, it’s crucial to take a step back and inspect your creation. Look for any areas that may need additional work, such as loose decorations or uneven distribution of elements. Adjust the positioning of flowers, beads, and ribbons to achieve a balanced appearance. Ensure that all components are securely attached to prevent any falling off once displayed. A well-balanced wreath looks aesthetically pleasing and highlights the effort and creativity you’ve put into your design.
Finishing the Back
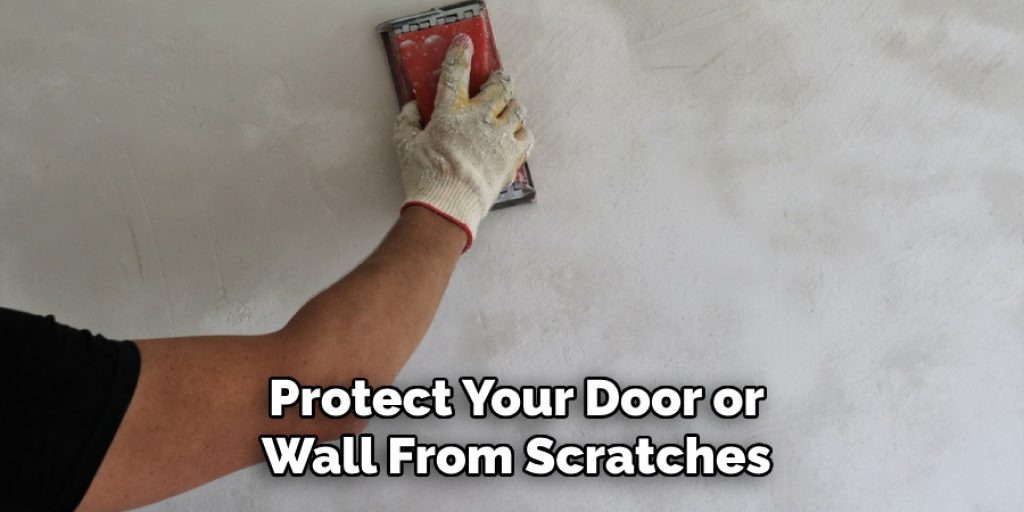
Cover the back of the wreath with felt or another fabric to ensure a neat and polished look. This protects your door or wall from scratches and provides a finished appearance. Attach a sturdy loop or hook at the top for easy hanging.
Pressing and Fluffing
Finally, gently press your wreath and fluff any velvet or decorations to ensure they sit correctly. This step is essential for creating a uniform look and enhancing the overall visual appeal. You might also consider using a lint roller to remove any loose threads or debris, ensuring your wreath looks pristine and ready to be displayed.
Display and Maintenance Tips
When hanging your velvet wreath, choose a sturdy hook or wreath hanger to ensure it remains secure. To maintain its appearance, regularly dust the wreath with a soft cloth and protect it from moisture by displaying it in a sheltered location. When not in use, store the wreath in a cool, dry place, ideally in a box or on a hanger, to preserve its shape and decorations.
In conclusion, creating a beautiful velvet wreath involves selecting the right materials, combining techniques, and incorporating decorative elements. You can personalize your wreath to reflect your style by exploring different colors and decorations. Remember these tips on how to make a velvet wreath effectively and enjoy showcasing your handmade creation throughout the seasons.
Conclusion
In summary, creating a stunning velvet wreath involves a series of thoughtful steps: wrapping the base with fabric, strategically placing faux flowers, adding beads and ornaments, and finishing with beautiful ribbons. As you explore how to make a velvet wreath, don’t hesitate to experiment with various colors and decorative elements to make it truly your own. Remember to keep your wreath clean and protected from the elements. Enjoy showcasing your handmade creation on your door or wall, celebrating the unique charm it brings to your space!
Angela Ervin
Angela is the executive editor of DIY quickly. She began her career as an interior designer before applying her strategic and creative passion to lifestyle and home. She has close to 15 years of experience in creative writing and online content strategy for housekeeping, home decorations as well as other niche efforts. She loves her job and has the privilege of working with an extraordinary team. She lives with her husband, two sons, and daughter in Petersburg. When she's not busy working she spent time with her family.