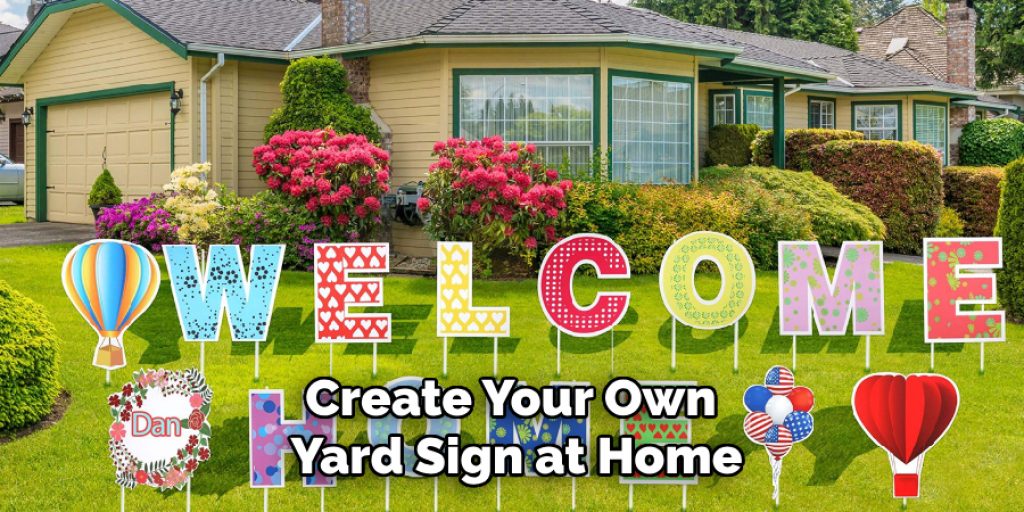
How to Make a Yard Sign at Home
Creating a yard sign at home is a fun and straightforward way to express your ideas, promote an event, or simply brighten up your outdoor space. Whether you want to celebrate a special occasion, display a message of support, or advertise a community event, designing your own sign allows you to showcase your creativity while delivering an impactful visual statement. In this guide, we will walk you through how to make a yard sign at home. Let’s get started!
Common Uses for Yard Signs
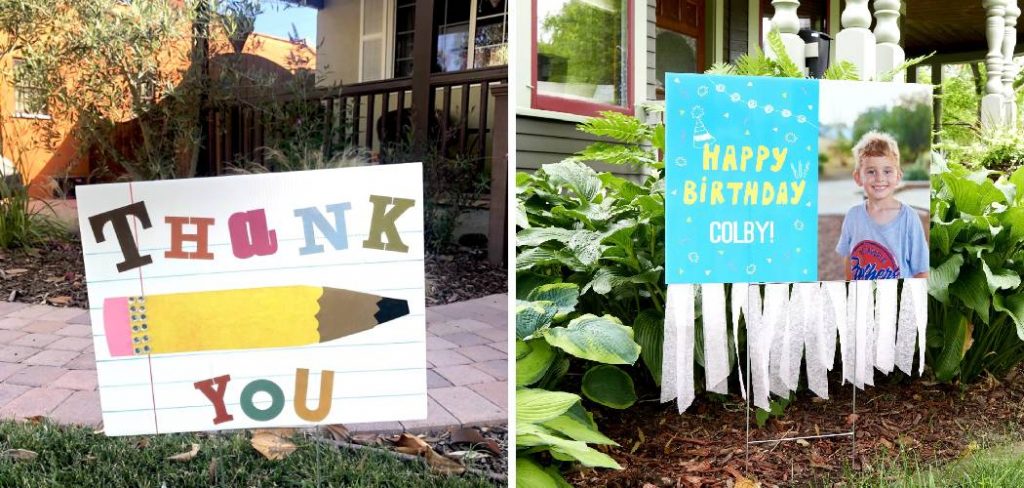
Yard signs are versatile tools that can serve various purposes in your outdoor space. One of the most popular uses is to celebrate special occasions such as birthdays, graduations, or baby showers. These signs can add a festive touch to your celebrations, allowing friends and family to share in the joy. Additionally, yard signs are frequently employed in political campaigns, allowing candidates to promote their messages and garner visibility among voters.
Another common use for yard signs is to display messages of support or solidarity for social causes. From showcasing environmental advocacy to recognizing essential workers, these signs provide a platform for raising awareness. Moreover, local businesses often use yard signs to advertise sales, events, or services, effectively reaching out to potential customers in their community. With such a wide array of applications, yard signs are an effective way to convey messages while enhancing your outdoor environment.

Materials and Tools Needed
To create your own yard sign at home, you’ll need a few essential materials and tools. Start with a sturdy signboard, which can be made from materials like corrugated plastic, foam board, or plywood, depending on your preference and budget. You’ll also need weather-resistant paint or markers for crafting your design, ensuring that your sign remains vibrant even in various weather conditions.
In addition, gathering tools such as scissors, a utility knife, and a straight edge will help you cut and trim your signboard to the desired shape and size. For installation, procuring stakes or a wooden frame is important to ensure your sign is securely displayed in your yard. Finally, consider having a measuring tape, ruler, and some adhesive (like glue or double-sided tape) on hand for precise placement and additional support. With these materials and tools, you’re ready to begin your yard sign project!
10 Methods How to Make a Yard Sign at Home
1. Using Poster Board and Markers
One of the simplest and most accessible methods for making a yard sign is using poster board and markers. Start by selecting a sturdy poster board that can withstand outdoor conditions. Choose bright, bold colors for both the board and the markers to ensure visibility from a distance. Outline your message with a pencil first, then fill it in with permanent markers to prevent smudging and fading. You can add decorative elements such as borders, illustrations, or stickers to enhance the sign’s appearance. Attach the finished poster board to a wooden stake or metal frame using staples, tape, or glue. This method is perfect for temporary signs or events like yard sales, school functions, or neighborhood announcements.
2. Creating a Wooden Yard Sign
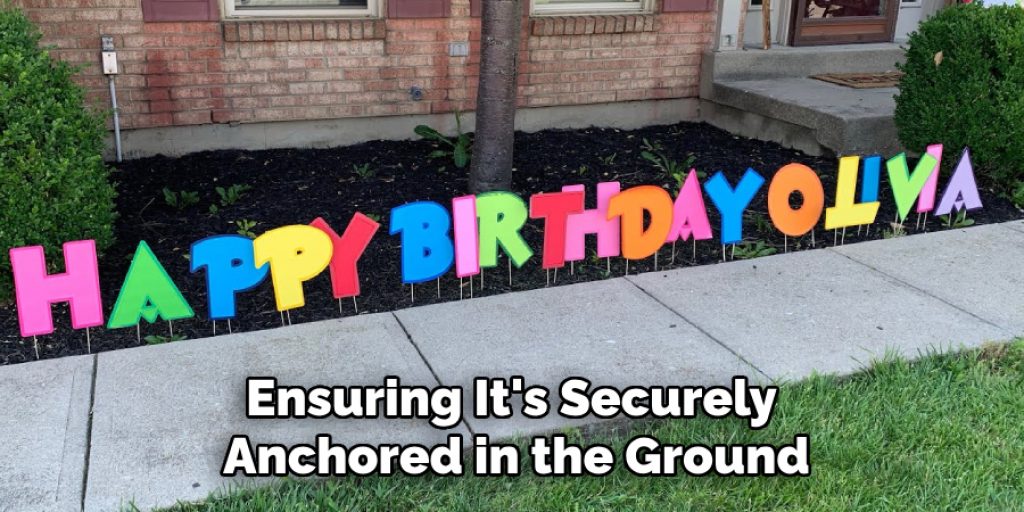
For a more durable and rustic option, consider making a wooden yard sign. Start by selecting a piece of plywood or reclaimed wood that suits the size of your sign. Sand the wood to remove any rough edges and create a smooth surface for painting. Use outdoor acrylic paint or wood stain to add a base color to the sign. Once the base coat is dry, use stencils or freehand your message with a pencil, then paint over it with contrasting colors. Seal the sign with a clear, weather-resistant finish to protect it from the elements. Attach the sign to wooden stakes or posts using screws or nails, ensuring it’s securely anchored in the ground. Wooden yard signs are perfect for long-term use, such as property markers, welcome signs, or garden labels.
3. Printing and Laminating
If you prefer a more polished look, consider designing your yard sign on a computer and printing it out. Use graphic design software to create your sign, incorporating images, text, and colors to match your theme. Print the design on heavy-duty paper or cardstock for added durability. To protect the sign from weather damage, laminate it using a home laminating machine or self-adhesive laminating sheets. Trim any excess laminate and attach the sign to a wooden stake or metal frame. This method is ideal for professional-looking signs for business promotions, event advertisements, or informational displays.
4. Repurposing Old Signs
Repurposing old signs is an eco-friendly and cost-effective way to create a new yard sign. Look for old campaign signs, real estate signs, or other sturdy signage that can be repainted or covered with new material. Sand down any existing text or graphics to create a smooth surface. Apply a fresh coat of paint or adhesive vinyl to cover the old design. Once the base is prepared, add your new message using stencils, markers, or printed graphics. Repurposed signs are a great way to recycle materials and give new life to old items, making them perfect for environmentally conscious projects.
5. Vinyl Lettering and Graphics
Vinyl lettering and graphics offer a professional and durable option for creating yard signs. Purchase adhesive vinyl sheets in the colors of your choice. Use a Cricut machine or similar cutting device to cut out letters and shapes according to your design. Alternatively, you can buy pre-cut vinyl lettering from craft stores. Apply the vinyl to a clean, smooth surface such as poster board, plastic, or wood. Ensure the vinyl is pressed down firmly to prevent peeling. Vinyl lettering is weather-resistant and can create sharp, clean lines, making it ideal for business signs, event promotions, and personalized yard decor.
6. Using Foam Board
Foam board is lightweight and easy to work with, making it a great material for yard signs. Choose a foam board in a size that suits your needs and paint or decorate it with markers, stickers, or printed graphics. Foam board is easy to cut, so you can create custom shapes and designs. To make the sign more durable, consider sealing it with a clear waterproof spray. Attach the foam board to a stake or frame using glue or double-sided tape. Foam board signs are perfect for short-term events like birthday parties, weddings, or seasonal decorations.
7. Hand-Painted Signs
For a truly unique and artistic yard sign, consider hand-painting your design. Use a sturdy surface such as wood, metal, or plastic. Choose outdoor acrylic paints for vibrant, long-lasting colors. Sketch your design lightly with a pencil before painting, ensuring your text is centered and evenly spaced. Use fine brushes for detailed work and larger brushes for filling in areas. Once the paint is dry, seal the sign with a weather-resistant finish. Hand-painted signs add a personal touch and are perfect for custom messages, garden markers, or decorative yard art.
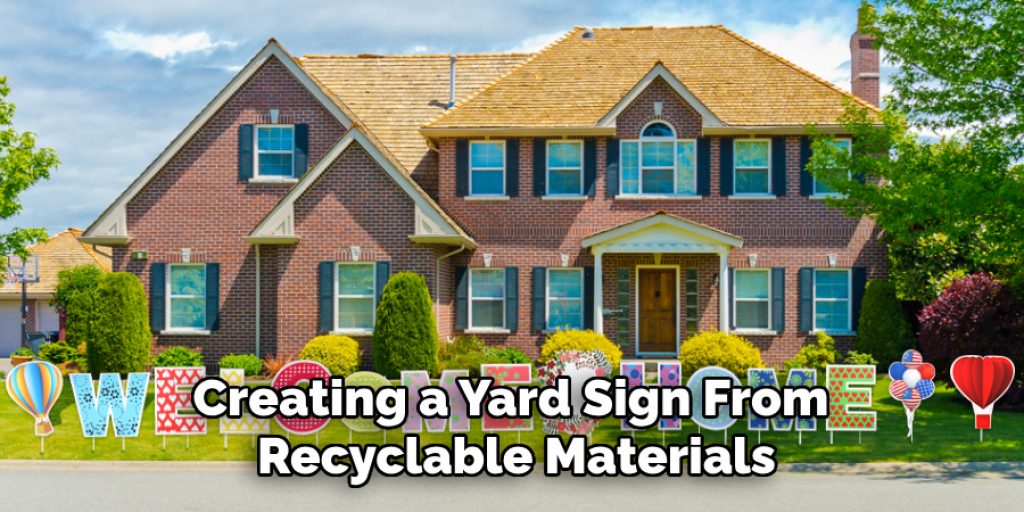
8. Using Recyclable Materials
Creating a yard sign from recyclable materials is an excellent way to promote sustainability. Gather materials such as cardboard, plastic containers, or scrap wood. Clean and prepare the materials for painting or decorating. Use non-toxic paints and markers to create your design, ensuring it’s visible and legible. Attach the sign to a stake or frame using biodegradable tape or glue. Recyclable yard signs are ideal for environmentally themed messages, community events, or educational displays about recycling and conservation.
9. Digital Printing on Coroplast
Coroplast is a corrugated plastic material that is lightweight, durable, and weather-resistant, making it ideal for outdoor signs. Design your sign using graphic design software, ensuring the resolution is high enough for printing. Many local print shops and online services offer digital printing on coroplast. Once printed, the sign can be attached to stakes or frames using zip ties or adhesive strips. This method provides a professional look with vibrant colors and sharp images, perfect for business advertising, real estate signs, or community event promotions.
10. Using Chalkboard Paint
Chalkboard paint offers a versatile and reusable option for yard signs. Apply chalkboard paint to a piece of wood, metal, or plastic surface. Once the paint is dry, use chalk or chalk markers to write your message. Chalkboard signs can be easily updated or changed by wiping off the old message and writing a new one. To make the sign more durable, apply a coat of clear sealant over the chalkboard paint. Chalkboard yard signs are perfect for frequently changing messages, such as café menus, event schedules, or seasonal greetings.
Conclusion
Creating a yard sign at home can be a fulfilling and creative project. Whether you choose to use poster board and markers for a quick and simple sign, or opt for more durable materials like wood or coroplast for a long-lasting display, each method offers unique advantages. From hand-painted designs to digital printing, and from repurposed materials to chalkboard versatility, these ten methods provide a wide range of options to suit any need or occasion. Thanks for reading, and we hope this has given you some inspiration on how to make a yard sign at home!
Elizabeth Davis
Elizabeth is a creative writer and digital editor based in the United States. She has a passion for the arts and crafts, which she developed from a young age. Elizabeth has always loved experimenting with new mediums and sharing her work with others. When she started blogging, she knew that DIYquickly would be the perfect platform to share her tutorials and tips. She's been writing for the blog from the beginning, and her readers love her helpful advice and easy-to-follow instructions. When she's not writing or editing, Elizabeth enjoys spending time with her family and friends.