How to Make an Edible Spider
Creating an edible spider can be a fun and creative culinary project, perfect for themed parties, Halloween treats, or simply to impress friends and family with your innovative cooking skills. Using simple ingredients, this guide on how to make an edible spider will walk you through the process of crafting a delightful and visually striking spider that not only looks great but also tastes delicious.
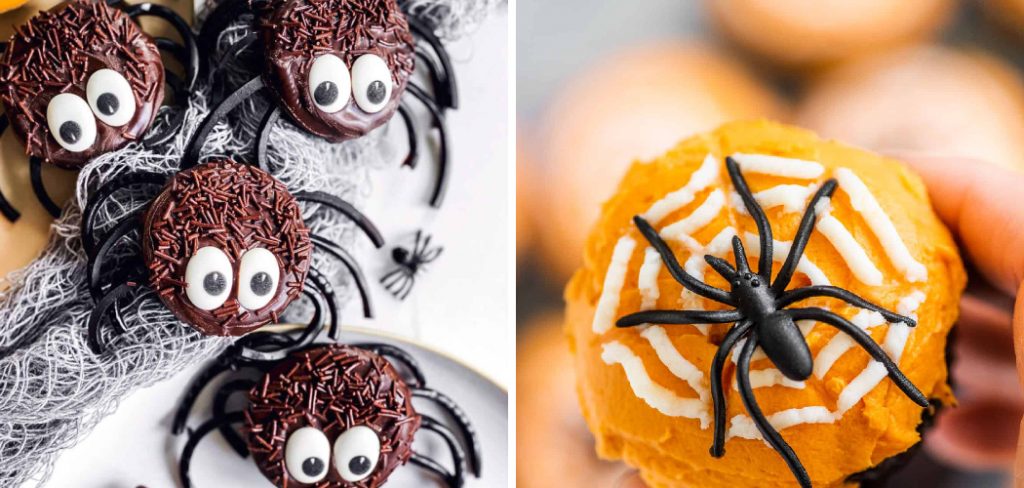
Whether you’re an experienced cook or a beginner in the kitchen, you’ll find that making an edible spider is a rewarding experience that adds a playful touch to your dessert table.
What is an Edible Spider?
An edible spider is a sweet treat made to resemble a creepy crawly spider with its eight legs and round body. It can be made using various ingredients such as cookies, pretzels, chocolate, or candy, depending on your preference. The key is to use your imagination and creativity to bring this tasty creature to life.
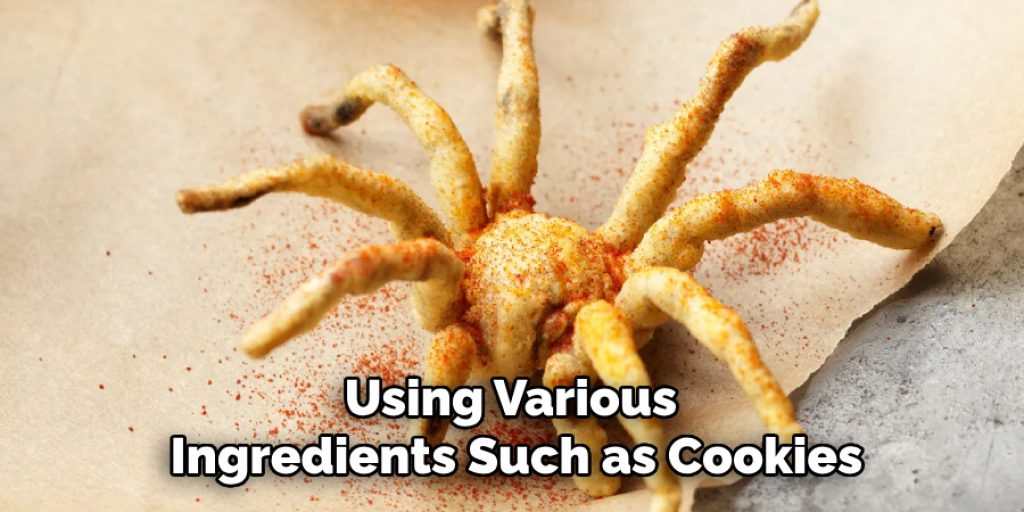
It’s a unique and fun way to add some spookiness to your desserts, making it perfect for Halloween-themed parties. But don’t limit yourself to just spooky occasions – edible spiders can also be a hit at kids’ birthday parties or even as a delightful surprise in lunch boxes.
Ingredients
To make an edible spider, you will need the following ingredients:
- Oreo Cookies (Regular Sized)
- Chocolate Chips
- Pretzel Sticks
- Red Food Coloring (Optional)
9 Step-by-step Guidelines on How to Make an Edible Spider
Step 1: Prepare Your Workspace
Before you begin crafting your edible spider, it’s essential to set up a clean and organized workspace. Clear a large area on your kitchen counter or table to provide ample room for assembling your ingredients and tools.
Gather all the necessary supplies, including the ingredients listed above, as well as additional tools like a microwave-safe bowl for melting chocolate, a baking sheet lined with parchment paper, and any utensils you’ll need, such as a knife for cutting or a spoon for scooping. Having everything within arm’s reach will make the process smoother and more enjoyable, allowing you to focus on creating your sweet spider without unnecessary interruptions.
Step 2: Melt Chocolate
Now that your workspace is prepared, it’s time to melt the chocolate. Begin by placing a handful of chocolate chips into a microwave-safe bowl. Heat the chocolate in the microwave in 10 to 15-second intervals, stirring in between each interval to ensure the chocolate melts evenly and does not burn.
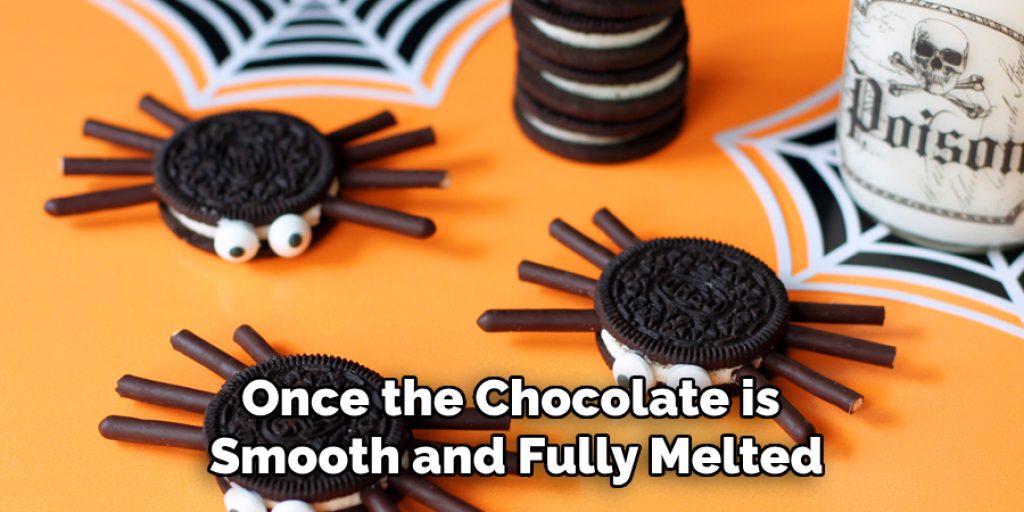
Once the chocolate is smooth and fully melted, remove it from the microwave and let it cool slightly before using it to assemble your edible spider. This melted chocolate will serve as the glue to hold your spider’s body and legs together, so be careful to achieve the right consistency for easy application.
Step 3: Separate Oreo Cookies
After your chocolate has cooled to a manageable temperature, it’s time to prepare the Oreo cookies. Carefully take each Oreo and twist them apart, ensuring that one side retains the cream filling while the other side is left without it. The cream-filled side will act as the body of your spider, while the empty side will be used to create its legs.
Set the cookie halves aside in a safe spot, ready for assembly. If desired, you can also use the empty cookie halves to create additional spiders, making this a fun project to share with friends or family.
Step 4: Create the Spider’s Body
Take one of the Oreo halves with cream filling and use a small amount of melted chocolate to attach two chocolate chips on top to create your spider’s eyes. If you want a more realistic touch, add some red food coloring to the melted chocolate before attaching it to the Oreo for bloodshot eyes.
Place your completed spider body onto the lined baking sheet and set aside.
Step 5: Cut Pretzel Sticks
Next, it’s time to prepare the spider’s legs. Take the pretzel sticks and decide how long you want each leg to be. Using a clean cutting board and a sharp knife, carefully cut the pretzel sticks into smaller segments, aiming for four legs on each side for a total of eight legs. Each leg can be around 2 to 3 inches long, but feel free to adjust the length based on your preference.
Once cut, arrange the pretzel segments on your workspace, ready to be attached to the body of your edible spider. This step adds the final touch to your creepy creation, giving it that authentic arachnid appearance.
Step 6: Attach Pretzel Legs
Now it’s time to bring together all the elements of your edible spider. Using the melted chocolate, attach four pretzel stick legs on each side of the Oreo spider body. Hold them in place for a few seconds until they are secure and won’t easily fall off when moved.
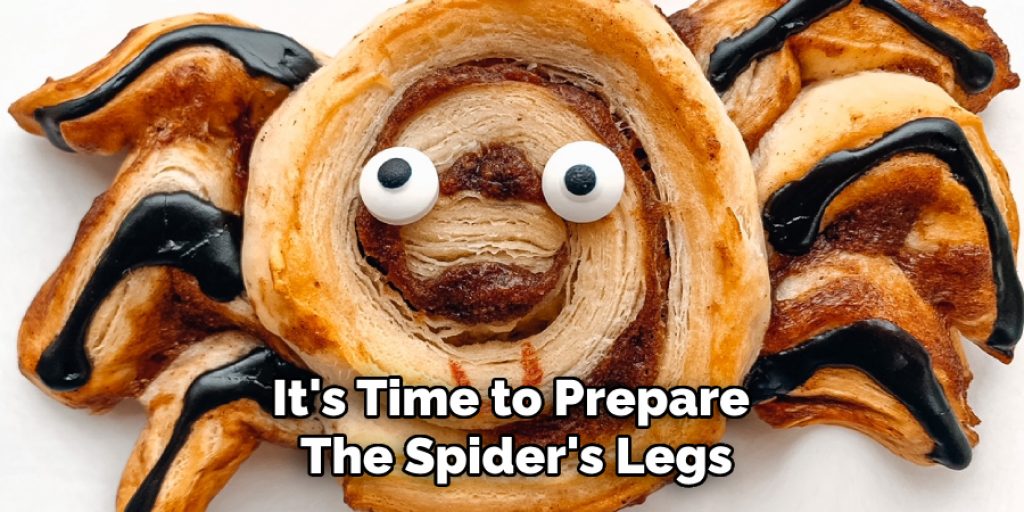
You can adjust the position and angle of the legs to give your spider some personality – whether it’s standing tall or crawling on its belly, let your creativity guide you. Repeat this process with all eight legs until your spider is complete and sturdy enough to stand on its own.
Step 7: Chill in the Fridge
Once your edible spider is fully assembled, it’s time to set it in the fridge to chill. Place the baking sheet with your completed spiders into the refrigerator and allow them to cool for about 15 to 20 minutes. This step is crucial as it helps the melted chocolate harden, ensuring that the legs stay securely attached to the body.
Chilling also enhances the overall texture of your creation, making it more enjoyable to eat. After the specified time, check that the chocolate has set properly and your edible spiders are ready for their grand reveal!
Step 8: Serve and Enjoy!
Take your edible spiders out of the fridge and carefully peel them off the parchment paper. Place them on a serving tray or plate, ready to be enjoyed by all. These sweet treats are sure to impress and delight anyone who gets to taste them!
You can also get creative with presentation – add them onto cupcakes, place them on top of ice cream sundaes, or serve as a standalone treat alongside other Halloween-themed desserts. The possibilities are endless!
Step 9: Store Any Leftovers
If you happen to have any leftover edible spiders (which is doubtful!), store them in an airtight container in the refrigerator for up to 2-3 days. This will keep them fresh and ready to be devoured whenever you have a craving for a creepy-crawly snack.
Following these simple guidelines on how to make an edible spider, you can easily create a delicious and fun Halloween treat that will surely be a hit at any party or gathering. So, gather your supplies and let your imagination run wild – it’s time to make some edible spiders! Happy crafting and have a spooky Halloween!

Additional Tips
- If you don’t have access to Oreo cookies, you can use other dark-colored cookies such as chocolate wafers or even graham crackers.
- For a more indulgent treat, you can use melted white chocolate instead of milk chocolate for the spider’s body and eyes.
- Experiment with different types of candy or icing to create unique designs for your edible spiders. You can add sprinkles, draw webs, or even create different facial expressions using melted chocolate.
- If you’re not a fan of pretzels, you can also use thin licorice sticks or small pieces of black licorice for the legs.
- Get creative with flavors by using flavored Oreo cookies, such as mint or peanut butter, to make your spiders even tastier.
- To add an extra spooky touch, you can sprinkle crushed Oreos over the melted chocolate before it sets, giving your spiders a fuzzy texture.
- Don’t limit yourself to just spiders – use this same technique and recipe to create other creepy-crawly creatures like ants or beetles for a variety of Halloween treats. Let your imagination run wild!
- For an added challenge, try making larger edible spiders by using double-stuffed Oreo cookies and longer pretzel sticks. This is perfect for those wanting a bigger and more impressive centerpiece for their Halloween party. Just make sure to double the amount of chocolate and candy needed!
Conclusion
Creating edible spiders is not just a fun activity; it’s a delightful way to engage friends and family in the spirit of Halloween. With just a few simple ingredients, you can craft an impressive treat that will captivate both kids and adults alike.
Whether you’re hosting a Halloween party, participating in a school event, or simply looking for a creative way to celebrate the season, these tasty creations provide an opportunity for shared laughter and enjoyment.
Embrace your creativity, experiment with flavors and designs, and make lasting memories as you bring your spooky spider treats to life. Thanks for reading this article on how to make an edible spider.


