How to Make an Origami Bag
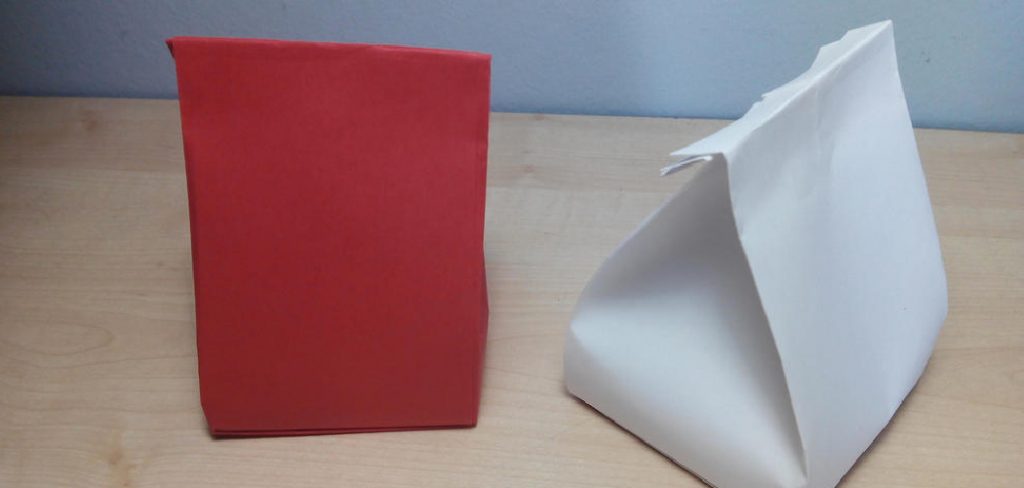
Origami, the ancient Japanese art of paper folding, has captivated enthusiasts around the world with its creativity and precision. One of the most practical and delightful projects you can undertake in origami is creating a bag. Not only does this craft allow you to explore intricate folding techniques, but it also results in a functional item that can be used for storing small belongings or as a unique gift.

In this guide on how to make an origami bag, we’ll walk you through the steps to make a stylish and sturdy origami bag, equipping you with the skills to impress friends and family with your newfound talent. Whether you’re a beginner or a seasoned folder, this project promises to be both enjoyable and rewarding.
Why Make an Origami Bag?
Aside from the satisfaction of creating something beautiful with your own hands, making an origami bag has numerous benefits. First and foremost, it’s a sustainable way to reduce waste as you can reuse paper materials such as old wrapping paper or magazines. Furthermore, origami bags are lightweight and portable, making them perfect for carrying small items like keys, coins, makeup or snacks.
Another advantage of origami bags is that they are customizable – you can choose your desired size, color and design based on your personal preference. Moreover, these bags can make a great addition to your home decor or act as unique gift packaging for special occasions.
Materials You’ll Need
To get started, gather the following items:
- A Square Sheet of Paper (Ideally 12 X 12 Inches or Larger)
- Scissors
- Ruler
- Pencil
- Optional: Glue or Tape for Reinforcement
7 Step-by-step Instructions on How to Make an Origami Bag
Step 1: Prepare Your Paper
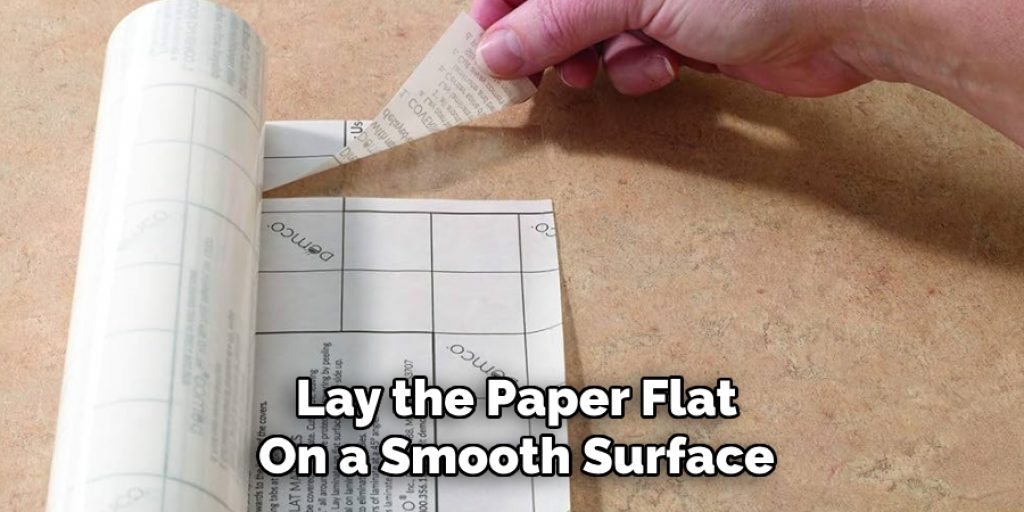
Begin by selecting a square sheet of paper that is ideally 12 x 12 inches or larger for optimal results. If you’re reusing materials, ensure the paper is clean and free from any excessive wrinkles or creases. Lay the paper flat on a smooth surface, with the patterned side facing down if you’re using decorative paper.

Use a ruler and pencil to lightly mark the centre of the paper, as this will be an essential reference point for the folds to follow. Once you’ve prepared your paper, you’re ready to start crafting your origami bag!
Step 2: Fold the Paper in Half
Fold the paper diagonally, bringing two opposite corners together to form a triangle. Ensure that the edges are aligned accurately and smooth out any air bubbles or wrinkles. Gently press down along the folded edge to create a sharp crease.
Note: If you’re using glue or tape for reinforcement, now is the time to apply it along the side of the fold, making sure not to get any on the patterned side.
Step 3: Create a Small Triangle at the Top
With your paper still folded into a triangle from Step 2, take the top corner of the triangle and fold it down towards the base. The top flap should overlap slightly with the bottom edge of the triangle, forming a small triangle that sits at the top. This fold helps to shape the opening of the bag and gives it a more defined look.
Be sure to align the edges neatly and press down firmly to create a crisp crease. Once this step is complete, unfold the top triangle flap back up to its original position before proceeding to the next step.
Step 4: Fold the Corners
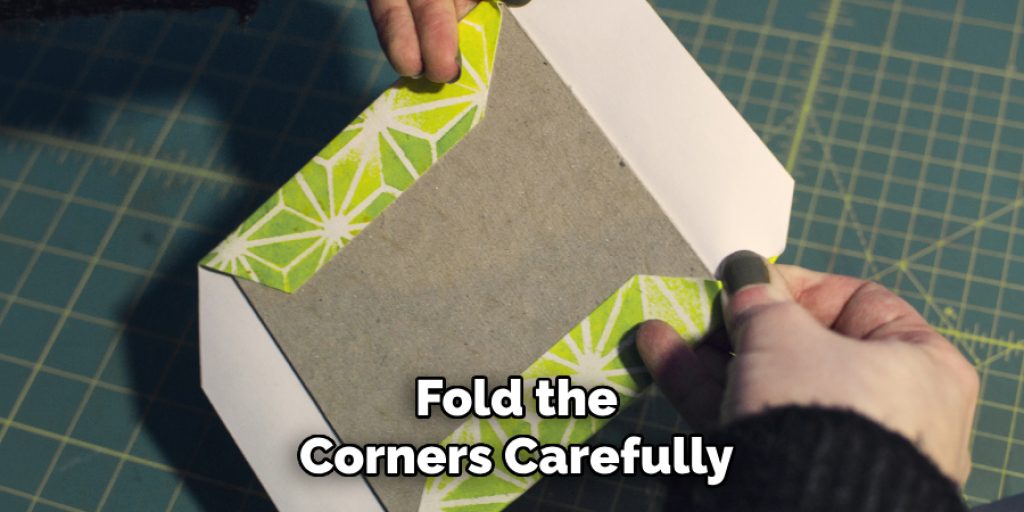
Fold the two top corners of your triangle down towards the base, perpendicular to the central fold line. The diagonal edges should meet at the center where you made your initial pencil mark. Ensure that both sides are symmetrical and even with each other. Your paper should now resemble a kite-like shape.
It’s essential to fold these corners carefully as this step sets the base for the final shape of your bag. Once you’re satisfied with the alignment, press down firmly along the folded edges.

Step 5: Fold in Half Horizontally
Take one half of your paper and fold it towards the opposite side horizontally, lining up the edges precisely. You should see a small triangle form at the top where you made your first set of folds in Step 4.
Again, make sure to create a sharp crease by pressing down along the folded edge firmly. This step will result in a rectangular-shaped piece with two triangular flaps sitting on top.
Step 6: Fold the Bottom Edges
Flip your paper over so the patterned side is now facing up. Take the bottom edge of your rectangular piece and fold it upwards towards the top. The edges should align with the creases made by folding in half horizontally in Step 5.
This step may require more precision as you’ll have to ensure that both sides are folded evenly and symmetrical with each other. Once you’re satisfied with the result, press down firmly along the folded edge for a sharp crease.
Step 7: Create Handles and Finish!
To create handles for your bag, take one of the triangular flaps at the top of your rectangular piece and fold it down towards the bottom edge, making sure to leave enough space in the middle for your hand. Repeat this step on the other side.
Once you’ve created handles, your origami bag is complete! You can use it as is or customize it by adding decorations like stickers, ribbons or drawings.
Do You Need to Get Help From a Professional?
While making an origami bag can be a fun and fulfilling project, there are times when seeking professional help may be beneficial. If you find yourself struggling with folding techniques or if you want to create a more complex design, professional origami artists or workshops can provide valuable insights and guidance.

They can offer tips to refine your skills, introduce advanced techniques, and inspire creativity in your projects. Additionally, if you’re planning to use origami bags for special events or business purposes, collaborating with a professional can ensure that the final product meets high standards of craftsmanship and aesthetic appeal. Ultimately on how to make an origami bag, the decision to seek help depends on your comfort level with the craft and the specific outcomes you desire.
How Much Could It Cost?
Creating your own origami bags can be a cost-effective hobby, especially if you already have some of the materials at home. If you need to purchase supplies, here’s a rough estimate of potential costs:
Square Sheets of Paper:
A pack of decorative origami paper can range from $5 to $20, depending on quality and quantity.
Glue or Tape:
An adhesive can cost around $2 to $5.
Ruler and Scissors:
If you don’t already own these tools, expect to spend about $5 to $15 total for both.
In total, you could be looking at an initial investment of about $12 to $40, with additional costs depending on whether you choose to buy more intricate paper or tools in the future. However, once you have your supplies, each origami bag you create would essentially cost just the price of the paper used, making it an affordable crafting option!
Frequently Asked Questions
Q: Can I Make an Origami Bag With Any Type of Paper?
A: While you can use various types of paper, it’s best to use a square sheet of paper with a thickness that allows for easy folding without tearing. You can also experiment with different sizes and patterns to create unique designs.
Q: Is Origami a Difficult Craft?
A: Like any craft, origami requires patience and practice to master. Some designs may be more complicated than others, but with clear instructions and consistent practice, you can improve your skills over time. Don’t be discouraged if you don’t get it right on your first try – keep practicing!
Q: Can I Use Glue or Tape for Reinforcement?
A: Yes, glue or tape can help reinforce the folds of your origami bag. However, keep in mind that these materials are not traditionally used in origami and may affect the overall aesthetic of your project. Use them sparingly and discreetly, if necessary.
Q: What Can I Use My Origami Bag For?
A: Origami bags can serve a variety of purposes, such as gift wrapping, storage for small items like jewelry or stationery, or even as party favors or decorations. You can also use them for practical purposes like carrying lightweight items or groceries.

Q: How Can I Customize My Origami Bag?
A: You can personalize your origami bag by adding decorations like stickers, ribbons, or drawings. You can also use different types of paper to create unique patterns and designs. Get creative and make it your own!
Conclusion
Congratulations! You have successfully made an origami bag with just a few simple folds and materials. The best part about this project is that you can continue experimenting with different paper sizes and designs to create unique and practical bags of various shapes and sizes.
Remember to have fun while folding and feel free to share your creations with others. Have fun creating your own stylish origami bags! Thanks for reading this article on how to make an origami bag.


