How to Make Chunky Yarn
The chunky yarn has gained immense popularity among crafters and knitters alike for its versatility and ease of use. This type of yarn is thicker than standard yarns, making it ideal for quick projects such as blankets, scarves, and home decor.
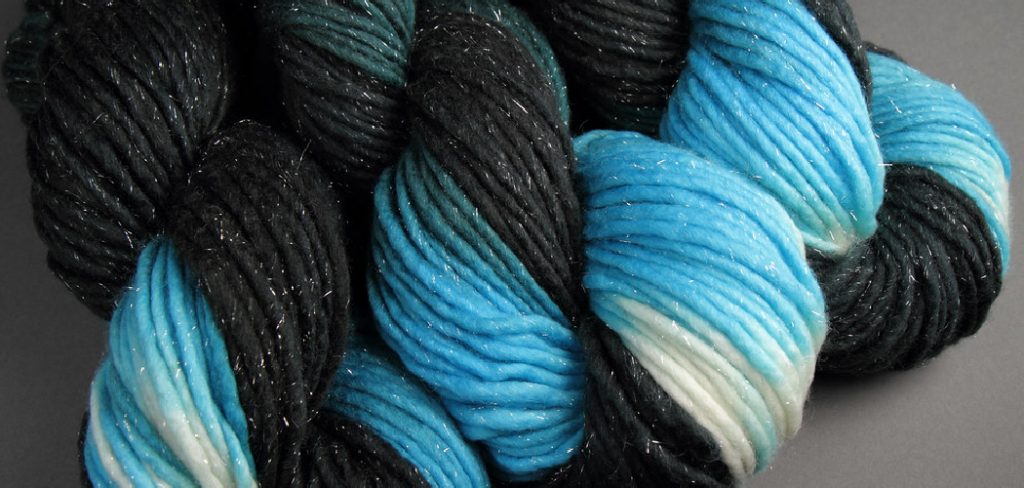
Its unique texture not only adds depth to your creations but also allows for a satisfying crafting experience, whether you’re a beginner or a seasoned expert.
In this guide on how to make chunky yarn, we’ll explore the steps involved in making your own chunky yarn and the various techniques to incorporate it into your projects.
Why Make Your Own Chunky Yarn
While you can easily purchase chunky yarn from craft stores, making your own allows for a more personalized and eco-friendly approach to crafting. By using scraps of fabric or old clothing, you can create unique and on-trend color combinations for your yarn. It also reduces waste and gives new life to materials that would otherwise end up in landfills.
Moreover, making your own chunky yarn is cost-effective, as you can use inexpensive materials such as cotton fabric or t-shirts. This makes it a great option for budget-friendly crafting or if you want to experiment with different colors and textures without breaking the bank.
Materials Needed
To make chunky yarn, you’ll need the following materials:
- Fabric Scraps or Old Clothing
- Scissors
- Ruler or Measuring Tape
- Rotary Cutter (Optional but Recommended)
- Cutting Mat (Optional but Recommended)
8 Step-by-step Guidelines on How to Make Chunky Yarn
Step 1: Prepare Your Fabric Strips
Begin by selecting your fabric scraps or old clothing. Aim for materials that are sturdy and can withstand being cut into strips, such as cotton or denim. Once you have your chosen fabrics, lay them flat on a cutting mat to ensure clean, straight cuts. Using your ruler or measuring tape, decide on the width of your fabric strips—typically, strips should be about 1 to 2 inches wide for optimal chunkiness.
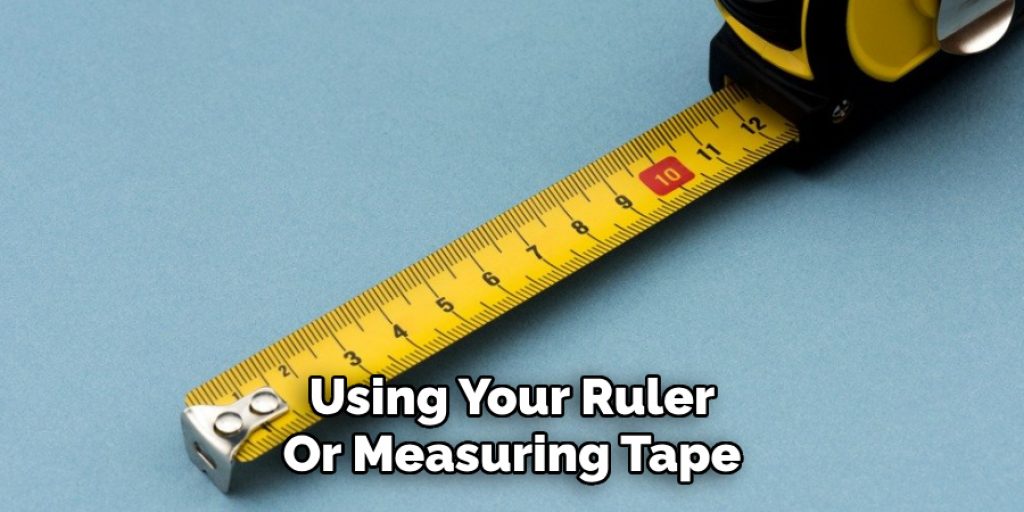
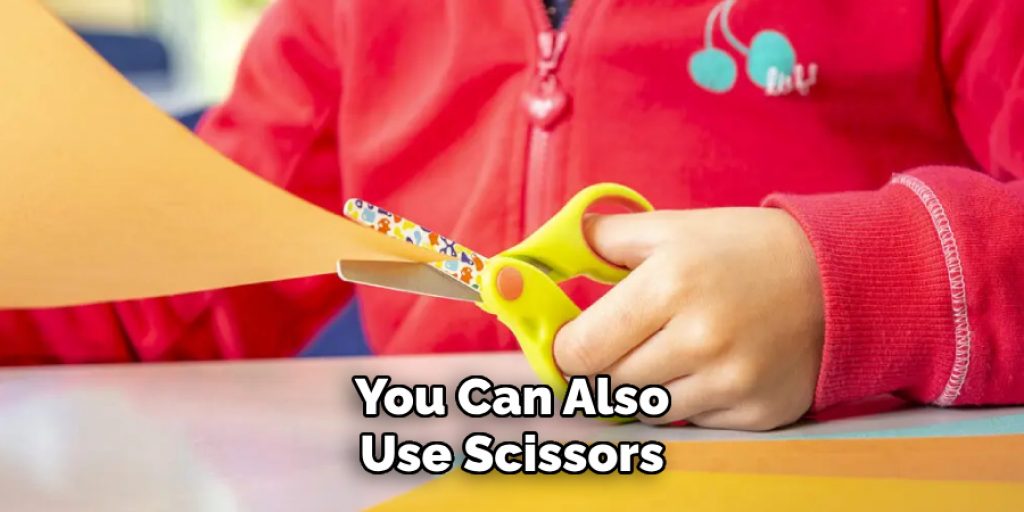
Carefully use your rotary cutter or scissors to cut the fabric into strips, making sure each piece is uniform in width for consistent results. Collect all your fabric strips in a pile, and you’re ready to move on to the next step!
Step 2: Stretch Your Strips
To achieve the desired chunky texture, you’ll need to stretch out your fabric strips. Grab one strip at a time and pull on both ends until it reaches its maximum length. Repeat this for all your strips.
For added variety in your chunky yarn, you can also experiment with different stretching techniques, such as twisting or braiding the strips before pulling them. This will create unique textures and patterns within your yarn.
Step 3: Join Your Strips Together
Now that all your fabric strips are stretched, it’s time to join them together to form one long, continuous strand of chunky yarn. To do this, lay two strips next to each other, slightly overlapping at the ends. Use a simple knot or braid to secure them together, then continue adding strips until you’ve reached your desired length.
It’s best to join your strips as you go rather than waiting until the end, as this will ensure a more even and seamless yarn. You can also vary the joining techniques, such as using a slip knot or sewing the ends together, to create different textures in your chunky yarn.
Step 4: Roll Your Yarn
With all your fabric strips joined together, it’s time to roll them into a ball. This will prevent tangles and make it easier to work with while knitting or crocheting.
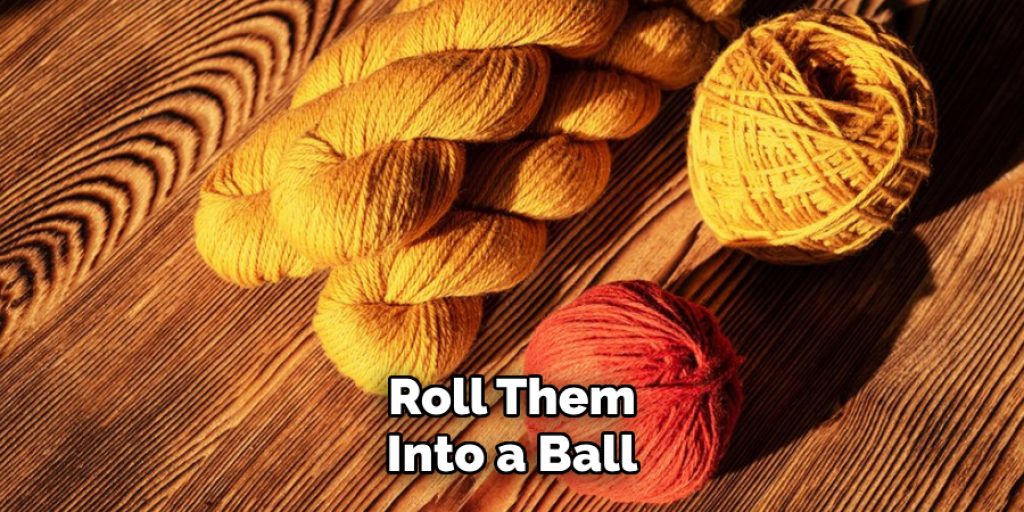
Simply start at one end of your yarn and begin rolling it into a ball shape, tucking in any loose ends along the way. You can also use a yarn winder for quicker and more precise results.
Step 5: Use Your Chunky Yarn
Now that you’ve created your chunky yarn, it’s time to put it to good use! Whether you’re knitting, crocheting, or weaving, this yarn can add a delightful texture to your projects. If you’re knitting, consider using larger needles to accommodate the thickness of your yarn, which will help maintain that soft, plush feel.
For crocheting, opt for larger hooks as well, allowing for easy movement and an airy stitch definition. Before starting, test a small swatch to gauge your tension and adjust your patterns accordingly. In addition to traditional techniques, you can employ your chunky yarn for unique projects such as macramé wall hangings, oversized bags, or cozy home décor items like cushions and blankets. Let your creativity flow, and enjoy the crafting experience with your homemade chunky yarn!
Step 6: Care for Your Chunky Yarn
When caring for your chunky yarn, it’s important to follow the care instructions of the fabric or clothing used. If your yarn is made from cotton, you can machine wash and dry it without any worry. However, if you’ve repurposed wool or silk fabrics, hand washing and air-drying are recommended to prevent felting or shrinkage.
If you’ve incorporated different materials into your yarn, such as a mix of cotton and wool strips, be sure to follow the instructions that pertain to the most delicate material.
Step 7: Experiment with Dyeing
One of the benefits of making your own chunky yarn is the ability to customize its color. You can use natural dyes, such as avocado pits or onion skins, for a more sustainable and eco-friendly approach. Alternatively, you can use store-bought fabric dye in your desired shades.
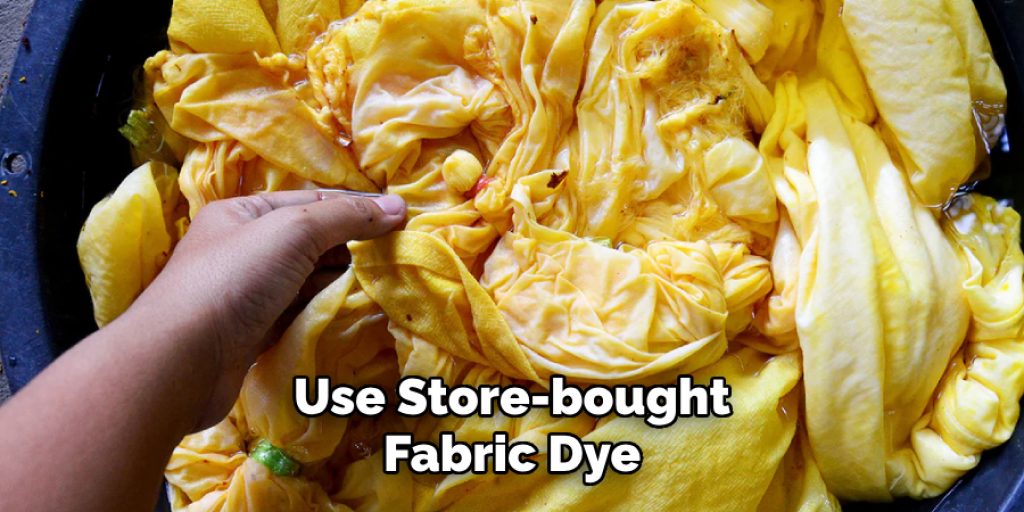
To dye your yarn, prepare a pot of boiling water with the dye solution according to the instructions on the package. Add your yarn and let it simmer for about 30 minutes before rinsing and drying it. This will give your chunky yarn a beautiful and unique color that you won’t find in store-bought options.
Step 8: Share Your Creations
Lastly, don’t forget to share your creations using homemade chunky yarn with friends and family! Not only is it a great conversation starter, but it also promotes sustainable crafting practices and encourages others to get creative with repurposing materials. You can even share your process of making chunky yarn, inspiring others to try it out for themselves.
In addition to sharing in person, you can also showcase your projects on social media platforms or craft forums where like-minded individuals gather.
Who knows, you may even inspire someone else to make their own chunky yarn and create something amazing with it.
Following these eight simple steps on how to make chunky yarn, you can now confidently make chunky yarn and take your crafting skills to the next level. Happy making!
Frequently Asked Questions
Q: Can I Use Any Fabric to Make Chunky Yarn?
A: While you can technically use any fabric, it’s recommended to choose sturdier materials like cotton or denim that can withstand being cut into strips and stretched without tearing. It’s also important to consider the weight and thickness of the fabric, as it will affect the final texture of your yarn.
Q: Do I Need Any Special Tools or Equipment to Make Chunky Yarn?
A: There are a few tools that can make the process easier, such as a rotary cutter and ruler for precise cutting, a yarn winder for rolling your yarn into a ball, and large needles or hooks for knitting or crocheting. However, you can also use scissors, measuring tape, and your hands to complete each step.
Q: How Thick Will My Chunky Yarn Be?
A: The thickness of your chunky yarn will depend on the width of your fabric strips and how tightly you stretch them. Generally, it will be thicker than traditional yarn, making it perfect for creating bulky and cozy knits. However, you can adjust the thickness by varying the width and stretching techniques of your fabric strips.
Q: Can I Use This Method to Make Thinner Yarn?
A: Yes, if you want a thinner yarn, you can use narrower fabric strips or stretch them less to achieve a smaller diameter. Keep in mind that this may affect the overall texture and weight of your yarn as well. Experiment with different widths and stretching techniques to find the perfect thickness for your project. It’s all about personal preference! Thus, the possibilities are endless when it comes to creating and using chunky yarn. Have fun exploring different materials, colors, and techniques to make unique and beautiful projects. Happy crafting!
Conclusion
Creating your own chunky yarn is not only a rewarding process, but it also opens up numerous possibilities for your crafting projects. By following the steps on how to make chunky yarn outlined above, you can turn repurposed fabric into beautiful, textured yarn that adds a unique touch to your knitting, crocheting, or weaving endeavors.
Embrace the chance to experiment with different colors, materials, and techniques—each creation will be a reflection of your personal style and creativity. Remember to share your journey and finished projects with others, as you may inspire them to explore this fulfilling craft too. Happy crafting!


