
How to Make Faux Roman Shade
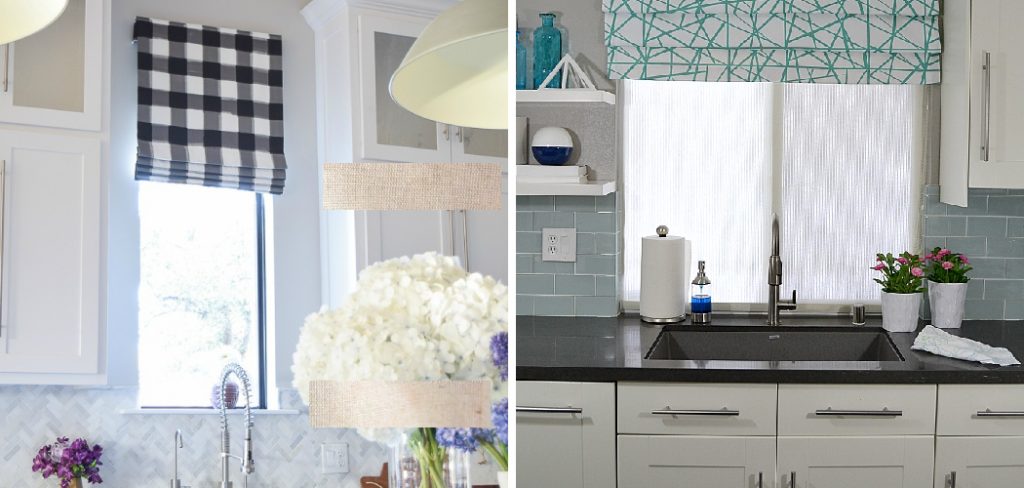
Faux Roman shades are a versatile window treatment that adds a touch of elegance and style to any room. Unlike traditional Roman shades, which can be costly and require extensive maintenance, faux Roman shades provide an affordable and low-maintenance alternative that does not sacrifice aesthetic appeal.
With a variety of fabrics and patterns available, these shades can be customized to seamlessly blend with your existing decor or to make a bold statement. This article aims to guide you through the process of creating your own faux Roman shades, detailing the materials needed, as well as the steps involved. By the end, you’ll be equipped with the knowledge on how to make faux Roman shade that perfectly suits your home while enhancing its overall atmosphere.
Materials and Tools Needed
To create your faux Roman shades, you will need the following materials:
- Fabric: Choose a type of fabric that suits your style, such as cotton, linen, or polyester. The amount needed will depend on your window dimensions.
- Lining Fabric: A coordinating or contrasting lining fabric enhances opacity and gives a finished look.
- Dowel Rods: These will provide structure to your shade, so opt for the appropriate length based on your window size.
- Curtain Rod: A sturdy curtain rod to hang your finished shade.
- Ribbon or Fabric Strips: For creating loops or ties to secure the shade.
Tools Required
- Sewing Machine: Essential for stitching the fabric and lining together.
- Scissors: For cutting fabric and other materials.
- Measuring Tape: Accurate measurements are crucial for a perfect fit.
- Iron: To press seams and fabric for a professional finish.
- Pins: To hold the fabric in place while sewing.
Optional Embellishments
- Trim: Decorative trim can add a finishing touch to the shade.
- Decorative Buttons: These can be incorporated to add personality and flair.
Choosing the Right Fabric
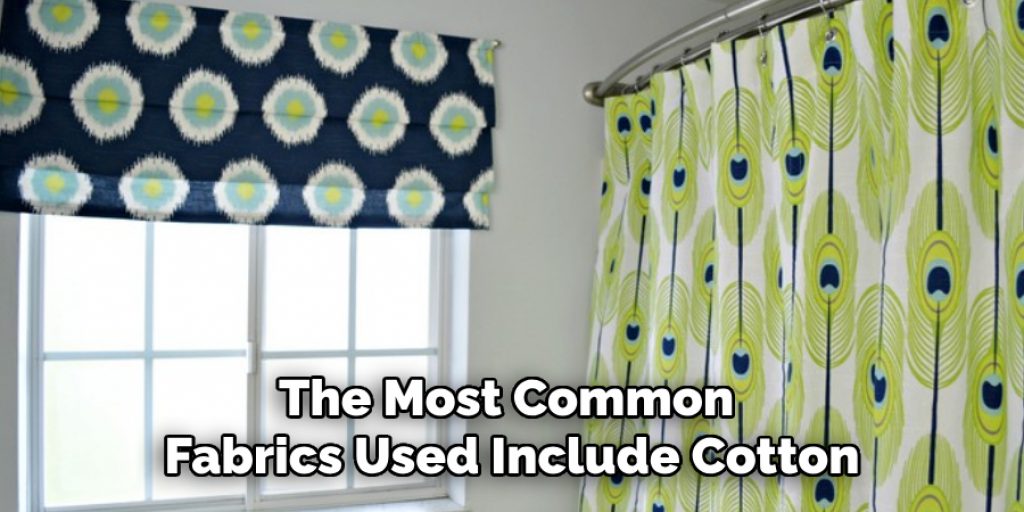
Selecting the appropriate fabric is essential for creating faux Roman shades that are both functional and aesthetically pleasing. The most common fabrics used include cotton, linen, and polyester. Cotton offers breathability and a wide range of colors and patterns, making it a popular choice for casual settings. Linen provides a luxurious texture and natural look, ideal for more formal spaces, but requires more care due to its tendency to wrinkle. Polyester is a durable and low-maintenance option that resists fading, making it suitable for rooms with high sun exposure.
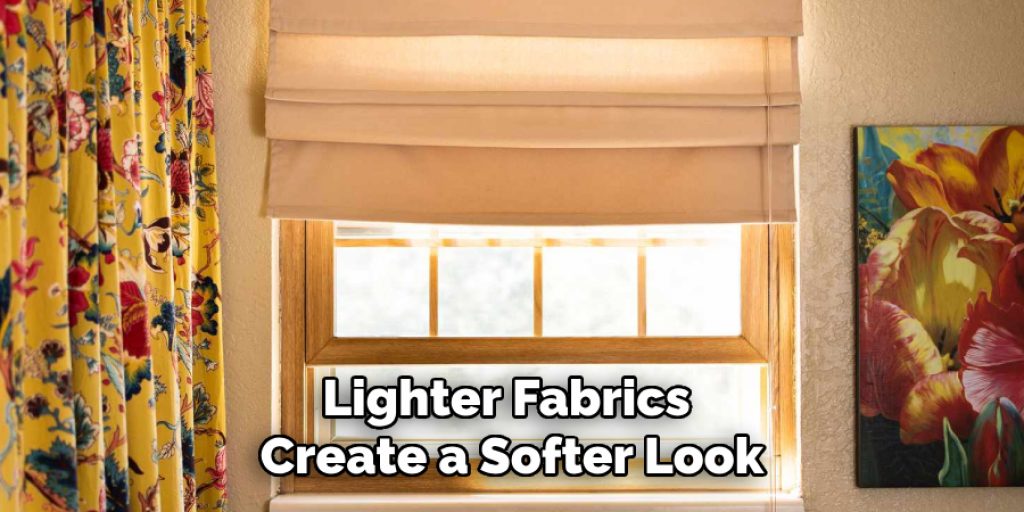
When choosing fabric, consider the weight; lighter fabrics create a softer look but may not provide enough structure, while heavier fabrics offer more support and can block light effectively. The pattern is also crucial; bold patterns can add drama, whereas subtle designs may complement your existing decor without overwhelming it. Colour selection should align with your room’s palette; neutral tones offer versatility, while vibrant hues or unique patterns can serve as focal points. Ultimately, your fabric choice should balance style, functionality, and how well it integrates with your overall home decor.
Measuring and Cutting the Fabric
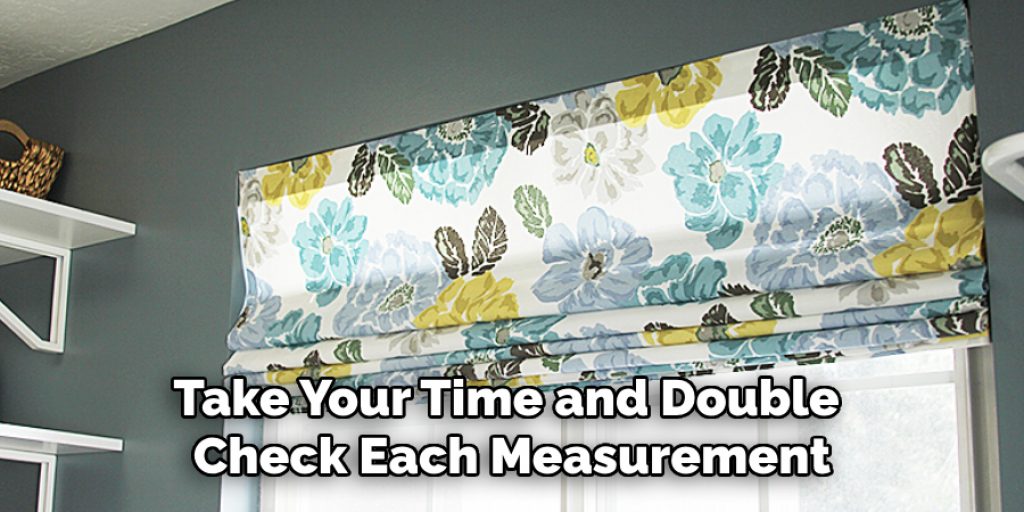
Accurate measurement is crucial when creating faux Roman shades, as it ensures a perfect fit for your window. Begin by measuring the width and height of the window frame from the top to the bottom and from side to side. It’s essential to perform this step several times to confirm your measurements are consistent. Once you have your dimensions, add an extra few inches to the width for seam allowances—typically, an additional 1 to 2 inches on each side—and about 4 to 5 inches for the bottom hem, depending on your desired look.
Next, transfer these measurements onto your main and lining fabrics. Mark the cut lines with a fabric pen or chalk for better visibility. Once marked, carefully cut both the main and lining, ensuring they are the same size. As you cut, maintain a steady hand and use sharp fabric scissors to achieve clean edges. This will help avoid fraying and give your shade a polished appearance.
To prevent mistakes, take your time and double-check each measurement before cutting. If you’re new to sewing or working with fabric, consider cutting one piece at a time instead of both the main fabric and lining at once. This approach will minimize errors and ensure accuracy in your dimensions. Finally, be mindful of fabric grain—cutting along the grain will help maintain the integrity and drape of your shades.
How to Make Faux Roman Shade: Assembling the Shade
Sewing the Main Fabric and Lining
Once you have cut your main fabric and lining to size, it’s time to assemble the shade. Begin by placing the main fabric and lining the fabric’s right sides together, ensuring the pattern or design correctly aligns. This is crucial for achieving a polished look. Next, use pins to secure the layers in place, starting from one edge and working your way around. Sew along the edges, leaving a gap of about 4 to 6 inches at the bottom or side to allow for turning the fabric right side out. Be sure to backstitch at the beginning and end of your seams for added durability. After sewing, carefully trim excess fabric from the corners to reduce bulk, which will help create crisp edges when turned. Now, turn the fabric right side out through the opening you left, using a pencil or chopstick to gently push out the corners. Once fully turned, press the seams flat with an iron to ensure a smooth finish.
Creating the Faux Folds
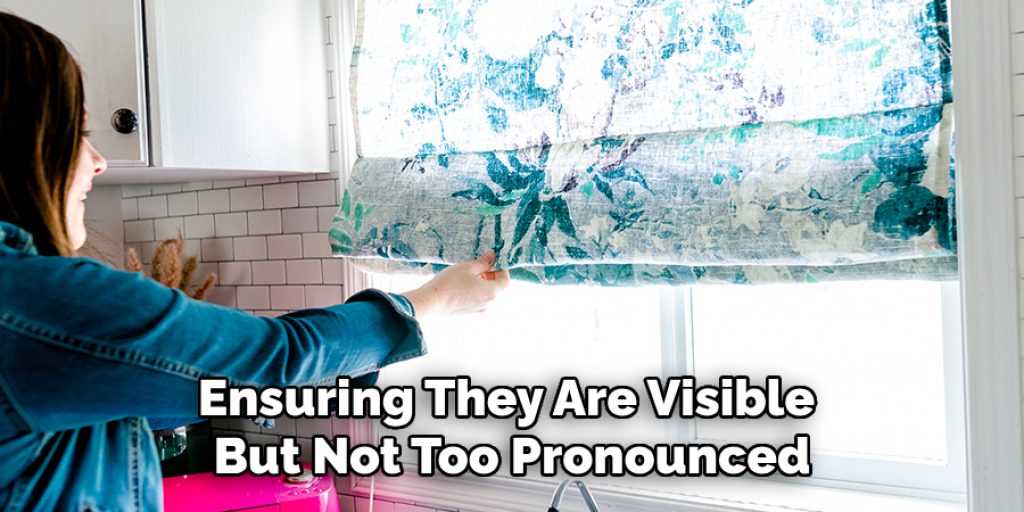
To add depth and dimension to your faux Roman shade, you’ll need to create the illusion of folds. Start by marking where you want your fold lines on the fabric using a fabric pen or chalk. These lines should be spaced evenly to create a balanced look. Pin the fabric along these marked lines to keep it in place, ensuring everything remains aligned. Next, sew small tucks along each fold line, ideally between 1 and 2 inches apart, depending on the desired look. Use a straight stitch to reinforce these small tucks, ensuring they are visible but not too pronounced. The goal is to mimic the classic folds of traditional Roman shades while maintaining a clean and modern aesthetic. Once finished, give the fabric a final press to set the folds, and your faux Roman shade will be ready to hang!
Attaching the Dowel Rods and Ribbon
Once your faux Roman shade is assembled, it’s time to insert the dowel rods, which help provide structure and ensure your shade hangs neatly. To begin, cut two dowel rods to the same width as your shade. You will create sewn pockets to house the rods, allowing for a streamlined look. For this purpose, fold over the top edge of your shade fabric about 1 to 2 inches, depending on the thickness of the dowel rod. Pin the fold in place and sew along the edge, leaving a small gap for the rod to slide through. Ensure the pocket is wide enough to accommodate the rod without being too loose.
Once the dowel rods are inserted into the pockets, secure them by sewing a few stitches through the fabric above the rod or using fabric glue to hold everything in place. This step will prevent the rods from shifting and maintain the shade’s desired shape.
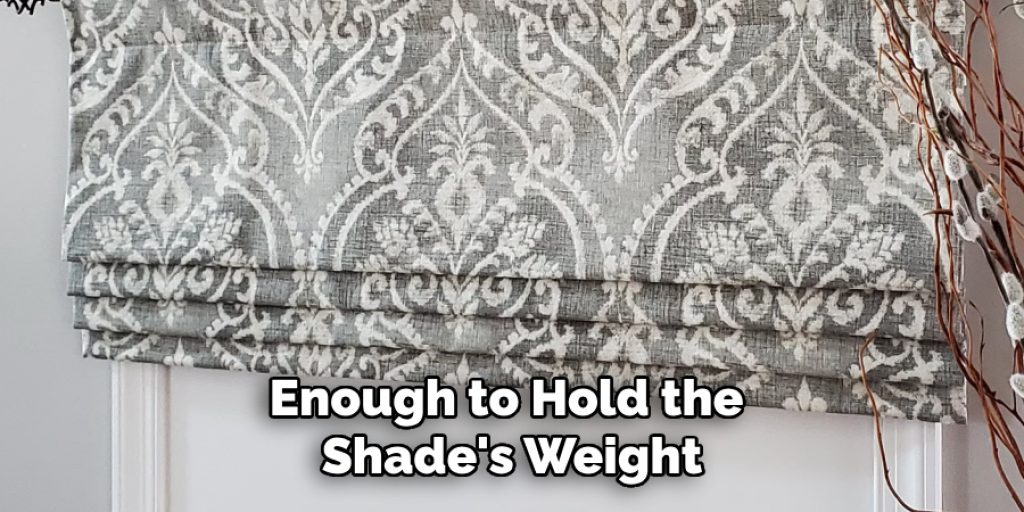
Next, to facilitate hanging, attach ribbon or fabric strips to the back of the shade. Cut two strips about 20 inches long, or adjust them based on your preference for hanging length. Position the ribbons evenly on either side of the shade’s top edge, approximately 1 to 2 inches from the outer edges. Sew or glue the ribbons in place, ensuring they are secure enough to hold the shade’s weight.
To create loops or ties, consider the length of your ribbon and how you intend to hang your shade. These loops can simply be tied around a curtain rod or secured to wall hooks. This finishing touch enhances the functionality of your faux Roman shade and adds a decorative element, blending seamlessly with your home decor.
Mounting the Faux Roman Shade
Once your faux Roman shade is fully assembled and the dowel rods are in place, the next step is to mount it on your window frame. Begin by determining whether you will use a curtain rod or a mounting board. If opting for a curtain rod, install the brackets according to the manufacturer’s instructions, typically securing them about 3 to 4 inches above the window frame for a stylish look. Ensure the rod is level before tightening the screws.
If using a mounting board, cut a piece of wood to the same width as your window and secure it to the wall using appropriate hardware. This option provides a more streamlined profile and is ideal for shades that won’t need to be adjusted frequently.
Once the mounting hardware is in place, hang your faux Roman shade by sliding the dowel rods into the brackets or resting them on the board. Take a moment to adjust the folds to ensure they are evenly spaced and balanced, providing a polished appearance. Step back and visually check the shade from various angles, making any necessary adjustments to guarantee that it hangs evenly, enhancing the overall aesthetic of your window treatment. Remember to allow the fabric to drape naturally for the best effect.
Adding Embellishments
Enhancing your faux Roman shade with decorative trims and embellishments can elevate its overall aesthetic. Consider adding a contrasting trim along the bottom edge for a pop of color—options include pom-poms, tassels, or braided cord. Buttons can also be stitched on at regular intervals to create visual interest, or you might opt for fabric-covered buttons that match your chosen fabric, adding a tailored touch.

To attach embellishments securely, use a strong fabric adhesive or sew them on with a needle and thread, ensuring they are firmly embedded to withstand movement. When choosing embellishments, keep in mind the room’s overall decor; select colors and textures that complement the existing furnishings and wall colors. A cohesive look could include matching the trim to throw pillows or artwork in the space, helping your faux Roman shade blend harmoniously with its surroundings while giving it a unique flair.
Final Touches and Adjustments
Once your faux Roman shade is in place, it’s essential to inspect it thoroughly for any loose threads or uneven hems. Carefully snip away any stray threads to maintain a clean look. Next, assess the folds to ensure they are uniform and symmetrical. Adjust them as needed, ensuring the shade hangs elegantly and enhances the window. If you notice any unevenness, gently tug and reposition the fabric until you achieve the desired drape.
Finally, give the fabric a good press with a warm iron, using a pressing cloth if necessary to avoid damaging the material. This step will eliminate any remaining wrinkles and create a crisp, polished appearance. These final touches will elevate your faux Roman shade, ensuring it complements your decor beautifully and functions as an eye-catching feature in your home.
Maintenance and Care Tips
Regular maintenance is key to keeping your faux Roman shade looking its best. To clean, gently vacuum the fabric with a soft brush attachment to remove dust. For spot cleaning, use a damp cloth and a mild fabric cleaner when necessary to avoid excessive moisture. Depending on the fabric, you may be able to hand wash your shade in cold water; always check the care instructions first. Periodically inspect the folds and adjust them to maintain their shape and appearance, ensuring a flawless look.
Conclusion
Creating a faux Roman shade is an enjoyable and straightforward DIY project that can dramatically enhance your home décor. By following the steps outlined here, you’ve learned how to make faux Roman shade that adds privacy and style to your living spaces. Don’t hesitate to experiment with various fabrics and designs to find the perfect match for your decor. Faux Roman shades beautifully combine functionality and aesthetics, offering warmth and elegance to any room while allowing you to express your personal style. With a little creativity, your windows can become stunning focal points in your home.
You can check it out to Decorate with Fake Vines
Angela Ervin
Angela is the executive editor of DIY quickly. She began her career as an interior designer before applying her strategic and creative passion to lifestyle and home. She has close to 15 years of experience in creative writing and online content strategy for housekeeping, home decorations as well as other niche efforts. She loves her job and has the privilege of working with an extraordinary team. She lives with her husband, two sons, and daughter in Petersburg. When she's not busy working she spent time with her family.


