How to Make French Seams on A Pillowcase
French seams are a popular sewing technique that offers a neat finish and enhanced durability, making them ideal for pillowcases and lightweight fabrics. Unlike traditional seams, French seams encase raw edges within the fabric, preventing fraying and contributing to a polished appearance. This technique involves sewing the fabric with the right sides together, then trimming and sewing again with the wrong sides together, resulting in a clean, aesthetically pleasing and functional edge.
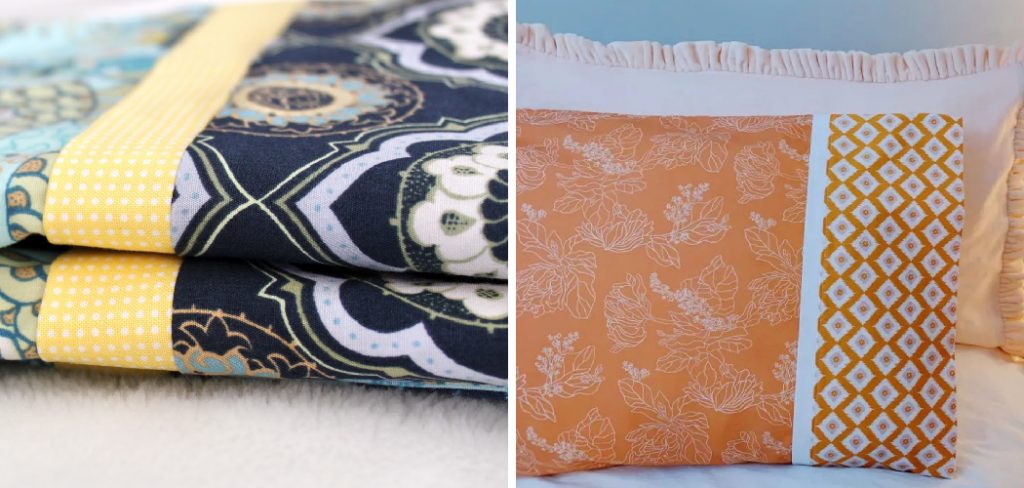
In this article, we will guide you through how to make French seams on a pillowcase, outlining each step with clarity and attention to detail. Whether you’re a beginner or an experienced sewist, mastering this method will elevate your sewing projects and ensure your pillowcases stand the test of time.
Materials and Tools Needed
To successfully create French seams on a pillowcase, you will need the following materials: fabric, thread, a sewing machine, scissors, pins, and an iron. Choose a lightweight fabric such as cotton or linen for best results. The tools required include a sewing machine with a standard foot, a measuring tape for accurate dimensions, and marking tools for precise alignment.
Optional but helpful materials are fabric markers, which can aid in marking seam allowances and cutting lines without leaving permanent marks. All these items will streamline the process and help you achieve a professional look in your pillowcase construction.
Preparing the Fabric
Selecting the Fabric
When choosing fabric for making French seams, it’s crucial to opt for materials like cotton or linen, which are well-suited for this technique due to their stability and ease of handling. These fabrics tend to fray less and hold their shape, ensuring a neat finish. Consider the weight of the fabric as well; lightweight options work best as they make it easier to create crisp seams.
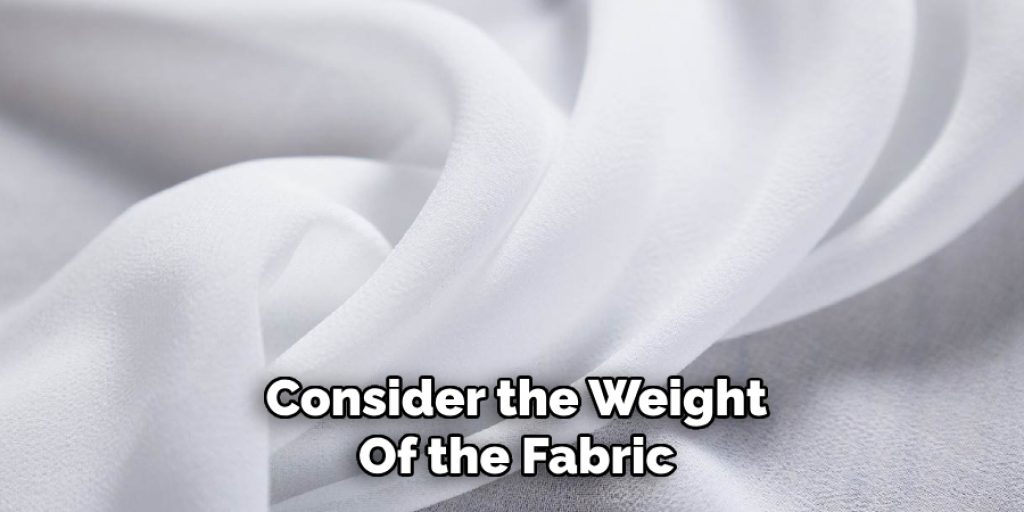
Additionally, understanding the properties of your selected fabric can significantly affect the outcome of your seams. For example, fabrics with a loose weave may require careful handling to avoid fraying during the sewing process.
Cutting the Fabric
Accurate cutting is essential for successfully making French seams. Begin by measuring the fabric pieces according to the dimensions of your pillowcase, allowing for seam allowances on all sides. Use a rotary cutter or sharp fabric scissors for clean cuts, ensuring your edges are straight and precise.
Using a cutting mat and a ruler to guide your cuts can be helpful, preventing any uneven edges. Once cut, double-check the measurements to ensure that all pieces align properly before proceeding to the sewing stage, as this will save you time and effort later in the process.
How to Make French Seams on A Pillowcase: Creating the First Seam
1.Setting Up Your Sewing Machine
Before sewing your first seam, it’s important to ensure that your sewing machine is properly set up for a French seam. Adjust the machine settings to accommodate a ¼-inch seam allowance, which is essential for the initial stitching. You can usually find this adjustment on the machine’s stitch width settings; consult your manual if you’re unsure.
Once the settings are adjusted, thread the machine with a durable thread that matches the fabric color. Make sure to wind the bobbin correctly and install it according to your machine’s instructions. Finally, prepare your workspace by laying out the fabric pieces, and ensure the needle is set to a straight stitch for a clean and sturdy seam.
2.Sewing the First Seam
Now that your machine is set up position the fabric pieces’ right sides together, aligning the edges carefully. Pin the fabric edges to hold them in place and reduce any movement while sewing. Start sewing along the edge with a ¼-inch seam allowance, ensuring that you keep a steady pace to maintain an even seam. As you sew, guide the fabric gently without pulling, allowing the machine to feed it naturally.
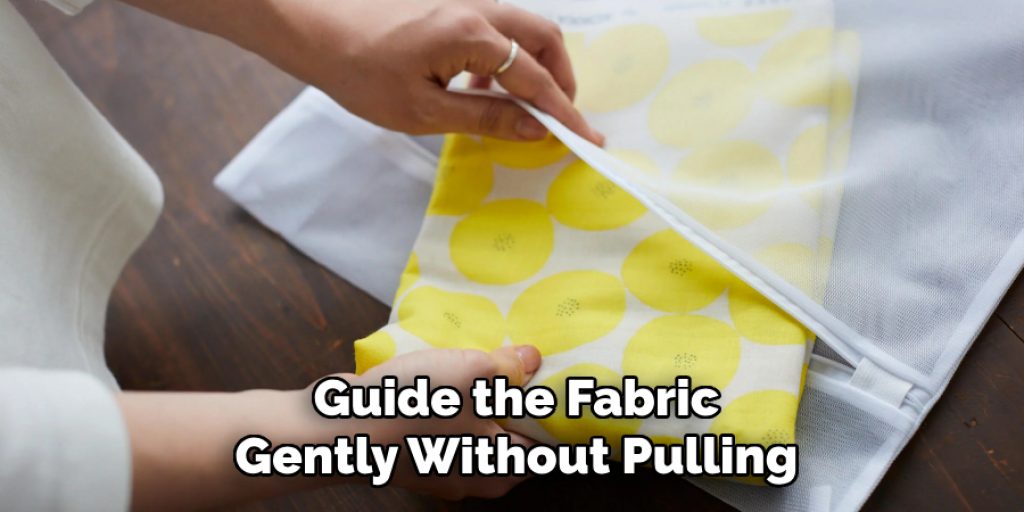
Once you reach the end of the fabric, backstitch a little to secure the seam. After sewing, press the seam allowances to one side using an iron, applying moderate heat to create a crisp finish. This initial seam is crucial for achieving the neatness characteristic of French seams, so take your time and ensure accuracy during this step.
Trimming and Preparing for the Second Seam
Trimming the Seam Allowances
Once the first seam is complete, it’s essential to trim the seam allowances to reduce bulk and ensure a smooth finish. Carefully cut the seam allowances down to approximately ¼ inch, keeping your cuts even and consistent. Using sharp fabric scissors or a rotary cutter will yield the best results, preventing any jagged edges.
It’s important to handle the fabric delicately during this process to avoid damaging the newly sewn seam. By trimming evenly, you’ll create a more professional appearance for your pillowcase and facilitate the next steps in the French seam process.
Preparing for the Second Seam
After trimming, press the seam allowances to one side using an iron set to the appropriate heat for your fabric. This step is crucial for setting the seam and creating a crisp edge. Next, fold the fabric so that the raw edges are encased within the fold. Align the fabric carefully, ensuring that the edges meet evenly.
Use pins or basting to hold the folded edge in place, preventing any movement during sewing. This preparation will set the stage for a tidy and effective second seam that encapsulates the raw edges, securing the durability of your pillowcase.
Sewing the Second Seam
Aligning the Fabric
With the fabric now positioned correctly, it’s time to prepare to sew the second seam. Ensure that the pinned or basted edges are aligned perfectly to encase the previously trimmed raw edges. Take a moment to double-check your work; any misalignment can result in an uneven finish. Once satisfied with the alignment, it can help to run your fingers along the folded edge to smooth out any wrinkles caused by pressing.
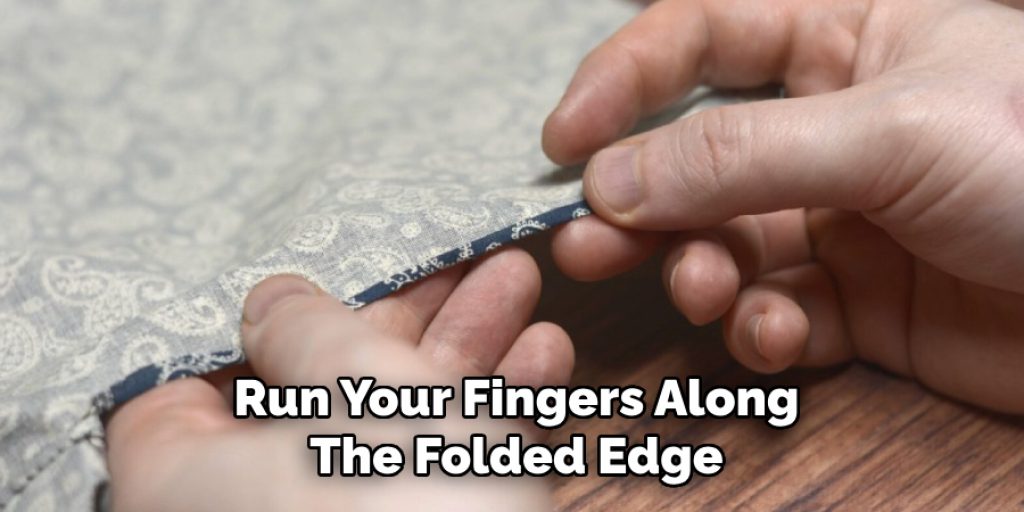
This will further ensure a clean and precise seam. Keeping the fabric taut and avoiding any tucks or puckering is essential for achieving a professional look. When you feel confident about the alignment, you’re ready to sew.
Sewing the Second Seam
Begin sewing along the folded edge with a ½-inch seam allowance. This wider seam will ensure all raw edges are fully enclosed, providing a clean and durable finish. Keep a steady pace and guide the fabric through your sewing machine, maintaining even pressure to prevent any puckering. As you sew, backstitch at the beginning and end to secure the seam. After reaching the fabric’s end, gently pull it away from the needle without dragging it, allowing you to trim any excess threads.
Once completed, press this seam towards the pillowcase, which will help it lay flat and create a polished look. This final seam not only enhances the aesthetic of your pillowcase but also solidifies the integrity of the French seam technique, allowing for both functionality and beauty in your sewing project.
Finishing Touches
Pressing the Seams
Once the second seam is complete, it’s vital to press the seams again for a polished finish. Use a pressing cloth, especially for delicate fabrics, to prevent any scorching or shine. Start by pressing the seams flat, ensuring that the fabric is oriented correctly; this will help shape the pillowcase.
Then, gently press the seams open, if necessary, to eliminate any puckering. For best results, use a steam iron, which can add definition to the seams without risk of damaging the fabric. This attention to detail guarantees a crisp, professional appearance and enhances the overall presentation of your finished pillowcase.
Inspecting and Adjusting
Take a moment to inspect your pillowcase carefully for any imperfections. Look for uneven seams, puckering, or missed areas where raw edges might be exposed. If you find any flaws, you can gently unpick the stitches and adjust as needed, following the same meticulous method used in the initial sewing process. In some cases, a simple pressing adjustment can resolve minor issues.
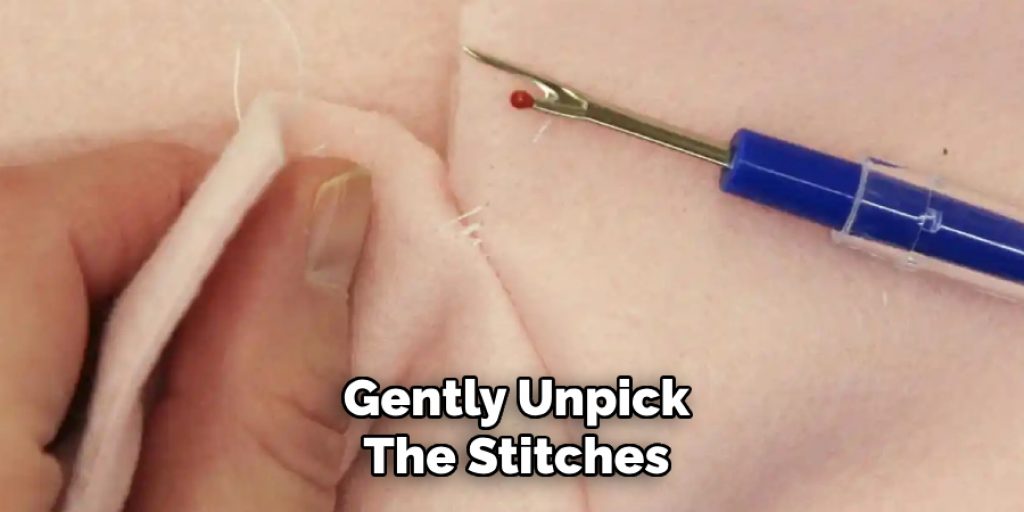
Ensuring your pillowcase meets your desired standard is essential for achieving that polished look and is a critical part of how to make French seams on a pillowcase successfully.
Tips and Tricks for Success
Avoid common pitfalls such as inadequate seam allowance or misalignment when making French seams, which can ruin the final look. Always use sharp fabric scissors for trimming to prevent jagged edges and ensure a clean finish. Selecting the right fabric and thread is equally important; lightweight fabrics like cotton or linen work best, while a coordinating thread can enhance the overall aesthetic.
Moreover, be mindful of the tension on your sewing machine; adjusting it for thicker fabrics will help prevent puckering. Lastly, take your time during each process step—this patience will pay off with a professional, elegant finish.
Conclusion
In summary, mastering how to make French seams on a pillowcase elevates the project’s quality, marrying functionality with beauty. By following the outlined steps, from creating neat seams to ensuring meticulous finishing touches, you’ll develop a skill set that allows for a polished final product.
Don’t hesitate to practice and experiment with different fabrics; each variation will give you deeper insight into the technique and further refine your sewing prowess. French seams provide durability and add an elegant touch to any project, making them a favorite among sewing enthusiasts. Embrace the challenge, and enjoy the artistry of your creations!


