
How to Make Garland With Fabric
Are you looking to brighten your home or decorate it for a special occasion? Making garlands with fabric is a fun and creative way to add color and personality to any space.
How to make garland with fabric is a delightful and creative way to add a personal touch to your home décor or special events. Whether you’re decorating for a birthday party, a wedding, or simply sprucing up your living space, fabric garlands are versatile and easy to make. With just a few supplies and some sewing or tying, you can transform various fabric scraps into a beautiful and vibrant garland.
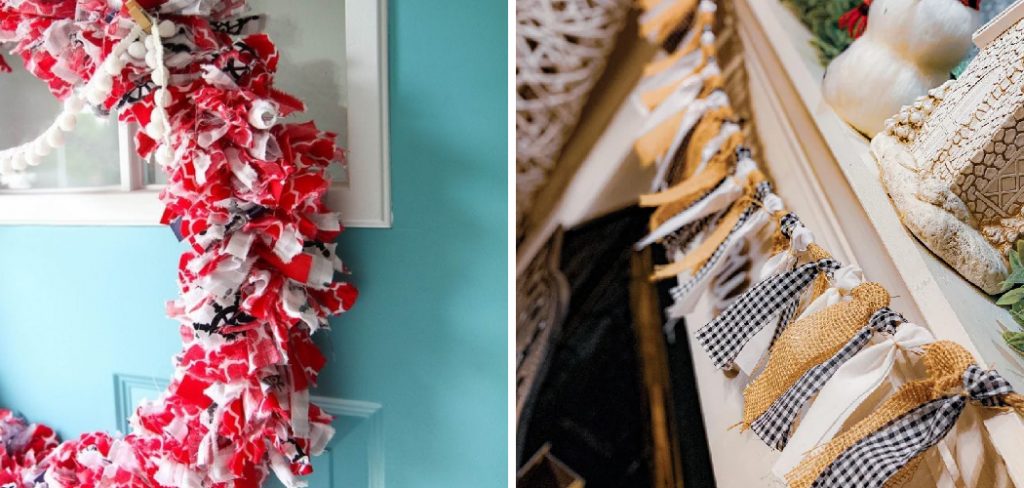
This guide’ll walk you through the materials you’ll need, the steps to create your garland, and some creative ideas to inspire your designs. Get ready to unleash your creativity and craft a stunning piece that will brighten any space!
What Will You Need?
Before you start crafting, gathering all the necessary materials is important. Here’s a list of supplies you’ll need to make your own fabric garland:
- Fabric scraps in various colors and patterns
- Scissors
- String, twine, or ribbon
- Needle and thread or glue gun (depending on whether you will sew or glue the fabric)
- Optional: beads, pom poms, tassels, or other embellishments for added decoration
10 Easy Steps on How to Make Garland With Fabric
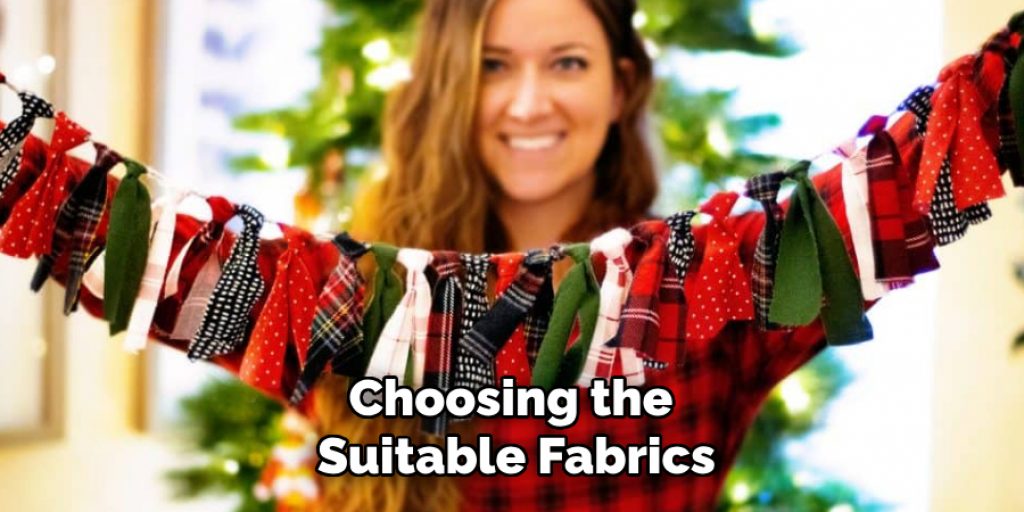
Step 1: Choose Your Fabrics
Choosing the suitable fabrics is a crucial first step in creating your garland. Consider the theme and colors of the space where the garland will be displayed. For a cheerful vibe, opt for bright, bold colors and playful patterns, such as florals, polka dots, or stripes. If you aim for a more elegant look, subtle hues and textured fabrics like linen or silk can add sophistication. Additionally, combine and match different materials, such as cotton, burlap, and felt, to create a dynamic visual effect. Don’t hesitate to incorporate leftover fabric from previous projects or even old clothing to add a personal touch and promote sustainability.
Step 2: Cut Your Fabric Pieces
Once you’ve chosen your fabrics, it’s time to cut them into your desired shapes and sizes. For a typical garland, aim for pieces around 4 to 6 inches wide and 8 to 10 inches long, but feel free to experiment with different dimensions for varied effects. You can cut them into rectangles, triangles, or fun shapes like hearts or stars. To ensure a neat look, use sharp scissors for clean cuts, and consider using a ruler or template to maintain consistency across all pieces. Remember, the more varied the shapes and sizes, the more dynamic your garland will appear!
Step 3: Prepare the String or Twine
Before you start attaching your fabric pieces, it’s essential to prepare the string, twine, or ribbon that will serve as the base of your garland. Measure the desired length of your garland, considering how and where you plan to hang it. Once you have your measurement, cut the string to size, adding a little extra for knots or loops at each end for securing purposes. If you’re using heavier fabric or more oversized embellishments, consider using a more robust twine to provide additional support. You can also customize your string choice by selecting colors that complement or contrast with your fabric, adding an extra layer of creativity to your project.
Step 4: Attach the Fabric Pieces
With your string ready, it’s time to attach your fabric pieces. If you opted for sewing, thread your needle, and tie a knot at the end. Start by sewing your first fabric piece onto the string and positioning it at your desired interval; typically, 3 to 4 inches apart looks excellent. A simple running stitch or a few knots will keep it secure. For those using a glue gun, apply a glue dot to the end of each fabric piece and press it firmly onto the string. Hold it in place for a few seconds to ensure it adheres properly. Repeat this process for each fabric piece until you have reached your preferred length.
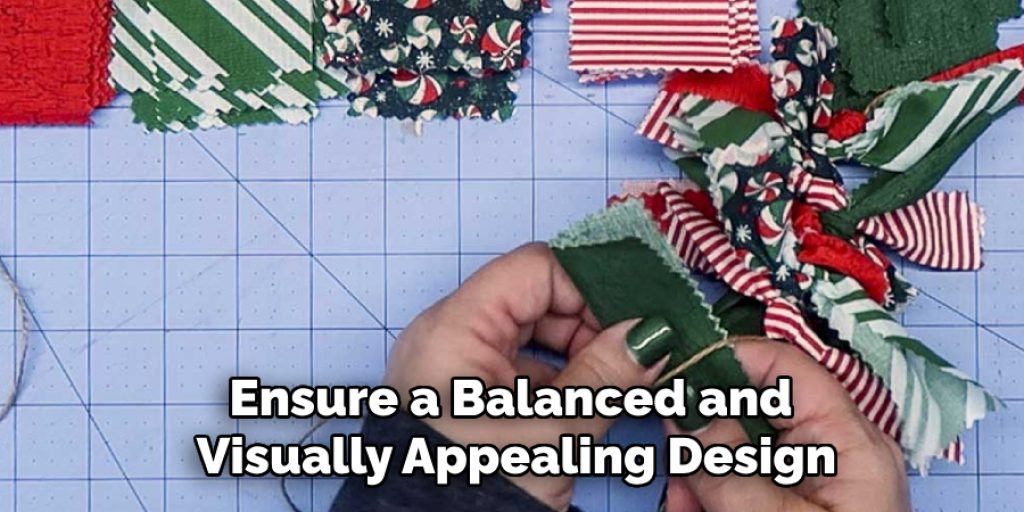
Step 5: Embellish Your Garland
Adding embellishments can genuinely elevate your fabric garland from a simple creation to a stunning decorative piece. Consider incorporating beads, pom poms, or tassels at intervals in between your fabric pieces for added interest and texture. If you’re feeling wildly creative, you can add fabric pieces in different shapes or sizes, layering them to create depth. As you embellish, take a step back periodically to observe how it’s shaping up; this way, you can ensure a balanced and visually appealing design.
Step 6: Secure the Ends
Securing the ends of your fabric garland is an essential step that enhances your creation’s functionality and aesthetic. To ensure that your fabric pieces stay in place and don’t slip off the string, tie a firm knot at both ends of the string after completing your garland. This will provide stability and prevent any fabric pieces from moving or falling during the display. You can add decorative beads or small charms to the ends for a touch of flair and to weigh down the garland slightly, helping it hang more gracefully.
Additionally, if you plan to use your garland multiple times or want to change the fabric for different occasions, consider using fabric glue or double-sided tape to secure your fabric pieces so they can be easily removed and replaced later. Finally, hang your garland in a well-chosen location, making sure it’s securely fastened so that the beauty of your handiwork is showcased without the risk of it falling down.
Step 7: Hang Your Garland
With your beautiful fabric garland complete, it’s time to display your handiwork! Consider various locations such as across a mantel, above a door frame, or even along a wall. Use nails, adhesive hooks, or decorative push pins to securely hang your garland. Make sure it’s at eye level so its vibrant colors and intricate details can be appreciated. If you’re using a lightweight material, simple tape can also do the trick for a temporary display.
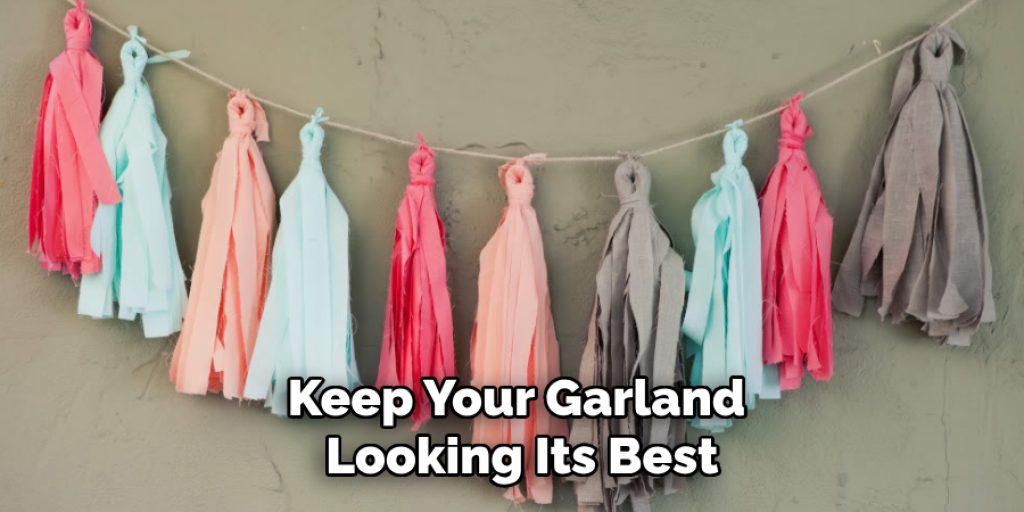
Step 8: Maintain and Refresh
As seasons change or occasions arise, you may want to refresh your garland or maintain its appearance. If you’re incorporating items like pom poms or beads, check periodically to ensure they remain secure. You can also swap out certain fabric pieces to align with the occasion or season, keeping your décor dynamic and engaging. A gentle spot clean may also be necessary to keep your garland looking its best, especially if it’s hanging in a high-traffic area.
Step 9: Explore New Design Ideas
Once you’ve perfected the basic garland-making process, don’t hesitate to experiment! Try using different themes, like holiday or seasonal motifs, or introduce unique shapes and textures. Explore various assembly techniques—perhaps braiding or knotting the fabric for a different visual effect. The possibilities are endless, so let your creativity take the lead!
Step 10: Enjoy Your Creation
Finally, take a moment to step back and appreciate your creation. A handmade fabric garland adds a personal touch to your space and showcases your creativity and craftsmanship. Share your garland with friends and family, and encourage them to dive into their own crafting adventures. Celebrate the joy of DIY and the warmth it brings to your home!
By following these steps, you can create a stunning fabric garland that adds color, texture, and personality to any space. Get creative and have fun with this versatile and customizable craft idea!

5 Things You Should Avoid
- Choosing Poor Quality Materials: Avoid flimsy or low-quality fabrics that can easily tear or fray. Instead, opt for sturdy materials to hold their shape and maintain their appearance over time.
- Skipping the Measurements: Ensure you measure your string and fabric pieces precisely. Avoid the temptation to skip measuring, as improper lengths can lead to an uneven or unbalanced garland that may not hang properly.
- Overcrowding Your Design: While adding embellishments can enhance your garland, be cautious to keep it manageable. Too many pieces can make it look cluttered rather than artistic, so aim for a balanced, cohesive design.
- Not Testing Adhesives: If you use glue, avoid diving straight in without testing. Some glues can be too strong or not strong enough for fabric, leading to potential damage or a lack of adhesion. Always conduct a small test before proceeding.
- Neglecting Care Instructions: After completing your garland, remember to take care of it properly. Avoid placing it in areas with high humidity or direct sunlight for prolonged periods, as this can cause fading or damage to your fabric over time.
By avoiding these common mistakes, you can ensure a successful and visually appealing fabric garland that will be admired for years.
Conclusion
In conclusion, creating a fabric garland is a delightful and rewarding project that allows you to express your creativity while adding charm to your space.
By following the steps outlined on how to make garland with fabric—selecting quality materials, measuring accurately, and skillfully assembling your pieces—you can craft a beautiful decoration that reflects your personal style. Remember to embrace the process and explore various embellishments and design ideas to make your garland uniquely yours.
As you hang your finished piece, take pride in your handiwork and enjoy the vibrant touch it brings to any room, knowing that it was made with care and creativity.
Elizabeth Davis
Elizabeth is a creative writer and digital editor based in the United States. She has a passion for the arts and crafts, which she developed from a young age. Elizabeth has always loved experimenting with new mediums and sharing her work with others. When she started blogging, she knew that DIYquickly would be the perfect platform to share her tutorials and tips. She's been writing for the blog from the beginning, and her readers love her helpful advice and easy-to-follow instructions. When she's not writing or editing, Elizabeth enjoys spending time with her family and friends.


