How to Make Gift Wrapping Paper
Personalized gift wrapping paper adds a unique touch to special occasions, allowing the giver to express their thoughtfulness and creativity. Making your own gift wrapping paper not only enhances the personal connection but also serves as a cost-effective solution, particularly for those who wish to avoid the expense of store-bought options.

The process is simple and fun, allowing you to customize every aspect of your paper’s design and colors. In this guide, we will explore how to make gift wrapping paper from start to finish, ensuring that each gift reflects the recipient’s personality and the thought behind the present.
Materials and Tools Needed
To create your own gift-wrapping paper, you will need a few essential materials and tools. The primary materials include plain paper such as kraft paper, butcher paper, or plain white paper, alongside decorative items like paints, stamps, markers, and brushes.
For tools, ensure you have a rolling pin to flatten your designs, scissors for cutting the paper, tape to secure the wrapping, and a cutting mat for clean edges. Optional materials to enhance your creations include glitter for sparkle, ribbons for embellishment, and stencils for intricate designs. With these supplies at hand, you’ll be ready to embark on your gift-wrapping adventure.
Preparing the Workspace
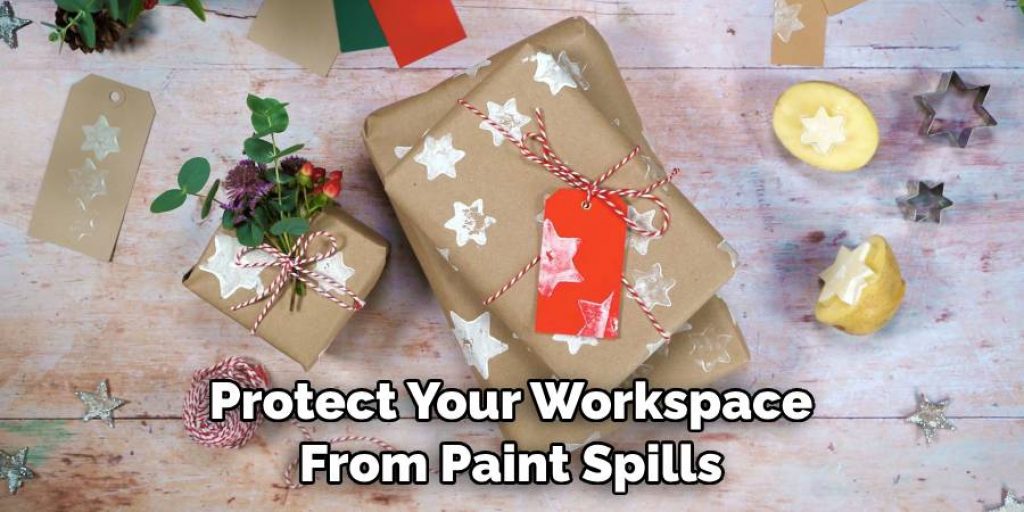
Before you begin creating your gift-wrapping paper, it’s essential to set up a clean and flat workspace. A steady surface ensures precision in your designs and cuts. Lay down newspapers or a disposable tablecloth to protect your workspace from paint spills or ink marks. This simple step makes cleanup easier and keeps your area tidy. Next, organize your materials and tools within reach to streamline the process. Having your paints, brushes, stamps, scissors, and paper easily accessible will allow for a more enjoyable and efficient crafting experience.
Choosing and Preparing the Base Paper
Selecting the right base paper is crucial for achieving the desired look and feel of your gift wrapping. Popular options include kraft paper, which offers a rustic charm, butcher paper for a minimalist aesthetic, and plain white paper, which serves as a versatile canvas for colorful designs. Once you’ve chosen your base, prepare the paper by cutting it to your desired size, ensuring it’s large enough to wrap around your gifts comfortably.
If the paper has creases, consider ironing it out gently to achieve a smooth surface for decorating. Additionally, pay attention to the weight and texture of the paper; heavier paper provides more durability, while lighter paper is easier to fold and manipulate.
How to Make Gift Wrapping Paper: Designing and Decorating the Paper
1. Painting and Stamping
To bring your gift wrapping paper to life, using acrylic paints is a fantastic way to create unique designs. Begin by choosing a color palette that resonates with the occasion or the recipient’s tastes. For brush strokes, experiment with various techniques such as dry brushing for a textured effect or dabbing for a more vibrant impact.
Patterns can range from playful polka dots to intricate brushwork; allow your creativity to guide you. For those who prefer repetition, stamps can create visually appealing patterns easily. Utilize ink pads or paints on the stamps, pressing firmly onto the paper for crisp impressions. It’s essential to remember that drying time can vary based on the thickness of the paint application, so allow adequate time to prevent smudges. A simple trick is to place a piece of parchment paper over freshly painted areas to avoid touching them inadvertently.
2. Drawing and Coloring
Marking your paper with personal touches can transform it into a true work of art. Use markers, colored pencils, or crayons to add custom designs that reflect your style. When blending colors, try using a white pencil or blending stump, which can help create smooth transitions and depth. Adding details such as highlights or shadows can enhance your designs, making them pop. However, ensure that any drawings or colors are fully dry before handling; this prevents smudging and allows the artwork to set firmly onto the paper.
3. Adding Texture and Embellishments
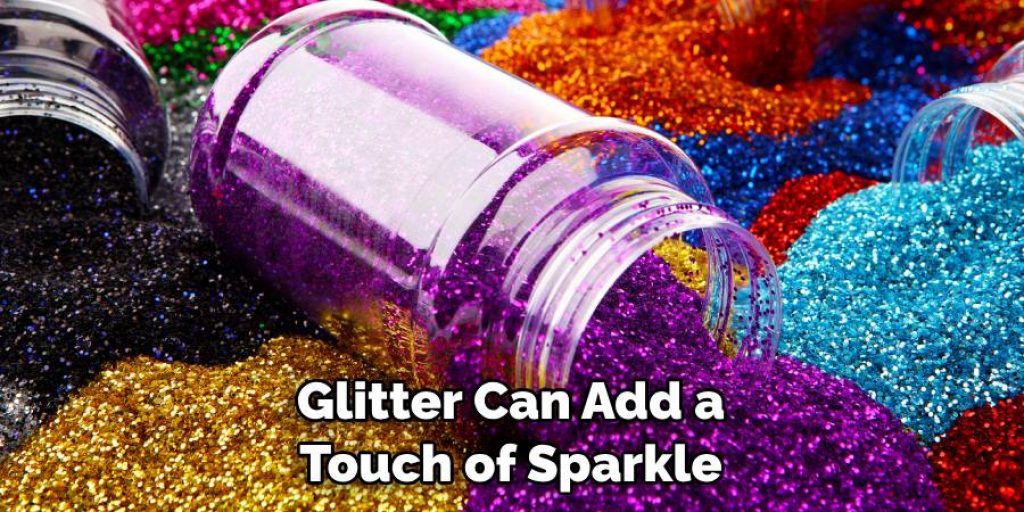
Consider incorporating additional textures and embellishments to elevate the visual appeal of your wrapping paper. Glitter can add a touch of sparkle and glamour, while foil accents can provide a luxurious look. Techniques like embossing can also enhance the overall design, creating tactile elements.
Stencils are especially useful for those who wish to create intricate patterns or shapes; simply lay the stencil over your prepared paper and apply paint or inks to fill the designs. Lastly, personal touches such as stickers or sequins can be adhered to the paper, making each wrap distinctive.
4. Cutting and Preparing the Paper for Wrapping
Once your designs are complete and thoroughly dry, it’s time to prepare the paper for wrapping gifts. Begin by measuring and cutting the paper to fit various gift sizes, ensuring adequate allowance for folds and overlaps.
A sharp pair of scissors will help achieve clean, straight lines—consider using a cutting mat for extra precision, especially with larger sheets. Neat edges enhance the overall presentation and professionalism of your wrap. Additionally, prepare complementary elements such as gift tags or decorative bows while cutting. These elements can add a final touch of charm and cohesiveness to your beautifully wrapped gifts.
Wrapping the Gift
With your beautifully designed wrapping paper ready, it’s time to wrap your gift. Start by placing the gift in the center of the cut paper, ensuring that it is positioned carefully so all sides will be covered appropriately. Bring the longer sides of the paper up over the gift, folding them neatly. To secure the wrap, use tape to hold the paper in place. After securing the sides, fold in the shorter edges of the wrapping paper, creating crisp, neat ends. This technique will help you achieve the classic “envelope” look that is pleasing to the eye.
For an added touch of elegance, consider using decorative ribbon or twine. Wrap it around the gift, securing it with a bow on top. Ribbons can add color and texture, enhancing the overall appearance of your package. Don’t forget to attach a personalized gift tag, including a special message or the recipient’s name. This thoughtful addition adds a personal touch that enhances the gift experience. Finally, gently shake your wrapped present to ensure everything is secure. With your gift now beautifully wrapped, it’s ready for presenting on any occasion!
Storage and Care
Proper storage is essential to ensure your beautifully crafted wrapping paper remains in excellent condition for future use. If possible, begin by laying the finished wrapping paper flat to prevent creases or folds that may mar the designs. It’s best to store the paper in a cool, dry place away from direct sunlight, as prolonged exposure can fade colors and degrade the quality.
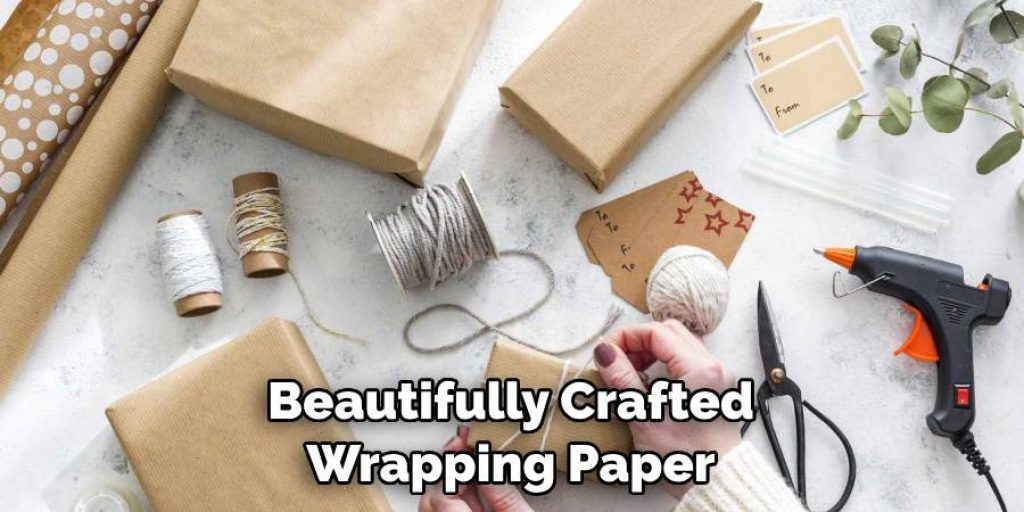
If space is limited, consider rolling the wrapping paper instead of folding it, and secure it with a ribbon or a rubber band to maintain its shape and prevent damage. Use a sturdy storage box or a designated wrapping paper organizer to keep your creations safe and dust-free. When it’s time to use the paper again, carefully unroll or unfold it, checking for any scuffs or marks that might have occurred during storage. For any slight imperfections, a gentle steam or handheld steamer can help smooth out stubborn creases without damaging the artwork.
Also, avoid storing heavy items on top of your wrapping paper, which can cause unwanted indentations. By following these storage and care tips, your gift-wrapping creations will remain vibrant and ready for special occasions for years to come.
Frequently Asked Questions (FAQs)
What Materials Do I Need to Create My Own Wrapping Paper?
To create your own wrapping paper, you’ll need basic supplies such as paper (butcher paper or plain craft paper works well), paints or inks, brushes, markers, stamps, and any additional embellishments like glitter, stickers, or ribbons.
How Can I Prevent My Designs from Smudging?
To prevent smudging, ensure that all your artwork is completely dry before handling or stacking the papers. Additionally, using parchment paper between layers or over-painted areas can help protect your designs during drying.
Can I Use Recycled Materials to Make Wrapping Paper?
Absolutely! Recycled materials like brown paper bags, newspapers, or even old maps can serve as a sustainable base for your custom designs. These materials can add a unique character and charm to your wrapped gifts.
How Do I Choose the Right Colour Palette?
Choosing the right color palette can be subjective and based on personal preference or the occasion. Consider using contrasting colors for a vibrant look or harmonious shades for a more subdued appearance. Tools like color wheels can be helpful in selecting complementary colors.
What’s the Best Way to Store My Wrapping Paper for Future Use?
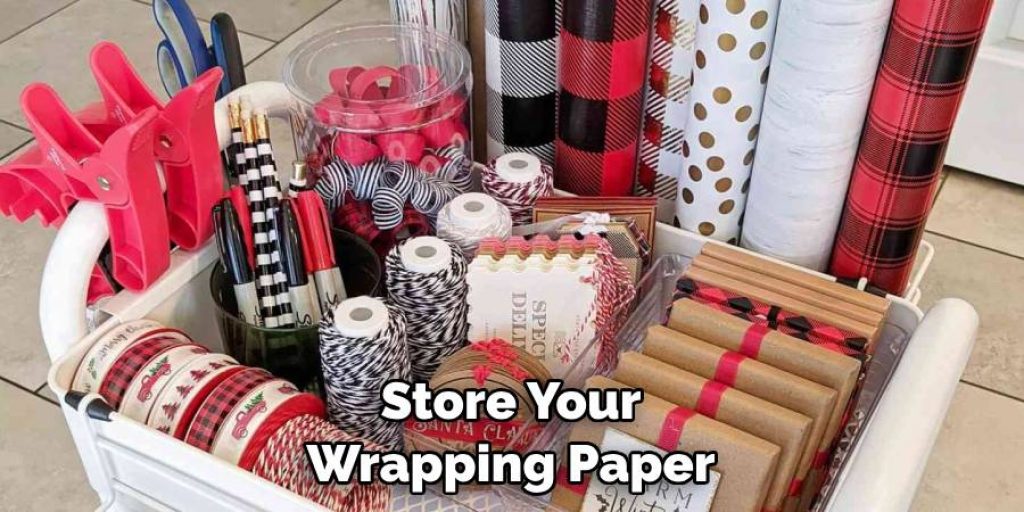
Store your wrapping paper flat to avoid creases, ideally in a cool, dry location away from direct sunlight. If rolling is necessary, secure the rolled paper with a ribbon or rubber band and use a designated storage box to keep it protected and dust-free.
Conclusion
Creating your own gift-wrapping paper brings numerous benefits, from fostering creativity to enhancing the overall presentation of your gifts. Learning how to make gift wrapping paper allows you to customize your designs to suit any occasion or recipient, ensuring that each present feels special and unique.
By experimenting with various techniques such as painting, stamping, and adding textures, you develop your artistic skills and create a personal touch that mass-produced options simply cannot replicate. Personalized wrapping elevates the joy of gift-giving and demonstrates thoughtfulness that recipients will surely appreciate. So, grab your crafting supplies and let your imagination run wild—your next gift could be a beautiful work of art that leaves a lasting impression!

