
How to Make Napkin Bows
Creating napkin bows is a delightful way to add a touch of elegance to your table setting, making even a simple meal feel like a special occasion. Whether for a festive dinner, a casual gathering, or a formal event, beautifully arranged napkins can elevate the dining experience.
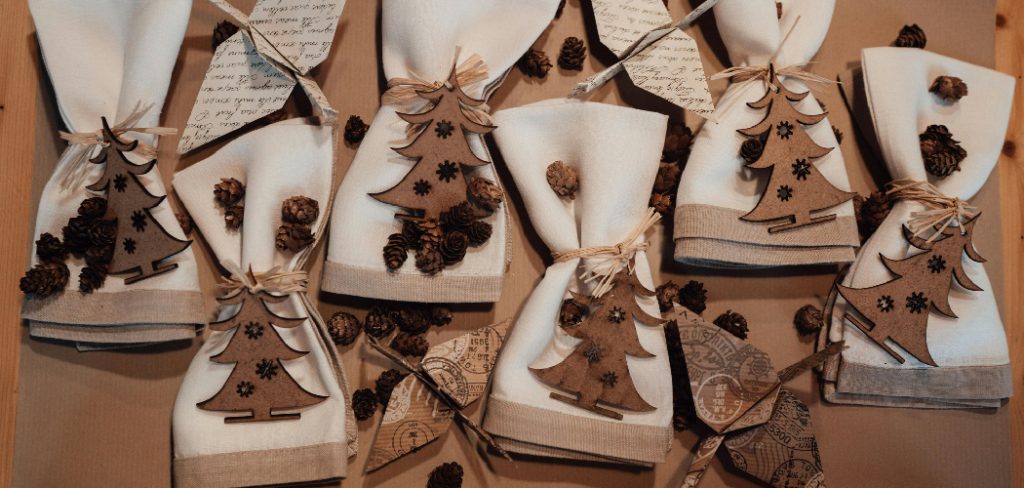
In this guide on how to make napkin bows, we’ll explore various techniques to craft stunning napkin bows with ease, using different materials and styles to suit your aesthetic. Get ready to impress your guests with these charming and decorative accents!
Why Napkin Bows?
Before diving into the steps on how to make napkin bows, let’s briefly discuss why they are a great addition to any table setting.
Firstly, napkin bows are an easy and budget-friendly way to add a touch of sophistication and charm to your dining table. They require minimal materials and can be made in just a few simple steps.
Additionally, napkin bows can serve as a functional element by keeping the napkins neatly folded and in place, preventing them from getting crumpled or falling off the table. This is especially useful for more formal events where guests may be wearing their best attire.
Lastly, napkin bows are a versatile decoration that can be customized to fit any theme or occasion. From elegant satin bows for a wedding reception to cute and playful bows for a children’s birthday party, there are endless possibilities when it comes to creating napkin bows.
Materials Needed
To create your own napkin bows, you will need:
Napkins:
Choose napkins in a color and material that complements your table setting. Cotton, linen, or polyester napkins all work well for making bows.
Ribbon:
Select a ribbon that is at least 1 inch wide to create a full and sturdy bow. Satin, grosgrain, or velvet ribbons are popular choices.
Scissors:
A pair of sharp scissors will be needed to cut the ribbon to the desired length.
Optional:
Decorative elements such as flowers, beads, or charms can be used to add extra flair to your napkin bows.
7 Step-by-step Guidelines on How to Make Napkin Bows
Step 1: Prepare the Surface
Before you start crafting your napkin bows, it’s essential to create a clean and organized workspace. Clear a flat surface, such as a table or countertop, and ensure that you have all your materials within easy reach. This includes your napkins, ribbon, scissors, and any optional decorative elements you plan to use.
Having a tidy area will help streamline the process and allow you to focus on creating beautiful napkin bows without any distractions. If possible, consider laying down a soft cloth or placemat to protect the surface and add a touch of style to your workspace.
Step 2: Fold the Napkin
Lay the napkin flat on your work surface, with one corner pointing towards you. Fold the top half of the napkin down to meet the bottom half, creating a rectangular shape.
Next, fold that rectangle in half again by bringing the left side over to meet the right side. You should now have a square-shaped napkin with four layers.
Step 3: Fold the Top Corners
With your square-shaped napkin in front of you, take the top two corners and fold them inward toward the center of the napkin. Ensure that the edges of the corners meet neatly at the middle point, forming a triangle shape at the top.
This step is crucial as it will create the foundational shape for your bow. Gently crease the folds to secure them in place. Once both corners are folded in, your napkin will have a crisp, triangular top that will give your bow a polished look.
Step 4: Fold the Bottom Corners
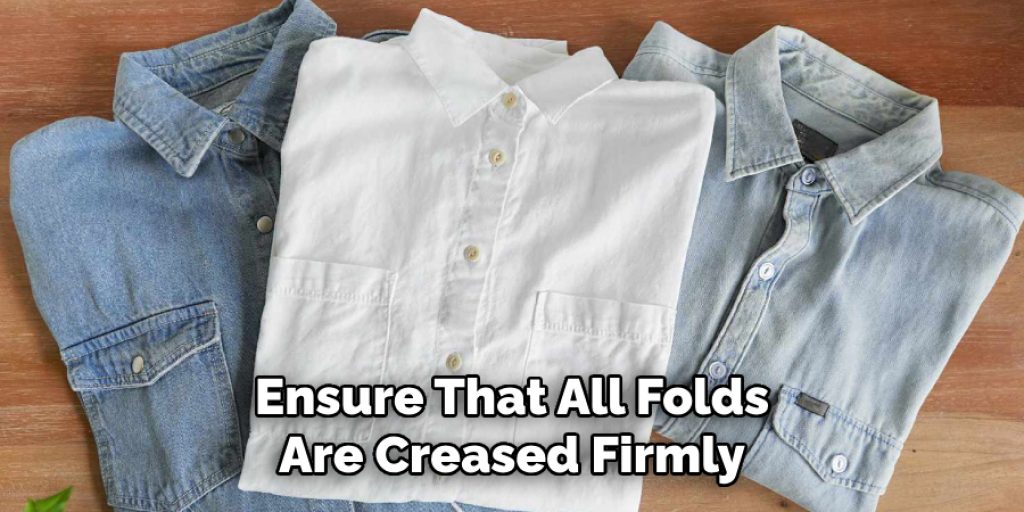
Similar to the previous step, take the bottom two corners of your napkin and fold them inward towards the center. Again, make sure that the edges meet neatly at the middle point, forming another triangle shape at the bottom.
Your napkin should now resemble a diamond shape with two triangular points at either end. This will be the base of your bow, so ensure that all folds are creased firmly to maintain its form.
Step 5: Tie a Ribbon Around the Napkin
Now, it’s time to add some color and texture to your napkin bow by incorporating a ribbon. Cut a piece of ribbon about 15-20 inches long, depending on the size of your napkin.
Place the ribbon across the center of your napkin, making sure that the middle point of the ribbon sits at the center of the folded edges. Bring both ends of the ribbon up and over to meet at the top of your napkin. Tie a simple knot or bow to secure it in place.
Step 6: Fluff and Adjust
Gently pull on each end of the ribbon to fluff out and expand your bow. You can also adjust the folds of your napkin to create a fuller or more streamlined look, depending on your preference.
This is where you can get creative and experiment with different styles by using different types of ribbons and adding decorative elements such as flowers or beads.
Step 7: Place on the Table
Finally, place your napkin bow on the plate or to the side of the plate, depending on your table setting. You can also add a name tag or menu card by tucking it under the ribbon for a personalized touch. Your beautiful napkin bow is now ready to impress your guests!
Following these simple steps on how to make napkin bows, you can create elegant and eye-catching napkin bows to elevate any dining experience. Remember to have fun and get creative with different materials and styles to make each bow unique.
How Much Could It Cost?
Creating napkin bows is not only an easy and enjoyable DIY project but also a cost-effective way to enhance your dining experience. The overall cost can vary depending on the materials you choose. On average, a set of fabric napkins can range from $10 to $30 for a pack of four, while high-quality ribbons can cost anywhere from $5 to $20 per roll, depending on the material and brand. Optional decorative elements like flowers or beads may add an extra $2 to $10 each.
In total, you can expect to spend anywhere from $20 to $60 for everything needed to create a set of elegant napkin bows, making it a budget-friendly option for special occasions or everyday dining. Additionally, these materials can be reused, allowing you to create beautiful settings multiple times without incurring significant costs.
Additional Tips for Table Setting Decoration
Now that you’ve mastered the art of creating napkin bows, here are some additional tips to enhance your table-setting decoration game:
- Incorporate different textures by using a variety of fabrics such as lace, burlap, or velvet for your napkins.
- Mix and match patterns and colors to add visual interest to your table. You can also play with layers by using a solid-colored napkin topped with a patterned one.
- Don’t limit yourself to just bows – experiment with other types of napkin folds such as the classic fan fold or the more intricate crown fold.
- Use natural elements like leaves, twigs, or flowers to create unique and eco-friendly napkin decorations.
With these tips and tricks in mind, you can transform any ordinary table setting into an extraordinary one with the simple addition of beautiful napkin bows. So, next time you’re hosting a dinner party or special occasion, don’t forget to add a touch of elegance and charm with handmade napkin bows.
Frequently Asked Questions
Q: How Do I Choose the Right Ribbon for My Napkin Bows?
A: When selecting a ribbon, consider the color and material of your napkins and the overall theme or occasion. Satin ribbons are a popular choice for elegant and formal events, while patterned or textured ribbons can add a playful touch to casual gatherings. Additionally, ensure that the ribbon is at least 1 inch wide to create a full and sturdy bow.
Q: Can I Use Paper Napkins Instead of Fabric Napkins?
A: Yes, paper napkins can also be used to make napkin bows. However, they may not hold their shape as well as fabric napkins. Consider using thicker paper napkins or doubling them up for more stability.
Q: How Far in Advance Can I Make Napkin Bows?
A: It’s best to make napkin bows on the day of the event to ensure they look fresh and crisp. However, you can make them a day in advance and store them carefully in a cool, dry place to maintain their shape.
Conclusion
Learning how to make napkin bows is an excellent way to elevate any dining experience. With just a few simple materials and steps, you can create stunning and versatile decorations that will enhance the overall ambiance of your table setting. So, next time you’re hosting a dinner party or special event, consider adding napkin bows to impress and delight your guests.
Happy crafting!
Elizabeth Davis
Elizabeth is a creative writer and digital editor based in the United States. She has a passion for the arts and crafts, which she developed from a young age. Elizabeth has always loved experimenting with new mediums and sharing her work with others. When she started blogging, she knew that DIYquickly would be the perfect platform to share her tutorials and tips. She's been writing for the blog from the beginning, and her readers love her helpful advice and easy-to-follow instructions. When she's not writing or editing, Elizabeth enjoys spending time with her family and friends.


