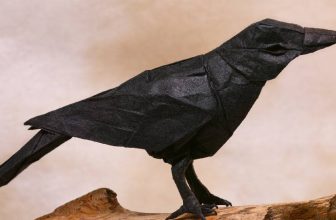
How to Make Paper Mache Harder
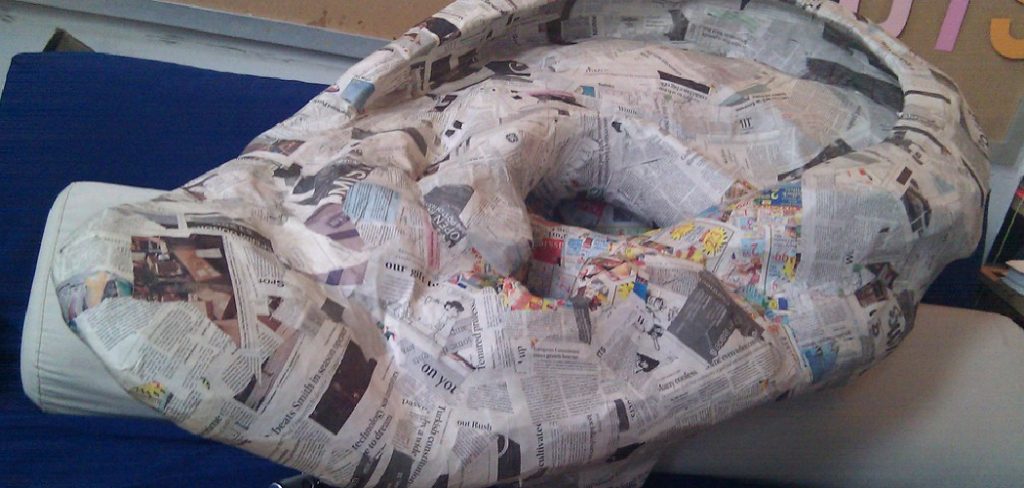
Paper mache is a versatile and creative craft that involves using paper pieces and a binding agent, usually glue or flour paste, to create a variety of forms and sculptures. While it’s a popular medium for many projects, achieving the desired hardness and durability can sometimes be a challenge.
This guide on how to make paper mache harder explores effective methods to strengthen your paper mache creations, ensuring they not only look great but also stand the test of time. Whether you’re crafting intricate decorations or sturdy models, understanding how to reinforce and harden your paper mache will enhance your artistic endeavors.
What is Paper Mache?
To understand how to make paper mache harder, it’s important to know what it is and how it works. Paper mache is a French term that means “chewed paper”. This art form has been around for centuries and involves creating a mixture of shredded paper and a binding agent such as glue, flour paste, or wallpaper paste.
The resulting pulp can then be molded into various shapes and forms by layering the mixture over an armature or framework. Once the paper mache dries, it becomes hard and can be painted, decorated, or left as is.
Why Make Paper Mache Harder?
While the traditional method of making paper mache involves layering a few sheets of newspaper over an armature with a binding agent, this may not result in a strong and durable final product. This is especially true in cases where the paper mache object needs to withstand handling or external factors such as weather conditions.
Knowing how to make paper mache harder can also save you time and effort in the long run, as you won’t have to repair or replace your creations frequently. Additionally, a harder and sturdier paper mache allows for more intricate and detailed designs.
Needed Materials
Before we dive into the methods on how to make paper mache harder, here are some basic materials you’ll need for most projects:
Shredded Paper:
This can be in the form of newspaper, tissue paper, or any other type of paper you have on hand.
Binding Agent:
Popular choices include white glue, flour paste, and wallpaper paste. Experiment with different types to see which works best for your project.
Armature or Framework:
This is the base structure on which you will layer your paper mache. It can be made from wire, cardboard, balloons, or any other material that can hold its shape.
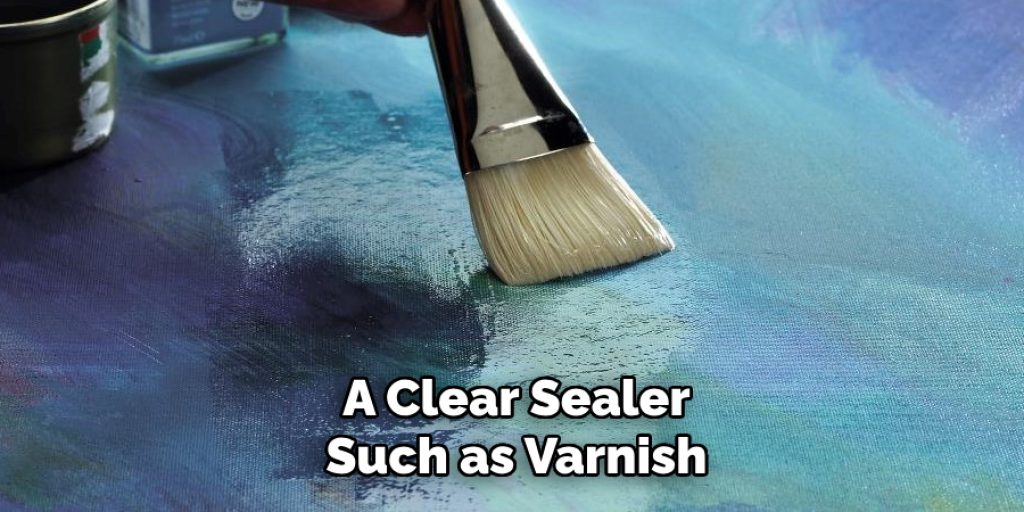
Paint and Sealer:
Once your paper mache is hardened, painting it with acrylic or tempera paints not only adds color but also provides an extra protective layer. A clear sealer such as varnish or Mod Podge can also help make your creation more resilient.
8 Methods on How to Make Paper Mache Harder
Step 1: Use More Binding Agent
One of the simplest ways to enhance the hardness of your paper mache is to increase the amount of binding agent in your mixture. A higher ratio of glue or flour paste will create a stronger bond between paper layers, resulting in a more solid structure once dried. When preparing your pasta, aim for a consistency that is thick but still spreadable; this can help ensure that each layer adheres well to the others.
Additionally, if using white glue, consider mixing it with water at a ratio of 1:1 for a smoother application that still retains adhesive strength. This adjustment not only bolsters the integrity of the sculpture but also helps in achieving a more polished finish.
Step 2: Use Stronger Types of Paper
The type and quality of paper used in your paper mache mixture can also affect its hardness. Using thicker and more durable types of paper, such as cardstock or magazine pages, can result in a stronger structure compared to using thin tissue paper or newspaper.
Alternatively, you can use multiple layers of thinner paper to add strength to your project. It’s also worth noting that using recycled paper, such as shredded egg cartons or cardboard boxes, can create an even denser and harder paper mache.
Step 3: Apply Multiple Layers
Building up your paper mache project with multiple layers is a crucial step in achieving greater hardness and durability. Each additional layer adds strength, as the layers bond together when wet and set up solid once dried. To create a robust structure, aim for at least three to five layers, depending on the size and intended use of your piece.
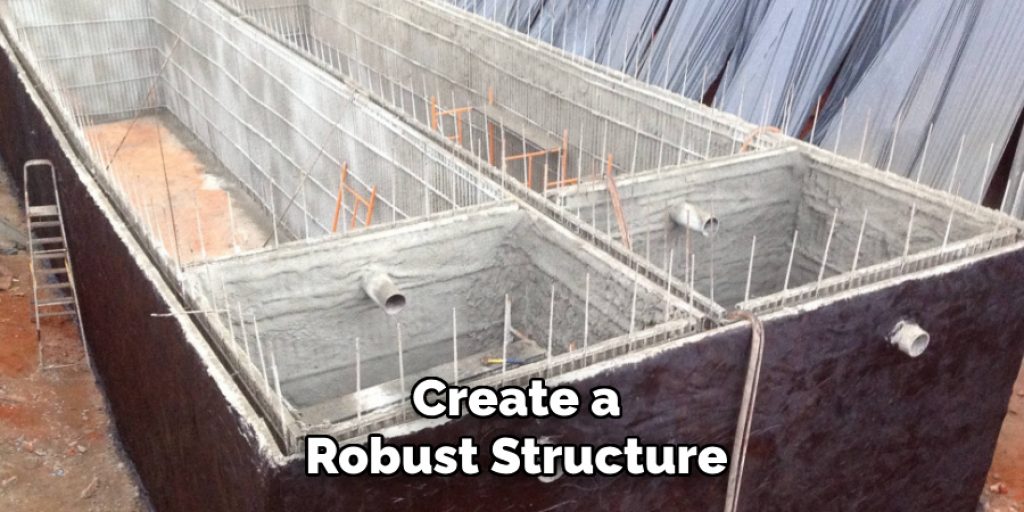
Ensure that you allow each layer to dry completely before applying the next one; this not only prevents sagging but also enhances the firmness of the final product. Remember to alternate the direction of the paper layers for added strength—placing some layers horizontally and others vertically can create a crisscross pattern that reinforces the overall structure.
Step 4: Use Stiffer Armature Materials
As mentioned earlier, the armature or framework is the base structure on which you will build your paper mache. Choosing stiffer and stronger materials for this step can significantly impact the hardness of your project. Instead of using wire or cardboard, consider using materials like wood or sturdy plastic that can hold their shape better.
If using balloons as your armature, inflate them to a larger size than needed and let them dry completely before applying any paper mache layers; this not only allows for a more stable form but also prevents the balloon from shrinking and causing cracks in the dried paper mache.
Step 5: Add Other Binding Agents
Aside from the traditional choices of glue and flour paste, other binding agents can also be used to make paper mache harder. Some artists have had success using materials such as acrylic polymer medium or joint compounds in their mixtures. These products are readily available in most arts and crafts stores and can add extra strength and density to your paper mache.
It’s best to experiment with different ratios when using these alternative binding agents, as too much can make the mixture too heavy and difficult to work with.
Step 6: Use a PVA Glue Solution
PVA (polyvinyl acetate) glue is another type of adhesive that has been found to increase the hardness of paper mache. Creating a solution by mixing one part water with two parts PVA glue can create a denser mixture that results in a firmer final product. This solution can also be used to seal the paper mache once it’s dry, making it more resistant to external factors.
You can also add a layer of this glue solution between each paper layer to reinforce the structure further. The added bonus is that PVA glue dries clear, making it perfect for creating transparent or translucent paper mache projects.
Step 7: Use a Heat Gun or Hair Dryer
For smaller and more intricate projects, using a heat gun or hairdryer can help speed up the drying process and result in a harder finish. The heat helps evaporate excess moisture from the paper layers, allowing them to set quicker and stronger. Be careful not to hold the heat source too close to the paper mache, as this can cause it to warp or even burn.
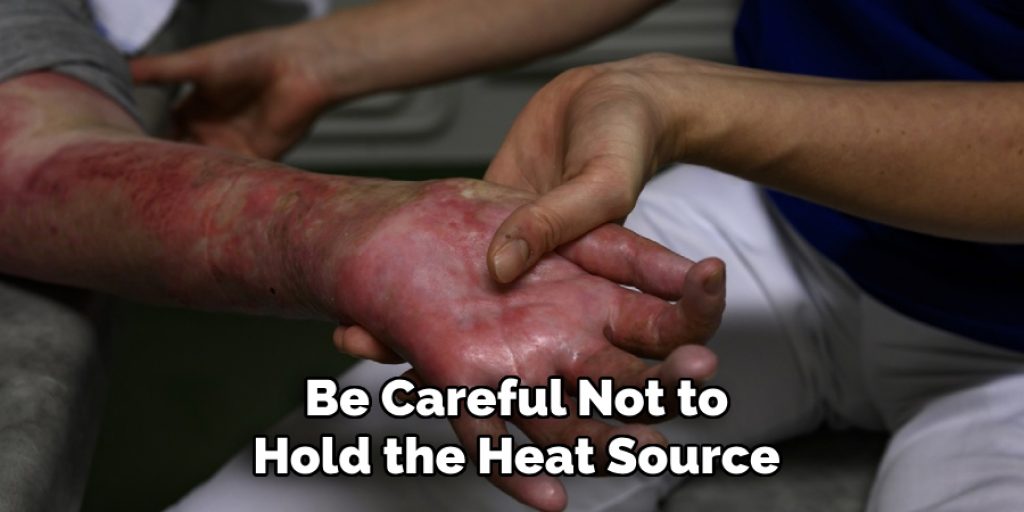
It’s also crucial to let the paper mache dry naturally for at least 24 hours after using heat, as this allows the layers to set and bond properly.
Step 8: Allow for Proper Drying Time
Lastly, one of the most crucial steps in making paper mache harder is to allow sufficient drying time. Rushing this step can result in a weaker and less durable project. Depending on the size and number of layers, it can take anywhere from a few days to a week for the paper mache to fully dry and harden.
Following these steps on how to make paper mache harder and being patient in the drying process can help ensure that your paper mache creation is not only visually appealing but also sturdy and long-lasting. Remember to have fun and experiment with different techniques to find what works best for your projects.
Frequently Asked Questions
Q: Can I Use Different Types of Paper in My Paper Mache Mixture?
A: Yes, you can! Experimenting with different types of paper, such as tissue paper or cardstock, can create different textures and finishes for your project. Just be mindful of the thickness and quality of paper you use, as this can affect the strength and durability of your final product.
Q: How Many Layers Should I Use?
A: Aim for at least three to five layers for a sturdy structure. However, if creating a larger or heavier piece, consider adding more layers for added strength.
Q: Can I Add Other Materials to My Paper Mache Mixture?
A: Yes, you can add other materials such as sand or sawdust, to create a denser mixture. Just make sure not to add too much, as this can make it difficult to work with and may alter the drying time.
Conclusion
In conclusion, mastering the art of paper mache involves a combination of suitable materials, technique, and patience. By following the outlined steps on how to make paper mache harder—such as using multiple layers, selecting stiffer armature materials, integrating various binding agents, and allowing for adequate drying time—you can create impressive, sturdy projects that stand the test of time.
Experimenting with different papers and techniques not only enhances creativity but can also lead to unique textures and finishes, adding character to your work. With practice and exploration, your paper mache creations can transform from simple crafts into captivating art pieces that showcase your skills and imagination. Enjoy the process, and don’t hesitate to let your creativity shine!
Elizabeth Davis
Elizabeth is a creative writer and digital editor based in the United States. She has a passion for the arts and crafts, which she developed from a young age. Elizabeth has always loved experimenting with new mediums and sharing her work with others. When she started blogging, she knew that DIYquickly would be the perfect platform to share her tutorials and tips. She's been writing for the blog from the beginning, and her readers love her helpful advice and easy-to-follow instructions. When she's not writing or editing, Elizabeth enjoys spending time with her family and friends.