How to Make Paper Weight
Creating a paperweight not only serves a practical purpose but also allows for a delightful expression of creativity. Whether you’re looking to keep your documents organized or simply wish to add a personal touch to your workspace, a handmade paperweight can be both functional and decorative.
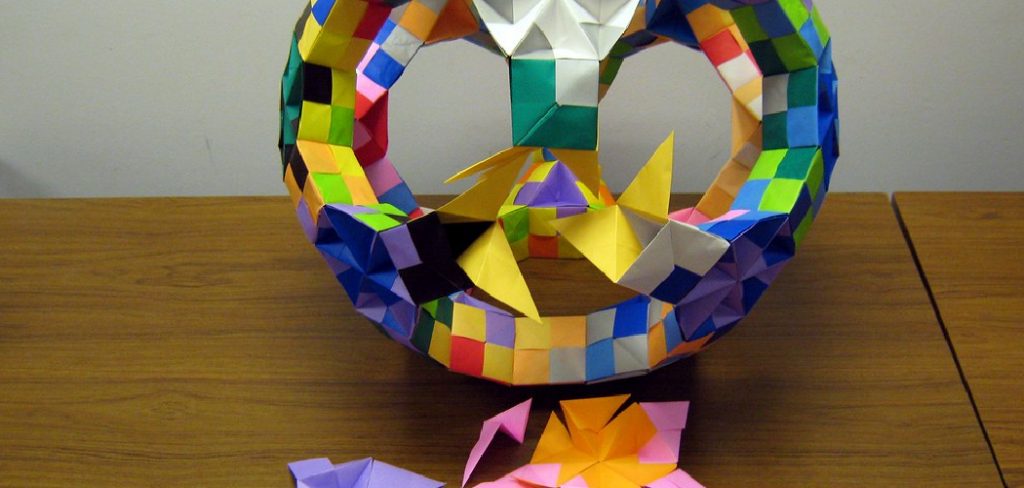
In this guide on how to make paper weight, we’ll explore various materials and techniques that can be used to craft a unique paperweight, ensuring that your finished product is both beautiful and effective at holding down your important papers. Let’s dive into the step-by-step process of making your very own paperweight!
Why Make Your Own Paperweight?
There are several compelling reasons to craft your own paperweight. Firstly, creating a DIY paperweight allows for complete customization; you can choose materials, colors, and shapes that reflect your personal style or match your office décor. Secondly, handmade paperweights make thoughtful gifts for friends or family, showcasing your creativity and effort.
Additionally, the crafting process can be therapeutic, providing a satisfying way to unwind and express your artistic side. Finally, making your own paperweight can be a cost-effective alternative to purchasing decorative items, enabling you to repurpose materials you already have at home.

No matter your motivation, making a paperweight is a fun and practical project that anyone can enjoy. Now, let’s get started on creating your own unique paperweight!
Materials needed
Before diving into the crafting process, it’s essential to gather all the necessary materials. The good news is materials for making a paperweight are readily available in most homes or can be purchased from a local craft store. Here are some suggested materials to consider:
- A Heavy Base Such as a Rock, Wooden Block or Ceramic Tile.
- Decorative Items Like Beads, Glitter, Dried Flowers or Small Trinkets.
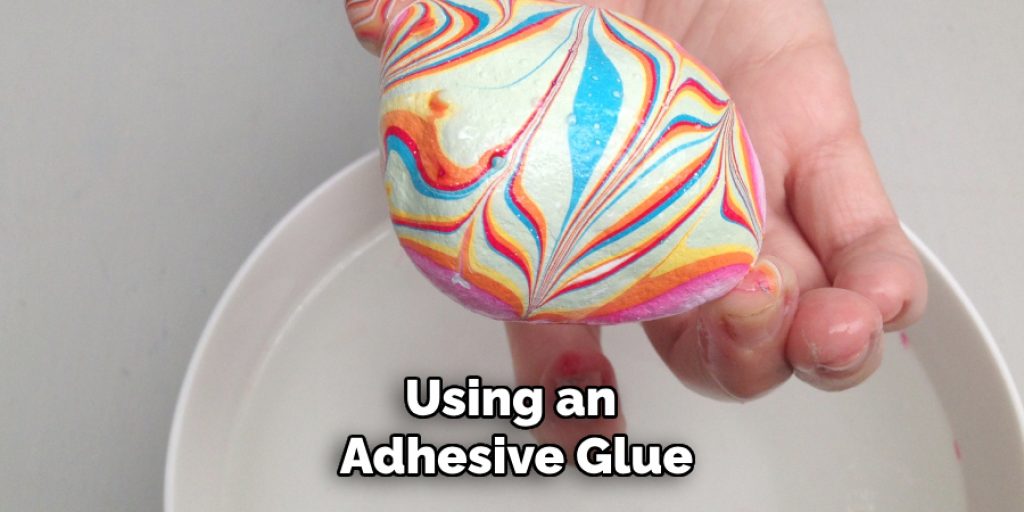
- Adhesive glue is suitable for the selected base and decorative items.
- Protective Gloves and a Mask (if Using Resin).
- Clear Casting Resin or Epoxy.
8 Step-by-step Guides on How to Make Paper Weight
Step 1: Lay Out Your Workspace
It’s essential to have a clear and clean space to work on your paperweight project. Consider using a protective covering on the surface you’re working on, such as a plastic sheet or old newspaper, to avoid any potential mess.
You may also want to have a designated area for drying your paperweight if using materials that require time to set. Ensure proper ventilation in your workspace, especially when working with adhesives or resins.
Step 2: Choose Your Base
As mentioned earlier, several items can serve as a sturdy base for your paperweight. Consider selecting a heavy and flat object that is pleasing to the eye. For example, rocks with unique patterns or wooden blocks with natural grain can provide an interesting aesthetic.
You can also get creative and use unconventional items such as a seashell or a retro vinyl record. The possibilities are endless, so choose something that speaks to you and fits the overall look you’re trying to achieve.
Step 3: Prepare Your Decorative Items
Before beginning the gluing process, it’s essential to prepare your decorative items. You can opt for simple materials like beads or glitter for a more minimalistic look, or go all out with dried flowers and small trinkets for a whimsical touch.
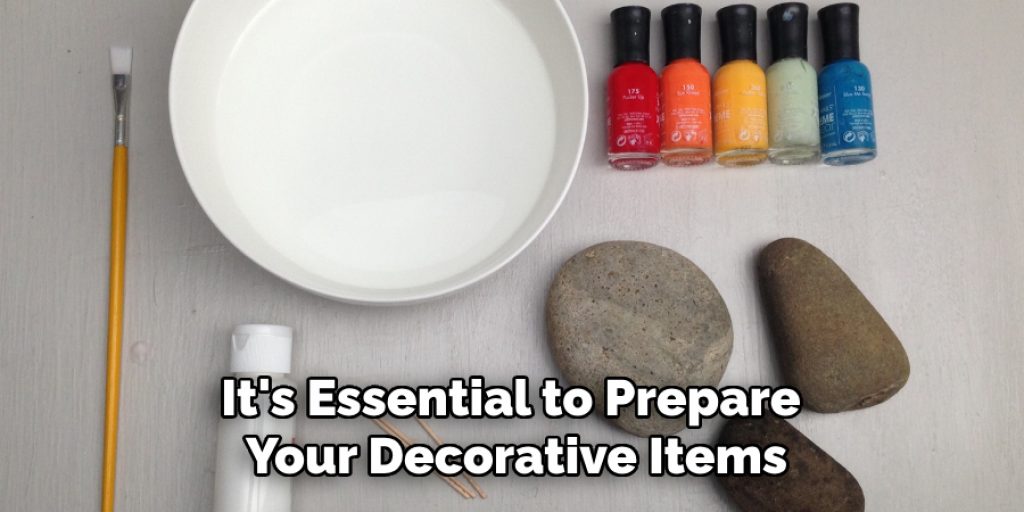
Ensure that these items are clean and dry before starting the crafting process. For more intricate designs, consider arranging the decorative pieces on top of the base beforehand to get an idea of the final product.
Step 4: Glue Your Decorative Items
Using an adhesive glue suitable for both your base and decorative items, carefully apply a small amount of glue to the back of each item. Remember to work efficiently as adhesives can dry quickly, making it challenging to adjust placement once glued.
Be mindful not to use too much glue, as this can result in a messy finished product. You may also want to wear protective gloves during this step to avoid getting any residue on your hands.
Step 5: Allow Time for Drying (if using Adhesive)
If you’re using an adhesive that requires time to set, lay your paperweight flat and allow it to dry for the recommended time before moving on to the next step. Patience is key in this process, as rushing could potentially ruin your paperweight.
But don’t worry, there are other methods that offer a quick-drying alternative, such as using resin or epoxy.
Step 6: Mix the Resin or Epoxy (if Using)
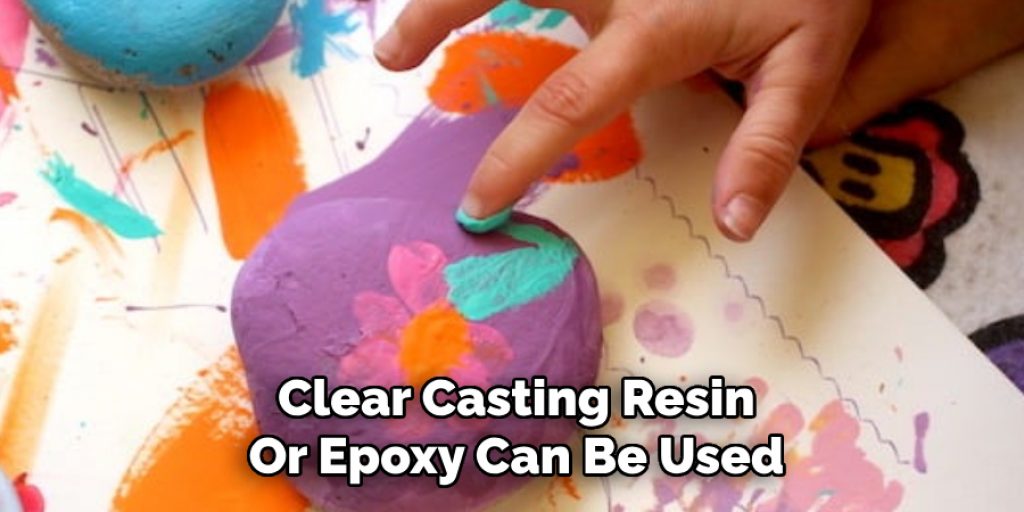
For those opting for a more durable and shiny finish, clear casting resin or epoxy can be used. Follow the instructions on the packaging carefully to mix the resin or epoxy thoroughly before pouring it into your base.
Make sure to wear protective gloves and a mask during this step as these materials can emit strong fumes. Also, consider working in a well-ventilated area.
Step 7: Pour the Resin/Epoxy over Your Decorative Items
Once you have mixed the resin/epoxy, pour it slowly over your decorative items on the base. You may want to use a toothpick or small stick to make any necessary adjustments and ensure the resin/epoxy covers all areas evenly.
Be mindful not to spill any of the material outside of the base as this can be challenging to clean up once dried.
Step 8: Allow Time for Drying
After pouring the resin/epoxy, let your paperweight dry according to the instructions provided on the packaging. Once fully set, you’ll have a beautiful and sturdy custom-made paperweight!
Following these simple steps on how to make paper weight, you can create your very own paperweight that is not only functional but also a unique display of your creativity. Use it to hold down important documents on your desk or gift it to someone special as a thoughtful and personalized present. Have fun crafting! So go ahead, gather your materials, and let your imagination run wild as you dive.
Additional Tips
Experiment with Texture:
Consider adding different textures to your paperweight by using items like sand, fabric scraps, or even small stones. This can enhance the visual appeal and make your creation even more unique.
Incorporate Personal Touches:
To make your paperweight even more special, include personal items like a pressed flower from a memorable occasion or a small memento that holds significance to you.
Choose a Theme:
If you’re creating multiple paperweights, think about a theme! This could be seasonal, such as autumn leaves or summer seashells, or more abstract, like color schemes that match your home decor.
Safety First:
Always read and follow safety precautions when working with materials such as resin or epoxy. Wearing gloves, a mask, and goggles can help protect your skin and respiratory system from harmful fumes.
Keep it Clean:
Keep your workspace tidy by promptly cleaning any spills or drips. This will save you time and effort later when you want to showcase your finished paperweight.
Display Creatively:
Once your paperweight is complete, think about how to display it! A small stand, a decorative plate, or simply placing it on your desk can highlight your handcrafted piece.
Frequently Asked Questions
Q: Is It Necessary to Wear Protective Gear While Making a Paperweight?
A: It’s always advisable to take precautions when working with adhesives or resin/epoxy. Wearing gloves and a mask can protect your skin and respiratory system from any potentially harmful chemicals.
Q: Can I Use Any Type of Adhesive for My Paperweight?
A: It’s essential to use an adhesive suitable for both your base and decorative items. For example, a general-purpose glue may not be strong enough to hold heavier objects, while some adhesives may not work well on certain materials.
Q: Are There Other Ways to Make a Paperweight?
A: Absolutely! These are just some suggestions for creating a paperweight using simple materials. You can get creative and experiment with different bases and decorative items such as dried fruits or leaves. The key is to have fun and let your imagination guide you. So go ahead, gather your materials, and let your imagination run wild as you dive into the world of paperweight crafting.
Q: How Long Does It Take for Resin/Epoxy to Dry?
A: The drying time for resin/epoxy can vary depending on the brand and specific product used. It’s essential to follow the instructions provided on the packaging carefully and allow enough time for proper drying before handling your paperweight. It’s also recommended to work in a well-ventilated area when using resin or epoxy due to their strong fumes.
Conclusion
In conclusion, creating your own paperweight is a fulfilling and enjoyable project that combines creativity with practical functionality. Whether you decide to create a minimalistic design or an elaborate work of art, the experience allows you to express your personality while repurposing everyday materials.
Not only do these custom paperweights serve a purpose in keeping your documents in place, but they also make charming decorative pieces for any space. As you embark on your crafting journey, remember that the most important aspect is to have fun and let your imagination guide you on how to make paper weight the process. Happy crafting!

