How to Make Rainbow Paper
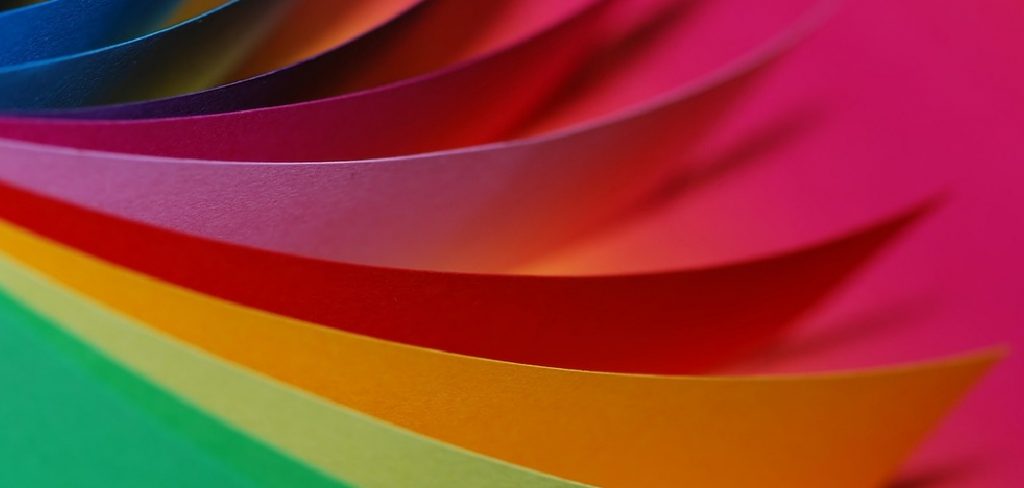
Rainbow paper is a vibrant and versatile material that can elevate a variety of craft projects and decorative purposes. Whether you’re creating handmade greeting cards, scrapbook pages, or colorful wall art, the rainbow paper provides a striking backdrop that draws the eye and sparks creativity. Making rainbow paper involves applying a blend of watercolor dyes to the white paper, allowing for an array of color combinations that can be tailored to any project.
Using the right materials and techniques is crucial to achieving the best results; high-quality paper, suitable dyes, and proper application methods ensure that your rainbow paper is both beautiful and durable. In this guide, you’ll learn exactly how to make rainbow paper, empowering you to unleash your artistic potential and craft stunning creations.
Materials and Tools Needed
To successfully create rainbow paper, gather the following materials and tools:
Materials:
- White Paper: The base for your rainbow paper; choose a weight that can hold water without tearing.
- Watercolours or Dye: Select vibrant watercolours or dyes that blend well together to create a beautiful spectrum.
- Paintbrushes: Various sizes, including larger brushes for covering more surface area and smaller ones for detailed work.
- Water: Needed for mixing dyes and wetting the paper.
- Mixing Bowls: These are used to combine water and dyes to achieve the desired color intensity.
Tools:
- Paper Towels: Useful for blotting excess water or dye from your brushes or paper.
- Drying Rack: To allow your finished rainbow paper to dry evenly without taking up extra space.
- Sponge: Helpful in wetting the paper thoroughly before applying dye.
- Masking Tape: Useful for creating clean edges or sections while dyeing.
Optional Materials:
- Glitter: This is for adding a touch of sparkle to your rainbow paper.
- Other Embellishments: Once the paper is dried, sequins, stickers, or washi tape can enhance its visual appeal.
Preparing the Workspace
Before you begin the process of making rainbow paper, it’s essential to set up a clean and flat workspace. Choose a location that is well-lit and free from clutter to ensure you have enough space to work effectively. Protect your surfaces by laying down newspaper or plastic sheets; this will help contain any spills or splatters from the dye, making clean-up easier. Once your area is prepared, take a moment to organize all your materials and tools for easy access.
Place your white paper, watercolors, brushes, and mixing bowls within reach to streamline the process and prevent interruptions while you work. Consider arranging items methodically so that everything is in a logical order, enabling you to focus on your creative process without unnecessary distractions. With a well-prepared workspace, you’re ready to dive into how to make rainbow paper!
How to Make Rainbow Paper: Creating the Rainbow Dye
To create vibrant rainbow paper, mix your primary colors: red, blue, and yellow. In separate mixing bowls, combine equal parts of the watercolors with a small amount of water to achieve the desired consistency. Stir thoroughly to ensure the colors are well-mixed, creating a smooth, flowing dye that can be easily applied to the paper.
Next, you can create secondary colors by combining the primary ones: mix red and yellow to form orange, blue and yellow to create green, and red and blue for purple. Adjust the proportions of each primary color to customize the hue of your secondary colors, experimenting until you find the perfect combination for your design.
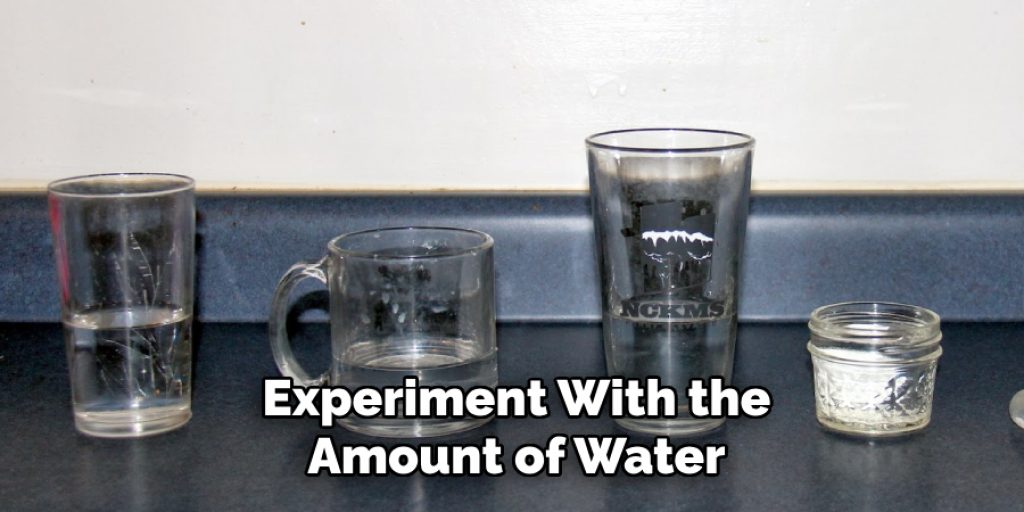
As you mix the colors, be mindful of their intensity. If you prefer brighter shades, use less water. To achieve softer, pastel-like tones, simply add more water. It’s important to balance the color consistency, as too thick a dye may lead to uneven application, while too watery a mixture can result in poor adhesion to the paper. With your rainbow dye prepared, you can bring your imaginative creations to life.
How to Make Rainbow Paper: Applying the Dye to the Paper
The application of dye to the paper is a critical step in creating rainbow paper, as it allows for the rich vibrancy and seamless transitions that define your masterpiece. Two primary techniques to achieve this are the wet-on-wet technique and layering colors.
1.Wet-on-Wet Technique
Start by wetting the paper thoroughly with a sponge or brush to prepare it for dye application. This method allows the dye to flow freely and blend beautifully on the moist surface. Once the paper is adequately wet, apply your prepared dyes, flowing and blending. Using a larger brush, apply different colors side by side, allowing them to intermingle naturally as they slide across the wet paper.
This creates a seamless transition between colors, creating an ethereal atmosphere that evokes the essence of a rainbow. Experiment with the amount of water on your brush and the intensity of each dye to discover the unique effects you can create. Remember to work swiftly while the paper is still wet to exploit the blending opportunities.
2.Layering Colors
After the initial dye layer has dried, you may want to intensify your artwork by adding additional layers. Ensure that the first layer is thoroughly dry before applying more colors to prevent unwanted blending and muddiness. With each new layer, you can deepen the richness of the colors, building depth and complexity in your design. If you desire crisp lines between different colors, consider using masking tape. This will allow you to create sharp boundaries between sections, resulting in a more polished final product.
As you layer, experiment with color intensity and placement, allowing your creative instincts to guide you through the process. Each layer adds a new dimension, enhancing the overall visual impact of your rainbow paper.
Drying and Setting the Paper
Once you have completed the dye application, it is essential to properly dry and set your rainbow paper to achieve the best results. Carefully transfer the dyed paper to a drying rack or a flat surface lined with clean, dry newspaper to catch any excess moisture. Ensure the paper lies flat to avoid creasing or wrinkling during drying. Allow sufficient drying time, typically a few hours, depending on the thickness of the dye application and the humidity levels in your environment.
This step is crucial in preventing color bleeding, which can occur if the dyes remain too wet. As the paper dries, periodically check for evenness; if you notice any areas that are still too wet, gently blot them with a paper towel to absorb excess moisture. Once fully dried, your vibrant rainbow paper is ready for use in a variety of creative projects!
Optional: Adding Embellishments
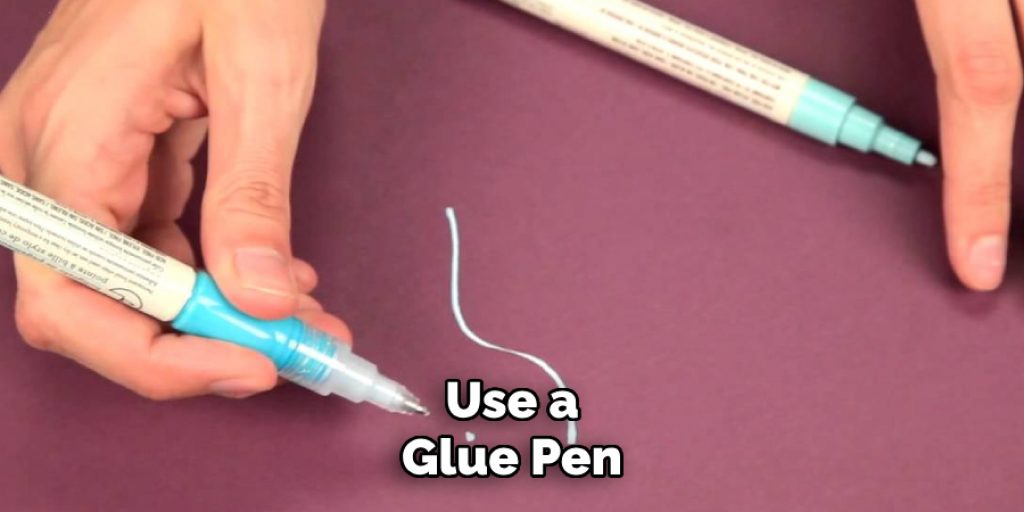
Enhancing your rainbow paper with embellishments can take your creations to the next level, adding sparkle and dimension. Once the paper has dried completely, consider applying glitter for a shimmering effect. To do this evenly, sprinkle a light layer of glitter over the desired areas while the paper is still slightly tacky to ensure better adhesion. Alternatively, you can use a glue pen to apply adhesive to specific designs before adding the glitter.
Stickers can also bring life to your rainbow paper, allowing for personal touches that reflect your style. Choose stickers that complement the colors of your design and apply them in a balanced way to avoid overwhelming your artwork. For an additional touch, consider using washi tape along the edges or in patterns across the surface, which can create visual interest and a polished finish. Remember to distribute these embellishments thoughtfully, ensuring they enhance rather than detract from the vibrancy of your rainbow masterpiece.
Troubleshooting Common Issues
Creating rainbow paper can present some challenges, but knowing how to troubleshoot can help you achieve your desired results.
1.Addressing Color Bleeding or Mixing:
To prevent unwanted color bleeding, always allow each dye layer to dry fully before applying additional colors. Additionally, reduce the water used in your dye mixtures, as overly wet dyes are more prone to mixing. If bleeding occurs, use paper towels to gently absorb excess moisture before it sets.
2.Fixing Uneven Color Application:
If you notice uneven spots after the dye application, you can go back in with a small brush and touch up those areas using the original dye mixture to create a more uniform look.
3.Dealing with Wrinkling or Curling of the Paper:
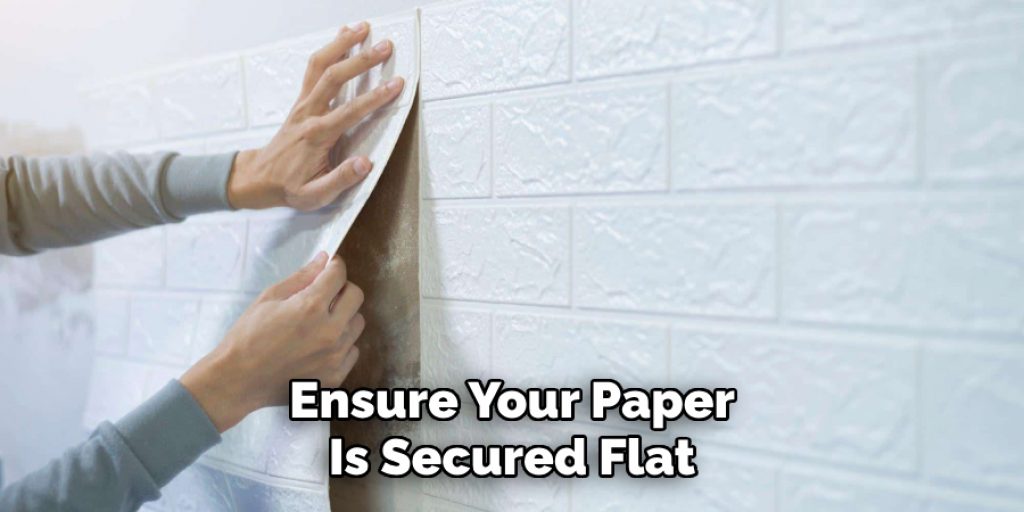
To combat wrinkling, ensure your paper is secured flat during drying and place a weight on top if necessary. If the paper curls post-drying, gently flatten it using a heavy book for a few hours.
Conclusion
In conclusion, mastering how to make rainbow paper involves several key steps: preparing your dye mixture, applying the dye using either the wet-on-wet technique or layering colors, allowing the paper to dry completely, and optionally adding embellishments for added flair. Each step builds upon the previous one, allowing you to create vibrant and unique designs that reflect your creativity.
Don’t hesitate to experiment with different color combinations and techniques, as the beauty of rainbow paper lies in its ability to adapt to your artistic vision. Whether you’re using it for greeting cards, scrapbook pages, or other craft projects, the versatility of rainbow paper invites endless possibilities for personal expression. Embrace the process of creation, and let your imagination guide you in your next colorful endeavor!
Elizabeth Davis
Elizabeth is a creative writer and digital editor based in the United States. She has a passion for the arts and crafts, which she developed from a young age. Elizabeth has always loved experimenting with new mediums and sharing her work with others. When she started blogging, she knew that DIYquickly would be the perfect platform to share her tutorials and tips. She's been writing for the blog from the beginning, and her readers love her helpful advice and easy-to-follow instructions. When she's not writing or editing, Elizabeth enjoys spending time with her family and friends.