How to Make Ribbon Bracelets
DIY jewelry has surged in popularity as people seek unique and personal accessories that reflect their individual style. Among the various trends, ribbon bracelets stand out due to their versatility and ease of customization. These charming items allow crafters to mix and match colors, patterns, and embellishments, creating one-of-a-kind pieces suitable for any occasion.

This article will guide you through the process of how to make ribbon bracelets, providing step-by-step instructions and creative ideas to inspire your projects. Whether you’re a seasoned crafter or a beginner, you’ll find that making ribbon bracelets is not only enjoyable but also a fulfilling way to express your creativity. Get ready to explore the exciting world of ribbon jewelry and learn how to turn simple materials into beautiful accessories.
Materials Needed
To get started on creating your ribbon bracelets, gather the following materials: various types of ribbons—choose from satin, grosgrain, or velvet—along with clasps, jump rings, beads, and charms for embellishment. The choice of ribbons is crucial, as each material offers a different look and feel; satin ribbons have a smooth and shiny finish, while grosgrain is more textured and durable.
In addition to these materials, you will need essential tools like scissors for cutting the ribbon to length, a needle and thread for securing beads or embellishments, and pliers to attach clasps and jump rings. Ensuring you have the right supplies will make the process smoother and more enjoyable as you create stunning and personalized ribbon bracelets.
Choosing the Ribbon and Design
Selecting the right ribbon for your bracelet is essential, as it reflects your personal style or the occasion you’re celebrating. Consider the colors that resonate with you or the event; brighter hues might be ideal for a casual summer gathering, while more subdued tones could suit formal occasions. The type of ribbon also plays a vital role; for instance, satin ribbons offer a luxurious sheen, whereas grosgrain provides a playful texture.
Remember the desired look and comfort level when determining the width and length of your ribbon. A wider ribbon can make a bolder statement, whereas narrower ribbons may appear more delicate. As a general guideline, aim for lengths that allow at least a few inches of overlap when tying off, ensuring a secure fit.
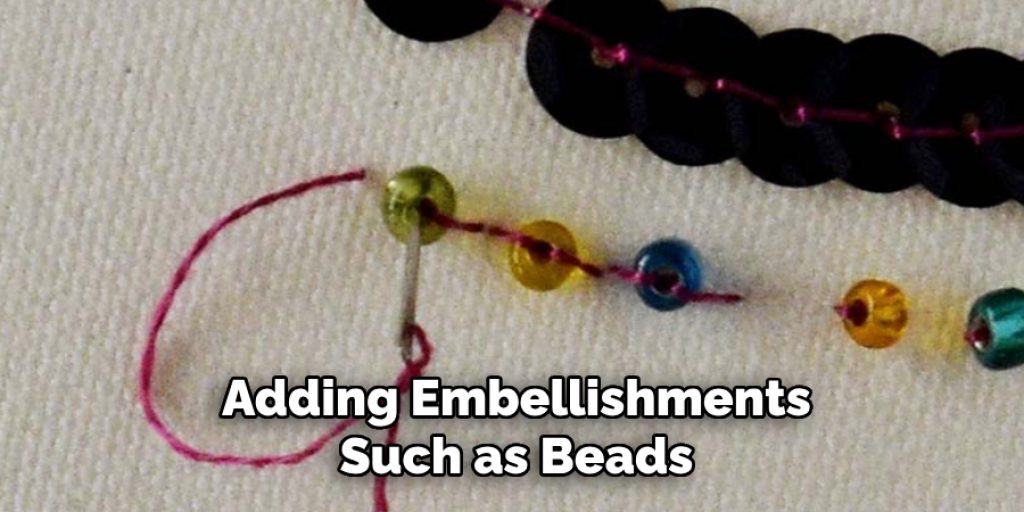
To enhance your design, consider adding embellishments such as beads or charms. These accents can elevate the bracelet’s aesthetic and make it uniquely yours. If you’re feeling creative, think about crafting matching sets or themed designs—perhaps matching bracelets for friends or family or coordinating colors for holidays or events. This approach showcases your creativity and builds a cohesive look that celebrates togetherness.
How to Make Ribbon Bracelets: Basic Ribbon Bracelet Techniques
Creating ribbon bracelets can be both simple and rewarding, with various techniques to choose from. Here, we’ll explore three basic styles: the Simple Knot, the Braided Ribbon, and the Twisted Ribbon bracelet.
1.Simple Knot Bracelet
To begin your Simple Knot Bracelet, first measure and cut your ribbon to the desired length—typically, 12 to 15 inches works well, depending on your wrist size. Leave extra length if you prefer a longer tail for tying a decorative knot. Next, tie knots along the ribbon at regular intervals; you can space the knots evenly for a clean look or vary the distance for a whimsical effect. For added durability and style, consider double-knotting each one. Once you’ve finished knotting, it’s time to secure your bracelet.
You can attach a clasp using jump rings and pliers for ease of wear or simply tie the ends together with a sturdy knot for a more casual style. This technique allows for creativity in color choices and knot placement, making each bracelet uniquely yours.
2.Braided Ribbon Bracelet
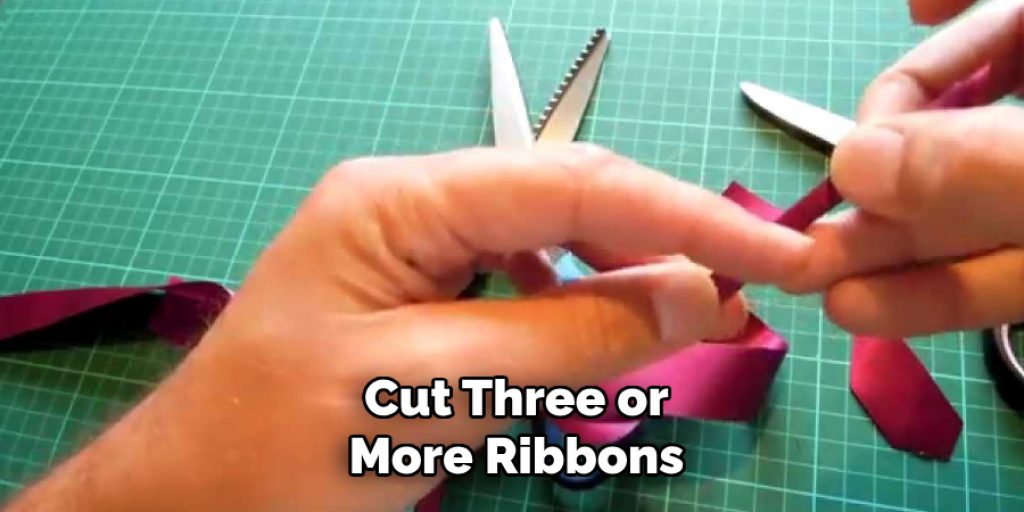
The Braided Ribbon Bracelet is a delightful choice for those looking to add a touch of texture and complexity. Cut three or more ribbons of equal length; approximately 10 to 12 inches is ideal for a comfortable fit. Ensure the ribbons are the same width for a uniform braid. Lay the ribbons flat and begin braiding them together, following your preferred braiding technique—traditional three-strand, fishtail, or a more intricate style.
As you braid, secure the ends with knots to prevent unraveling. To enhance the bracelet’s visual appeal, consider adding beads between the braids. This can be done by threading beads at regular intervals as you braid or by weaving them in after completing the braid. Once finished, attach clasps or simply knot the ends together, securing the beautiful featured elements while creating a striking accessory that’s perfect for any occasion.
3.Twisted Ribbon Bracelet
The Twisted Ribbon Bracelet offers a unique and stylish approach, perfect for those looking to showcase contrasting ribbon colors. To begin, select two or more ribbons of your choice and cut them to equal lengths; five to six inches is usually a good starting point. Next, tightly twist the ribbons together, ensuring they maintain a secure grip as you work. You can twist them in opposite directions for varying effects or continue until the desired thickness is achieved.
When you reach the end, secure the twists with knots or stitching to prevent them from coming undone. You may also choose to finish the bracelet with a clasp for ease of wear or an adjustable closure for added versatility. This method creates a visually captivating piece and allows you to play with texture and color, resulting in a stunning accessory that highlights your creativity.
Adding Clasps and Closures
Choosing the right type of clasp for your ribbon bracelet greatly influences both aesthetics and functionality. Common options include lobster clasps, magnetic clasps, and toggle clasps, each offering unique benefits. Lobster clasps provide a secure closure that’s easy to use, while magnetic clasps offer simplicity and convenience, perfect for daily wear. Toggle clasps add a decorative touch, often serving as a focal point in your design.
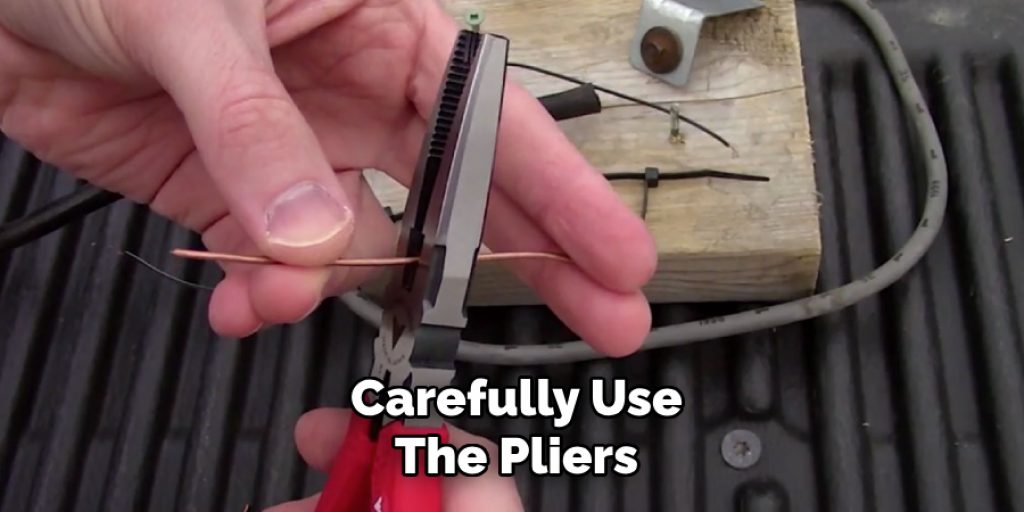
To attach a clasp, you’ll need jump rings and pliers. Begin by threading a jump ring through the end of the ribbon where you want to attach the clasp, then carefully use the pliers to close the ring securely. Ensure the clasp is easily operable yet firmly attached to withstand wear.
Creating adjustable closures using sliding knots or ribbon ends is an excellent way to ensure a comfortable fit. For sliding knots, you can simply tie additional knots along the ribbon, allowing the bracelet to adjust to different wrist sizes. Ribbon ends can also be used to securely anchor the ribbons together while providing a polished look.
For the most comfortable fit, aim to have a slight ease in the bracelet, ideally about half an inch larger than your wrist circumference. This approach will prevent the bracelet from feeling constricting while still remaining stylish and secure.
Customizing Your Bracelet
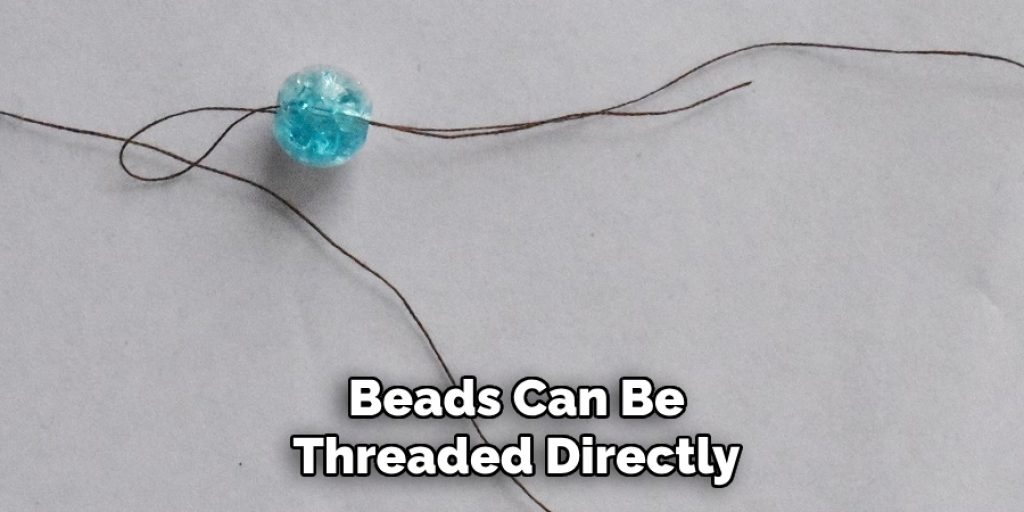
Adding personal touches to your ribbon bracelet can truly elevate it from ordinary to extraordinary. Consider incorporating beads, charms, or pendants to enhance its visual appeal. Beads can be threaded directly onto the ribbon during construction, while charms can be attached via jump rings for added character.
Consider sewing or gluing embellishments such as rhinestones, lace, or even fabric flowers onto the ribbon for a more intricate design. These accents can transform a simple ribbon into a statement piece. Personalization is also key: consider using initials, birthstones, or themed charms that signify important milestones, making your bracelet a cherished keepsake.
When crafting custom bracelets, think about the occasion for which they are intended. For instance, vibrant colors and fun motifs work well for birthday celebrations, while more understated, elegant designs are perfect for formal events such as weddings. For holidays, consider incorporating seasonal charms or colors to capture the spirit of the occasion.
By thoughtfully selecting and adding these elements, you can create a ribbon bracelet that reflects your style and holds special meaning, making it an unforgettable accessory for any moment.
Finishing Touches and Care
Once your ribbon bracelet is complete, trimming any excess ribbon is essential for a polished finish. Use sharp scissors to cut the ribbons to your desired length, ensuring that each strand is even. To prevent fraying, seal the ends of the ribbons with clear nail polish or fabric glue or carefully use a lighter to melt the fibers slightly. This will help maintain the neat appearance of your bracelet for longer.
To keep your bracelet looking its best, regular maintenance is key. Gently clean your ribbon bracelet with a soft, damp cloth to remove any dirt or oils that may accumulate. Avoid submerging it in water, as this can weaken the ribbons and adhesive. When not in use, store your bracelet in a cool, dry place, preferably in a fabric pouch or on a bracelet holder to prevent tangling and potential damage.
Minor adjustments can likely be made at home if you notice any wear or loose sections over time. You can re-knot or re-sew loose parts or replace worn-out clasps using jump rings. By taking a few simple steps to care for and repair your bracelet, you can enjoy its beauty and craftsmanship for many seasons to come.
Troubleshooting Common Issues
While creating your ribbon bracelet, you may encounter a few common issues that can be easily resolved. One frequent problem is fraying ribbon ends. To address this, ensure you seal the ends with clear nail polish or fabric glue before assembly, or use a lighter to gently melt the fibers. This preventative measure can help keep your ribbons looking neat and appealing.
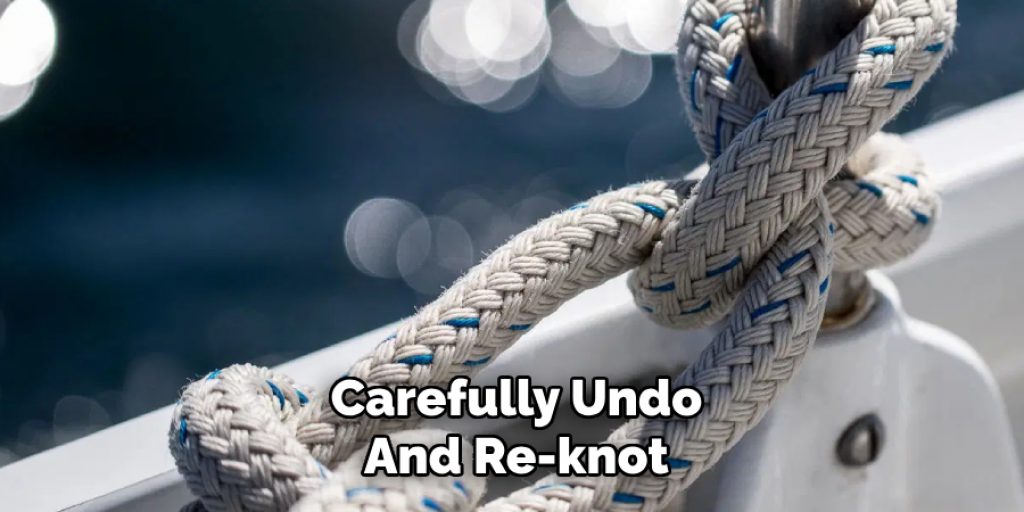
Another issue might arise from loose or uneven knots after completing your bracelet. If you find that the knots have loosened over time, try re-knotting them with tighter tension, perhaps adding a dab of glue for extra security. In the case of uneven knots, carefully undo and re-knot the sections for a symmetrical appearance.
Clasp-related issues, such as a clasp being too loose or difficult to attach, can also arise. If the clasp doesn’t stay closed, consider replacing it with a more secure option or adjusting the jump ring for a snugger fit. If a clasp is hard to manipulate, a lobster clasp may be more suitable due to its ease of use.
Lastly, if certain sections of your bracelet don’t meet your expectations, it’s worth considering redoing those portions. This can significantly enhance the overall aesthetic and ensure a polished final product.
Conclusion
In summary, creating a ribbon bracelet involves several enjoyable steps: selecting your ribbon, choosing the right clasp, customizing with beads and embellishments, and securing your design with proper finishing techniques. As you learn how to make ribbon bracelets, don’t hesitate to experiment with various colors, patterns, and materials to develop a style that resonates with you.
Personalizing your creations allows you to express your individuality while making meaningful gifts for loved ones. Remember, each bracelet you create is not just a piece of jewelry; it carries the joy of your creativity and craftsmanship. Embrace the process and have fun exploring the endless possibilities that come with making personalized jewelry!
Elizabeth Davis
Elizabeth is a creative writer and digital editor based in the United States. She has a passion for the arts and crafts, which she developed from a young age. Elizabeth has always loved experimenting with new mediums and sharing her work with others. When she started blogging, she knew that DIYquickly would be the perfect platform to share her tutorials and tips. She's been writing for the blog from the beginning, and her readers love her helpful advice and easy-to-follow instructions. When she's not writing or editing, Elizabeth enjoys spending time with her family and friends.