How to Make Rosettes Out of Fabric
Have you ever wanted a unique way to add some flair to your next sewing project? An easy and stylish option is making rosettes out of fabric. Rosettes are fun little decorative elements that can be used on clothing, accessories, home decor items, and more.
Rosettes are beautiful decorations that can instantly transform any fabric into something unique and memorable. Whether you’re making the perfect accent to your favorite dress or adding a touch of flair to a gift-wrapped present, these simple fabric rosettes offer an easy way to elevate your crafting projects.
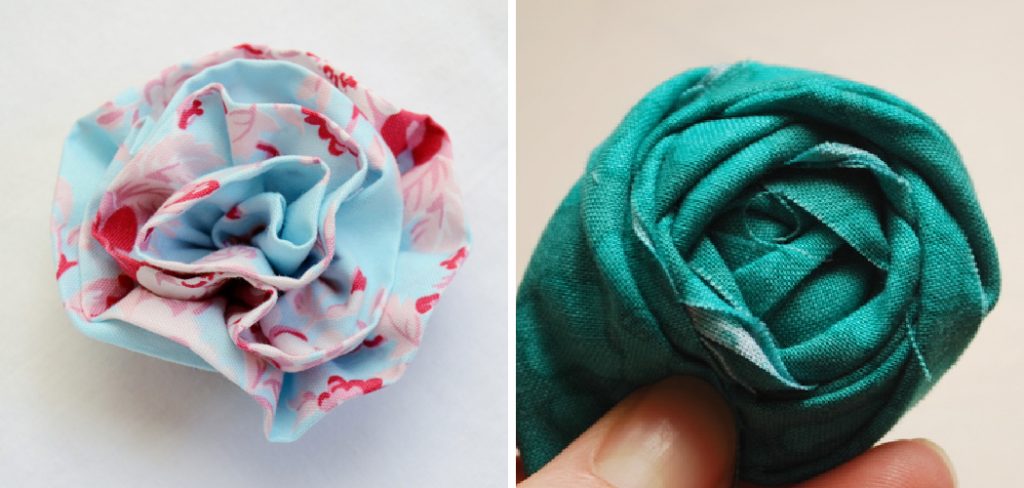
In this post, we’ll show you how to make rosettes out of fabric in just minutes, using only basic tools and supplies. Ready to get started? Let’s go!
What Will You Need?
To make fabric rosettes, you will need the following:
- Fabric of your choice (2-3 yards)
- Scissors
- Pins
- Thread in a matching color to the fabric
- Needle
- Hot glue gun and glue sticks
- Glitter or other decorations for embellishing (optional)
Once you have all the supplies, you’re ready to begin!
10 Easy Steps on How to Make Rosettes Out of Fabric
Step 1. Cut the Fabric:
Start by cutting your fabric into thin strips. The size of the rosette will depend on how wide and long you cut these strips, so make sure to measure them carefully before getting started. You can also experiment with different fabric textures for different results with your rosettes.
Step 2. Sew the Strips:
Take two strips and sew them together along their long edges, making sure to leave one end open. Repeat with all of your strips until you have a few rosette-shaped pieces of fabric. You can embellish the strips with glitter or other decorations before sewing them together if desired.
Step 3. Gather and Secure:
Gather one of your strips in the middle until it forms a rosette shape. Secure it with a few pins at the base. You may need to adjust the gathers as necessary to ensure that it forms an even rosette.
Step 4. Sew the Base:
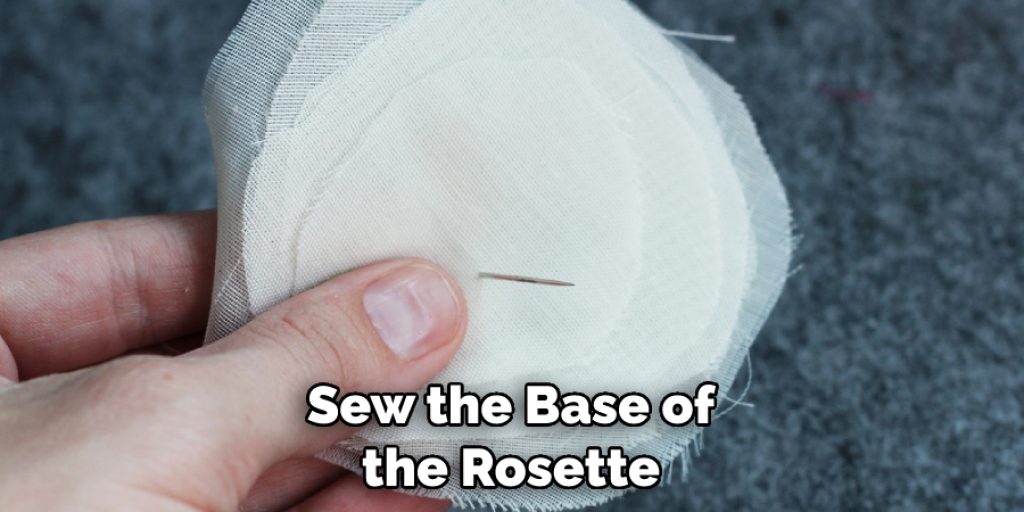
Using a needle and thread, sew the base of the rosette to secure it in place. Be sure to make tiny stitches at regular intervals around the entire gathering. As you sew, start from the outside and work your way inwards.
Step 5. Attach Another Strip:
Take another strip of fabric and attach it directly to the base of the rosette. Make sure to line up the edges carefully before sewing them together with small stitches at regular intervals. It will help if you pin the strip in place first before sewing. Repeat Steps 4 and 5 until you have completed your rosette. Make sure to adjust the gathers of each layer as needed to keep them even.
Step 6. Secure with Hot Glue:
Once all of your layers are in place, use a hot glue gun to secure them together. This will help the rosette maintain its shape and keep it from unraveling. Try to keep the glue as invisible as possible.
Step 7. Attach Embellishments:
If desired, you can also add some extra embellishments to your rosette. Glitter, ribbon, and other decorations all work great for this step. Simply attach them with a hot glue gun and let them dry before moving on.
Step 8. Flatten the Back:
Once your rosette is complete, you can now flatten the back of it by pressing down firmly with your hands. This will keep it from curling up or unraveling in the future. Don’t forget to check the front of the rosette as well for any loose threads that may need to be secured.
Step 9. Attach Your Rosette:
Now it’s time to attach your rosette! If you are making clothing, headbands, or other fabric-based items, you can simply sew the rosette directly onto the fabric. If you are making something for home decor, you can use hot glue or fabric glue to attach it.
Step 10. Enjoy!
And that’s how you make rosettes out of fabric! You now have a beautiful and unique decoration with minimal effort and tools. Add some extra sparkle with some glitter or other decorations, and you will have a one-of-a-kind accent for your next project. Remember, the possibilities are endless with rosettes, so have fun and get creative!
We hope this guide has inspired you to give fabric rosettes a try. With this easy tutorial, you’ll be able to make beautiful decorations for your next project in no time. Enjoy!
5 Additional Tips and Tricks
- To make sure that your rosettes are even and symmetrical, try using a ruler or other straight edge when cutting the fabric strips.
- If you don’t have access to a hot glue gun, you can also use fabric glue or a special adhesive specifically made for fabrics.
- Be careful not to over-gather the fabric when creating your rosette. Too much gathering can make it harder to flatten the back of the rosette, resulting in a bulky shape.
- If you are making clothing with your rosettes, consider adding an extra layer of interfacing to strengthen the fabric and make sure it doesn’t unravel.
- If you are making a large number of rosettes, consider investing in a rotary cutter for quicker and more precise cutting. This will save you time and hassle when creating your fabric decorations.
With these helpful tips and tricks, you’ll be able to make beautiful fabric rosettes in no time! So what are you waiting for? Get sewing and let your creativity shine!
5 Things You Should Avoid
1. Avoid Cutting the Fabric Too Thin: If your fabric strips are too thin, the rosette may end up being flimsy and not hold its shape.
2. Avoid Hot Glue Seepage: When gluing your rosette together, make sure to keep the glue as invisible as possible. Any excess glue may be visible when looking at the front of the rosette.
3. Avoid Over-gathering: Too much gathering can make the rosette look bulky and uneven. Make sure to adjust your gathers as necessary while creating each layer to ensure an even shape.
4. Avoid Using Too Much Thread: When sewing the base of the rosette, it’s important not to use too much thread. This can cause the rosette to look messy and weighed down.
5. Avoid Using a Low-quality Fabric: Using a low-quality fabric will result in a weak rosette that won’t hold its shape and may be prone to fraying. Be sure to use only high-quality fabrics for your projects.
Follow these helpful tips, and you’ll be ready to make beautiful fabric rosettes in no time! Have fun experimenting with different fabric textures and patterns, and don’t forget to embellish your creations for a unique touch. Enjoy!
5 Different Ways to Use Your Rosettes
1. Clothing: Add a unique touch to your clothing by attaching fabric rosettes to shirts, skirts, hats, and other items of clothing.
2. Bags and Accessories: Use the rosettes to create personalized bags, backpacks, purses, headbands, and more.
3. Home Decor: Add fabric rosettes to curtains, pillows, or rugs for a custom look.
4. Scrapbooks and Journals: Use the rosettes as page accents in scrapbooks, journals, planners, and more.
5. Gifts: Give your gifts an extra special touch by attaching fabric rosettes to gift bags and wrapping paper!
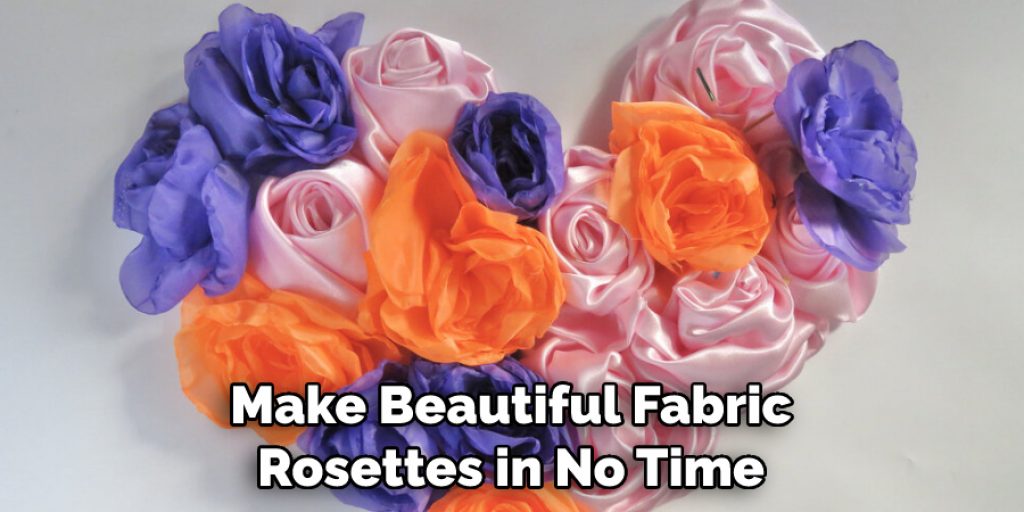
No matter how you choose to use them, fabric rosettes are sure to add a unique and beautiful touch to any project. Have fun experimenting, and let your creativity shine!
What Are the Different Types of Rosette?
There are several types of rosettes, each with unique characteristics and uses. Some of the most common types of rosettes include:
1. Round Rosettes: These are the simplest type of rosette and feature a single round shape with loops or circles on either side.
2. Square Rosettes: These rosettes are similar to round rosettes but feature square or rectangular shapes instead of circles.
3. Floral Rosettes: These decorative accents feature intricate flower designs and can be used in a variety of projects.
4. Star Rosettes: These stars typically have five points and may have inner and outer circles with intricate details.
5. Diamond Rosettes: These decorative accents are diamond-shaped and feature a central circle surrounded by four triangular points.
6. Heart Rosettes: As the name implies, these rosettes are shaped like hearts and can be used to add a romantic touch to any project.
With a wide variety of rosettes to choose from, you’ll be able to find the perfect accent for any project.
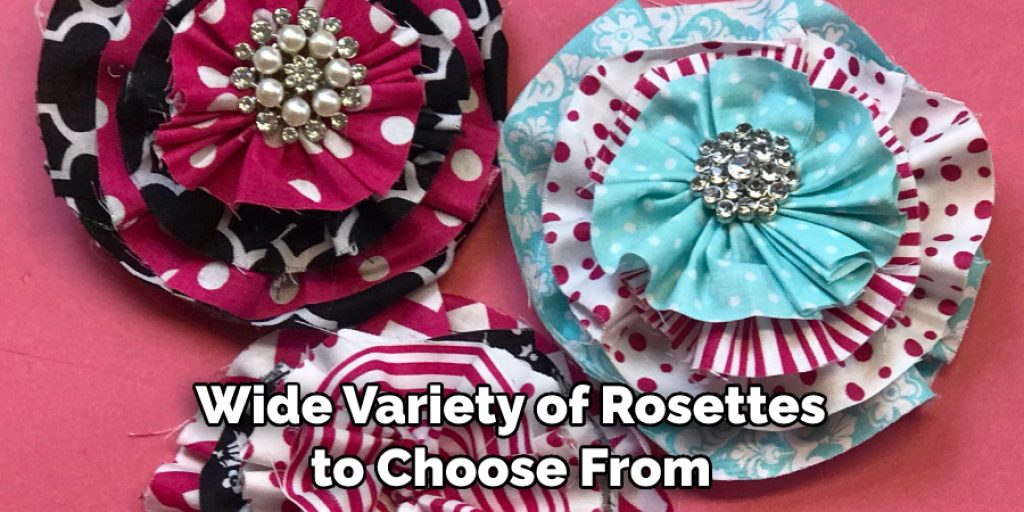
No matter which type of rosette you choose, they all offer a unique and decorative touch that can brighten up any space.
Conclusion
How to make rosettes out of fabric is a great way to customize your apparel, curtains, pillows, and more. To ensure you are creating the highest-quality rosette that you can be proud of, it’s important to use high-quality fabrics. Not all fabric options are created equal — make sure to read the material descriptions carefully and source materials from well-known fabric stores to get the best results.
Once you have mastered the skill of making rosettes with various fabrics, you’ll be able to create one-of-a-kind designs for any occasion. Not only will your friends and family love your creations, but you’ll also feel a sense of pride in having made something unique and beautiful out of fabric!
With some time and practice, you’ll be on your way to becoming a master at creating wonderful fabric rosettes.

