How to Make Stickers to Sell Without Cricut
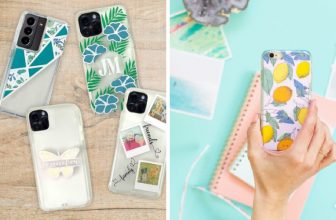
Are you looking to start your own sticker business but need a Cricut machine? Or maybe you just want to make custom stickers without investing in expensive equipment.
How to make stickers to sell without cricut can be a profitable and enjoyable venture, especially for those who want to express their creativity without the need for expensive tools like a Cricut machine. Whether you’re looking to launch a small business or simply want to share your designs with friends and family, making stickers by hand or using essential equipment can yield stunning results.
In this guide, we’ll explore various techniques, materials, and tips to help you craft unique stickers that stand out in the market, all while keeping costs low and simplicity high. With just a few supplies and a dash of creativity, you can start producing eye-catching stickers that resonate with your target audience.
What Will You Need?
Before diving into making stickers without a Cricut, let’s first gather all the necessary supplies. The good news is that you don’t require fancy equipment or expensive materials to create quality stickers. Here are some essentials you’ll need:
- Sticker Paper: This is a must-have when making stickers. Its adhesive backing ensures your designs stay in place once they are cut.
- Printer: Any printer can be used for this purpose; however, inkjet printers tend to give better results than laser printers.
- Scissors or Craft Knife: You will use these to cut out your designs from the sticker paper. A craft knife allows for more precision, but scissors can also do the job well.
- Cutting Mat: This is optional but highly recommended if you’re using a craft knife. It will protect your work surface and ensure clean cuts.
- Design Software: You must create or import your designs into a program like Adobe Illustrator or Canva. If you don’t have access to these, there are free online alternatives such as Pixlr and GIMP that you can use.
- Transparent Tape (Optional): This can cover your stickers for added protection and durability, especially if they’ll be exposed to water or frequently handled.
Once you have these supplies on hand, you’re ready to start making your stickers!
10 Easy Steps on How to Make Stickers to Sell Without Cricut
Step 1: Design Your Stickers
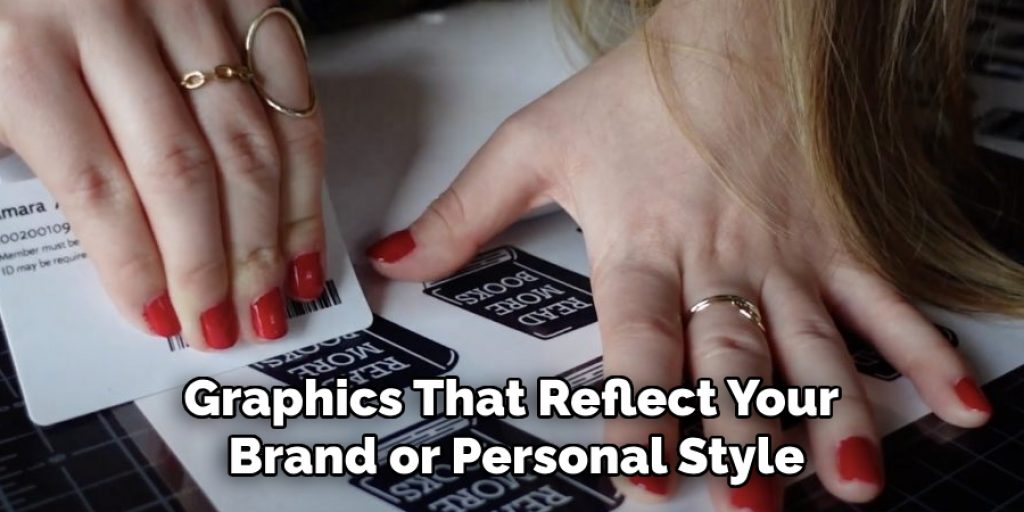
The first step in creating your stickers is to design them. Begin by brainstorming ideas that resonate with your target audience. Consider themes, colors, and graphics that reflect your brand or personal style. To create your designs, you can use design software like Adobe Illustrator, Canva, or free alternatives such as Pixlr and GIMP. Start with a blank canvas and select the dimensions for your stickers—commonly, a size of 3 inches by 3 inches works well for most designs.

Step 2: Print Your Stickers
Once your designs are complete and you’re satisfied with the final artwork, it’s time to print them. Load your sticker paper into the printer, following the manufacturer’s instructions for the best results. Adjust your printer settings for the highest quality printing—select the appropriate paper type and ensure the color settings are optimal for vibrant output. After printing, give the ink some time to dry to prevent smudging, especially if you’re using an inkjet printer.
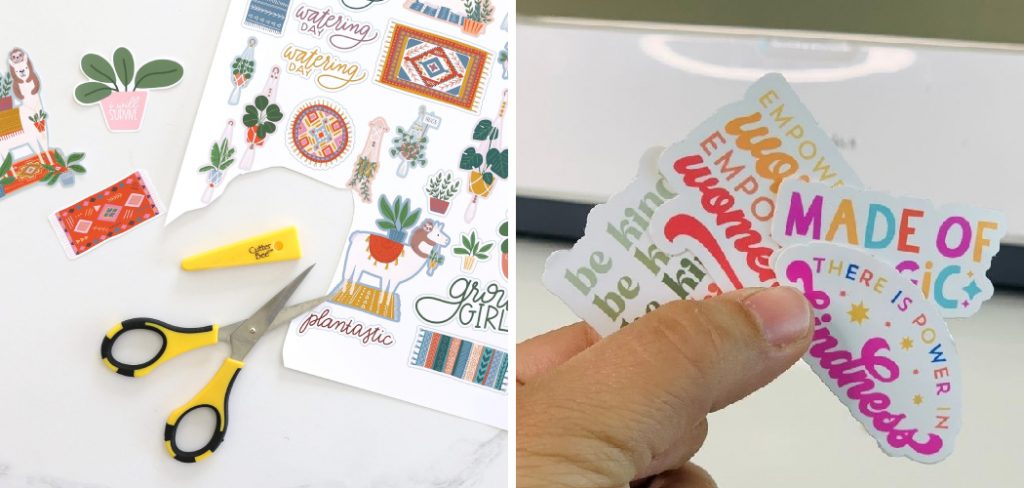
Step 3: Cut Out Your Stickers
Once your stickers are printed and the ink is dry, it’s time to cut them out carefully. Use scissors for basic shapes or a craft knife for more intricate designs. Place your sticker paper on a cutting mat to protect your work surface if you’re using a craft knife. Take your time during this step to ensure clean, precise edges, as this will enhance the overall look of your stickers. If you’re making multiple stickers, consider cutting them out in batches to save time.
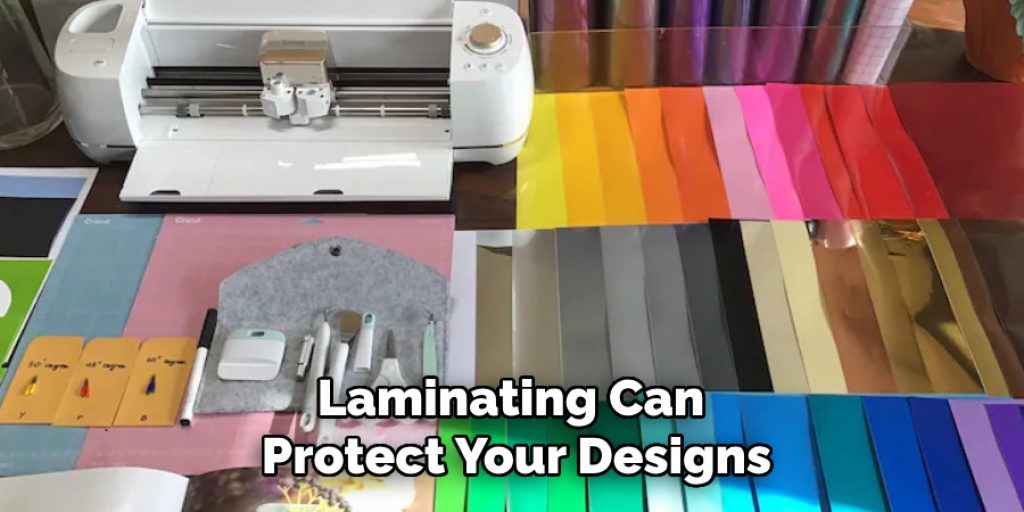
Step 4: Laminate Your Stickers (Optional)
For added durability, consider laminating your stickers. Laminating can protect your designs from scratches, water, and fading, ensuring they last longer, primarily if they will be used outdoors or handled frequently. You can use self-adhesive laminating sheets or a laminating machine if you have access to one. Cut the laminate slightly larger than your sticker, place it over the design, and smooth it out to eliminate bubbles.
Step 5: Prepare Your Stickers for Sale
Once your stickers are cut and, if desired, laminated, consider how you want to present them for sale. Packaging is crucial in attracting customers, so take the time to create appealing packaging. Clear plastic sleeves, custom backing cards, or even simple kraft paper envelopes can be used. Including your branding on the packaging helps create a cohesive look and strengthens brand recognition. Don’t forget to add any necessary information such as pricing or care instructions, which will enhance the customer experience.
Step 6: Market Your Stickers
With your stickers ready and beautifully packaged, it’s time to share them with the world. Leverage social media platforms like Instagram, Pinterest, and TikTok to showcase your designs. High-quality images and engaging content can help catch people’s attention. Consider setting up an online store through platforms like Etsy, Shopify, or your own website to make purchasing easy. Participating in local craft fairs, markets, or pop-up shops can also provide excellent opportunities to connect with potential customers in person and gain feedback on your products.
Step 7: Gather Feedback and Improve
After your stickers are out in the world, gathering customer feedback is essential. Encourage them to share their thoughts on your designs and the overall product experience. Use platforms like social media or email to solicit reviews and suggestions. Analyzing this feedback will provide valuable insights into what resonates with your audience and what could be improved.
Step 8: Expand Your Product Line
Once you have established a steady flow of sales and gathered feedback, consider expanding your product line to include complementary items. Stickers can be easily paired with other products such as greeting cards, notebooks, or prints. By diversifying your offerings, you can appeal to a wider audience and encourage customers to purchase multiple items. Also, think about seasonal themes or trending topics to create limited-edition stickers that can drive urgency and excitement among your customers.
Step 9: Create Engaging Content
To keep your audience interested and returning for more, consistently produce engaging content highlighting your stickers and brand story. Consider starting a blog or video series where you share your creative processes, showcase new designs, or discuss trends in the sticker industry. Tutorials on how to use and display your stickers can also resonate well with your audience. Use storytelling to connect with your customers; share the inspirations behind your designs or personal anecdotes related to your creative journey. Consistent and relatable content helps build a community around your brand and positions you as an authority in the sticker space, fostering loyalty among your customers.
Step 10: Analyse Sales Data
To effectively gauge the success of your sticker business, it’s essential to analyse sales data regularly. Keep track of the best-selling designs, seasonal trends, and customer preferences. Use analytics tools from your online store platform or social media insights to understand customer behaviors and purchasing patterns. This information can help you make informed decisions about future designs, marketing strategies, and inventory management.
By following these steps, you can turn your love for stickers into a successful and sustainable business.
5 Things You Should Avoid
- Cutting Without Precision: Avoid using scissors or manual cutting tools that can lead to jagged edges and inconsistent shapes. Instead, invest in a reliable cutting tool such as a craft knife or a paper cutter to achieve clean, professional-looking cuts.
- Using Low-Quality Materials: Refrain from using subpar paper or adhesive that may not withstand wear or elements. Choose high-quality sticker paper and inks that ensure vibrant colors and durability, allowing your stickers to endure various conditions.
- Neglecting Design Consistency: Avoid designing stickers that lack a cohesive style or theme. A consistent design aesthetic not only strengthens brand identity but also enhances the appeal of your product line, making it easier for customers to recognize and relate to your brand.
- Ignoring Market Research: Only create designs with understanding your target audience. Conduct thorough market research to determine current trends, customer preferences, and what your competitors are offering.
- Skipping the Branding Process: Pay attention to branding elements in your sticker business. Failing to incorporate your brand’s personality into your packaging, labels, and marketing can diminish your brand’s visibility.
Conclusion
In summary, how to make stickers to sell without cricut is entirely feasible by employing a range of tools and techniques.
Begin by designing your stickers using graphic design software, ensuring you focus on high-quality artwork that resonates with your target audience. Print with reliable printers that produce vibrant colors and use durable sticker paper for optimal results. Once printed, precision cutting is vital, so consider investing in quality cutting tools to refine your edges. Marketing your stickers through social media and local markets can amplify your brand visibility while gathering customer feedback, which will help improve your designs.
By strategically expanding your product line and consistently engaging with your audience, you’ll build a loyal community eager for your latest creations.
Elizabeth Davis
Elizabeth is a creative writer and digital editor based in the United States. She has a passion for the arts and crafts, which she developed from a young age. Elizabeth has always loved experimenting with new mediums and sharing her work with others. When she started blogging, she knew that DIYquickly would be the perfect platform to share her tutorials and tips. She's been writing for the blog from the beginning, and her readers love her helpful advice and easy-to-follow instructions. When she's not writing or editing, Elizabeth enjoys spending time with her family and friends.