
How to Make Valentine Cards With Cricut
Are you looking for a unique and personalized way to show your loved ones some love this Valentine’s Day? Look no further than making handmade Valentine’s cards with Cricut!
how to make valentine cards with Cricut machine is not only a delightful way to express your affection but also a fun craft project that allows for creativity and customization. Whether you’re looking to impress a significant other, show appreciation for friends, or create sweet notes for family members, a Cricut offers the versatility to bring your vision to life. With its advanced cutting technology, you can effortlessly transform cardstock, vinyl, and other materials into stunning designs.

In this guide, we will explore the steps and tips necessary to craft beautiful Valentine’s cards that are sure to convey your heartfelt messages and make the recipients feel special.
What Will You Need?
First things first, let’s gather the necessary materials for making Valentine cards with Cricut:
- A Cricut machine (Explore Air 2 or Maker)
- Cardstock or other paper material
- Adhesive (glue, tape runner, or glue dots)
- Scissors
- Markers, pens, or colored pencils
- Vinyl (optional)
Once you have all your supplies, it’s time to start creating your one-of-a-kind Valentine cards!
10 Easy Steps on How to Make Valentine Cards With Cricut
Step 1: Choose Your Design
The first step in making Valentine’s cards with Cricut is deciding on a design. You can choose from the vast collection of pre-made designs in the Cricut Design Space or create your own using the software. Some popular themes for Valentine’s Day include hearts, love messages, and cute animals. Consider personalizing the design by adding names or special dates to make it more meaningful.
Step 2: Prepare Your Materials
Now that you have chosen your design, it’s time to prepare the materials. Start by selecting the type of cardstock or paper you’ll use for your Valentine cards. Make sure it’s compatible with your Cricut machine. Next, load your chosen material onto the cutting mat, ensuring it adheres securely. Once your material is in place, open the Cricut Design Space and adjust the settings to match the thickness and type of your chosen paper. This ensures a clean and precise cut of your design once you begin the cutting process.

Step 3: Cut Your Design
With your materials prepared and your design selected, it’s time to cut your design using the Cricut machine. Load the cutting mat into the machine, making sure it aligns properly. Select the “Make It” button from the Cricut Design Space, then choose the appropriate cutting settings for your chosen material. Once everything is set, press the “Go” button on your Cricut machine to start the cutting process. Keep an eye on the progress, and be ready to unload the mat once the cutting is complete. Carefully remove the cut design from the mat so as not to damage any intricate details.
Step 4: Assemble Your Card
Once you have successfully cut your design, it’s time to assemble your Valentine’s card. Start by folding your chosen cardstock in half to create a card base. If you prefer a more elaborate style, consider layering multiple pieces of cardstock for added depth and texture. Use your adhesive to attach the cut design to the front of the card, ensuring it is centered and securely affixed. If you’re adding any additional embellishments, such as stickers or ribbon, now is the perfect time to place them. Take a moment to arrange everything pleasingly before permanently adhering to all pieces.
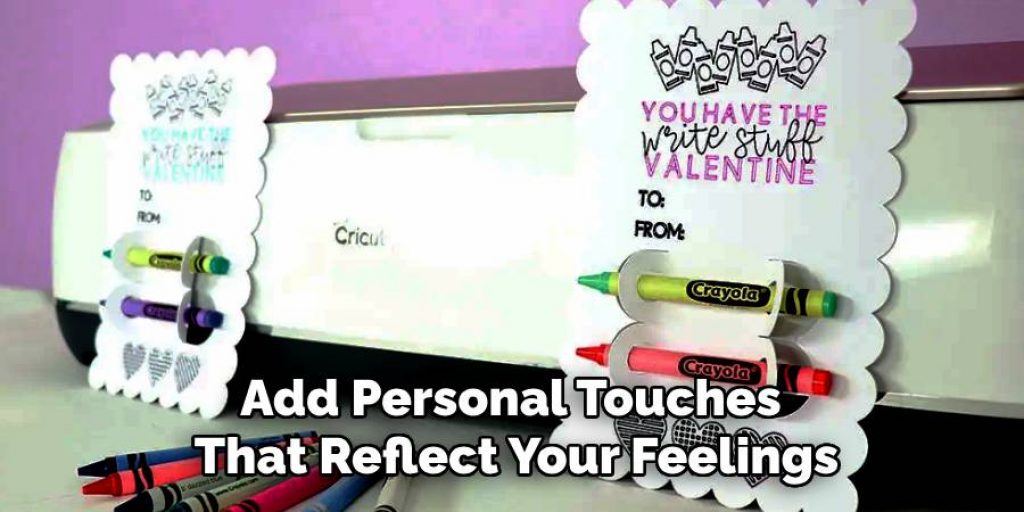
Step 5: Add Personal Touches
Now that your card is assembled, it’s time to add personal touches that reflect your feelings. Use markers, pens, or colored pencils to write a heartfelt message inside the card. You can include a sweet note, a beloved quote, or even a personal poem that captures your sentiments. If you’re feeling crafty, consider using vinyl to create custom text or designs for the card’s interior or envelope. This small detail can make your Valentine’s card genuinely unique and memorable, ensuring that your loved ones feel cherished and appreciated.
Step 6: Finalize Your Card
After adding those personal touches, it’s essential to give your card a final review. Check for any stray marks or excess adhesive that may need cleaning up. If you use vinyl or other embellishments, ensure they are securely adhered to avoid any peel-away issues. Take a moment to admire your creation—it’s almost complete! Next, prepare your envelope to match the charm of your card. You can decorate the envelope with leftover designs or a simple sticker to coordinate with your card’s theme. This attention to detail will enhance the overall presentation and make receiving the card all the more special.
Step 7: Make Copies (If Needed)
If you plan to share your Valentine’s cards with multiple recipients, consider making copies of your design. This can quickly be done by duplicating your design in Cricut Design Space or by cutting several pieces of cardstock at once. Set up your Cricut machine to cut multiple designs in one go, ensuring you have enough beautiful cards for everyone on your list. This saves time and allows for uniformity in your handcrafted cards, making your thoughtful gesture even more impressive.
Step 8: Address and Send Your Cards
With your Valentine cards complete, it’s time to address and send them to your loved ones. Write the recipient’s name on the envelope using a coordinating marker or pen that complements your card design. Add a special touch by incorporating a decorative seal or sticker on the envelope flap if desired. When all cards are addressed, affix the necessary postage and drop them off at your nearest post office or mailbox. This final step is crucial in ensuring your heartfelt greetings reach their destinations and spread joy to those you care about.
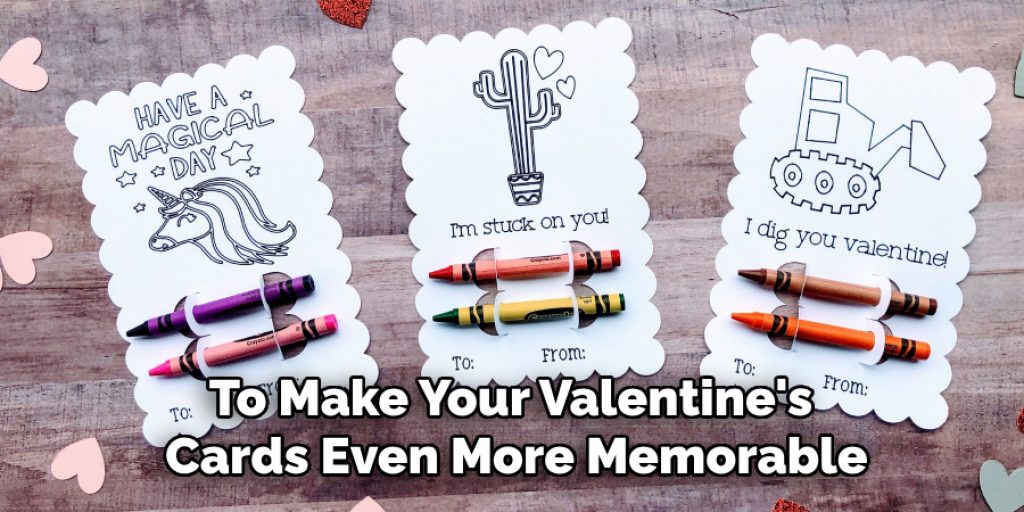
Step 9: Plan a Surprise Delivery
To make your Valentine’s cards even more memorable, consider planning a surprise delivery. You can hand-deliver each card to your loved ones, adding a personal touch that allows you to see their reactions firsthand. Alternatively, you might coordinate a group gathering with friends or family, where everyone exchanges cards in a fun and festive way. If you opt to mail your cards, consider including a small surprise, such as a sweet treat or a heartfelt note, tucked inside the envelope. This extra effort can turn your simple card into a cherished keepsake, making the recipient feel even more loved and appreciated.
Step 10: Reflect on Your Experience
After the Valentine’s Day festivities have concluded and your cards have been delivered, take a moment to reflect on the entire experience. Consider what you enjoyed most about the design and creation process and any aspects that may have been challenging. This reflection can help you improve your crafting skills for future projects, allowing you to discover new techniques or materials you’d like to explore. Additionally, think about the reactions you received from your loved ones—these moments of joy and appreciation make your efforts truly worthwhile. Use this feedback to inspire your next creative endeavor, whether for another holiday or a personal project!
By following these steps, you can easily create personalized and heartfelt Valentine’s cards using your Cricut machine.
5 Things You Should Avoid
- Neglecting Material Compatibility: Always verify that your materials are compatible with your Cricut machine settings. Using incompatible materials can lead to poor cuts or damage to your machine. Test on a small piece first if you need clarification.
- Skipping the Design Preview: Always use the design preview feature in Cricut Design Space before cutting. This step allows you to check placement, scaling, and arrangement, ensuring everything looks perfect before committing to the cut.
- Overloading the Cutting Mat: Place only a few designs on a single mat. Overloading can lead to misalignment, and some designs may need to be cut properly. Stick to a few well-placed items to ensure optimal results.
- Ignoring Clean-Up: Failing to clean your cutting mat and machine can result in residue affecting cuts. Regularly clean your tools and mats to maintain their effectiveness and prolong lifespan.
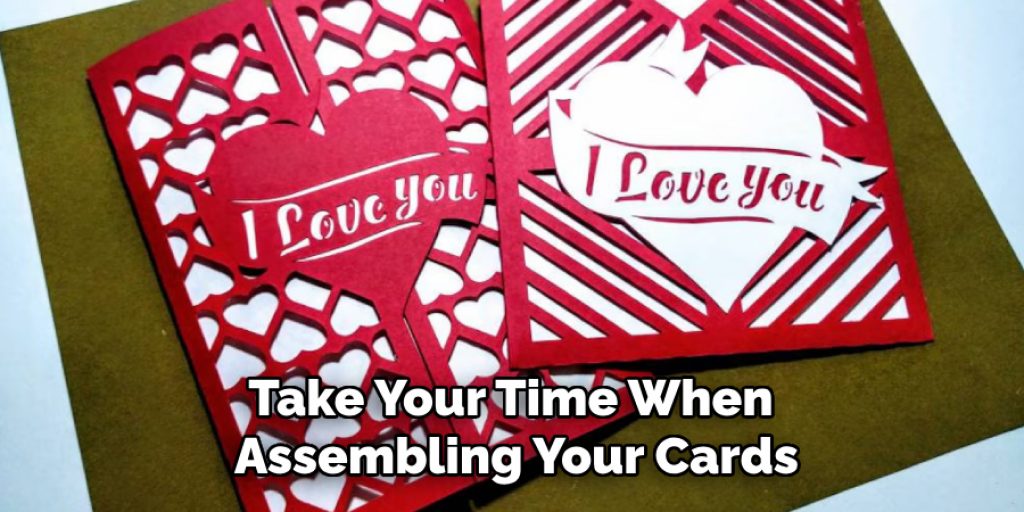
- Rushing the Assembly Process: Take your time when assembling your cards, especially when using delicate materials. Rushing can lead to mistakes or damage to your design. Take a break if you need to and come back with fresh eyes for a more polished result.
These tips will help you avoid common mistakes and ensure that your Cricut Valentine cards turn out beautifully every time.
Conclusion
How to make valentine cards with Cricut machine not only allows you to express your creativity but also helps you convey heartfelt sentiments to those you cherish.
You can craft cards that stand out and spread joy by following the outlined steps— from design and assembly to thoughtful delivery. Remember to put care into each aspect of the process, whether selecting materials, ensuring compatibility, or adding unique personal touches. Reflecting on your experience can also enhance your skills for future projects, making each holiday celebration more memorable than the last.
Embrace the joy of crafting, and let your creativity shine this Valentine’s Day!
Elizabeth Davis
Elizabeth is a creative writer and digital editor based in the United States. She has a passion for the arts and crafts, which she developed from a young age. Elizabeth has always loved experimenting with new mediums and sharing her work with others. When she started blogging, she knew that DIYquickly would be the perfect platform to share her tutorials and tips. She's been writing for the blog from the beginning, and her readers love her helpful advice and easy-to-follow instructions. When she's not writing or editing, Elizabeth enjoys spending time with her family and friends.


