How to Make Wire Flowers
Wire flowers are a delightful and creative way to bring a touch of nature indoors without the worry of wilting or maintenance. Using simple materials like floral wire, pliers, and paint, you can craft stunning floral designs that can be customized to suit any décor or occasion.
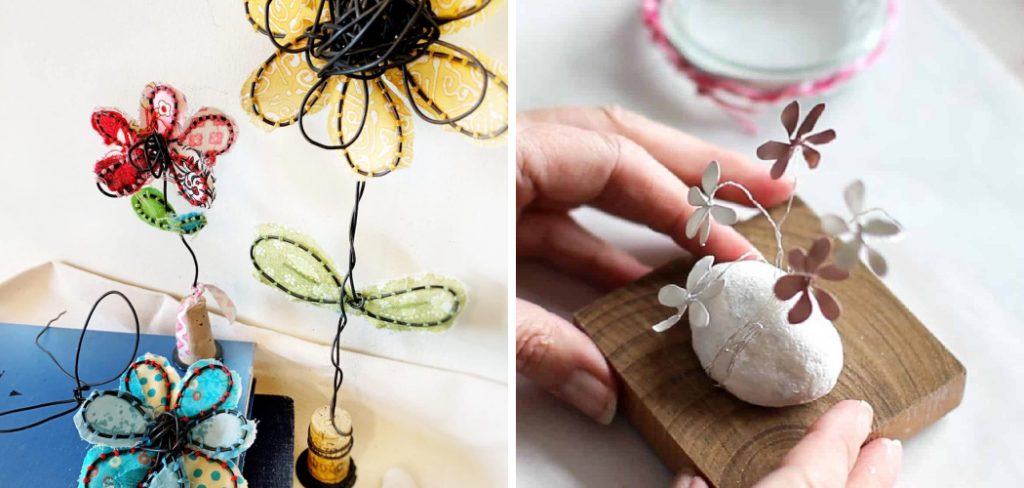
This guide on how to make wire flowers will take you through the essential steps and techniques to create beautiful wire flowers that can be used for decorations, gifts, or even as unique art pieces. Get ready to explore your creativity and transform everyday materials into something truly enchanting!
Why Make Wire Flowers?
Making wire flowers is a fun and fulfilling activity that allows you to express your imagination and artistic flair. Here are some reasons why you should give it a try:
Cost-effective:
Wire flowers require minimal materials, making them a cost-effective alternative to buying real or artificial flowers. Plus, you can reuse the materials for multiple projects, making it an environmentally-friendly option.
Customizable:
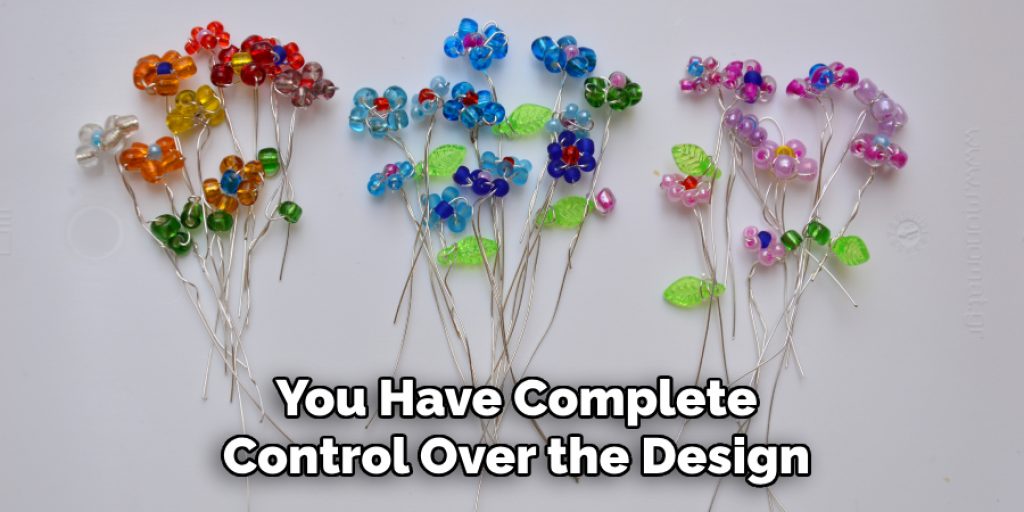
With wire flowers, you have complete control over the design and colors. You can experiment with different wire gauges, flower shapes, and color combinations to create a unique piece that reflects your style and personality.
Long-lasting:
Unlike real flowers that are prone to wilting and fading, wire flowers are durable and long-lasting. They make beautiful decorations that can be enjoyed for years without the need for any maintenance.
Materials Needed
Before you get started on your wire flower project, gather these essential materials:
- Floral Wire (Different Gauges)
- Pliers (Needle-nose and Wire Cutters)
- Paint or Spray Paint
- Floral Tape
- Optional: Beads, Ribbons, and Other Decorative Items.
8 Step-by-step Guidelines on How to Make Wire Flowers
Step 1: Choose the Right Wire Gauge
Selecting the appropriate wire gauge is crucial for the structure and flexibility of your wire flowers. Thicker gauges (lower numbers) provide sturdiness and support, making them ideal for the main stems and larger petals. Conversely, thinner gauges (higher numbers) allow for intricate and delicate details, perfect for smaller petals and foliage.
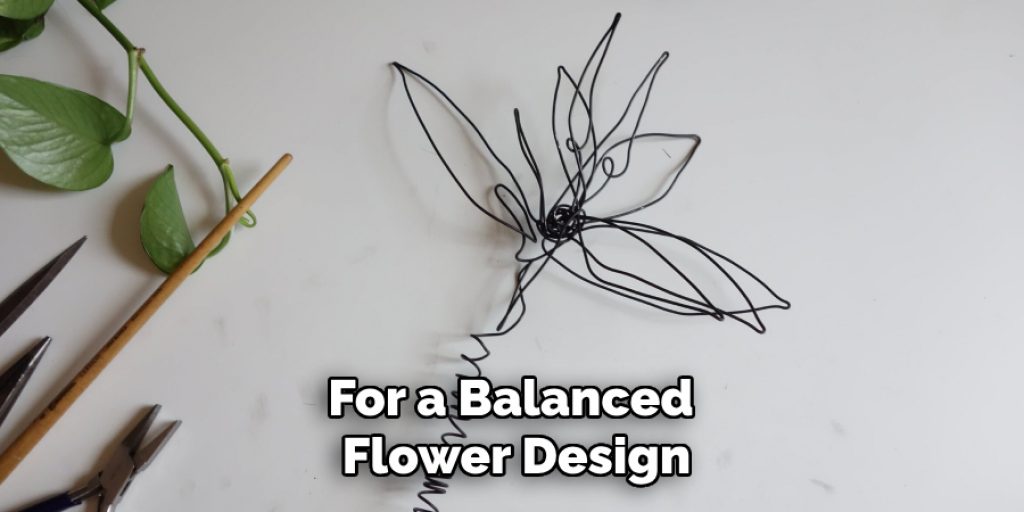
For a balanced flower design, consider using a combination of both thick and thin wires to achieve the desired shape and strength. Aim for a gauge that complements the type of flower you are creating, ensuring it stands upright while still allowing for some manipulation and shaping.
Step 2: Cut the Wires to Size
Once you have chosen the right gauge of floral wire, it’s time to cut the wires to the appropriate lengths for your flower design. Using your wire cutters, measure and cut the main stem to your desired height, generally between 12 and 18 inches, depending on how you plan to display your wire flower.
For the petals, cut additional pieces of wire that range from 6 to 10 inches, adjusting the length based on the type of flower you are creating. Remember to cut a few extra pieces, as practice might lead to adjustments in size and shape during the assembly process. Always ensure that the wire edges are smooth to avoid any injuries while handling.
Step 3: Bend and Shape the Wires
Now that you have your wires cut to size, it’s time to bend and shape them to create the flower’s petals and leaves. Start with the petal wires; gently bend each piece at the center, forming a U-shape to mimic the natural curvature of flower petals. Depending on the flower type, you can also create pointed or rounded shapes by adjusting your bends.
Once the petals are shaped, use pliers to create additional texture by adding small bends or twists along the edges, bringing your petals to life. For the leaves, use a similar approach—bend the wire slightly in the middle and add some curves along the edges to replicate a realistic leaf shape. Remember to play around with different shapes until you’re satisfied with the look, as this step allows you to infuse your personal style into each wire flower.
Step 4: Connect and Secure the Petals
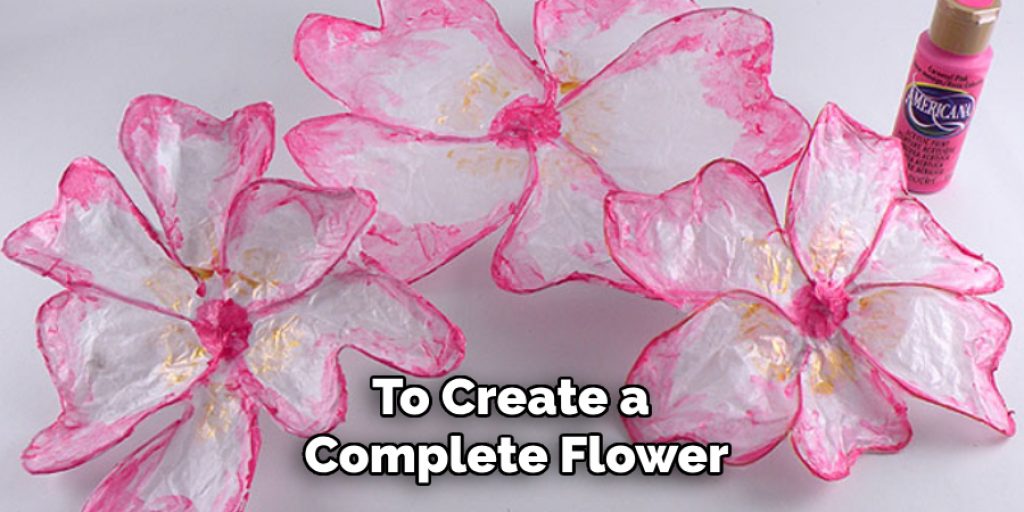
To create a complete flower, you need to connect and secure the petals onto the main stem. Begin by laying out your petals in the desired arrangement, ensuring they are evenly spaced around the stem. Next, wrap floral tape tightly around each petal’s base and then continue wrapping down towards the stem until all petals are securely attached. The floral tape provides a smooth finish while holding the petals in place.
It takes practice and patience to perfect this step, so don’t be discouraged if it doesn’t turn out perfectly on your first try. If needed, you can always unwrap and readjust the petals until you get the desired shape and placement.
Step 5: Paint or Spray Paint Your Wire Flower
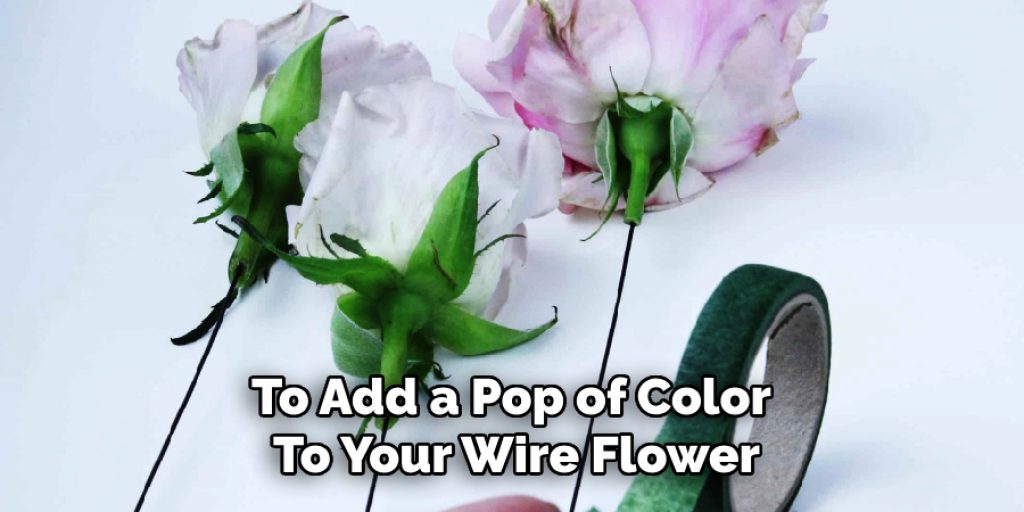
To add a pop of color to your wire flower, use paint or spray paint to give it a vibrant finish. Acrylic paints work well for detailed designs, while spray paints provide even coverage for larger surface areas. You can also choose to leave some parts of the wire unpainted for added texture and dimension.
Before painting, protect your workspace with newspaper or a drop cloth and allow enough drying time before handling the wire flower. You can also experiment with different paint techniques, such as ombre or splatter, to create unique and eye-catching designs.
Step 6: Add Decorative Elements
To add a personal touch and enhance the beauty of your wire flower, consider incorporating decorative elements like beads, ribbons, or fabric into your design. You can thread small beads onto the wire stems to mimic pollen or add ribbons for a delicate touch. Don’t be afraid to think outside the box and try out different items that complement your overall design.
You can also use different wire colors or materials, such as copper or aluminum, to add variation and contrast within a single flower. Experimenting with various decorative elements allows you to create one-of-a-kind pieces that make perfect gifts for loved ones or unique home décor items.
Step 7: Assemble the Flower
Once all the components are ready, it’s time to bring your wire flower together. Begin by attaching the leaves onto the stem using floral tape and then connect each petal accordingly until you have a complete flower shape. You can adjust the petals’ positioning to create a more realistic look or even add additional layers for larger flowers. Remember to secure each piece with floral tape as needed.
It’s essential to be patient during this step, as it requires precision and attention to detail. Take breaks if needed, and don’t rush the process to achieve a polished final product.
Step 8: Display and Enjoy Your Wire Flower
Congratulations, you have successfully created a beautiful wire flower! Now, it’s time to display your creation in a vase or as part of a larger floral arrangement. You can also use small pieces of clay or styrofoam to hold the stem upright if needed.
With these easy step-by-step guidelines on how to make wire flowers, you can continue making different wire flowers, experimenting with various techniques and materials to create unique and personalized designs. Wire flowers make excellent decorations for weddings, parties, or any special occasion, adding a touch of elegance and creativity to any space. Enjoy your new hobby and have fun creating beautiful wire flowers!
Frequently Asked Questions
Q: Can I Use Any Type of Wire to Make Wire Flowers?
A: While you can technically use any type of wire, it’s best to use floral wire as it is specifically designed for this purpose and is more pliable and easy to manipulate. However, you can also experiment with different types of wire to achieve unique looks and textures.
Q: Do I Need Special Tools or Equipment?
A: Aside from the wire cutters and pliers mentioned in this guide, you may also need floral tape, paint or spray paint, and any additional decorative elements you plan to incorporate into your design. You can find these items at most craft stores or online.
Q: How Do I Care for My Wire Flowers?
A: Wire flowers are relatively low maintenance and require minimal care. You can dust them occasionally with a soft cloth, and if needed, use a gentle cleaner to remove any dirt or residue. Keep them away from direct sunlight to avoid fading and handle with care to prevent any damage.
Conclusion
Creating wire flowers is not only a delightful craft but also an opportunity to express your creativity and personalize your décor. Throughout this guide on how to make wire flowers, you’ve learned essential techniques from shaping petals to adding decorative elements, culminating in a unique floral piece that can brighten up any space or serve as a thoughtful gift.
As you continue to experiment with different designs and styles, remember to embrace the journey and enjoy the process. With practice and imagination, you can transform simple wire into stunning art pieces that showcase your individual flair. Happy crafting!


