How to Make Your Own Clasps for Jewelry
Introduction:
Homemade jewelry is creating a craze, so people are often searching for different tactics for making their own jewelry. If you are also one of them, you have come to the right place.

You might have created your own jewelry from your DIY techniques but now got stuck while making the clasps. Don’t worry; it is tricky, and some have faced the same amount of complications. But I am here to put all your complications to an end and show you how to make your own clasps for jewelry. So, let’s dive in!
Things You Will Need
- Wire cutters
- Round nose pliers
- Chain nose pliers
- Hammer (optional)
- Hammering block (optional)
- Gauge wire
Processes on How To Make Your Own Clasps For Jewelry
Process One
- The first step is to get a pair of pliers and wire cutters. Then, you will need to find some copper, brass, or silver wire to make the clasps.
- Cut two pieces of your desired metal into lengths about one inch wide; they should be long enough so you can loop them around twice on either side. Hammer each piece flat with the round end of a hammer if needed
- Get three small jump rings – these are usually sold at craft stores for less than $0.50 each (I used 14 gauge). Take two jump rings and open them up by pushing down on their tabs until it flips over.
- When opening larger size jump rings, push both sides in opposite directions.
- Take the three jump rings and attach them to one side of the metal strip, about an inch away from each end.
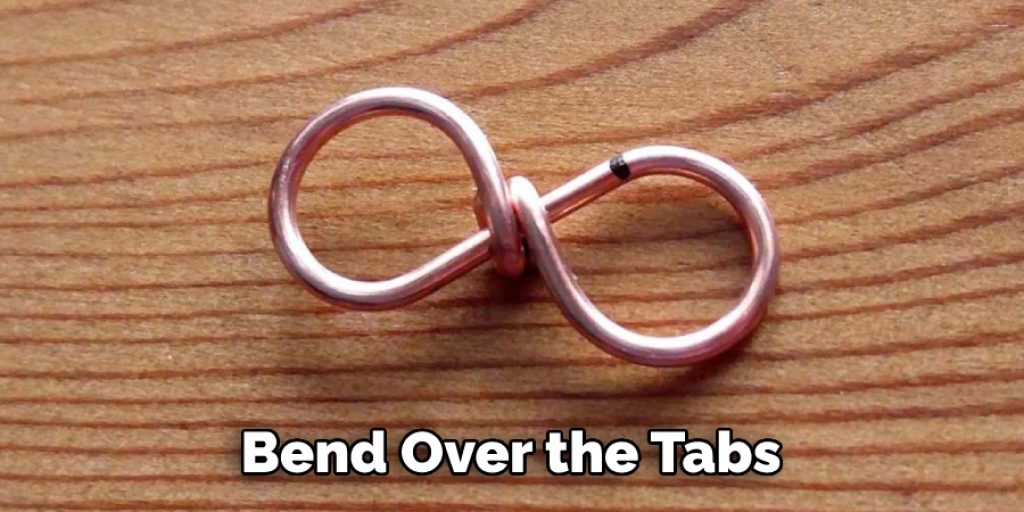
- Using your pliers, bend over the tabs on both sides of a single jump ring so that they are facing inwards towards each other.
Do this for all three jump rings – you should have two bent tabs on either side of one piece of wire (see image below). Opening up these types of clasps is much easier. You can also use just round findings if desired.

Process Two
I am starting the process with an 18-inch wire here. So, I will leave two inches at the end and use that for wrapping. Then what you have leftover from the two inches, cut in half or separate in half.
Mark the place and use your ruler to bend it down. Push the wire together so that they remain parallel with each other.
Now, I will use the round nose pliers and then do a ninety-degree angle right at the top of the sorter wire. Wrap the wire around the pliers to make a circle. Then start wrapping with the other end. Ensure that when wrapping with those two wires, don’t move from their place and stay parallel.
After that, use a pen or a sharpie to push the pattern right over that sharpie to acquire a hook-like form. That’s it; your clasps are ready now.
Precautions:
- Allergen Warning: Nickel may be used in the manufacture of jewelry.
- Be Aware of Body Language from Your Jewelry Makers: Notice if they are tense, distracted, or anxious. Sometimes these signs represent more than just how much they dislike their work.
- It can also mean that safety is compromised by fatigue, stress, or even drugs (i.e., methamphetamines). If you have any doubts about your jeweler’s state of well-being, then it would be best to find someone new right away!
- Avoid Dangerous Chemicals When Working With Metal Clay Clasps: Chemicals influxes can harm your lungs and skin.
- Keep Your Mask On: When filing or sanding, always make sure that you have a mask since the dust may contain lead. Lead is toxic when ingested by breathing it into your lungs, so keep up with safety precautions while working!
Key Considerations:
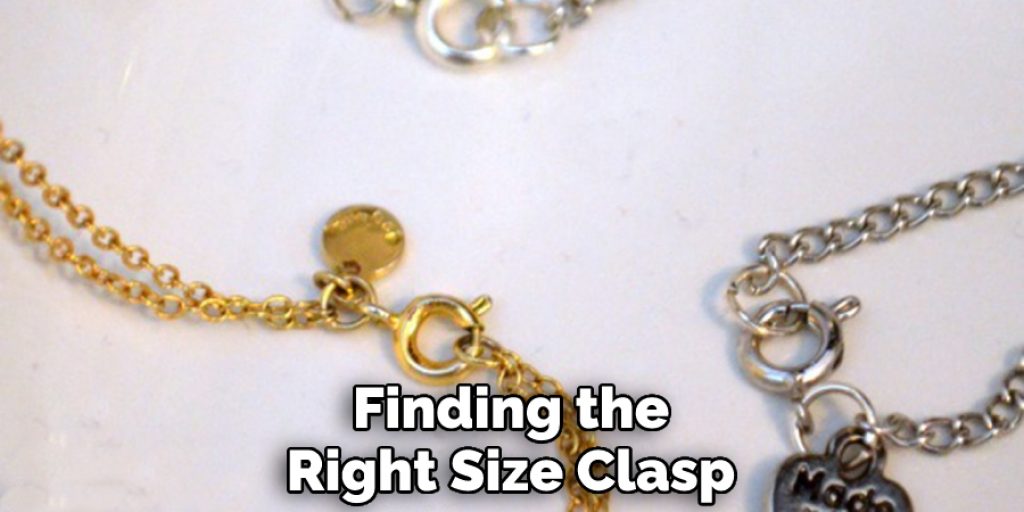
- Finding the right size clasp that fits your needs can be difficult but is not impossible.
- If you are looking for a simpler and easier solution, consider expanding on one of these ideas: toggle clasps, spring ring clasps, or lobster claws. You could also try making connectors to attach beads with jump rings together in an interesting design.
- Take extra care when using wire cutters, as they may cause damage to your jewelry if misused.
When securing large pearls or gemstones, use double-sided tape rather than glue, making it less likely that any residue from the adhesive remains behind after removing the piece of jewelry.

Final Thoughts:
Lastly, we hope the processes we have stated here will help you make your own clasps for jewelry. You should maintain the safety issues while performing the task. Thank you, and have a good day.
You may read also –


