How to Paint Leather Furniture
Reviving the allure of your leather furniture through a fresh coat of paint is a creative and cost-effective way to transform your interior decor. Whether you’re looking to update the color to match a new aesthetic or breathe new life into a worn-out piece, learning how to paint leather furniture can be a rewarding DIY project. However, painting leather requires careful consideration of techniques and materials to achieve a professional and long-lasting finish.
From choosing the right type of paint and preparing the surface to applying even coats and sealing the result, this guide will delve into the art of painting leather furniture. Whether you’re an experienced DIY enthusiast or a first-timer, this article will provide valuable insights and step-by-step instructions to help you confidently tackle the process of giving your leather furniture a vibrant and stylish makeover.
The Importance of Leather Painting
Painting leather furniture is an important part of preserving its beauty and longevity. It also prevents further damage to the material, which can be caused by harsh weathering or other environmental factors. Leather painting should be done regularly in order to maintain the look of your furniture and extend its life. Here are some tips that will help you paint your leather furniture correctly.
First, it is important to prepare the leather for painting. This includes cleaning it with a soft cloth and removing any dirt or debris. Once the leather is clean, you should apply a thin layer of primer in order to help the paint adhere better. After that, you can begin applying multiple coats of acrylic paint designed specifically for leather furniture.
Make sure to use even strokes and cover the entire surface of the furniture. Let each layer dry before applying the next one, and be sure to sand in between coats if necessary.
When you are finished with the painting process, it is important to seal the leather with a topcoat or finishing spray. This will give your furniture a polished look and help protect it from dust and other elements. It is also important to note that leather furniture should never be waxed, as this can cause discolouration and damage the material.
Benefits of Using Proper Techniques while Painting Leather Furniture
Painting leather furniture tones down the brightness of the material and gives it a more subtle, classic look. With proper techniques, you can restore or change the color of your leather furniture without loss of quality. It is also possible to customize the painted surface with stencils or other decorative elements. To ensure that your project produces satisfying results, use these tips for painting leather furniture:

- Clean and prepare the surface of your leather furniture. Make sure to remove any oils, dirt or dust that may be on the surface before you start.
- Use a primer that’s specifically designed for use on leather surfaces. This type of primer will help make sure that the new paint sticks properly to the material.
- Apply two thin coats of paint to your leather furniture. It is best to use a brush specifically designed for painting leather surfaces.
- Allow each coat of paint to dry before you apply the next one.
- After the paint has dried, use a conditioner or wax on the surface to help keep the color vibrant and protect it from wear and tear.
By taking precautionary steps and following proper technique, you can easily paint your leather furniture and give it a new look or style. With the right care, you will be able to enjoy your newly painted leather furniture for many years to come!
10 Steps How to Paint Leather Furniture
Step 1: Choose the Right Type of Leather Furniture
Before you begin painting, ensure that the leather furniture is suitable for painting. Smooth, finished leather is the best candidate for painting, as it allows the paint to adhere properly. Avoid painting on suede, nubuck, or heavily textured leather, as these surfaces may not hold the paint well and could result in an uneven finish.
Although you can paint leather furniture with acrylic paints, it is best to use a specialty product, like a leather paint or dye. These products are designed specifically for painting leather and will provide the longest-lasting finish.
Step 2: Gather Your Materials
Collect all the necessary materials for the project. You’ll need leather paint or acrylic leather paint, a sponge or soft cloth, leather cleaner, fine-grit sandpaper, masking tape, a paintbrush, a spray bottle, and a leather sealer. Though leather paint is the preferred and recommended type of paint, you can also use acrylic paints designed for leather furniture.
Before you start painting, clean your piece of leather furniture with the leather cleaner to remove any dust or dirt that might be on it. Let it dry completely before beginning.

Step 3: Clean the Furniture
Thoroughly clean the leather furniture using a leather cleaner. This step removes any dirt, oils, or residues that could affect the paint’s adhesion. Allow the leather to dry completely before proceeding. If possible, use a vacuum cleaner to remove particles from the leather surface. To protect the furniture from further damage, apply a leather conditioner to the surface. This step will help ensure that the paint adheres properly.
Step 4: Sand the Surface
Gently sand the leather using fine-grit sandpaper. This helps create a slightly textured surface that improves paint adhesion. Be careful not to sand too aggressively, as you don’t want to damage the leather. Once you’ve finished sanding, wipe away the dust with a damp cloth. While you can use a vacuum cleaner to clear away large particles, small dust and debris can still remain.
Step 5: Test on a Small Area
Before painting the entire piece, test the paint on a small, inconspicuous area to ensure that it adheres well and provides the desired finish. This also helps you gauge the number of coats needed for complete coverage.
Once you’ve tested the paint and made sure it looks great, you can proceed to painting the entire piece. Start at one corner of the item and move along in a single direction. Work slowly and evenly to avoid drips or unevenness. Be sure to follow the manufacturer’s instructions for drying times between coats.
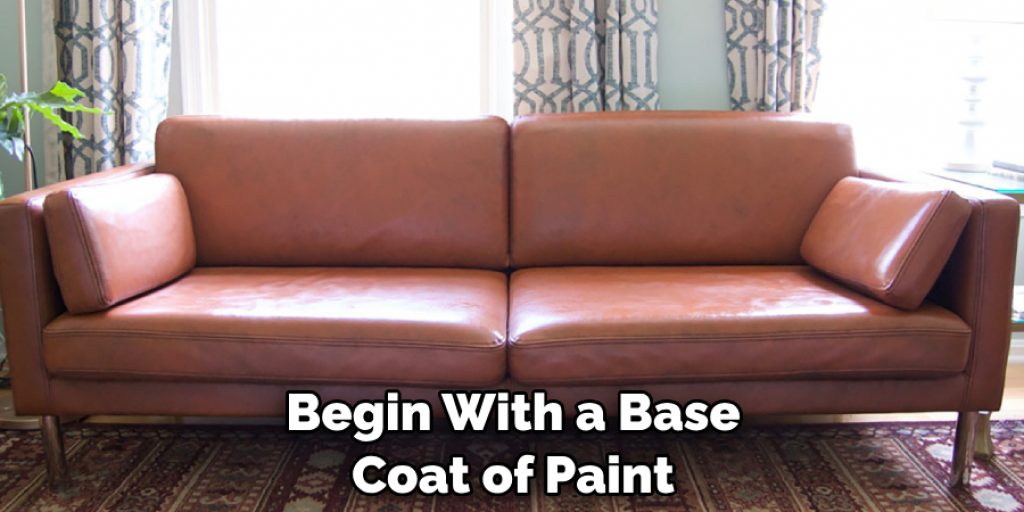
Step 6: Apply the Base Coat
Begin with a base coat of paint. Use a sponge or soft cloth to apply thin, even layers of paint. Start with light strokes, allowing each coat to dry before applying the next. This creates a solid foundation for the subsequent layers.
Step 7: Layering and Blending
Apply additional coats of paint as needed to achieve the desired color and coverage. Use a paintbrush to work the paint into any creases, seams, or details on the furniture. Blend the paint well to ensure an even appearance. Allow each layer of paint to dry completely before applying the next.
When all coats are applied, use a fine-grit sandpaper or steel wool pad to buff the entire piece. This will remove any excess paint and create a smooth finish. Finally, apply a sealer or topcoat to protect the painted leather furniture from everyday wear and tear.
Step 8: Allow Proper Drying Time
Patience is essential during the drying process. Allow each coat of paint to dry completely before applying the next. Follow the manufacturer’s instructions for drying times, as they can vary based on the type of paint used. Depending on the paint you are using, a light sanding between coats may be required. If so, be sure to vacuum up any dust before applying the next coat of paint.
Step 9: Seal the Paint
Once you’re satisfied with the paint coverage, apply a leather sealer to protect the painted surface and enhance its durability. Apply the sealer in thin, even coats using a paintbrush or sponge. Allow it to dry completely before using the furniture.
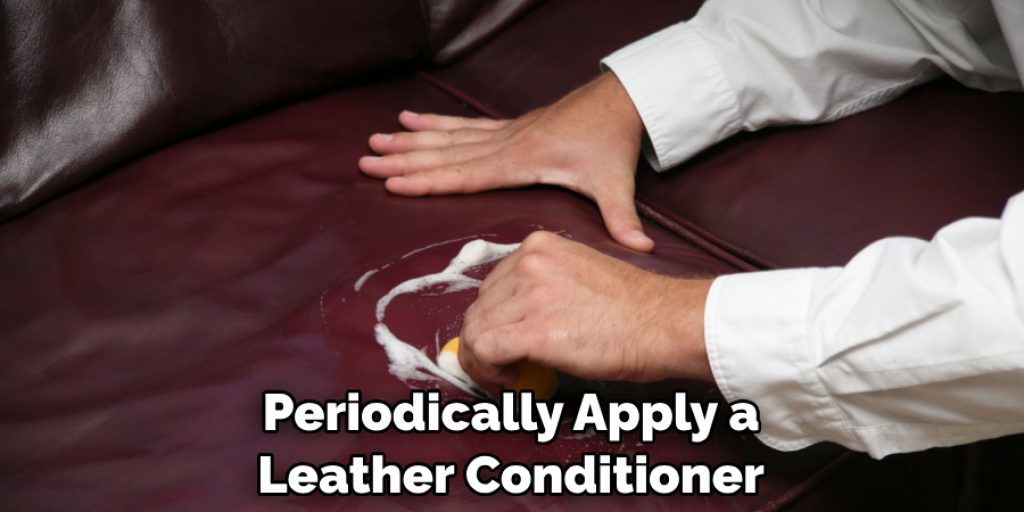
Step 10: Maintain and Care for Painted Leather Furniture
To ensure the longevity of your painted leather furniture, adopt proper care practices. Regularly dust the furniture with a soft cloth and avoid using abrasive cleaners. If spills occur, blot them gently with a clean cloth. Keep the furniture out of direct sunlight to prevent fading. Additionally, periodically apply a leather conditioner to maintain the suppleness of the leather and protect the painted surface.
Conclusion
In conclusion, painting leather furniture requires delicate attention to detail in order to get a flawless finish. From choosing the correct supplies to properly prepping and executing the paint job, there are several steps involved in how to paint leather furniture.
Following these instructions can ensure that you’ll be able to give your furniture a new lease on life and an improved look. As with any project involving painting, make sure that you practice safety first and take your time on each step of this process. Ultimately, these tips and steps are designed to help you bring your vision to life practically hassle-free.
Angela Ervin
Angela is the executive editor of DIY quickly. She began her career as an interior designer before applying her strategic and creative passion to lifestyle and home. She has close to 15 years of experience in creative writing and online content strategy for housekeeping, home decorations as well as other niche efforts. She loves her job and has the privilege of working with an extraordinary team. She lives with her husband, two sons, and daughter in Petersburg. When she's not busy working she spent time with her family.