
How to Plug a Hole in a Ceramic Pot
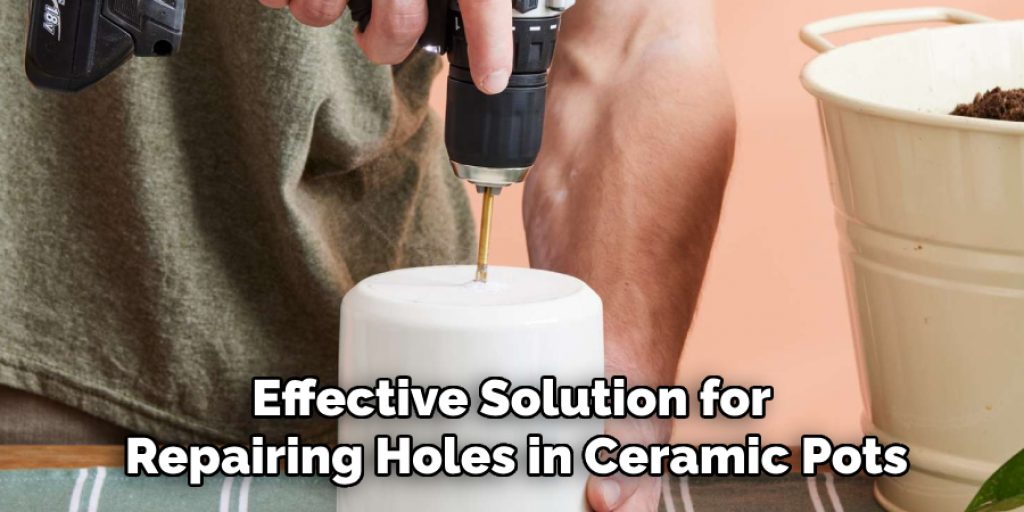
When it comes to maintaining the beauty and functionality of ceramic pots, addressing any damage, such as holes or cracks, is essential. Whether your pot has endured wear from the elements or accidental impacts, repairing it not only restores its aesthetic appeal but also ensures it can continue to serve its purpose in your garden or home decor. This guide provides step-by-step instructions on how to plug a hole in a ceramic pot, allowing you to enjoy your favourite containers for years to come.
Importance of Repairing Holes for Functionality and Aesthetics
Repairing holes in ceramic pots is crucial for both their functionality and visual appeal. Functionally, a hole can lead to soil loss and disrupt drainage, which may cause water to pool at the bottom, leading to root rot for the plants housed within. By plugging the hole, you ensure proper water retention and allow for adequate air circulation, promoting healthy plant growth. Aesthetically, a damaged pot can detract from the overall beauty of your garden or interior decor. Repairing the pot not only revitalizes its appearance but also lets you maintain a cohesive look in your space, allowing your plants to shine in their well-cared-for containers. Ultimately, addressing these damages is a practical way to enhance the longevity and enjoyment of your ceramic pots.
Understanding the Problem
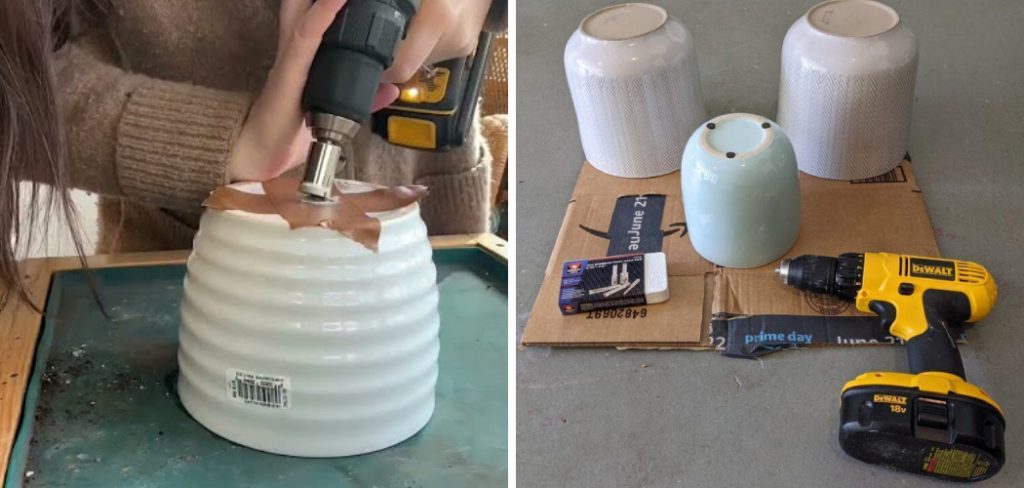
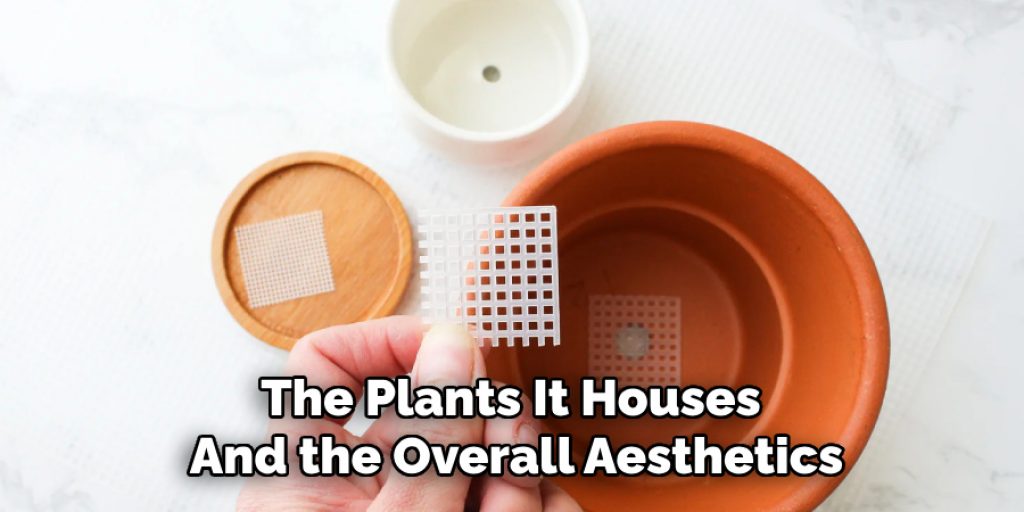
When a ceramic pot develops a hole, it signals more than just a minor cosmetic issue; it can significantly impact both the health of the plants it houses and the overall aesthetics of your space. Holes can arise from various factors, including extreme weather conditions, physical impacts, or simply the passage of time. Understanding the root cause of the damage is vital for effective repair. For instance, if the pot has a hole due to frozen water expanding inside it during winter, you may need to consider a more robust material or protective measures for future use. Furthermore, the size and location of the hole play crucial roles in determining the best repair method, whether it’s a small pinhole or a larger crack.
10 Methods How to Plug a Hole in a Ceramic Pot
1. Using Epoxy Resin for a Strong Repair
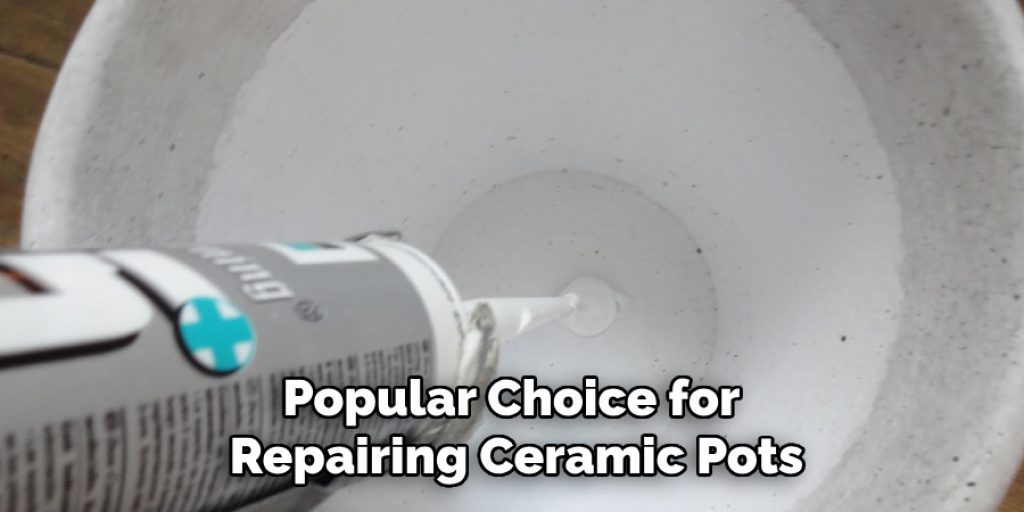
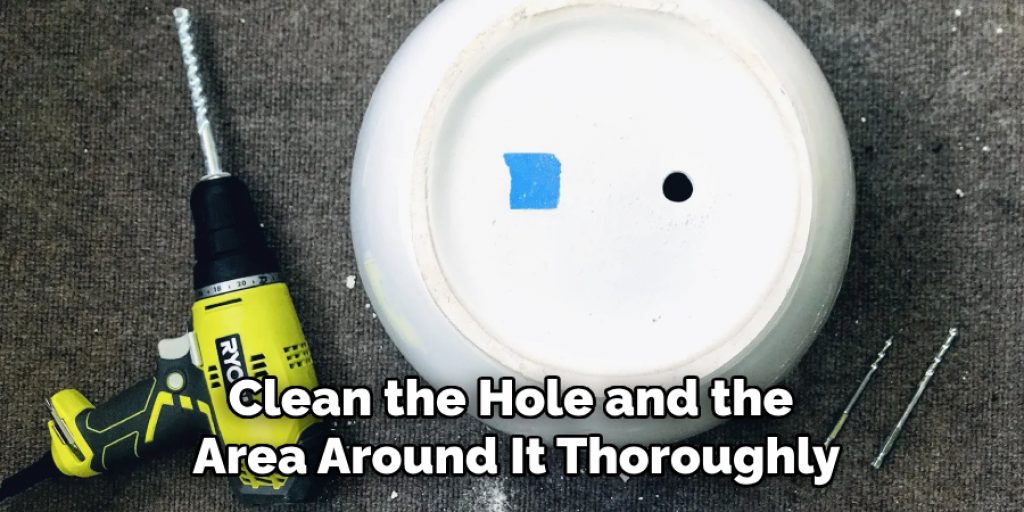
Epoxy resin is a popular choice for repairing ceramic pots due to its strong adhesive properties and durability. Begin by cleaning the area around the hole thoroughly, removing any dirt or debris. Mix the epoxy resin according to the manufacturer’s instructions, typically involving combining a resin and a hardener. Apply the mixed epoxy to the hole, ensuring it fills the entire gap. Use a small tool or spatula to smooth the epoxy over the surface. Allow it to cure fully, as per the product’s recommended drying time. Once cured, you can sand the surface if needed to achieve a smooth finish.
2. Applying Ceramic Repair Adhesive
Ceramic repair adhesive is specifically designed for fixing cracks and holes in ceramic surfaces. To use this method, start by cleaning the hole and the surrounding area to ensure good adhesion. Apply the ceramic repair adhesive directly into the hole using a small brush or applicator. Press the adhesive firmly into the hole and smooth it out to level with the surface. Allow the adhesive to dry according to the manufacturer’s instructions. Once dry, you may need to sand the area gently to blend the repair with the rest of the pot.
3. Using Waterproof Sealant
Waterproof sealant is another effective method for repairing a hole in a ceramic pot, particularly if the pot will be exposed to moisture. Clean the hole and the area around it thoroughly to remove any dirt or grime. Apply a generous amount of waterproof sealant to the hole, ensuring it fills the gap completely. Use a small tool to smooth the sealant and remove any excess. Allow the sealant to dry fully, following the manufacturer’s recommended drying time.
4. Employing a Patch Kit
Patch kits designed for ceramics are readily available and offer a convenient solution for repairing holes. Begin by cleaning the hole and surrounding area to ensure proper adhesion. Follow the instructions provided with the patch kit, which typically involves applying a patch material or filler to the hole. Smooth the patch to level it with the surface and allow it to dry completely. Some patch kits come with a sanding tool to help blend the repair with the rest of the pot. This method is particularly useful for larger holes and provides a seamless and durable repair.
5. Using Tile Grout for a Textured Finish
Tile grout can be an effective solution for repairing holes in ceramic pots, especially if you want to create a textured finish. Clean the area around the hole and ensure it is dry before application. Mix the tile grout according to the manufacturer’s instructions and apply it to the hole using a small trowel or spatula. Press the grout into the hole and smooth it over the surface. Allow the grout to set and cure fully, following the recommended drying time. Once dry, you can wipe away any excess grout with a damp cloth. Tile grout provides a textured repair that can blend well with the surface of the pot, especially if the pot has a rough or uneven finish.
6. Filling the Hole with Air-Dry Clay
Air-dry clay is a versatile material that can be used to repair holes in ceramic pots. Start by cleaning the hole and the surrounding area to ensure good adhesion. Shape a small amount of air-dry clay to fit the hole, pressing it firmly into place. Smooth the surface of the clay to blend it with the rest of the pot. Allow the clay to dry completely, following the manufacturer’s recommended drying time. Once dry, you can sand the area if needed to achieve a smooth finish. Air-dry clay provides a customizable and durable repair that can be painted or decorated to match the pot.
7. Using Silicone Caulk for Flexibility
Silicone caulk is another option for repairing holes in ceramic pots, especially if you need a flexible and waterproof solution. Clean the hole and the surrounding area thoroughly to remove any dirt or debris. Apply a bead of silicone caulk directly into the hole, using a caulking gun for precise application. Smooth the caulk with a tool or your finger, ensuring it fills the hole completely. Allow the caulk to cure according to the manufacturer’s instructions. Silicone caulk creates a flexible and waterproof seal that can accommodate movement and prevent further damage.
8. Applying Plaster of Paris for a Solid Repair
Plaster of Paris can be used to repair holes in ceramic pots, especially if you need a solid and sturdy repair. Clean the hole and the area around it to ensure good adhesion. Mix the plaster of Paris according to the manufacturer’s instructions, creating a paste that is slightly thicker than typical paint. Apply the plaster to the hole, pressing it firmly into place. Smooth the surface of the plaster to blend it with the rest of the pot. Allow the plaster to dry completely before sanding or painting if desired. Plaster of Paris provides a solid and durable repair that can be customized to match the pot.
9. Using Ceramic Fillers for a Seamless Finish
Ceramic fillers are specifically designed for repairing ceramic surfaces and offer a seamless finish. Start by cleaning the hole and surrounding area to remove any debris. Apply the ceramic filler to the hole using a small applicator or spatula, pressing it firmly into place. Smooth the filler to level it with the surface of the pot. Allow the filler to dry according to the manufacturer’s instructions. Once dry, you can sand the area gently to achieve a smooth and even finish. Ceramic fillers provide a high-quality repair that blends seamlessly with the original surface of the pot.
10. Using a DIY Epoxy Mixture for Custom Repairs
For a custom repair solution, you can create your own epoxy mixture using epoxy resin and filler materials. Clean the hole and the area around it thoroughly. Mix the epoxy resin with a filler material, such as sawdust or fine sand, to create a paste that matches the texture and color of the pot. Apply the epoxy mixture to the hole, pressing it firmly into place. Smooth the surface of the epoxy to blend it with the pot. Allow the mixture to cure fully, following the recommended drying time. This DIY epoxy mixture allows for a custom repair that can be tailored to match the specific needs of your pot.
Conclusion
Repairing a hole in a ceramic pot requires careful attention to detail and the right materials for a successful outcome. From using epoxy resin and ceramic repair adhesive to employing patch kits and tile grout, each method offers a unique approach to fixing holes and extending the life of your ceramic pieces. By selecting the appropriate repair technique based on the size and location of the hole, you can achieve a durable and aesthetically pleasing repair. Thanks for reading, and we hope this has given you some inspiration on how to plug a hole in a ceramic pot!
Elizabeth Davis
Elizabeth is a creative writer and digital editor based in the United States. She has a passion for the arts and crafts, which she developed from a young age. Elizabeth has always loved experimenting with new mediums and sharing her work with others. When she started blogging, she knew that DIYquickly would be the perfect platform to share her tutorials and tips. She's been writing for the blog from the beginning, and her readers love her helpful advice and easy-to-follow instructions. When she's not writing or editing, Elizabeth enjoys spending time with her family and friends.


