
How to Put Zipper on Crochet Bag
Adding a zipper to a crochet bag not only enhances its functionality but also elevates its overall aesthetic appeal. This step-by-step guide on how to put zipper on crochet bag will walk you through the process of seamlessly integrating a zipper into your crochet project, ensuring that your bag is both stylish and practical.
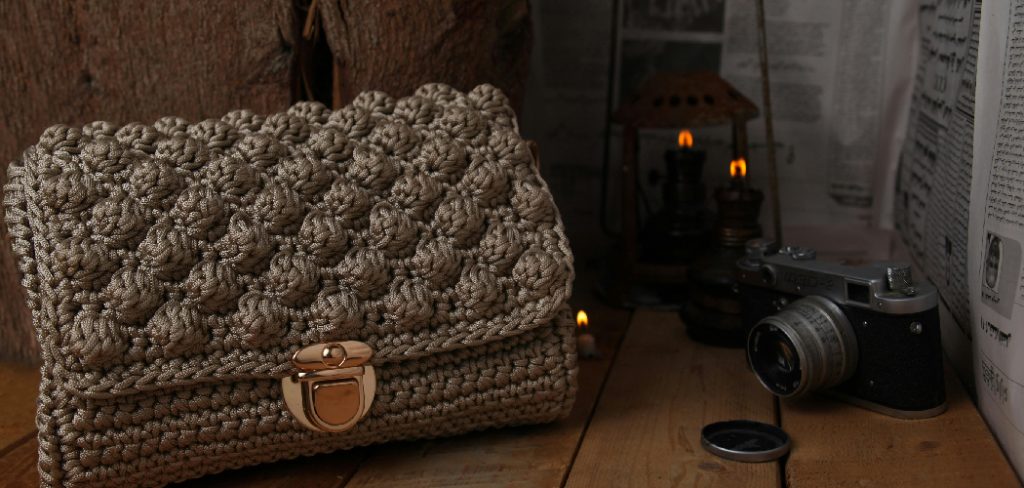
Whether you’re a beginner or an experienced crocheter, this technique will provide you with the skills to create finished pieces with polished closures, allowing you to securely store your belongings. Let’s dive into the materials needed and the method to achieve a beautifully finished crochet bag with a zipper.
Why Add a Zipper to Your Crochet Bag?
There are several reasons why adding a zipper to your crochet bag is beneficial:
- It provides added security, preventing items from falling out of the bag.
- Zippers are customizable and come in various sizes, colors, and designs, allowing you to match them with your crochet project.
- Adding a zipper to your crochet bag can give it a more professional and polished look.
- It allows you to create functional and versatile bags that can be used for different occasions.
- By learning how to put zipper on crochet bag, you can expand your crocheting skills and techniques.
Materials Needed
Before we get into the step-by-step process, let’s go over the materials you will need for this project:
- A Completed Crochet Bag (Either Made by Yourself or Purchased)
- A Sewing Needle
- Matching Thread
- Scissors
- Measuring Tape/ruler
- Straight Pins
- Zipper (Choose one that is slightly longer than the width of your bag)
8 Step-by-step on How to Put Zipper on Crochet Bag
Step 1: Measure and Cut
Begin by measuring the opening of your crochet bag where the zipper will be inserted. Use your measuring tape or ruler to determine the width of the opening, and note this measurement. Next, take your chosen zipper, which should be slightly longer than the measured width, and cut it if necessary, ensuring it fits comfortably within the bag’s opening.
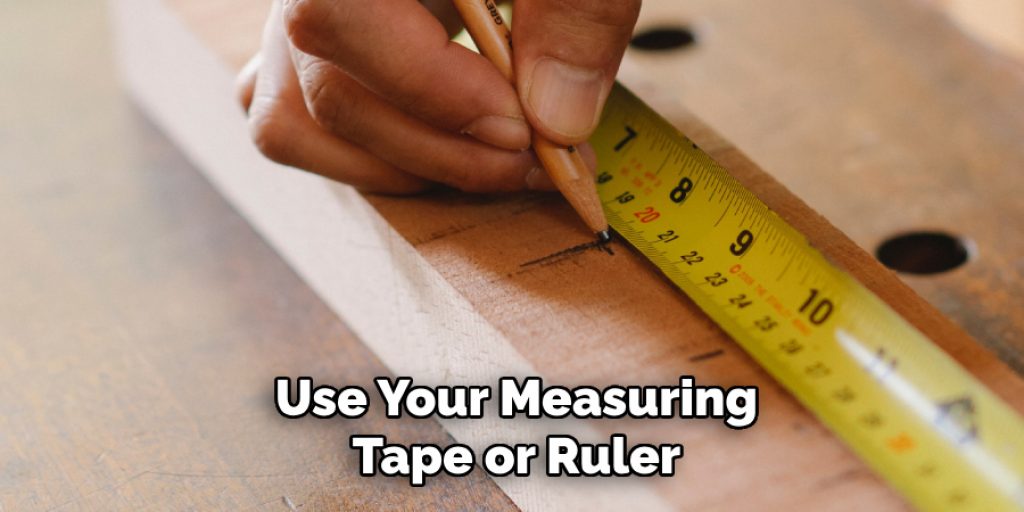
Be sure to leave extra length at both ends to allow for securing the zipper in place later. Once you have your measurements, you’re ready to move on to the next step of the process.
Step 2: Prepare the Zipper
Once you have your zipper cut to the appropriate length, it’s time to prepare it for installation. Start by ensuring that the zipper is fully closed, then lay it flat on a clean, hard surface. Next, with your sewing needle and matching thread, attach the zipper pull to one end of the zipper if it is not already in place. This can be done by threading the open end of the zipper tape through the pull and securing it by sewing a few stitches to keep it in position.
After this, you should check that the zipper moves smoothly and aligns well with the intended opening of your crochet bag. This preparation will make the installation process much smoother.
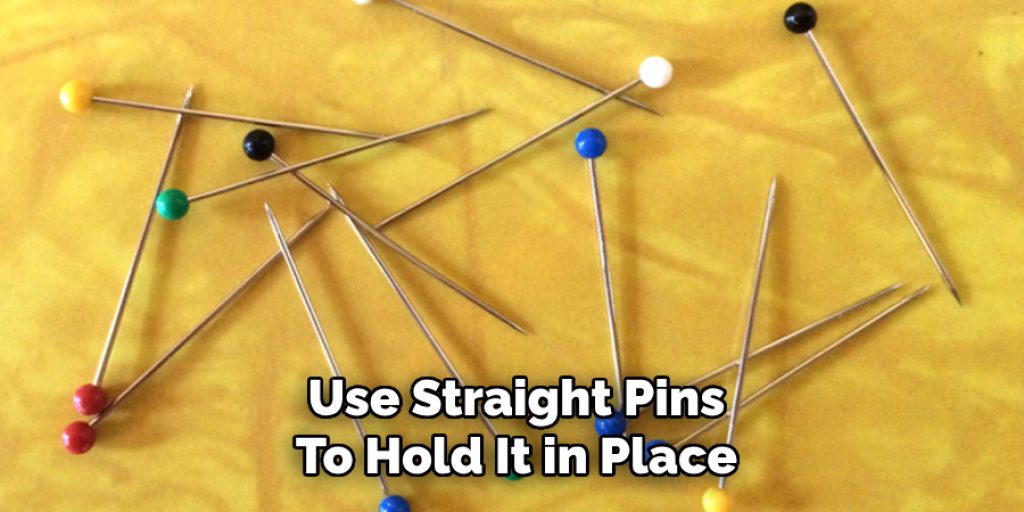
Step 3: Align and Pin
With your zipper ready, it’s time to align it with the opening of your crochet bag. Place the zipper face down on the inside of your bag, ensuring that both ends are aligned evenly with the edges of the bag opening. Use straight pins to hold the zipper in place, making sure not to pin through both layers of fabric to avoid any puckering or bunching.

It’s important to align the zipper correctly in this step, as it will determine the final look and functionality of your crochet bag.
Step 4: Sew One Side
With the zipper pinned in place, take your sewing needle and thread and start sewing along one side of the zipper tape. Begin at one end, making sure to secure the end of the zipper with a backstitch before proceeding. Use a straight stitch along the length of the zipper tape, removing pins as you go. Once you have sewn all the way to the other end, secure that end with another backstitch.
There are a few techniques that you can use for sewing the zipper onto your crochet bag, such as using an invisible stitch or a topstitch. Choose the method that works best for you and produces the desired result.
Step 5: Repeat on the Other Side
After sewing one side of the zipper, repeat the process on the other side. Align the remaining end of the zipper with the opposite edge of your bag opening, making sure it lines up perfectly with the first side. Use straight pins to hold it in place and then sew along this side as well, securing both ends with backstitches.
Ensure that the zipper is smoothly aligned and sewn in place without any puckering or bunching.
Step 6: Double-Check
Once you have completed sewing both sides of the zipper, it’s important to double-check your work. Ensure that the zipper opens and closes smoothly and is evenly aligned with the edges of your bag opening. If there are any areas that need extra reinforcement or if the zipper needs adjusting, now is the time to make those adjustments.
It’s always better to take a few extra minutes to double-check your work than to rush through and end up with an imperfect final product.
Step 7: Finishing Touches
After ensuring that the zipper is securely in place, you can trim any excess fabric or thread and tidy up the inside of your crochet bag. Use scissors to cut off any extra length from the zipper and remove any visible thread. If desired, you can also reinforce the edges of the zipper with additional stitching for added durability.
Once you’re satisfied with the appearance and functionality of your crochet bag, give it one final check before moving on to the last step.
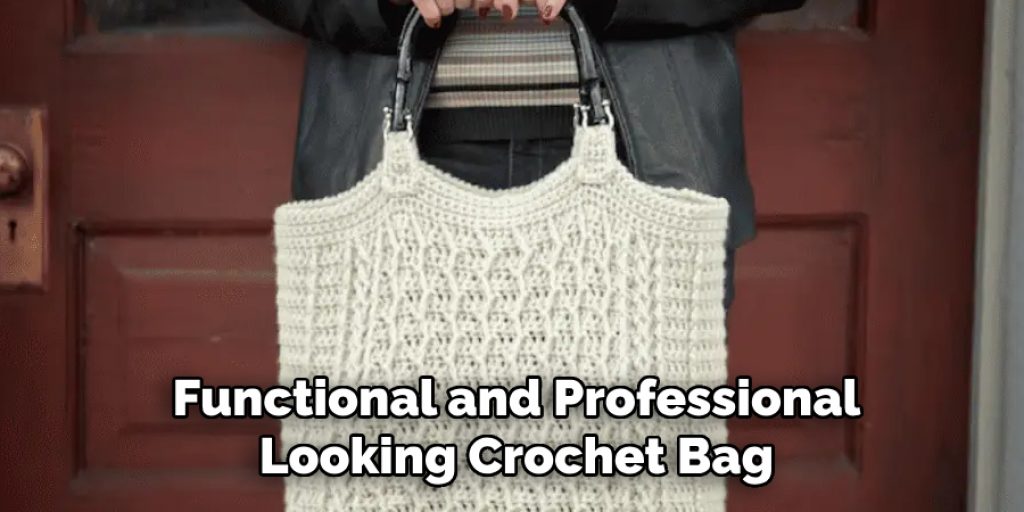
Step 8: Enjoy Your Finished Crochet Bag
Congratulations, you have successfully learned how to put a zipper on a crochet bag! Take a moment to admire your newly revamped project and pat yourself on the back for mastering this new skill. You now have a functional and professional-looking crochet bag that is ready to be used for any occasion.
Following these steps will help you to successfully add a zipper to any crochet bag, allowing you to create even more versatile and practical projects in the future. With some practice and patience, you can use this technique to elevate your crocheting skills and create beautiful and functional bags for yourself and others to enjoy. Happy crocheting!
Frequently Asked Questions
Q: Can I Use a Zipper That is Longer or Shorter Than the Width of My Bag Opening?
A: It’s best to use a zipper that is slightly longer than the width of your bag opening for ease of installation. However, if necessary, you can use a longer zipper and trim off the excess length after sewing it onto your bag. Using a shorter zipper may result in difficulty opening and closing the bag or having to sew extra fabric to bridge the gap.
Q: Do I Need Special Tools for Sewing a Zipper Onto My Bag?
A: No, you do not need any special tools to sew a zipper onto your crochet bag. A needle, thread, scissors, pins, and measuring tape/ruler are all that are required. However, using specialized sewing tools such as an invisible zipper foot or a topstitch foot can make the process easier and produce more professional-looking results.
Q: Can I Use a Different Type of Closure Instead of a Zipper?
A: Yes, you can use alternative closures such as buttons, magnetic snaps, or toggles instead of a zipper for your crochet bag. However, the steps and techniques mentioned in this guide are specific to sewing in a zipper. If using a different closure type, be sure to research proper installation methods for that particular closure.
Q: Can I Sew a Zipper Onto a Crochet Bag Made from Other Materials?
A: Yes, you can use this technique to sew a zipper onto crochet bags made from different materials such as fabric or leather. However, some adjustments may be necessary depending on the type of material and its thickness. It’s best to do some research and practice on scrap pieces before attempting it on your final project.
Conclusion
Incorporating a zipper into your crochet bag not only enhances the functionality of the design but also adds a polished, professional touch to your project. By following these eight straightforward steps on how to put zipper on crochet bag, you can master the technique of zipper installation, allowing for endless creativity and versatility in your crocheting endeavours.
Whether you’re crafting bags for yourself or as thoughtful gifts for others, the skills you’ve developed in this process will surely inspire you to explore further possibilities within the world of crochet. Remember, practice is key, and with each project, you’ll gain confidence and refine your techniques. Enjoy your journey as you continue to create beautiful, functional crochet items!
Elizabeth Davis
Elizabeth is a creative writer and digital editor based in the United States. She has a passion for the arts and crafts, which she developed from a young age. Elizabeth has always loved experimenting with new mediums and sharing her work with others. When she started blogging, she knew that DIYquickly would be the perfect platform to share her tutorials and tips. She's been writing for the blog from the beginning, and her readers love her helpful advice and easy-to-follow instructions. When she's not writing or editing, Elizabeth enjoys spending time with her family and friends.


