How to Repair Hole in Hot Tub Cover
If you own a hot tub, chances are you have experienced some damage to your cover at some point or another. Whether it’s through general wear and tear, UV rays from the sun beaming down, or even an accidental tear due to mishandling–it happens!
A hole in your spa or hot tub cover can be an eyesore, but even more importantly, those tears and exposed corners can cause heat loss from your spa. Even though having a hole in your tub cover is never ideal, there is no need to fret. In this blog post, we will guide you step-by-step on how to repair hole in hot tub cover with minimal effort and maximum results.
Keep reading for information on what supplies you will need, tips for doing the job well, and helpful advice that can save time and money while increasing the life of your spa’s protective covering.
Necessary Items
Before you start, ensure you have all the necessary items to repair your hot tub cover. Here is a list of everything you will need:
- Hot Tub Cover Repair Kit (including patch material and adhesive)
- Scissors
- Tape Measure or Ruler
- Marker or Chalk
- Clean Cloth or Towel
10 Steps on How to Repair Hole in Hot Tub Cover
Step 1: Identify the Damage
The first step to repairing a hole in your hot tub cover is identifying the damage. This will help you determine the size and location of the hole, as well as any underlying issues that may have caused it. Thoroughly inspect the cover for any tears, punctures, or holes.
Step 2: Clean and Dry the Area
Before applying any repairs, clean and dry the affected area. Use a clean cloth or towel to remove debris, dirt, or moisture from both sides of the cover.
Step 3: Measure and Cut Patch Material
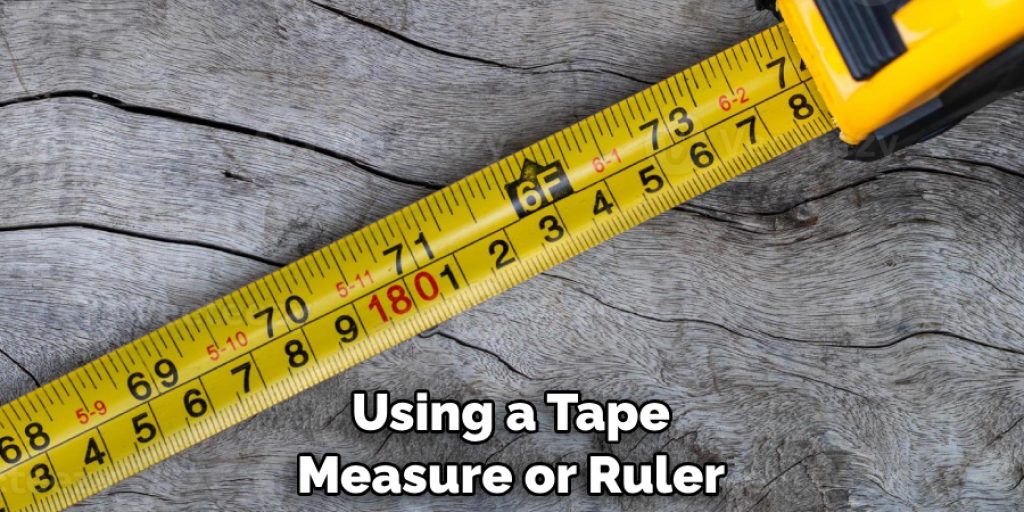
Using a tape measure or ruler, measure the hole size in your hot tub cover. Add approximately 2 inches to each side for better coverage. Then, use scissors to cut a piece of patch material according to your measurements.
Step 4: Apply Adhesive
Apply adhesive to one side of the patch material, spread it evenly, and cover all edges. You can also apply adhesive around the hole’s edges on the cover for extra reinforcement.
Step 5: Place Patch Material over the Hole
Carefully place the patch material over the hole on your hot tub cover, line up the edges, and press down firmly.
Step 6: Smooth Out Any Air Bubbles
Use your hands to smooth out any air bubbles or wrinkles in the patch material to ensure a secure seal. This will also help to distribute the adhesive and create a stronger bond evenly.
Step 7: Let Adhesive Dry
Give the adhesive enough time to dry and create a strong bond between the patch material and cover. Follow the instructions on your repair kit for recommended drying times.
Step 8: Trim Excess Material (Optional)
You can trim any excess patch material sticking out from the hole’s edges if desired. This step is unnecessary, but it can help give your hot tub cover a more uniform appearance.
Step 9: Reinforce with Additional Adhesive (Optional)
For added protection and reinforcement, you can apply a thin layer of adhesive around the edges of the patch material after it has dried completely. This will create an even stronger bond between the two surfaces.
Step 10: Let Cover Dry Completely
Allow your hot tub cover to dry completely before using it again. This will ensure the repair is fully set and secure, preventing future damage or leaks.
Repairing a hole in your hot tub cover is a simple process that can save you time and money in the long run. By following these ten steps and keeping these tips in mind, you can easily fix any damage to your cover and keep it in good condition for years. Remember to regularly inspect your hot tub cover for any tears or holes and make necessary repairs as soon as possible to prevent further damage

8 Care Tips for Hot Tub Cover
Now that you know how to repair a hole in your hot tub cover, it’s important to take care of it to prevent future damage. Here are eight tips for maintaining your hot tub cover:
1. Keep the Cover Clean
Regularly clean your hot tub and tub cover to remove debris, dirt, and oils that can accumulate over time.
2. Protect from Sun Exposure
Excessive exposure to the sun’s UV rays can cause damage and discoloration to your hot tub cover. Consider using a protective cover or placing your hot tub in a shaded area.
3. Remove Snow and Ice
Regularly remove any snow or ice from your hot tub cover during the winter months to prevent excessive weight and potential damage.
4. Avoid Sharp Objects
Consider sharp objects near your hot tub cover, such as tree branches or tools. These can easily tear or puncture the cover if not careful.
5. Secure Straps and Locks
Properly secure any straps or locks on your hot tub cover to prevent it from flying off during windy weather.
6. Use Chemicals Appropriately
When adding chemicals to your hot tub, ensure not to spill or splash them onto the cover, as this can cause damage over time.
7. Inspect Regularly
Regularly inspect your hot tub cover for any tears, holes, or wear and tear. Address any issues promptly to prevent them from worsening.
8. Replace When Necessary
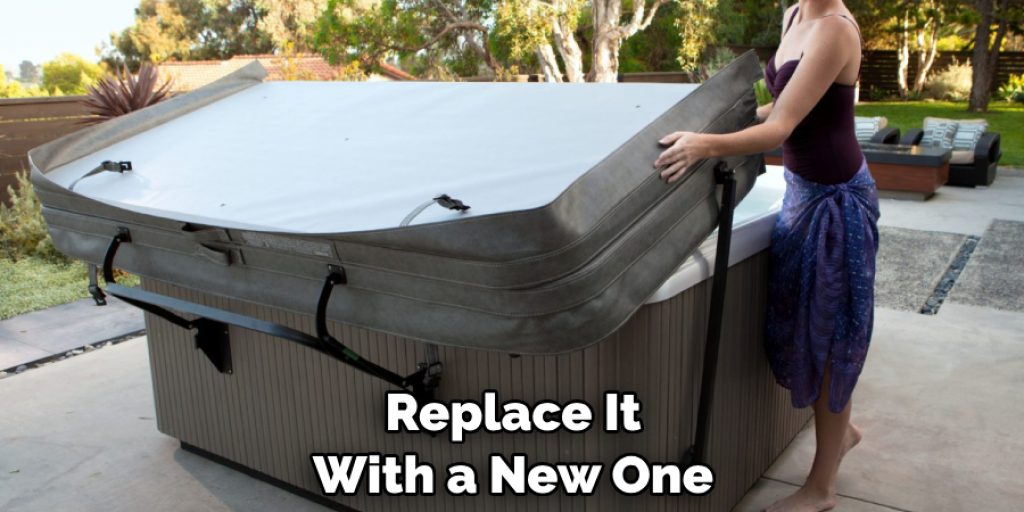
If your hot tub cover is beyond repair or has significant damage, it may be time to replace it with a new one. This will ensure the safety and functionality of your hot tub.
Repairing a hole in your hot tub cover is a simple process that can be done with the right tools and materials. By following the steps outlined in this guide and properly caring for your hot tub cover, you can ensure its longevity and protect your spa from potential damage. Remember to regularly inspect, clean, and maintain your hot tub cover to keep it in good condition for years.
Frequently Asked Questions
How Often Should I Inspect My Hot Tub Cover?
Inspecting your hot tub cover at least once a month for any tears, holes, or wear and tear is recommended. This will help you catch any damage early on and prevent it from worsening.
Can I Use Any Type of Adhesive for the Repair?
It is best to use an adhesive specifically designed for hot tub cover repairs. These can be found at most hardware or home improvement stores and are formulated to withstand water and heat.
What If My Hot Tub Cover Has Multiple Holes or Tears?
If your hot tub cover has multiple holes or tears, you can follow these steps for each one. Just measure and cut your patch material for each hole properly.
Is There a Way to Prevent Holes in My Hot Tub Cover?
While some wear and tear is inevitable, there are ways to prevent holes from forming in your hot tub cover. Regularly cleaning and maintaining the cover, avoiding sharp objects, and protecting it from excessive sun exposure can all help to prevent damage. Remember also regularly to inspect your hot tub cover for any potential issues.
Can I Still Use My Hot Tub While the Cover is Drying?
Using your hot tub while the cover is drying after a repair is not recommended. This can disrupt the adhesive and compromise the strength of the bond between the patch material and cover. It’s best to wait until it has fully dried before using your hot tub again.
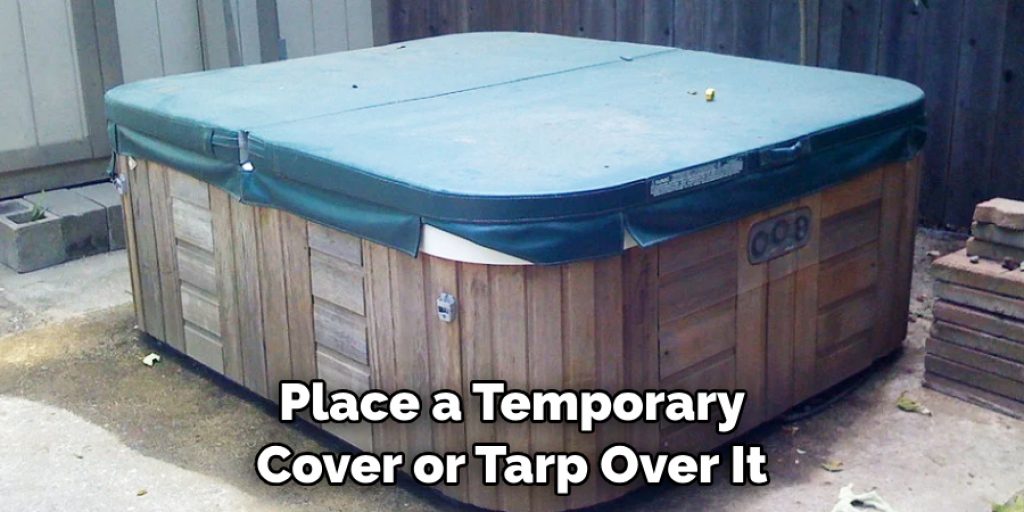
However, if you need to use the hot tub, you can place a temporary cover or tarp over it while the original cover is drying. Ensure to properly secure the temporary cover to prevent debris from entering your spa.
What if My Hot Tub Cover is Beyond Repair?
If your hot tub cover has significant damage or cannot be repaired, it may be time to replace it with a new one. Make sure to properly dispose of the old cover and invest in a high-quality replacement to ensure the safety and functionality of your hot tub.
Conclusion
A hole in your hot tub cover may seem daunting, but it can easily be repaired with the right tools and techniques. By following these ten steps on how to repair hole in hot tub cover and properly caring for your hot tub cover, you can ensure its longevity and protect your spa from potential damage.
Remember to regularly inspect and maintain your hot tub cover for years to keep it in good condition. And if you encounter any other issues or concerns, don’t hesitate to consult a professional for assistance. Enjoy your hot tub with peace of mind, knowing your cover is in good repair!
Repairing a hole in your hot tub cover is a simple process that can be done at home with the right tools and materials. Following these steps and properly caring for your cover can ensure longevity and protect your hot tub from potential damage. Regularly inspect, clean, and maintain your hot tub cover for optimal performance. So go ahead and enjoy a relaxing soak in your well-maintained hot tub!


