How to Replace Elastic in Cloth Diapers
If you’re looking for a way to save money on your cloth diapers, there’s no need to buy expensive elastic. It is easy and quick to replace the elastic in cloth diapers with inexpensive materials. This is one of the most economical ways to get more use of your old ones outside of purchasing new cloth diapers!
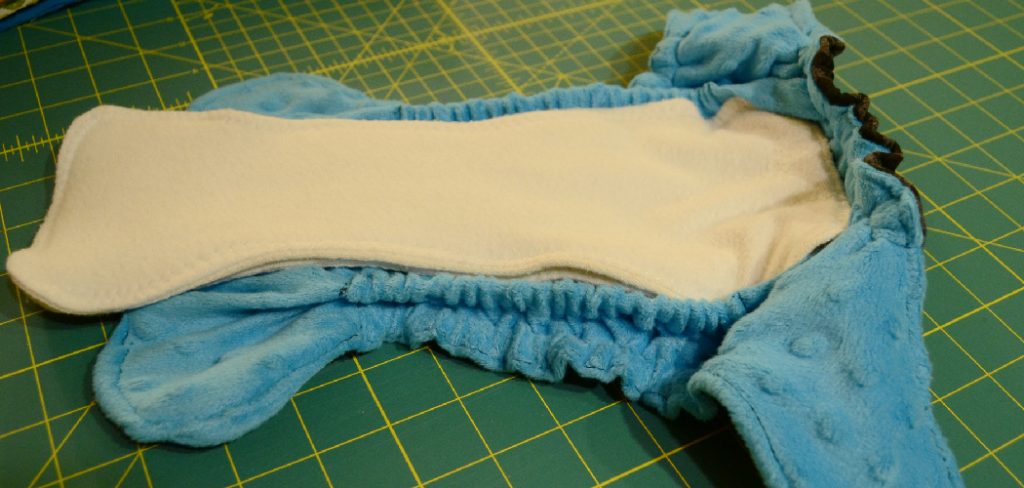
Whether it be an old favorite or a diaper that has seen better days, replacing elastics can make all the difference when it comes down to saving some cash. This blog post will walk you through step-by-step instructions on how to replace elastic in cloth diapers!
What is Elastic?
Elastic is the material that goes around your waist and legs to hold in your baby’s diaper. This can be made from cotton, polyester, or natural rubber. Not all diapers are made the same, so you should read the labels to ensure they fit with other brands. The most important thing to remember when purchasing diapers is that they should fit your baby well. There should be no gaps around the legs or waist, and the diaper should not be too tight. You should also make sure that the diapers you purchase are absorbent enough for your baby’s needs.
If there are holes in the elastic or frayed and coming apart, this may cause leaks. Also, when you set the diaper under baby, there will be a little slack or wiggle room at leg openings which will cause leaks. It would help replace the elastic on your diapers before any more damage is done. Narrow, small or close together leg openings also are common leak points. Be sure your diapers fit on your baby snugly and there is no gap between the legs of the diaper and baby’s thighs.
What to Focus on When Replacing Diaper Elastic?
You will want to focus on a few things when replacing the elastic in your cloth diapers. The first is the size of the elastic. You must get a size that will fit correctly into your diaper. You also want to make sure that the elastic will be strong enough to hold up against wear and tear.
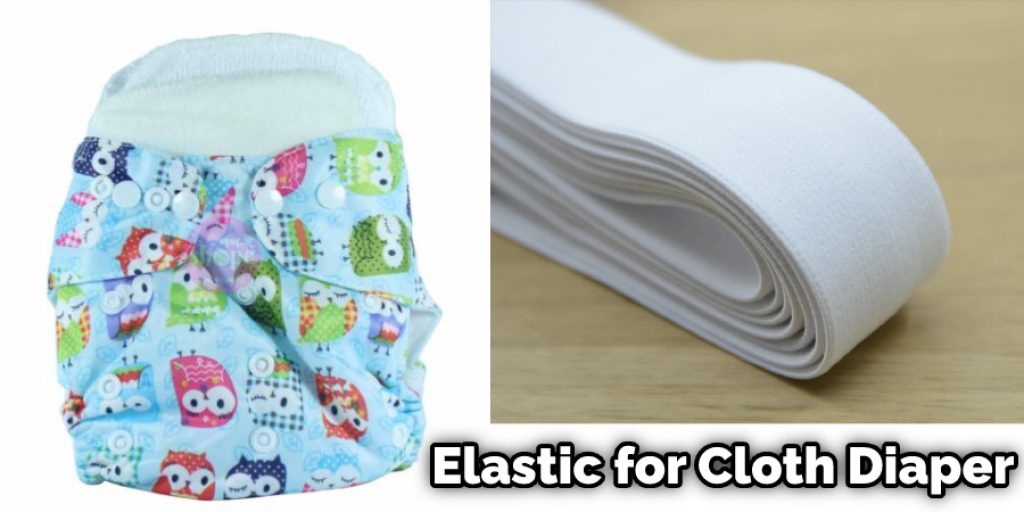
There are two types of elastics that can be used in products: natural rubber and spandex. Natural rubber is thicker and more durable, but it can dissolve quickly when it comes into contact with water. Spandex is a more elastic material, but it is not as durable as natural rubber.
Spandex is a type of fabric that is stretchy and tight-fitting. It is often used to make clothing that is tight-fitting, such as leggings, swimsuits, and yoga pants. Spandex is made from synthetic materials, so it does not break down as easily as natural fabrics like cotton or wool. This means that it can withstand moisture better than natural fabrics, but it also means that it will not last as long under high pressure or tension.
You will want to avoid some things when replacing your diaper’s elastic. An elastic band is made out of metal or plastic since these bands can cause skin irritation. You also want to avoid using ribbon or lace as flexible since these materials are not as strong as rubber or spandex and can quickly wear out. You will want to be sure to measure the area you need to replace the elastic so that you get the right size. You also want to take into account how often you plan on changing your diaper as this will help you determine how much elastic you need to purchase.
Required Tools and Materials:
- Heavy-duty sewing machine
- Matching thread
- Scissors
- Ruler or tape measurer
- Elastic (the width and length of your choice depending on how tight you would like the diaper to fit)
A Step by Step Guide on How to Replace Elastic in Cloth Diapers
Step 1: Determine How Much Elastic Needs to Be Replaced
Start by measuring your existing elastic. If you are able, measure it before cutting it off of the diaper as this will save you from having to cut new pieces of elastic shorter than they need to be if stretching out the elastic was a factor in its removal. In my case, I measured 5 1/2 inches from either side of where the elastic had been stitched down on each leg. Then I cut the old worn-out elastic at those points so that I now have two pieces of raw fabric with five and a half inches of usable stitching along one edge, with their edges even and ready for me to stitch back together.
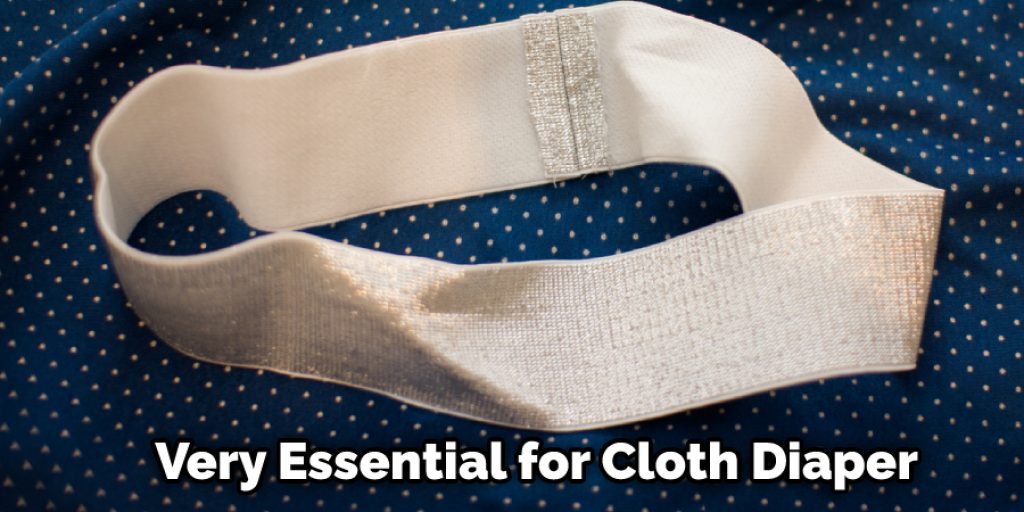
Step 2: Seam Rip the Existing Elastic
If you have not already done so, cut your existing elastic off the diaper. Once it is free, seam rip it open by pulling at each end perpendicular to the length of the elastic until it comes apart. The only thing holding the elastic in place is stitching, so it should come apart reasonably quickly. You can use a seam ripper or scissors to accomplish this step.
Step 3: Replace Diaper Elastic
Pin one piece of new elastic along the raw edge of one leg opening, with right sides together (the side of the fabric where the pretty print is should be facing out). Sew along the pinned edge using a zigzag stitch or another stretch stitch. If you do not have a stretch stitch on your machine, make sure you backstitch at both ends of your stitching line. Repeat this process on the other leg opening, using the other piece of new elastic.
Step 4: Sew Elastic to Diaper Legs
Now it’s time to sew the elastic to the diaper legs. This is best done by turning the diaper inside out and then placing it so that the elastic is at the top (waist) of the diaper and the open ends of the elastic are facing downwards. The bottom of the diaper should now be free of all stitching. Please match up the edges of the fabric on either side of the elastic and pin them in place. Sew along the pinned edge using a straight stitch or another non-stretch stitch. Again, if you do not have a stretch stitch on your machine, be sure to backstitch at both ends of your stitching line. It is a crucial step in how to replace elastic in cloth diapers.
Step 5: Trim Excess Elastic
Once you have sewn the elastic to the diaper legs, it is time to trim off any excess fabric. Use sharp scissors to do this, and be careful not to cut into the stitches you just sewed. If you haven’t already done so, turn your diaper right-side out.
Step 6: Close It Up
Finally, it would help close up the gap left by removing the old elastic fold-down the waistband to flush with the top edge of the diaper and pin in place, leaving between an inch and two inches unsewn at each end. Then either serge off the loose threads or sew over them using a straight stitch.
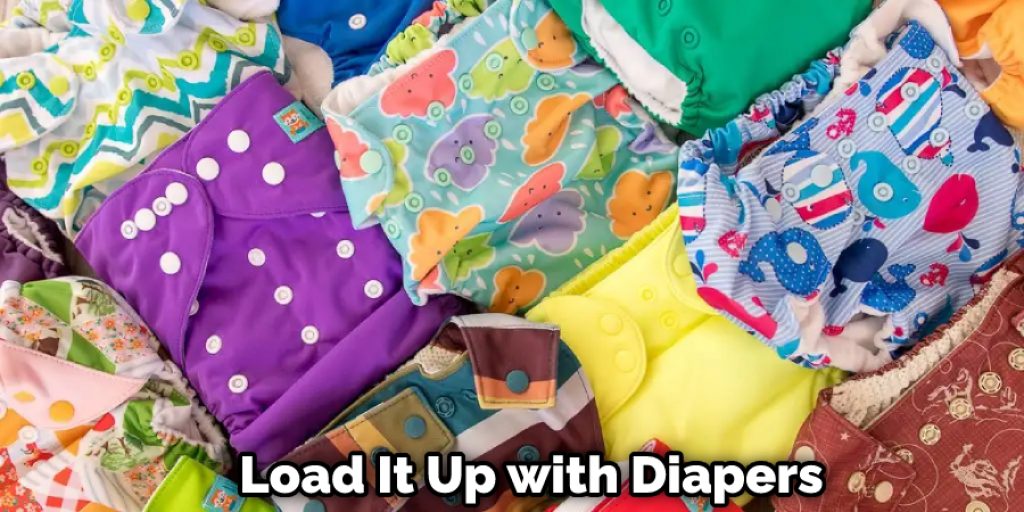
Step 7: Prepare to Load It Up with Diapers
It’s time to load your cloth diaper up as usual and enjoy a happy, leak-free day. Thank you for following How to Replace Elastic in Cloth Diapers. Good luck!
All done! Your diaper elastic should now be replaced, and your diapers should be good as new. Enjoy using them on your little one!
You Can Check It Out to Get Diaper Cream Out of Cloth Diapers
Tips and Warnings
Tips
- If the elastic is particularly damaged or stretched out, you may need to replace it entirely. In this case, cut the old elastic band out of the diaper and sew on a new one.
- If you’re having trouble getting the new elastic tight enough, try using a safety pin to secure it in place.
- Ensure that the elastic is sewn on securely and won’t come loose during use.
Warnings
- Be careful not to sew through the diaper’s fabric when you’re attaching the elastic.
- Do not use pins if there are any babies or young children in the house who they might injure.
Do All Cloth Diapers Need Inserts?
Inserts are absorbent materials inserted into a cloth diaper to soak up urine and feces. Various materials can be used as inserts, including microfiber, hemp, bamboo, and cotton. Using inserts in your cloth diapers helps to maximize their absorbency capacity. This is especially important when using pocket diapers or hybrid diapers, which rely on the insert to absorb most wet.
While some cloth diapers, such as all-in-ones (AIOs), do not require inserts, many other types of cloth diapers do. For example, most pocket diapers and hybrid diapers need inserts to function correctly. So if you’re using a cloth diaper without an insert, it’s likely not going to work very well.
FAQs
How Do I Know if My Child Needs to Use an Elastic or a Cloth Diaper?
If your child wets themselves, they need a diaper. If they soil themselves, they need a diaper. There is no way to tell if your child needs an elastic or cloth diaper without trying both and seeing which works better for your child. That’s the bottom line.
If your child needs an elastic diaper, you can make a cloth one by replacing the elastic. However, if your child does not need an elastic diaper, you don’t have to replace it and instead should use a cloth diaper that doesn’t require one.
What Fabric Should You Use to Make Cloth Diapers?
Several different fabric types can be used to make cloth diapers, but cotton’s most popular option. This natural fiber is absorbent and soft, making it an excellent choice for cloth diapers. Other popular fabric choices include bamboo and hemp, both of which are absorbent and soft.

Conclusion
I hope you have gone through the article on how to replace elastic in cloth diapers. So, while we’ve all been focusing on the benefits of cloth diapers and how to get started with them, it’s essential that you also know what to do if your elastic starts are showing signs of wear.
Be sure to replace elastic in your cloth diapers before they break – otherwise, you’ll be stuck buying a bunch more! Thankfully this process is relatively simple and doesn’t require any sewing experience.


