How to Reverse Tie Dye With Color
Reverse tie dyeing is a fascinating and creative technique that transforms plain fabrics into unique works of art by removing color rather than adding it. This innovative method allows you to achieve striking patterns and designs through strategic bleaching, offering a fresh spin on traditional tie-dye.

Whether you’re looking to upcycle old garments or create one-of-a-kind pieces, reverse tie dyeing provides an exciting way to express your personal style while exploring a fun, hands-on craft. In this guide on how to reverse tie dye with color, we’ll walk you through the essential materials, techniques, and tips to help you master the art of reverse tie-dye.
What is Reverse Tie Dyeing?
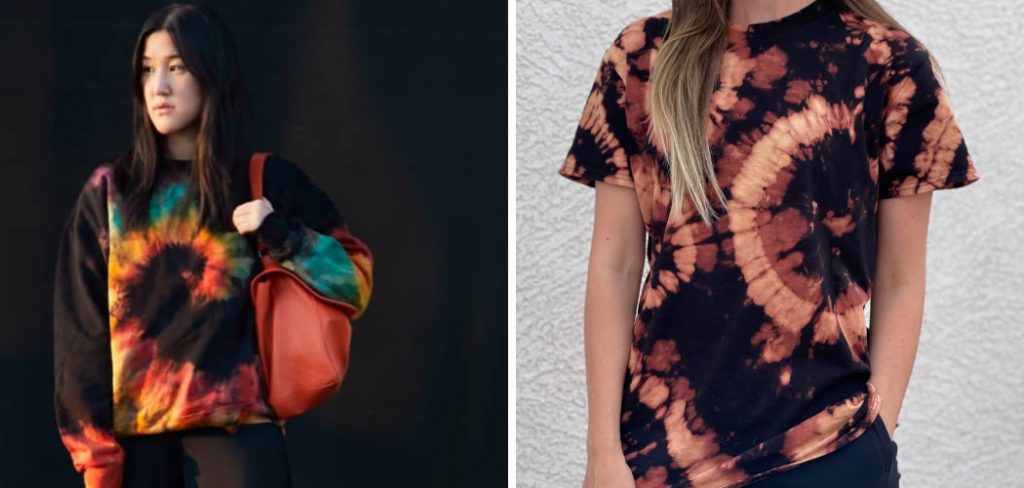
Reverse tie dye, often referred to as “bleach tie dye,” is a creative fabric dyeing technique that reverses the traditional process of adding color. Instead of applying dye to a white or light-colored fabric, reverse tie dyeing involves using a bleaching agent to remove the color from darker fabrics, thereby creating stunning, contrast-rich designs.
This technique allows for a variety of patterns, from simple geometric shapes to intricate swirls, depending on the folding and tying methods employed. The result is a visually striking piece that showcases both the remaining color and the areas where the dye has been removed, making each item distinctly unique.
Materials You’ll Need
To get started with reverse tie-dyeing, you’ll need some essential materials that can be found at most craft or fabric stores. Here’s what you’ll need to gather before getting your hands dirty:
Dark-colored Garments or Fabric
Choose a dark color like black, navy blue, or dark green for the best results. Reverse tie dyeing works best when the fabric being used has a high concentration of color to contrast with the bleached areas.
Bleaching Agent
Bleach is the most commonly used agent for reverse tie-dyeing, and it’s readily available in most households. However, you can also use hydrogen peroxide or other bleach alternatives if preferred. Just make sure to read the instructions carefully before using them.
Rubber Bands or Twine
Rubber bands or twine are essential for creating unique patterns and designs on your fabric. You’ll need these to tightly bind and secure sections of the fabric before bleaching.
Protective Gear
Reverse tie dyeing involves working with harsh chemicals, so it’s crucial to protect yourself by wearing gloves, aprons, and safety glasses. The chemicals can irritate the skin and eyes, so take necessary precautions before starting.

8 Step-by-step Guidelines on How to Reverse Tie Dye With Color
Step 1: Choosing the Right Fabric
The first step in reverse tie dyeing is selecting the appropriate fabric to work with. Opt for dark-colored garments or fabrics, as they will provide the best contrast against the bleach. Fabrics made from natural fibers, such as cotton, linen, or rayon, tend to absorb bleach more effectively, resulting in more vibrant and dynamic patterns. Avoid synthetic materials like polyester, as they may not react well to bleach and produce disappointing results.
Consider the thickness and texture of the fabric as well; lighter fabrics may require more delicate handling to achieve desired outcomes, while heavier fabrics can withstand more aggressive techniques. Once you’ve settled on your fabric, ensure it is clean and free from any stains or dirt that could interfere with the bleaching process.
Step 2: Prep Your Work Area
Before diving into the reverse tie dyeing process, it’s essential to prepare your work area to ensure safety and ease of use. Choose a well-ventilated space, preferably outdoors or in a garage, to minimize exposure to bleach fumes. Lay down a plastic sheet or old newspaper to protect surfaces from bleach spills and splashes. Having a dedicated area will also help contain the mess and make cleanup easier.
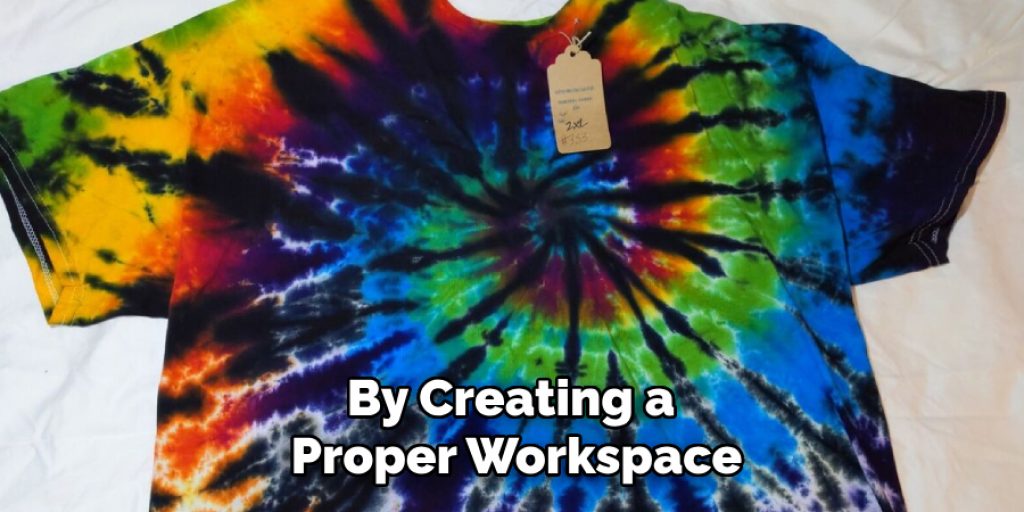
Gather all your materials and tools within reach, including your dark-colored fabric, bleaching agent, rubber bands or twine, and protective gear. Make sure to have water nearby to rinse your fabric in case you need to stop the bleaching process or clean up any spills quickly. By creating a proper workspace, you’ll set yourself up for a successful and enjoyable reverse tie-dyeing experience.

Step 3: Plan Your Design
Reverse tie dyeing offers endless possibilities for creating unique designs and patterns on fabrics. Before starting, take some time to think about the design you want to achieve and how you’ll fold and tie your fabric to create it.
You can find inspiration from online tutorials or let your creativity run wild and come up with a one-of-a-kind design. Consider using multiple rubber bands or twine in different areas of the fabric for more complex patterns.
Step 4: Fold and Bind Your Fabric
Once you’ve settled on a design, it’s time to fold and bind your fabric to prepare it for bleaching. Start by laying your dark-colored fabric flat on a clean surface. Depending on your chosen design, you can create various folds, such as accordion folds, spiral twists, or random scrunches. For a more intricate pattern, you might use a combination of techniques.
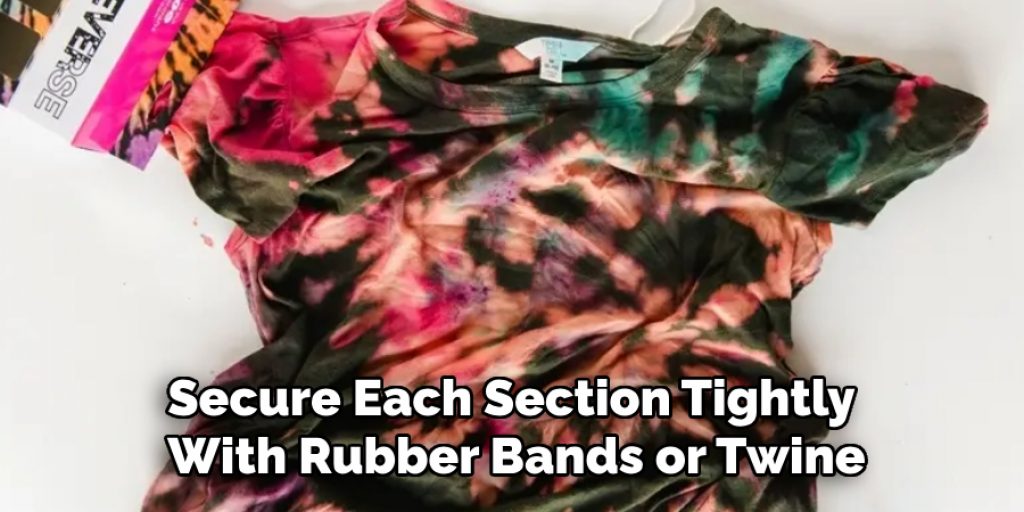
After folding, secure each section tightly with rubber bands or twine. The tighter you bind the fabric, the sharper the contrast will be between the bleached and unbleached areas. Consider adding multiple bindings to create varied effects across the fabric. Once your binding is complete, double-check that everything is secure, as this will ensure a cleaner design once the bleaching process begins. Now, you’re ready to move on to the bleaching step!

Step 5: Prepare Your Bleaching Solution
Before applying the bleach, you’ll need to prepare your bleaching solution. You can either use undiluted household bleach or create a mixture of equal parts water and bleach. If using a bleach alternative, refer to the package instructions for dilution guidelines. Make sure to wear protective gear while handling the chemicals, as they can irritate skin and eyes.
Otherwise, you can also use a spray bottle to apply the bleach solution for more precise control over where and how much bleach is applied.
Step 6: Apply the Bleach
With your bleaching solution ready, it’s time to start applying the bleach to your prepared fabric. Ensure you are wearing your protective gear to avoid any skin or eye irritation. Using a spray bottle, sponge, or brush, carefully apply the bleach solution to the areas of the fabric that you want to lighten. You can control the amount and intensity of bleach-based on your desired effect; light sprays will create softer transitions, while soaking certain areas will result in bolder contrasts.
Keep in mind that the fabric will continue to lighten over time, so it’s wise to start with less bleach and add more as needed. As you work, turn the fabric occasionally to ensure even bleaching, and don’t forget to monitor your design, as the process can yield varied results depending on the fabric’s composition and the bleach concentration. Once you’re satisfied with the application, let the fabric sit for the recommended time, allowing the bleach to work its magic before moving on to the rinsing stage.
Step 7: Rinse and Clean Up
After the bleaching process is complete, it’s time to rinse your fabric thoroughly to stop the bleach from continuing to lighten the fabric. First, remove the bindings by cutting or carefully untying them. Then, rinse your fabric under cold water until there is no more visible bleach residue. Continue rinsing until the water runs clear.
Next, prepare a mixture of equal parts vinegar and water and soak your fabric for a few minutes before rinsing again; this will help neutralize any remaining bleach on the fabric. Finally, wash your fabric in a washing machine with detergent before air-drying or tumble-drying according to its care instructions.
Step 8: Admire Your Creation
Congratulations, you’ve successfully completed the reverse tie-dyeing process! As your fabric dries, you’ll see the true results of your design and bleaching techniques. Don’t be afraid to experiment with different folding and binding methods or mix up your bleach application for future projects. Reverse tie dyeing is a fun and creative way to transform dark fabrics into unique and personalized pieces that are sure to make a statement.

With these simple steps on how to reverse tie dye with color, you can create stunning designs on t-shirts, tote bags, pillowcases, or any fabric item you desire. So gather your materials, find some inspiration, and start creating! The possibilities are endless.
Conclusion
Reverse tie dyeing is not only a rewarding artistic endeavor but also an opportunity to express your individuality through fabric design. By following these steps on how to reverse tie dye with color, you can transform ordinary dark-colored materials into eye-catching pieces that reflect your unique style. Whether you’re creating gifts for friends or updating your own wardrobe, the process of experimenting with different designs and techniques can be incredibly fulfilling.
Remember to have fun and let your creativity shine throughout your projects. With practice, you’ll develop your skills and discover new ways to expand your design repertoire. So gather your tools, unleash your imagination, and enjoy the endless possibilities that reverse tie dyeing has to offer!


