How to Scour Fabric
Do you need to scrub fabric but are unsure how? Have you avoided tackling larger projects because you weren’t sure of the best methods to rid your fabrics of dirt, stains, and general grime? Scouring fabric may seem like a daunting task when in reality it is quite simple and straightforward.
Knowing the right techniques on how to scour fabric can help make any difficult fabric-cleaning project much easier. In this blog post, we will discuss the basics of scouring fabric so that even a beginner can become a pro!
Needed Materials
Given below is a list of materials that are needed to scour fabric:
A Sink or Large Basin
This is the most important item that you need when scouring fabric. It’s where the fabric will be soaked, agitated and washed to get rid of any dirt or impurities.
A Mild Detergent
Choose a detergent that is designed for delicate fabrics so as to not damage them during the process.
Scouring Brush/ Cloth
These are also known as scouring pads and can be used to gently scrub the fabric for a deeper clean.
Step-by-Step Instructions on How to Scour Fabric
Step 1: Prepare the Fabric for Scouring
Sort and pre-treat the fabric: Separate the fabric based on color and fiber content. Pre-treat any heavily soiled areas or stains using a stain remover or gentle detergent, following the manufacturer’s instructions. Remove any embellishments or hardware: If your fabric has buttons, zippers, or other embellishments, remove them before scouring. This will prevent damage to the fabric and ensure a thorough cleaning. Pre-wash the fabric (optional):
Some fabrics may benefit from a pre-wash to remove any dirt, dust, or residual chemicals. Check the care instructions for your fabric and, if recommended, wash it using a gentle detergent. Skip this step for fabrics that should not be pre-washed, such as delicate silks or fabrics with special finishes. Pre-soak the fabric (optional): For heavily soiled or stained fabrics, a pre-soak can help loosen dirt and stains before scouring.
Fill a basin or sink with cool water and add a mild detergent or fabric-safe stain remover. Submerge the fabric and allow it to soak for 30 minutes to an hour, then proceed to the scouring process.
Step 2: Prepare a Scouring Solution
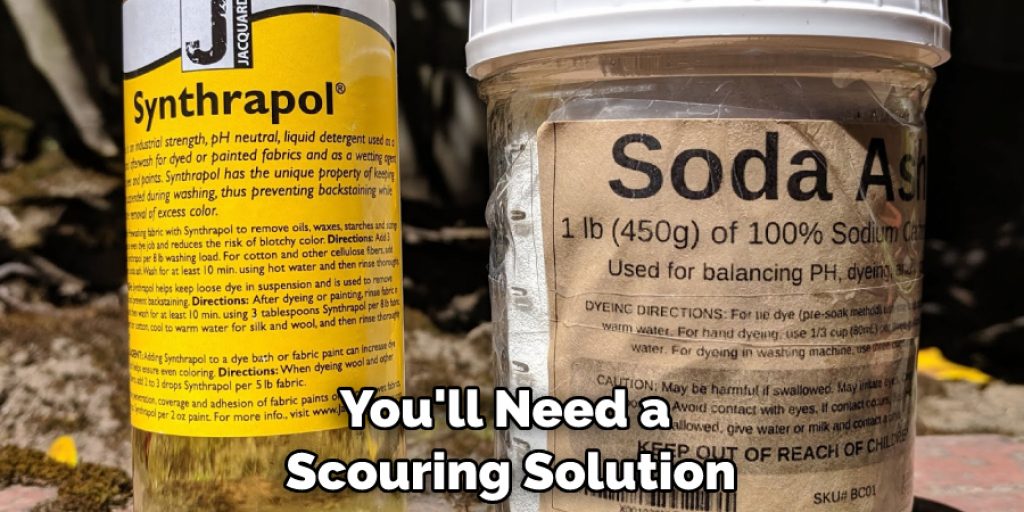
To effectively scour fabric, you’ll need a scouring solution. Fill a large basin or sink with warm water. The temperature should be suitable for the fabric you’re scouring, so refer to the fabric’s care instructions for guidance. Add a gentle scouring agent or detergent to the water. Look for products specifically formulated for fabric scouring, or use a mild liquid detergent free from optical brighteners, dyes, or perfumes. Follow the recommended dosage provided by the manufacturer. Gently stir the solution to ensure the scouring agent or detergent is well-dissolved in the water.
Step 3: Immerse the Fabric in the Scouring Solution
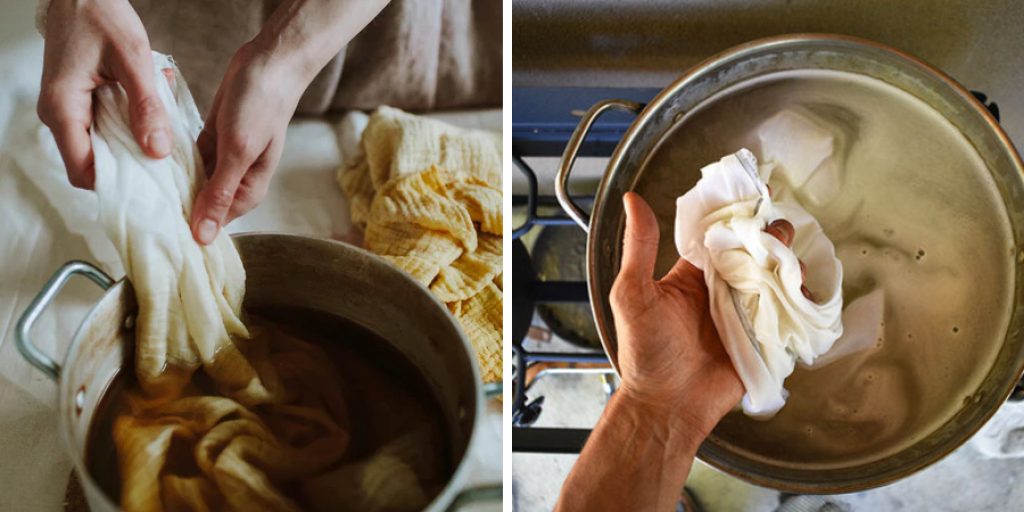
Place the fabric in the basin or sink filled with the scouring solution. Ensure the fabric is fully submerged and can move freely in the water. Gently agitate the fabric by swirling it around in the solution. This helps the scouring agent or detergent penetrate the fabric and loosen any oils, dirt, or sizing agents. Allow the fabric to soak in the scouring solution for the recommended time. This can vary depending on the fabric type and level of soiling. Refer to the instructions provided by the scouring agent or detergent manufacturer for guidance.
Step 4: Rinse the Fabric
After the scouring process, it’s crucial to rinse the fabric thoroughly to remove any residual scouring solution and loosened debris. Drain the scouring solution from the basin or sink.
Refill the basin or sink with clean, lukewarm water. Immerse the fabric in clean water and gently agitate it to dislodge any remaining residue. Drain the water and repeat the rinsing process until the water runs clear and no traces of the scouring solution remain.
Step 5: Optional Second Scouring (if needed)
If the fabric is still not satisfactorily clean after the initial scouring, you can repeat the process with a fresh scouring solution. This is especially useful for heavily soiled fabrics or those with stubborn stains. Follow steps 2 to 4 to repeat the scouring and rinsing process.
Note: Avoid excessive scouring, as it may weaken delicate fabrics or affect the color integrity of certain dyes.
Step 6: Squeeze Out Excess Water
Once the fabric has been thoroughly rinsed, it’s time to remove excess water before drying. Gently lift the fabric from the basin or sink, supporting it to prevent stretching or distortion. Squeeze the fabric lightly to remove excess water. Be careful not to wring or twist the fabric, as this may cause wrinkling or misshaping. If necessary, lay the fabric flat on a clean, absorbent towel and roll it up to gently press out more moisture. Avoid excessive pressure or rubbing, as it may damage delicate fabrics.
Step 7: Air Dry the Fabric
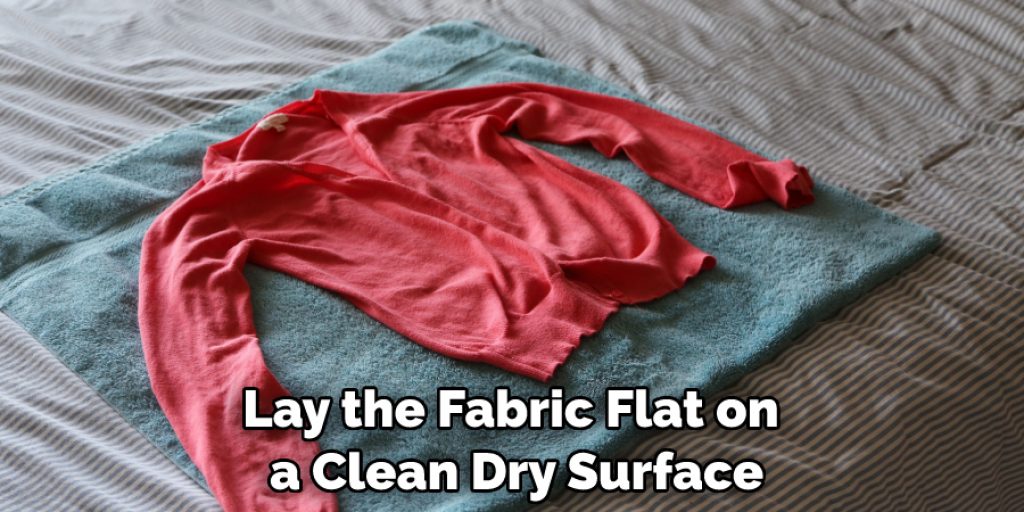
Drying the fabric properly is essential to prevent shrinking or misshaping. Choose a well-ventilated area away from direct sunlight or heat sources. Lay the fabric flat on a clean, dry surface, such as a clean towel or drying rack. Smooth out any wrinkles or folds to maintain the fabric’s shape. Allow the fabric to air dry naturally. Avoid using a clothesline, as it may cause stretching or distortion. For heavier fabrics, consider flipping them over midway through the drying process to ensure even drying.
Step 8: Inspect and Finish
Once the fabric is completely dry, inspect it for any remaining stains, residue, or imperfections. If needed, repeat the scouring process or treat specific areas before proceeding with your desired project. If the fabric is clean and ready to be used, you can proceed with any additional finishing steps or prepare it for your desired project.
Step 9: Iron or Press the Fabric (optional)
Depending on the fabric type and your intended use, you may choose to iron or press the fabric after scouring. This step helps to remove any remaining wrinkles and ensures a smooth finish. Refer to the fabric’s care instructions for the appropriate ironing or pressing settings. This will help to prevent damage or color loss. Be sure to use a press cloth if necessary when using a hot iron and refer to the fabric manufacturer’s instructions for the appropriate temperature setting.
Step 10: Store or Use the Scoured Fabric
Congratulations! Your fabric is now scoured and ready for use or storage. Fold the fabric neatly and store it in a clean, dry place, protecting it from dust and direct sunlight until you’re ready to embark on your next sewing or crafting project. It’s also important to properly store fabric that has been scoured, as it may be prone to staining or discoloration due to weakened fibers.
Step 11: Enjoy Your Project
Now that you have successfully scoured your fabric, you can proceed with your desired project. Whether it is a quilting project, a garment sewing project, or something else entirely, you are now ready to enjoy the fruits of your labor and create something beautiful. Always remember that fabric scouring is an important step in any sewing or crafting project, and it should not be overlooked. Taking the time to properly clean your fabric before use will ensure a successful outcome with long-lasting results.

Scouring fabric is an essential process that helps to remove dirt, residue, and bacteria from fabric surfaces. Following the steps outlined on how to scour fabric above will help ensure your fabric is properly scoured and ready for use. With proper care and storage, you can enjoy beautiful fabric surfaces
Do You Need to Use Professionals?
Whether you are an experienced crafter or a beginner, knowing how to scour fabric is important. While many fabrics can be scoured at home by following the steps outlined in this article, it may be beneficial to have certain types of fabric professionally cleaned and/or scoured. Delicate fabrics, such as silk or velvet, should always be handled with special care and are best left to the professionals. Additionally, large projects or heavily soiled fabrics may be more suited for professional cleaning services. Consider consulting a professional before attempting to scour delicate fabric types or large projects at home.
Frequently Asked Questions
Q: How Often Should Fabric Be Scoured?
A: The frequency of scouring will vary depending on the type of fabric and its intended use. Generally, fabrics should be scoured every 3-6 months to ensure they remain free from dirt and residue. It’s also important to inspect the fabric for any stains or discoloration before each use and spot treat as needed.
Q: Can Fabric Be Scoured in a Washing Machine?
A: While some fabrics can be washed in a washing machine on a gentle cycle, it is not recommended that all fabrics are scoured in this way. Delicate fabrics, such as silk or velvet, should always be hand washed or dry cleaned to avoid damage. Additionally, large projects may require professional cleaning services due to their size. Refer to the fabric manufacturer’s instructions for details on how best to clean each type of fabric.
Q: Does Fabric Need to Be Ironed After Scouring?
A: Yes, most fabrics will need to be ironed or pressed after scouring. Refer to the fabric’s care instructions for the appropriate ironing or pressing settings and use a press cloth if necessary when using a hot iron. This will help to prevent damage or color loss and ensure a smooth, wrinkle-free finish.

Conclusion
Thanks for reading this article on how to scour fabric. Overall, scouring fabric properly offers a plethora of benefits. Not only will it reduce the amount of shrinkage but it also helps to prevent bleeding, which can in turn save money by not having to buy additional dye if needed.
Scouring can be done with an ordinary detergent, though using specialized detergents is generally better. Overall, this is a simple project anyone can take on with just a few materials and tools.
With a little bit of prep work and diligence, you’ll be ready to begin your next crafting endeavor! Best of luck—scouring fabric will absolutely take any project up a notch by ensuring that the colors remain vibrant and true for years to come!

