
How to Seal a Painted Charcuterie Board
Are you looking to protect and preserve your painted charcuterie board? If so, you’ve come to the right place! In this guide, we’ll go through the step-by-step process of how to seal a painted charcuterie board to ensure it lasts for years to come.
Sealing a painted charcuterie board is an essential step in enhancing its appearance and ensuring its durability and safety for food use. A well-sealed board protects the artwork beneath while providing a moisture-resistant barrier that prevents damage from oils and acidic foods.
Whether you’ve used acrylic paints, epoxy, or any other medium, knowing how to seal your board correctly will extend its lifespan and keep it looking vibrant. In this guide, we’ll walk you through the simple steps to achieve a beautifully sealed charcuterie board that’s ready for your next gathering.
What Will You Need?
Before you begin the sealing process, make sure you have all the necessary materials on hand. Here’s a list of things you’ll need to seal your painted charcuterie board:
- Sandpaper (150 grit)
- Tack cloth or microfiber cloth
- Sealant (polyurethane, resin, or food-grade mineral oil)
- Paintbrush or foam brush
- Gloves and protective eyewear (if using polyurethane or resin)
Choosing the right type of sealant for your charcuterie board is crucial based on the paint medium used.
10 Easy Steps on How to Seal a Painted Charcuterie Board
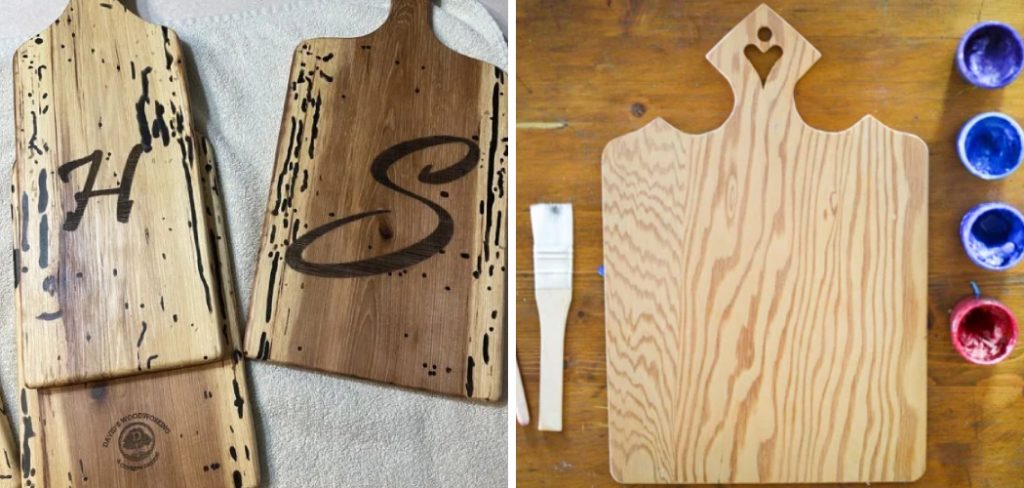
Step 1: Prep Your Board
Preparation is key to achieving a smooth, durable seal on your painted charcuterie board. Start by ensuring that your board is clean and free from dust, grease, or any leftover food particles. Use a damp cloth to wipe down the surface and allow it to dry completely. Next, take the sandpaper and lightly sand the painted surface in a circular motion.
This will create a slightly rough texture, which helps the sealant adhere better to the paint. Be careful not to sand too aggressively, as you want to preserve the integrity of your artwork. Once you’ve completed sanding, use a tack cloth or microfiber cloth to remove any dust created during the sanding process. This meticulous preparation will set a solid foundation for the sealing process, ensuring that your charcuterie board looks great and stands the test of time.
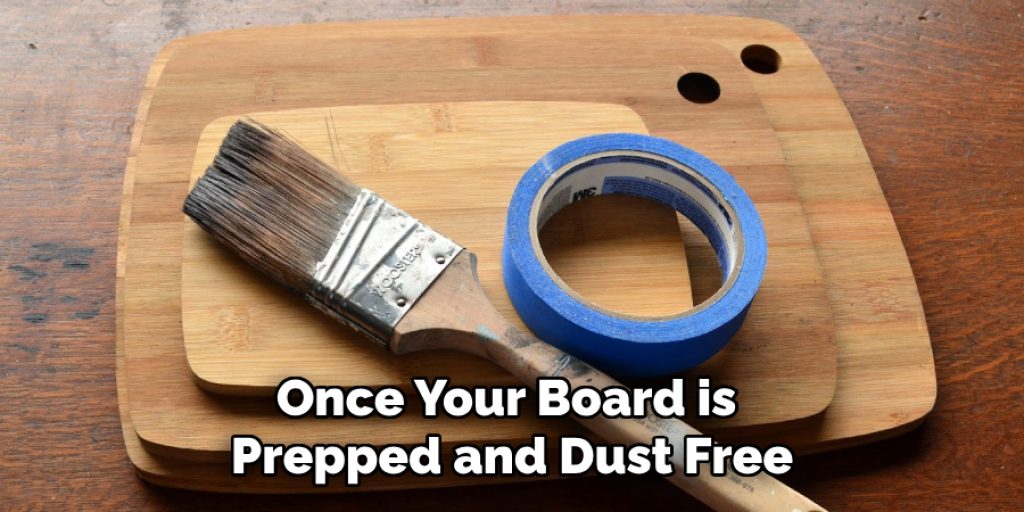
Step 2: Apply the Sealant
Once your board is prepped and dust-free, it’s time to apply the sealant. Choose your sealant carefully—if you’re using polyurethane or resin, be sure to work in a well-ventilated area and wear gloves and protective eyewear. Using a paintbrush or foam brush, apply a thin, even layer of the sealant over the entire surface of the board, ensuring that you cover all painted areas. Work toward the grain to achieve a smooth finish, and be cautious of drips or pooling. Allow the first coat to dry according to the manufacturer’s instructions, typically a few hours, before moving on to the next step. Proper sealant application enhances the board’s appearance and extends its lifespan.
Step 3: Lightly Sand Between Coats
After the first coat of sealant has thoroughly dried, creating a smooth surface for the next layer is essential. Use fine-grit sandpaper (around 220 grit) to lightly sand the board’s surface. This process will help remove imperfections, dust particles, or bubbles that may have formed during drying. Gently sand in a circular motion, careful not to sand through to the paint beneath. Once you’ve completed this step, wipe the board down with a tack cloth or a microfiber cloth to ensure it’s free of dust before proceeding to the next coat. This step will contribute to a more refined finish and enhance the overall look of your sealed charcuterie board.
Step 4: Apply Additional Coats
Depending on the desired level of protection and sheen, apply at least one to two additional coats of sealant. Follow the same process as in Step 2: Using a clean brush, apply a thin, even layer of sealant, making sure to cover the entire surface and work with the grain. Allow each coat to dry thoroughly before sanding (as detailed in Step 3) and applying the next one. Each layer builds both the durability and the visual appeal of your charcuterie board, so take your time with these applications to ensure a professional finish.
Step 5: Final Sanding
Once you’ve applied the final coat and it has dried completely, give the board one last light sanding to create an exceptionally smooth finish. Use fine-grit sandpaper (220 grit again) for this final sanding, focusing on any areas that might feel rough or uneven. This last touch will help achieve that polished look and feel that enhances both the aesthetics and usability of your charcuterie board. After sanding, wipe the surface clean again with a tack cloth or microfiber cloth.
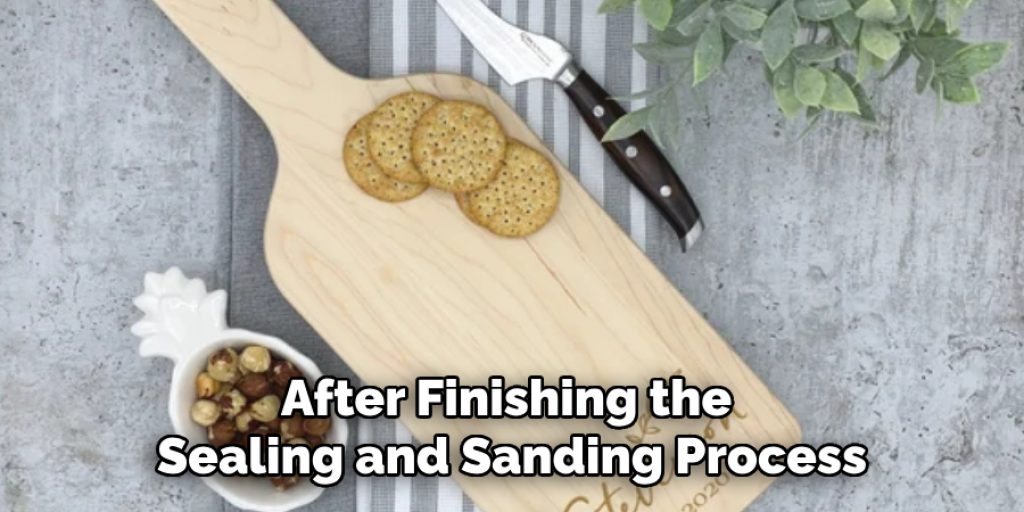
Step 6: Curing Time
After finishing the sealing and sanding process, it’s crucial to allow your charcuterie board to cure properly. If you used a polyurethane or resin sealant, follow the manufacturer’s directions regarding curing time, which is typically longer than the drying time—often 24 to 72 hours. During this period, avoid using the board or exposing it to moisture as it allows the sealant to fully harden and bond with the surface, providing optimal protection.
Step 7: Final Inspection and Maintenance
Once the curing period is complete, inspect your charcuterie board for any blemishes or rough areas that might still need attention. If all looks well, you’re ready to incorporate it into your gatherings! For long-term maintenance, avoid soaking the board in water and wash it gently with mild soap and a soft sponge. Regularly reapply food-grade mineral oil as needed to maintain the board’s luster and protect the wood. This simple upkeep will ensure your painted charcuterie board remains a stunning centerpiece for years.
Step 8: Enjoy Your Board
Now that your painted charcuterie board is sealed, it’s time to put it to good use! Gather your favourite cheeses, meats, fruits, and nuts to create an elegant and inviting spread. Whether it’s for a casual family gathering or an elegant dinner party, your charcuterie board is sure to be a hit. Remember to showcase your hard work and the unique design of your board; it’s not just a serving platter but also a conversation starter.
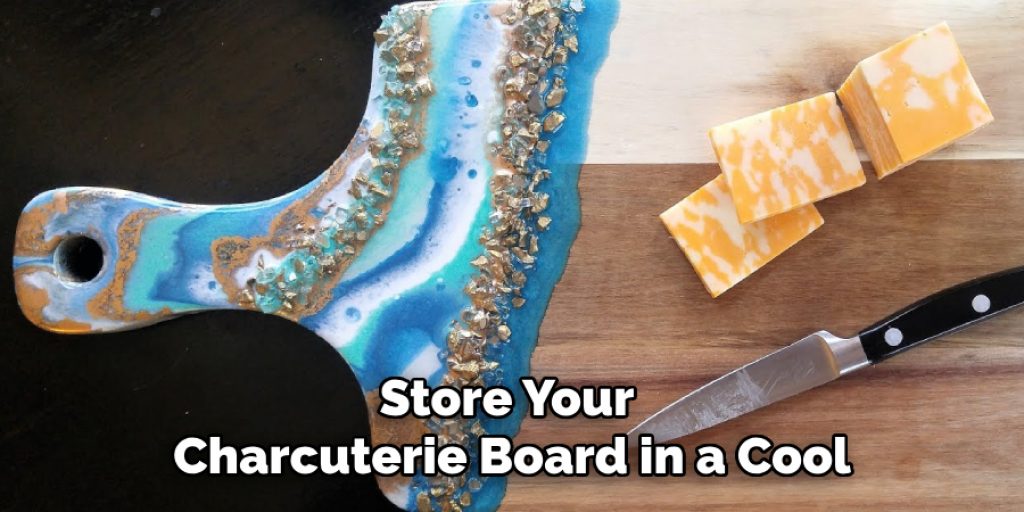
Step 9: Store Properly
When not in use, store your charcuterie board in a cool, dry place away from direct sunlight. Avoid stacking heavy items on top of the board, as this can potentially warp it or damage the painted surface. Proper storage will help maintain the integrity of both the wood and the artistry you have worked hard to create.
Step 10: Periodic Re-sealing
Over time and with frequent use, the sealant on your charcuterie board may wear down. It’s advisable to periodically inspect the board for any signs of wear or damage. Reapply a fresh coat of food-grade mineral oil or a suitable sealant to maintain its protective qualities. This ensures your board continues to look beautiful while remaining functional when serving food. A little upkeep goes a long way in preserving your crafted masterpiece!
By following these steps, you can effectively seal and maintain your painted charcuterie board for years to come.
5 Things You Should Avoid
- Using Non-Food Safe Sealants: Always ensure that the sealant you choose is specifically labeled as food-safe. Non-food safe products can leach harmful chemicals into food, posing health risks.
- Applying Too Thick a Coat: Overly thick coats of sealant can lead to peeling or cracking. Instead, several thin layers achieve a durable finish without compromising the paint’s integrity.
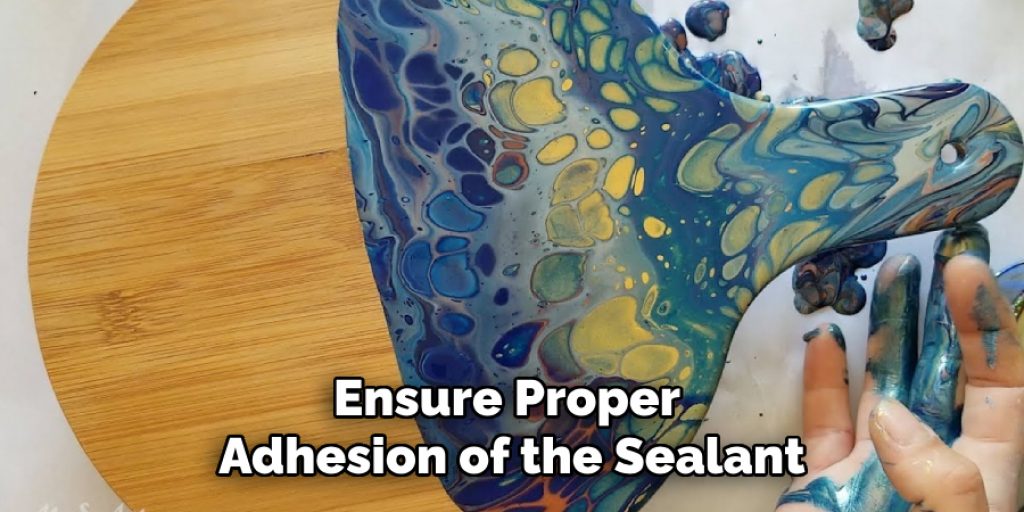
- Neglecting to Sand Between Coats: Please sand between coats lightly to ensure proper adhesion of the sealant. Good sanding helps create a smooth surface and allows each layer to bond effectively.
- Using Heat or Excessive Water During Cleaning: Avoid exposing the board to extreme temperatures or soaking it in water after sealing. This can damage the finish and paint, leading to degradation over time.
- Sealing Too Soon: Be patient and allow the paint to cure fully before applying the sealant. Rushing this step can lead to trapping solvents underneath the sealant, which can cause bubbling and other issues.
By avoiding these common mistakes, you can ensure that your painted surfaces look great for years.
Conclusion
Sealing a painted charcuterie board is crucial in preserving its beauty and functionality. By selecting a food-safe sealant and applying it correctly, you can enhance the durability of your artwork while ensuring it remains safe from food contact.
Remember to apply thin, even coats and allow ample drying times between applications. Proper surface preparation, including sanding, will help the sealant adhere effectively, while avoiding excessive heat and moisture protects the finish. With these practices in mind, your charcuterie board can be a stunning centerpiece that lasts for many gatherings to come.
Hopefully, this guide on how to seal a painted charcuterie board has provided you with the knowledge and confidence to successfully seal your painted charcuterie board. Enjoy creating beautiful and functional pieces for all of your charcuterie needs!
Elizabeth Davis
Elizabeth is a creative writer and digital editor based in the United States. She has a passion for the arts and crafts, which she developed from a young age. Elizabeth has always loved experimenting with new mediums and sharing her work with others. When she started blogging, she knew that DIYquickly would be the perfect platform to share her tutorials and tips. She's been writing for the blog from the beginning, and her readers love her helpful advice and easy-to-follow instructions. When she's not writing or editing, Elizabeth enjoys spending time with her family and friends.


