How to Sew Cargo Pockets
Are you tired of not having enough pockets on your pants or shorts? Adding cargo pockets to your garments is a great way to increase functionality and style.
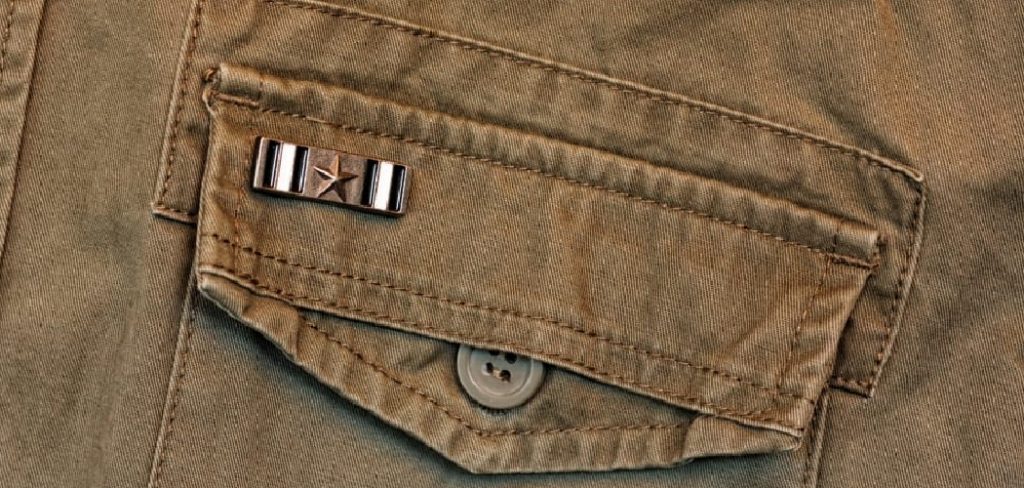
Using your ruler and fabric chalk, measure and mark out two rectangles for each pocket piece. The sewing cargo pockets can elevate the functionality and style of your garments, making them both practical and aesthetically pleasing. Whether you’re customizing a pair of pants, a jacket, or a bag, adding cargo pockets provides ample storage for everyday essentials while enhancing the overall design.
In this guide, we will walk you through the essential steps on how to sew cargo pockets, covering everything from selecting the right fabric to finishing your seams for a polished look. Get ready to unleash your creativity and transform your sewing project with these handy additions!
What Will You Need?
Before you get started, make sure you have all the necessary materials and tools on hand. Here’s a list of items that you’ll need to sew cargo pockets:
- Fabric
- Ruler
- Fabric chalk or marking pen
- Scissors or rotary cutter
- Sewing machine and thread
- Pins or clips
- Iron and ironing board
Additionally, if you’re adding cargo pockets to an existing garment, you may also need a seam ripper to remove any existing pockets or seams in the area where you will be attaching your new pockets.
10 Easy Steps on How to Sew Cargo Pockets
Step 1: Choose Your Design
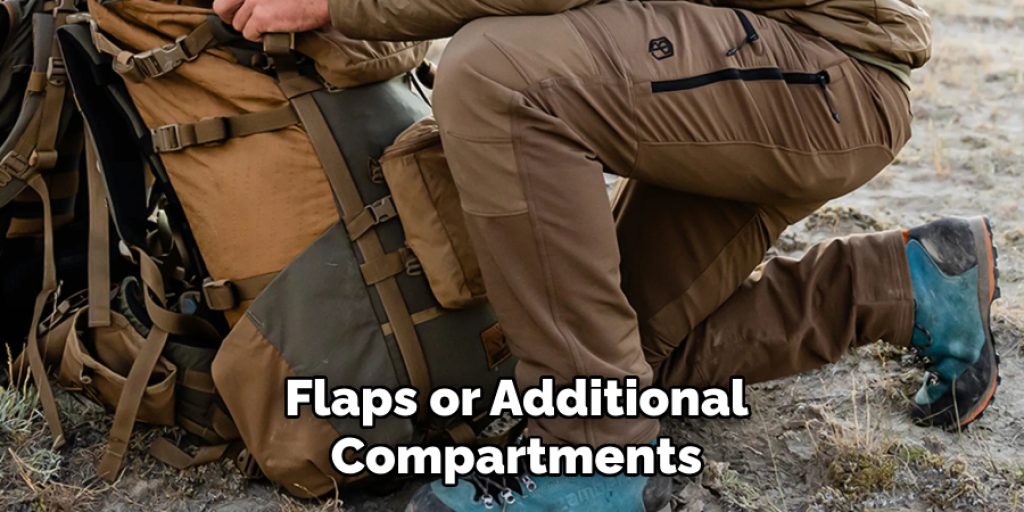
Start by deciding the size and placement of your cargo pockets. Consider how large you want the pockets to be and where they will be situated on your garment. The design can include features like flaps or additional compartments, so take some time to sketch out your vision.
Step 2: Cut the Fabric
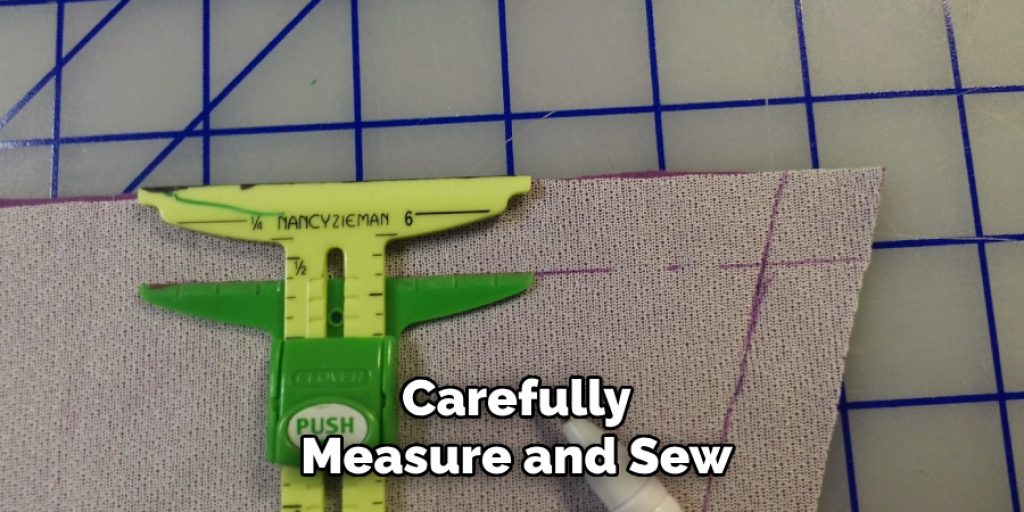
Once you have finalized the design for your cargo pockets, it’s time to cut the fabric. Using your ruler and fabric chalk, carefully measure out the dimensions of the pocket pieces, ensuring that you cut two identical rectangles for each pocket. Additionally, if your design includes flaps or additional compartments, be sure to cut those pieces as well. Remember to add a seam allowance of about 1/4 to 1/2 inch around each piece to ensure clean edges when you sew.
After cutting, remember to iron the fabric to remove any wrinkles, which will make it easier to work with as you move on to the next steps.
Step 3: Prepare the Pocket Pieces
With your fabric cut, the next step is to prepare the pocket pieces for sewing. Begin by finishing the edges of each pocket rectangle to prevent fraying. You can use a zigzag stitch or a serger for this. After that, fold down the top edge of each pocket by about 1/2 inch and press it with an iron. This hem will create a clean edge and ensure that the raw fabric does not show once the pockets are sewn onto your garment.
Pin or clip the hem in place to hold it while you continue to work on the pockets. If you are incorporating any flaps or additional features, now is the time to prepare those as well by folding and pressing as needed.
Step 4: Attach the Pockets to the Garment
Now that your pocket pieces are prepared, it’s time to attach them to the garment. Position the pockets on the fabric where you want them to be placed, ensuring they are aligned properly. Use pins or clips to secure the pockets in place. If you’re using a design with flaps, make sure the flaps are positioned correctly over the top of the pockets.
Once everything is secured, sew along the sides and bottom edges of the pockets, keeping a consistent seam allowance of about 1/4 inch. Backstitch at the beginning and end of your seams to secure them and prevent any unraveling. After sewing, remove any pins or clips, making sure the pockets are firmly attached to your garment.

Step 5: Reinforce the Pockets
To ensure that your cargo pockets are durable and can hold their contents securely, it’s important to reinforce the corners and areas of stress. Starting from the top corners of each pocket, sew a diagonal line from the inner edge to the outer edge, creating a triangle. This practice not only enhances the strength of the pocket but also adds a professional touch to your project. Make sure to backstitch at the start and end of each line to secure the stitches better.
Step 6: Add Any Additional Features
If your design includes extra features like flaps, compartments, or decorative elements, now is the time to add them. For flaps, fold the fabric over the top of the pocket and secure it with pins. Sew along the top edge to attach it, ensuring the flap can open easily without being too loose. If you’re incorporating compartments, neatly divide the pocket space by sewing vertical lines according to your design. Remember to press all seams and flaps to create a polished finish. Take your time to ensure each feature is evenly aligned and securely attached for both aesthetics and functionality.
Step 7: Finish the Seams
Once all the components of your cargo pockets are attached and any additional features have been added, it’s time to finish the seams for a clean look. Trim any excess fabric from the edges of the seams, being careful not to cut into the actual stitching. Then, press the seams towards the pocket or the garment, depending on your design. For added durability, you can finish the seams with a zigzag stitch or a serger if you haven’t already done so.
This step is essential as it not only prevents fraying but also enhances the overall aesthetics of your project, giving your cargo pockets a professional appearance.
Step 8: Add a Closure (Optional)
If your design requires extra security for the contents of your cargo pockets, consider adding a closure mechanism. This could be a button, snap, or zipper. For buttons and snaps, sew them onto the pocket flap or the body of the pocket, ensuring they’re positioned correctly for easy access. If you’re using a zipper, carefully measure and sew it into the pocket opening, securing it on both sides to prevent any gaps. Whichever closure you choose, be sure to test it for functionality before moving on to the next step.
Step 9: Final Touches
With your cargo pockets securely sewn and any closures added, it’s time to give your garment a final inspection. Check for any loose threads or uneven seams and trim them as needed. It’s also a good idea to give the entire garment a light press with an iron to ensure everything lies flat and looks crisp. If you’re feeling creative, consider adding additional embellishments such as patches or decorative stitching to personalize your pockets further.
Make sure that all functional elements are working correctly and that the pockets meet your expectations before wearing or gifting your newly tailored garment.
Step 10: Care Instructions
To ensure the longevity of your garment with cargo pockets, it’s important to follow the proper care instructions. Always check the fabric label for specific washing guidelines, but generally, it’s best to wash your item in cold water on a gentle cycle to prevent any shrinkage or colour fading. Avoid using bleach as it can damage the fabric and any embellishments. When it comes to drying, air drying is preferred to maintain the shape and integrity of the garment. If ironing is needed, use an appropriate heat setting for the fabric type, and be cautious around any added features such as zippers or decorative elements.
By following these steps, you can easily add functional and stylish cargo pockets to any garment. With a little bit of patience and attention to detail, you’ll have a professional-looking finished product that meets your specific needs.
5 Things You Should Avoid
- Skipping the Measurements: Avoid the temptation to skip measuring your pocket placements. Accurate measurements ensure that the pockets are positioned symmetrically and at a comfortable height. Incorrectly placed pockets can lead to an unbalanced look or impractical usage.
- Neglecting Fabric Choice: Choosing the wrong fabric for your cargo pockets can result in unnecessary wear and tear. Opt for durable fabrics that can withstand the stress of carrying items, while also ensuring they match the overall aesthetic of your garment.
- Rushing Through Seams: Take your time while sewing the pockets and reinforcing the seams. Rushing through this step can result in uneven or loose stitches, making your pockets less secure and visually unappealing.
- Forgetting to Test Closures: If you decide to add a closure, it’s crucial to test its functionality before finalizing your project. A poorly functioning closure can lead to frustration and render the pocket useless.
- Skipping Finishing Steps: Finishing steps such as pressing seams and trimming excess fabric may seem unnecessary, but they can make a significant difference in the overall appearance of your cargo pockets. Skipping these steps can result in a less professional-looking garment.

Conclusion
Are you ready to take on the challenge of adding custom cargo pockets to your garments? With the right tools and techniques, it’s a fun and rewarding project that will elevate both the functionality and style of your wardrobe.
Remember to measure accurately, choose the right fabric, take your time with sewing and finishing steps, and test any closures for functionality. Don’t be afraid to get creative with additional features or embellishments to make your cargo pockets truly unique.
By following these guidelines on how to sew cargo pockets, you’ll have professional-looking cargo pockets in no time! So go ahead, unleash your inner designer and create functional and stylish cargo pockets for all your garment needs. Happy sewing!

