How to Sew Chair Cushions
Custom chair cushions serve as both a functional and aesthetic enhancement to your seating. They provide added comfort and support while allowing for creative expression through fabric choices and designs. Not only can you tailor the dimensions to fit your chairs perfectly, but you can also select materials that complement your home décor.
This article guides you through how to sew chair cushions, from selecting the right fabric and foam to the final touches on your finished product. Each step is designed to be approachable, ensuring that even those new to sewing can achieve professional-looking results. By following this guide, you will gain the skills and confidence needed to create custom cushions that enhance your furniture and provide a personal touch to your living space.
Materials and Tools Needed
To successfully create your chair cushions, gather the following materials:
- Fabric: Choose an upholstery-grade fabric that suits your style.
- Foam: Select foam with the desired density and thickness for comfort.
- Batting: Adds a layer of softness around the foam.
- Zipper: An appropriate length for your cushion opening.
- Thread: Use a strong thread that matches or complements your fabric.
Tools required include:
- Sewing Machine: Essential for joining fabric pieces.
- Scissors: For cutting fabric and foam.
- Measuring Tape: To ensure accurate dimensions.
- Pins: To hold the fabric in place before sewing.
Optional materials may include:
- Piping: For a polished, professional finish along the seams.
- Buttons: Ideal for tufting, adding a decorative touch to your cushions.
Choosing the Right Fabric and Foam
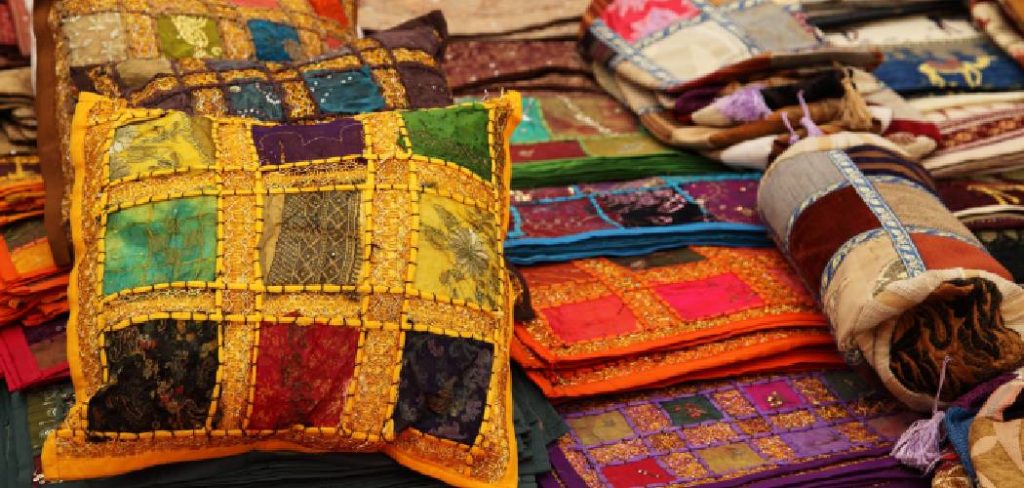
Consider durability, color, and pattern when selecting fabric for your chair cushions. Upholstery fabrics such as canvas, cotton blends, or synthetic fibers are excellent choices due to their resilience against wear and tear. Opt for colors and patterns that complement your room décor; vibrant hues can add a playful touch, while neutral shades provide a subtle backdrop. Additionally, patterned fabrics can create visual interest and disguise wear over time.
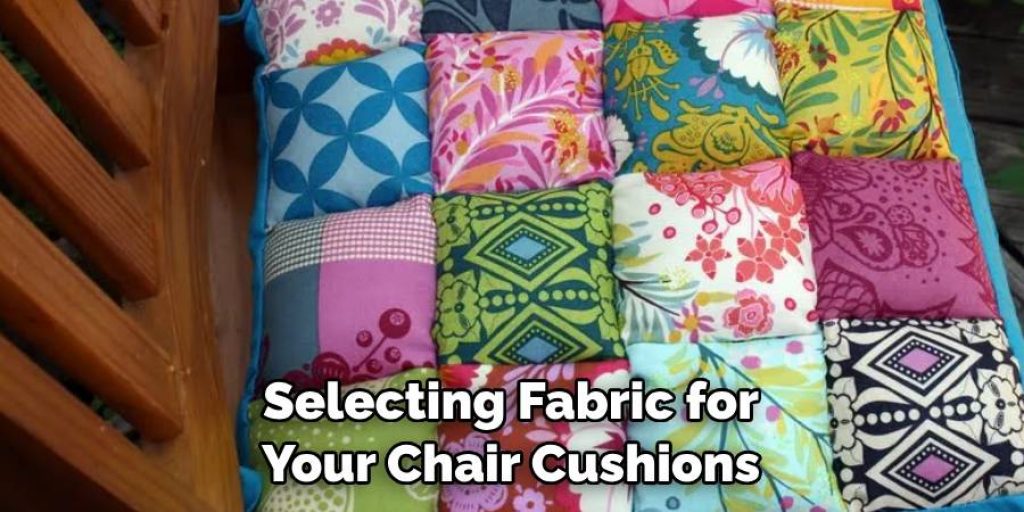
Density and thickness are key to comfort when selecting foam. High-density foam is ideal for long-lasting support, while medium-density options offer a balance of softness and durability. The thickness should depend on your seating style; for a firmer feel, choose thicker foam, while a softer option can be achieved with a thinner layer. Ensuring that both the fabric and foam match your chair style will enhance the overall aesthetic of your space.
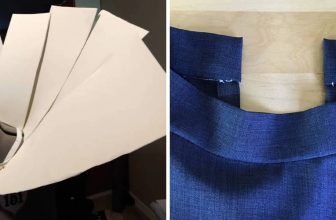
Measuring and Cutting the Foam
Accurate measuring is crucial for a well-fitted cushion. Start by measuring the dimensions of the chair seat, paying close attention to both the length and width. Use measuring tape to gather these measurements, ensuring you account for any curves or angles in your chair design. After noting the dimensions, add an extra inch on each side to allow for seams and hems. This additional fabric will prevent any tightness or strain on the cushion cover once it’s finished.
Once you have the measurements, it’s time to cut the foam to size. Using a serrated knife or an electric carving knife will yield the cleanest edges, making the cutting process smoother and more efficient. Carefully lay the foam on a flat surface, placing your measurements as a guide.
Mark the dimensions gently before cutting, ensuring precise lines for a professional finish. After cutting, review the foam piece to check for any imperfections or rough edges, which can be smoothed out with sandpaper if necessary. This step will ensure that the foam fits neatly within the fabric cover and provides a comfortable seating experience.
Preparing the Fabric
To begin creating your custom chair cushion, preparing the fabric properly is essential. First, wash and dry your chosen fabric according to the manufacturer’s instructions to pre-shrink it, preventing any future distortion after assembly. Iron the fabric to remove any wrinkles, ensuring that your cuts are clean and precise.
When measuring for the fabric, use the dimensions you obtained from the foam, adding a seam allowance of approximately 1 inch on all sides to accommodate sewing and finishing. This allowance ensures that the fabric fits snugly around the foam without being too tight or loose.
Next, cut the fabric into individual pieces: one for the top, one for the bottom, and two side panels to wrap around the cushion. The top and bottom pieces should match the dimensions of the foam, while the side panels’ total length should equal the perimeter of the cushion’s top and bottom, with the width equal to your desired cushion height. Do not forget to cut batting pieces to wrap around the foam for extra softness and comfort.
After cutting, lay out the fabric pieces to ensure that the patterns and colors align, paying heed to the direction of the fabric grain for a professional finish. Stack the batting around the foam to add cushioning before sewing everything together. This preparation sets the stage for constructing timeless chair cushions that merge functionality with style.
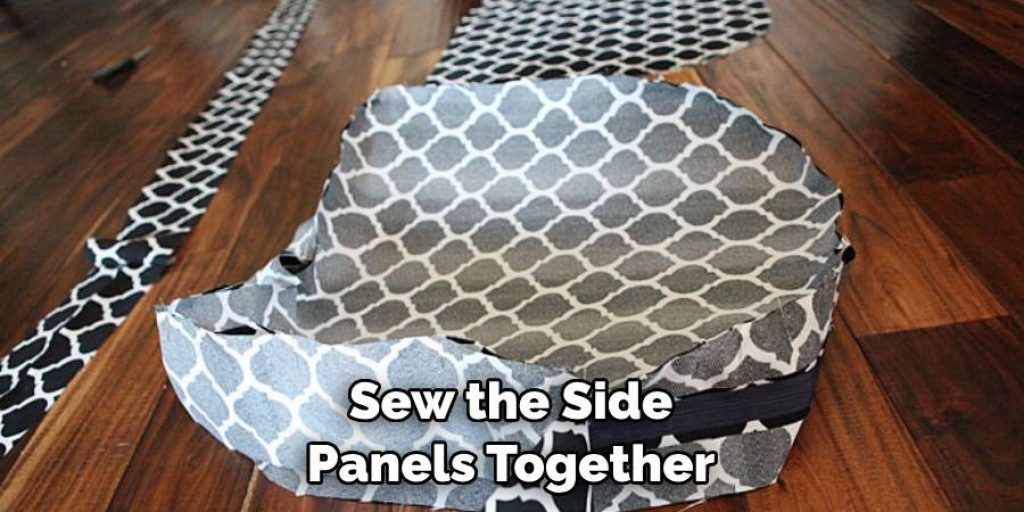
How to Sew Chair Cushions: Sewing the Fabric Pieces
Once the fabric is cut, sew the side panels together to create a continuous strip. Align the right sides of the fabric with the edges meeting and pin them in place for accuracy. After sewing the side panel, attach it to the top piece, ensuring the right sides are facing each other. This forms the main structure of your cushion. Continue by repeating this process on the bottom piece, leaving one side open. The open section will be the inlet for inserting the foam and batting, allowing easy assembly.
Adding the Zipper
To incorporate a zipper into your cushion design, first, select a zipper that is the appropriate length for the side of the cushion you left open. A zipper slightly shorter than the opening will suffice, as it will allow for easy sewing and flexibility. Place the zipper face down against the right side of the fabric along the top edge of the opening, aligning the raw edges.
Using a zipper foot, sew down one side of the zipper, ensuring that it is lined up correctly. Once secured, flip the fabric and press the seam flat to create a neat finish. Repeat the process for the other side of the zipper, sewing it to the corresponding edge of the fabric opening. Maintain a steady hand to ensure that the zipper operates smoothly. For a neat appearance, trim any excess fabric near the zipper to prevent bulk and allow for easy functionality when opening and closing the cushion.
How to Sew Chair Cushions: Assembling the Cushion
With the cover prepared and the foam cut to size, it’s time to assemble your cushion. Start by wrapping the foam with the batting, ensuring that it covers the entire surface for added comfort. The batting will enhance the cushioning and create a smooth finish that prevents the foam from appearing too blocky. Lay the batting flat and place the foam in the center before folding the edges over securely. This will create a plush layer that hugs the foam, making inserting it into the fabric cover easier.
Next, gently insert the wrapped foam into the fabric cover through the zipper opening. Take care to push the foam all the way down into the corners, ensuring that it fills the entire cushion cover and maintains its shape. Once inserted, smooth out any wrinkles in the fabric to achieve a polished appearance. Be meticulous while doing this, as any folds or bunching can detract from the overall aesthetics of your finished product.
Closing the Cushion
After achieving a snug fit, it’s time to zip up the cushion cover. Carefully pull on the zipper to close the opening, adjusting the fabric and foam to ensure an even appearance. As you zip, monitor for any potential fabric snags. Once the zipper is fully closed, take a moment to inspect for any loose threads or unfinished edges, trimming them as necessary for a clean finish. This attention to detail enhances the durability and visual appeal of your cushion.
Adding Decorative Elements
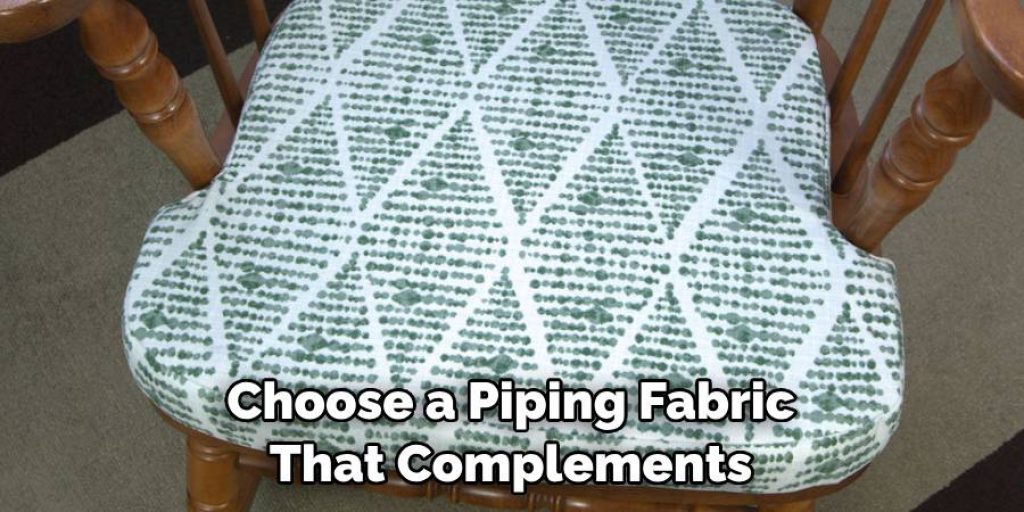
Consider adding decorative elements such as piping, tufting, or buttons to elevate your cushion’s style. Piping can be attached along the seams, providing a crisp, tailored look that frames the cushion beautifully. Choose a piping fabric that complements or contrasts with your main fabric to enhance visual interest. Using bias tape, you can encase a length of cord, then sew this along the edges of your cushion before assembling, creating a polished finish.
Tufting is an excellent option for a more textured design. Create tufted cushions by sewing buttons through the foam and fabric, adding style, depth, and character to your cushion. Space the buttons evenly to maintain symmetry, securing them tightly to avoid any loosening over time. Whether opting for piping or tufting, these embellishments will add a personalized touch and a distinct flair to your custom chair cushion.
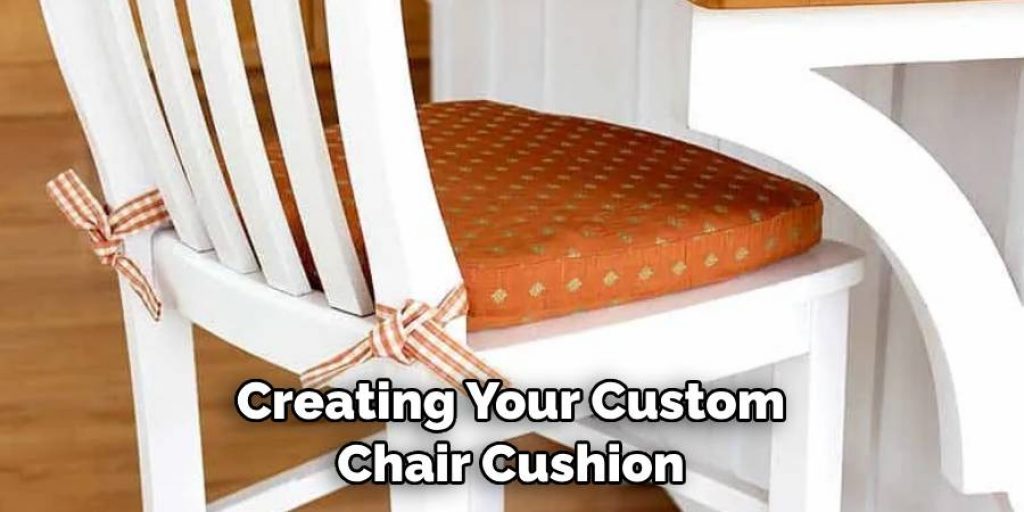
Final Touches and Adjustments
Once your cushion is fully assembled, it’s essential to inspect it carefully for any imperfections. Look for loose threads, uneven seams, or any fabric snags that may have occurred during construction. If you notice any blemishes, address them before proceeding.
To ensure a perfect fit, make final adjustments to the foam inside the cover, ensuring it is evenly distributed and fills all corners. For a polished appearance, press the fabric lightly using an iron on the appropriate setting, which will help eliminate any stubborn wrinkles and create a crisp, finished look. Be cautious with the temperature to avoid damaging the fabric. These small details culminate in a professional and refined final product that looks great and provides comfort.
Maintenance and Care Tips
Regular cleaning and maintenance are essential to keep your cushion looking its best. Most fabric covers can be spot-cleaned using a mild detergent and water. For deeper cleaning, check the washing instructions; many covers can be removed and machine-washed. Ensure to air dry to prevent shrinkage.
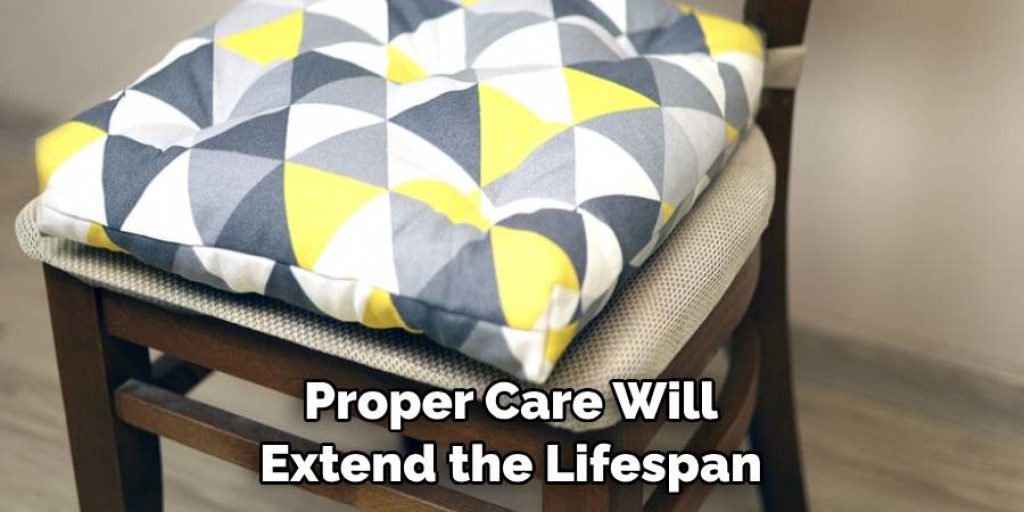
Periodically fluff and rotate the cushion to maintain its shape and comfort, allowing the foam to recover its structure after use. If your cushion begins to flatten over time, consider adding additional batting or foam for renewed support. Proper care will extend the lifespan and aesthetic appeal of your cushion.
Conclusion
In conclusion, creating custom chair cushions involves a series of straightforward yet rewarding steps. Each phase contributes to a unique piece tailored to your space, from preparing your fabric and foam to adding a zipper, assembling the cushion, and infusing it with decorative elements.
Don’t hesitate to experiment with various fabrics, patterns, and styles, as this will enhance the aesthetics of your cushions and reflect your personal touch. Remember, creating personalized home accessories, such as knowing how to sew chair cushions, can be deeply satisfying, offering both functional comfort and an expression of your design flair. Embrace the creativity and enjoy the transformation of your furniture with custom cushions that truly elevate your home.
You Can Also Check This Out to Make a Window Seat Cushion
Elizabeth Davis
Elizabeth is a creative writer and digital editor based in the United States. She has a passion for the arts and crafts, which she developed from a young age. Elizabeth has always loved experimenting with new mediums and sharing her work with others. When she started blogging, she knew that DIYquickly would be the perfect platform to share her tutorials and tips. She's been writing for the blog from the beginning, and her readers love her helpful advice and easy-to-follow instructions. When she's not writing or editing, Elizabeth enjoys spending time with her family and friends.