How to Sew Crochet Sweater Pieces Together
Sewing crochet sweater pieces together can be an intricate yet rewarding process that brings your creation to life. Whether you’re a seasoned crocheter or a beginner, understanding the techniques for joining pieces will enhance the overall finish of your project. This guide on how to sew crochet sweater pieces together will walk you through the necessary steps, tips, and tricks to ensure a seamless assembly, resulting in a cozy and stylish garment that showcases your handiwork.
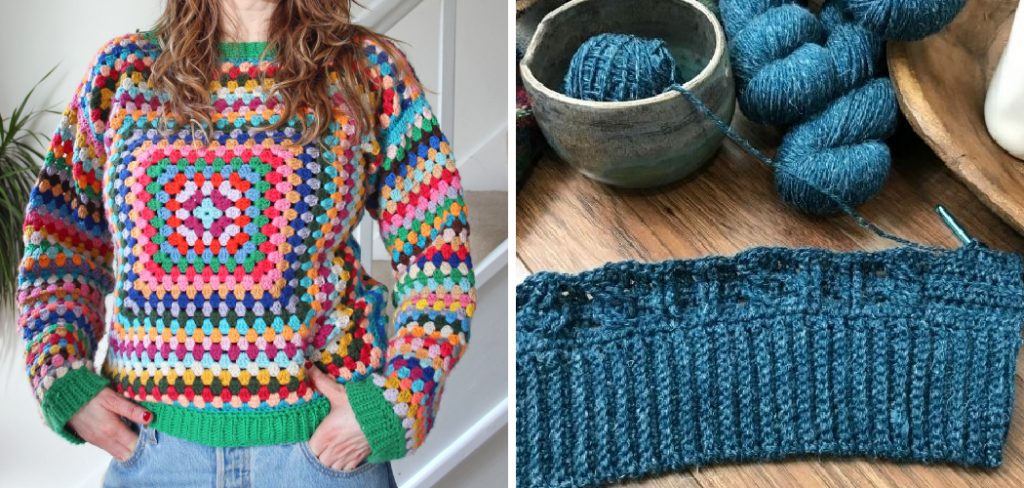
From selecting the right yarn and tools to choosing the best sewing method for your design, mastering these skills will allow you to take your crochet pieces from individual squares to a beautifully completed sweater.
Why Sew Crochet Sweater Pieces Together?
Sewing crochet sweater pieces together is often necessary when working on larger projects such as a cardigan or pullover. Joining individual pieces allows for easier portability and assembly, especially if you prefer to work on smaller sections at a time. It also provides more flexibility in terms of color changes and pattern variations. Additionally, sewing the pieces together creates a sturdier and more durable garment compared to simply crocheting them into one continuous piece.
It’s important to note that there are various ways to join crocheted pieces, and the method you choose will depend on personal preference, design, and yarn type. With practice, you can experiment with different techniques to find the one that works best for your project.
Needed Materials
- Crochet Pieces to Be Joined
- Yarn (Matching or Contrasting, Depending on Design)
- Crochet Hook (Size Will Depend on Yarn Weight)
- Tapestry Needle
- Scissors
- Stitch Markers (Optional)
6 Step-by-step Guidelines on How to Sew Crochet Sweater Pieces Together
Step 1: Block Your Crochet Pieces (Optional)
Before sewing your crochet sweater pieces together, consider blocking them to achieve a more professional finish. Blocking involves wetting or steaming your pieces and then shaping them to their desired dimensions. This process helps even out stitches, remove any curling edges, and allow the crochet fabric to settle into its final shape.
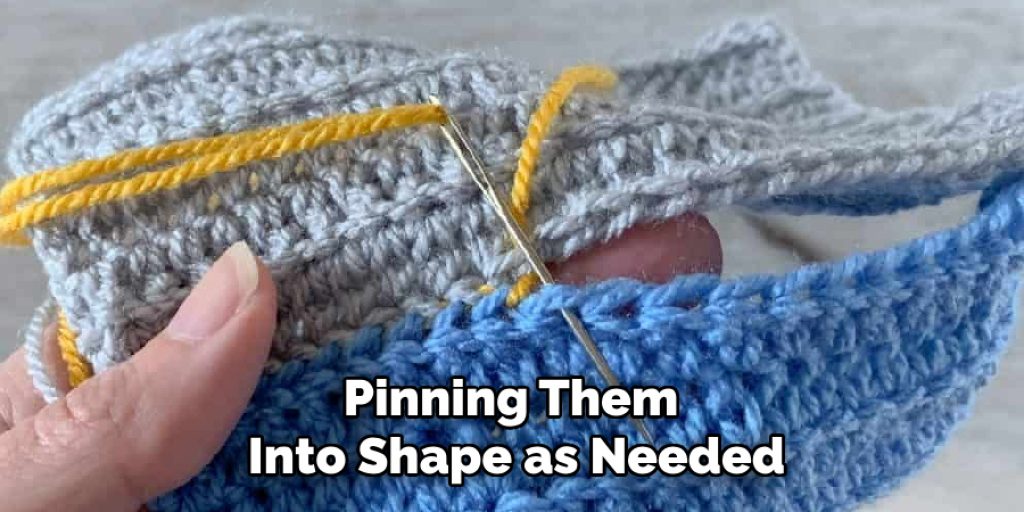
Blocking is particularly beneficial for intricate patterns or textured stitches, as it enhances the overall appearance of your final garment. To block, simply soak your pieces in lukewarm water with a mild detergent, gently squeeze out the excess water without wringing, and lay them flat on a clean towel or blocking board, pinning them into shape as needed. Allow them to dry completely before proceeding to the next steps of assembly.
Step 2: Decide on the Sewing Method
Choosing the right sewing method is crucial for ensuring that your crochet pieces come together seamlessly. There are several techniques to consider, including whip stitch, slip stitch, or mattress stitch, each offering distinct advantages depending on the desired aesthetic and level of durability.
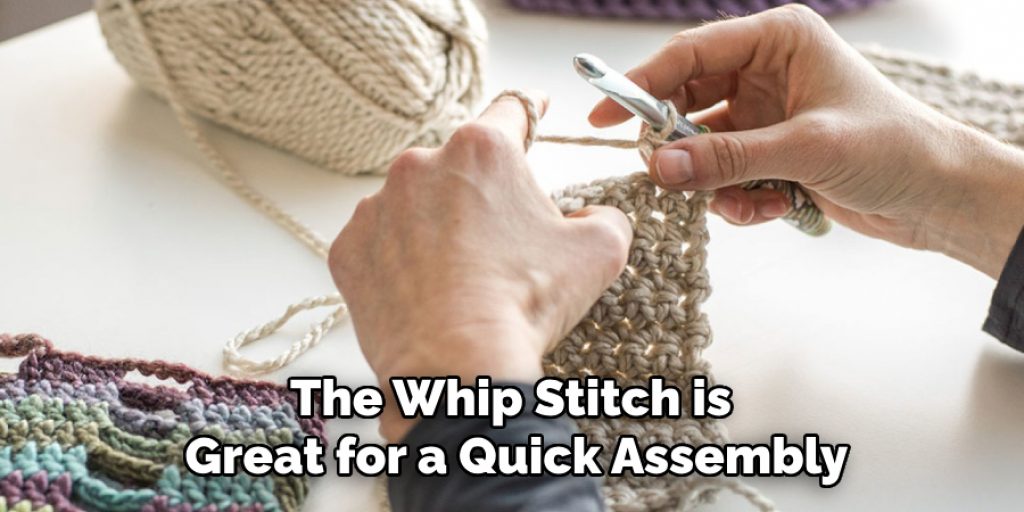
The whip stitch is great for a quick assembly that allows for some stretch, while the mattress stitch provides an invisible seam, ideal for maintaining the integrity of your texture and preventing any visible lines in your finished work. If you prefer a bit more flexibility with a contrasting color, a slip stitch can also add an interesting design element. Take time to evaluate your project and select the method that best complements your crochet style and the final look you aim to achieve.
Step 3: Align Your Pieces
Once you’ve chosen your sewing method, it’s essential to properly align your crochet pieces before attaching them. Begin by placing the pieces together in the desired position, ensuring the edges match up neatly. Use stitch markers or safety pins to hold the edges in place, especially if you are working with larger sections or multiple pieces.
This alignment is crucial as it sets the foundation for a clean and professional-looking seam. Take your time to adjust the pieces as needed, making sure the tension is even to prevent puckering or gaps in your finished garment. After you are satisfied with the alignment, you can proceed to the sewing process, confident that your pieces will come together seamlessly.
Step 4: Thread Your Tapestry Needle
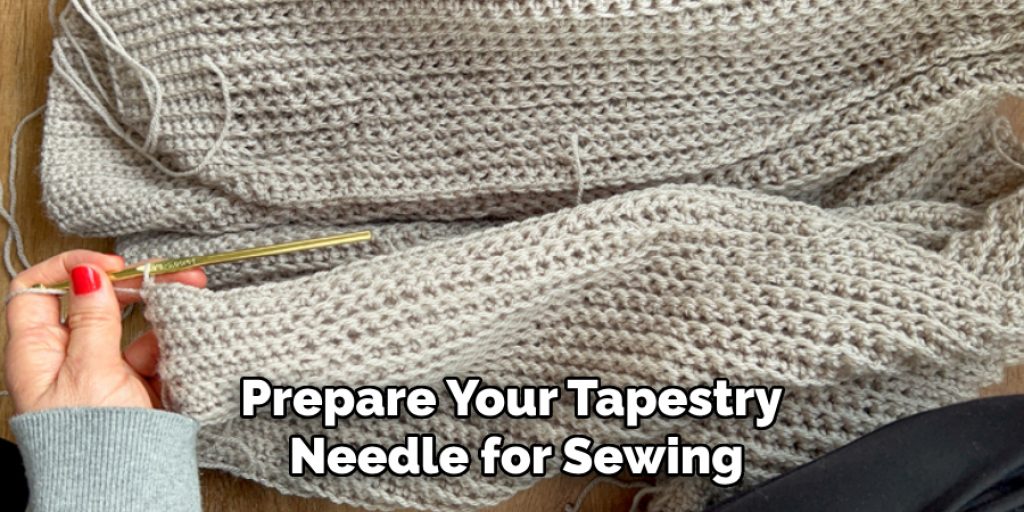
With your pieces aligned, it’s time to prepare your tapestry needle for sewing. Start by cutting a length of yarn that’s approximately three times the width of the seam you will be stitching, ensuring you have enough to complete the job without running out. Next, thread the tapestry needle with the selected yarn, pulling it through until there are equal lengths on either side.
To secure the yarn, tie a small knot at the end, which will help prevent it from slipping through the fabric as you work. If you’re using a contrasting yarn for a visible seam, this step will also enhance the design element of your project. Once your needle is threaded and ready, you can proceed to stitch the pieces together using your chosen method.
Step 5: Sewing the Pieces Together
The sewing process may differ slightly depending on the method you have chosen, but the overall goal is to create a secure and smooth seam. If using a whip stitch, begin by inserting your needle from back to front through both layers of fabric, pulling it snugly but not too tight.
Then, insert the needle again from front to back through both layers, creating a diagonal stitch across the edges. Continue stitching in this manner until you reach the end of your seam, making sure to pull tightly enough for a secure join without distorting the shape of your pieces. If using a mattress stitch, start by folding one edge over onto itself and lining up the edges of the folded fabric. Then, insert your needle under both loops of the first stitch on one side and then through the corresponding loop on the other piece. Continue sewing in this manner until you reach the end, pulling tight enough to create an invisible join.
Step 6: Check Your Tension
After you have sewn your crochet pieces together, it’s crucial to check your tension to ensure that the seam is not too tight or too loose. A well-balanced tension will contribute to a polished and professional finish. Gently tug on the seam to see how it holds up; it should feel firm yet flexible, allowing the fabric to drape naturally.
If you notice any areas where the stitches are puckering or pulling too tightly, consider carefully unpicking those sections and re-stitching with a slightly looser technique. On the other hand, if the seam feels too loose, you might want to reinforce some stitches or tighten your original work slightly. Regularly assessing your tension throughout the sewing process will help maintain an even consistency, ultimately improving the overall look of your finished garment.
Additional Tips for Sewing Crochet Pieces
- Use a contrasting yarn color for decorative seams or add embellishments such as buttons or beads to enhance the overall design of your crochet garment.
- To achieve a neater seam, you can slip stitch in between stitches instead of going through the actual stitches. This technique provides a cleaner look and reduces bulk at the seams.
- If sewing together different-shaped pieces, such as sleeves, to a body section, it’s essential to carefully align and evenly distribute any increases or decreases to avoid visible bulging or pulling in the finished garment.
- Take breaks and step back from your work periodically to assess your progress and make any necessary adjustments. It’s easier to notice any tension issues or misalignments when you give yourself some time away from the project.
- Experiment with different sewing methods and techniques to find what works best for you and your crochet style. With practice, you’ll develop a sewing process that yields professional-looking results every time.
- Don’t be afraid to ask for help or seek advice from experienced crocheters if you encounter any challenges during the sewing process. Sharing tips and techniques can lead to new insights and improvements, making your crochet journey even more rewarding.
- Remember to have fun and enjoy the process of bringing your crochet pieces together. Sewing may seem intimidating at first, but with practice and patience, you’ll soon master this essential skill in creating beautiful crochet items. Happy crafting!
Following these tips on how to sew crochet sweater pieces together and techniques will help you achieve clean, durable seams when sewing crochet pieces together. Remember to take your time and be mindful of your tension and alignment throughout the process for a seamless finish that enhances the beauty of your crocheted garments. Happy stitching!
Conclusion
Sewing is an essential skill for creating well-made and polished crochet projects. By following these steps and tips on how to sew crochet sweater pieces together, you can confidently assemble your crochet pieces into a beautiful, durable garment that showcases your skills as a crocheter.
Whether you prefer a visible, decorative seam or an invisible, polished finish, there are various techniques and methods to choose from. Don’t be afraid to experiment and find what works best for you, and remember to always take your time and pay attention to detail for the best results. Happy stitching!

