How to Sew Leather with a Sewing Machine
Sewing leather might seem like a challenging endeavor, but with the right techniques and equipment, it can be an accessible and rewarding craft. Whether you’re a seasoned seamstress or a beginner looking to explore the art of working with leather, learning how to sew leather with a sewing machine opens up a world of creative possibilities.
From crafting durable leather accessories to designing custom garments, mastering this skill allows you to combine the elegance of leather with the versatility of sewing. In this guide, we’ll delve into the step-by-step process of sewing leather using a sewing machine, covering essential aspects such as selecting the right needles and threads, adjusting machine settings, and practicing effective stitching techniques.
So, whether you’re embarking on a leather crafting journey or seeking to enhance your sewing repertoire, this article will provide you with the insights needed to confidently sew leather and bring your unique projects to life.
Importance of Using the Right Techniques and Equipment
When sewing leather, it’s important to use the right techniques and equipment. Using a regular sewing machine with leather can cause permanent damage if the machine is not equipped for this type of work.
Specialized machines are designed for leather that come with thicker needles, adjustable tension settings, and the ability to adjust stitch length and width. Dedicated tools such as an awl, hammer and leather tools are also necessary in order to shape the leather correctly.
To get started sewing your leather project with a machine, make sure to select the appropriate stitch. A straight stitch is typically best for seams and hems. Furthermore, use a zigzag stitch when edging or finishing off straps or belts. When sewing thicker leather pieces, make sure to decrease the tension slightly, this will reduce strain on the machine. Additionally, increase the stitch length to ensure that each hole in the fabric is penetrated completely.
Finally, if you are ever in doubt of how to proceed with your project, consult an experienced leather worker or read up on best practices before continuing with your project. With the right techniques and equipment, you will be able to confidently work on your leather projects.
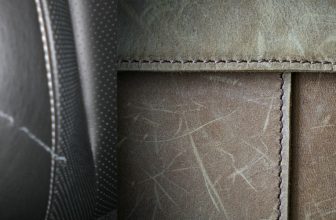
Choosing Suitable Leather Types for Machine Sewing
Before you start sewing leather, you need to find the right type of leather for your project. Not all types of leather are suitable for machine sewing and some require special treatments before they can be sewn. Generally, thick cowhide is the best choice for machine sewing as it has a consistent thickness that makes it easy to work with and doesn’t require any special treatment beforehand.
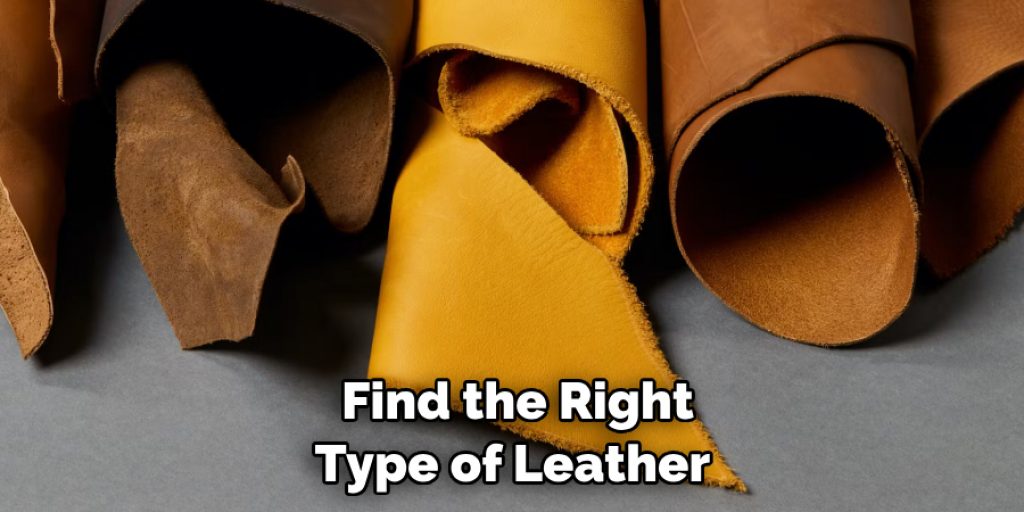
When choosing leather for machine sewing, you should also take into account the type of project that you’re working on. For example, thick cowhide may not be suitable for lighter projects such as wallets or bags because it can be too stiff and bulky to work with. In these cases, a thinner leather like lambskin or suede might be a better choice.
If you’re unsure what type of leather is best suited for your project, it’s always a good idea to talk to an expert at your local fabric store and get their advice. They should be able to point you in the right direction and help you choose the right kind of leather for your project.
Once you have chosen a suitable type of leather, you can move on to the next step: preparing the leather for machine sewing. This involves conditioning and cleaning the leather so that it is easier to work with.
You’ll also need to choose the right type of needle for your project, as well as other important tools such as thimbles and magnetic clamps. Having these tools at your disposal will help make the sewing process much easier and faster.
10 Steps How to Sew Leather with a Sewing Machine
Step 1: Gather Your Materials and Equipment
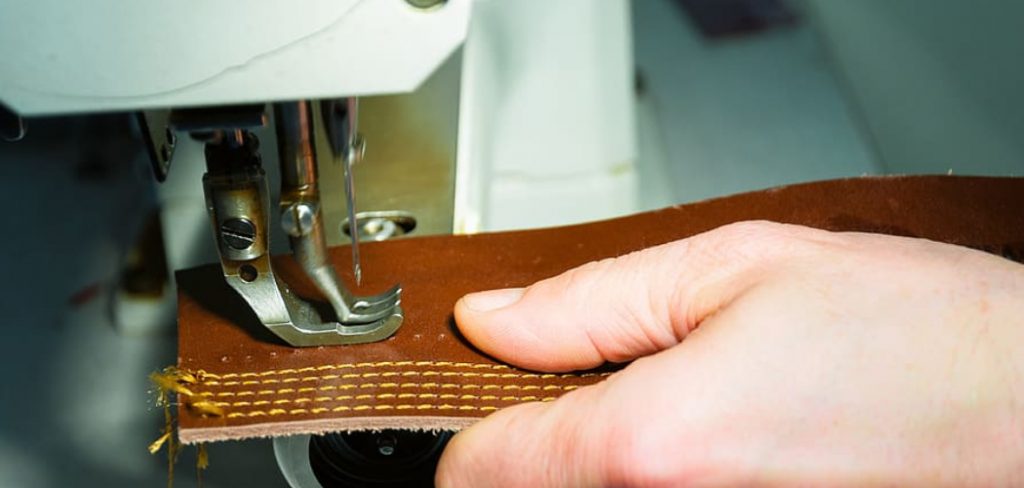
Before diving into sewing leather, gather all the necessary materials and equipment. You’ll need a sewing machine capable of handling leather, leather needles (size depends on leather thickness), polyester or nylon thread, leather pieces, clips or pins, a ruler, a cutting mat, and a rotary cutter or leather scissors.
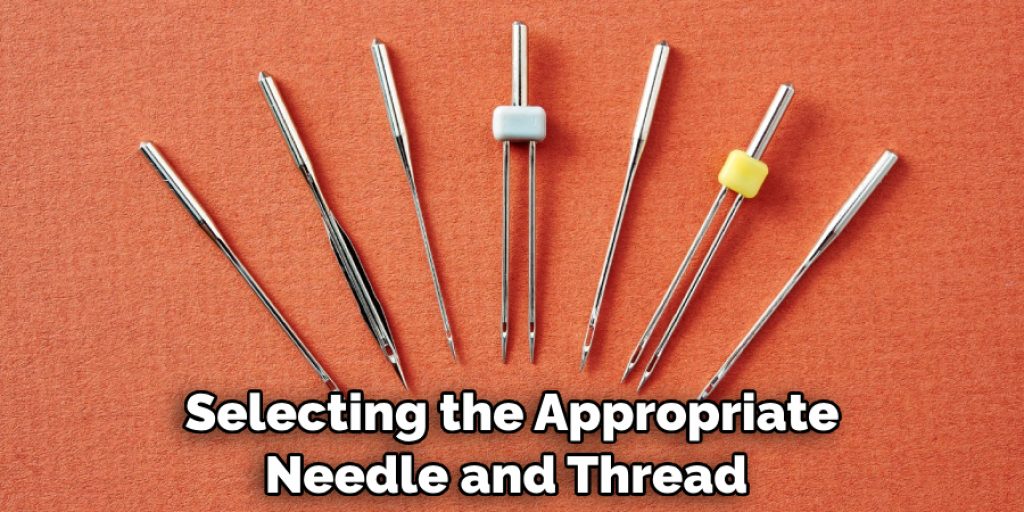
Step 2: Choose the Right Needle and Thread
Selecting the appropriate needle and thread is crucial for successful leather sewing. Leather needles are designed to pierce through the material without causing excessive damage. Use a heavy-duty polyester or nylon thread, as they are strong enough to withstand the weight and tension of leather stitching.
Step 3: Adjust Sewing Machine Settings
Set up your sewing machine for leather sewing. Adjust the stitch length to around 2.5 to 3 mm for a balanced and sturdy stitch. Test the tension on a scrap piece of leather to ensure the upper and lower threads are balanced. Use the appropriate presser foot; a walking foot or Teflon foot helps the leather glide smoothly.
Step 4: Prepare the Leather
Place your leather pieces on a cutting mat and use a ruler and rotary cutter or leather scissors to cut them to the desired size and shape. Make sure to cut with clean edges to achieve neat stitching lines.
Step 5: Mark Stitching Lines
Use a ruler and a fabric marking tool to create guidelines for stitching on the leather. Mark the lines carefully, as they will guide your sewing and ensure even stitches.
Step 6: Align and Secure the Leather
Place the leather pieces together, aligning the edges you want to sew. Use clips or pins to secure the edges in place. Avoid using pins excessively, as they can leave visible holes in the leather.
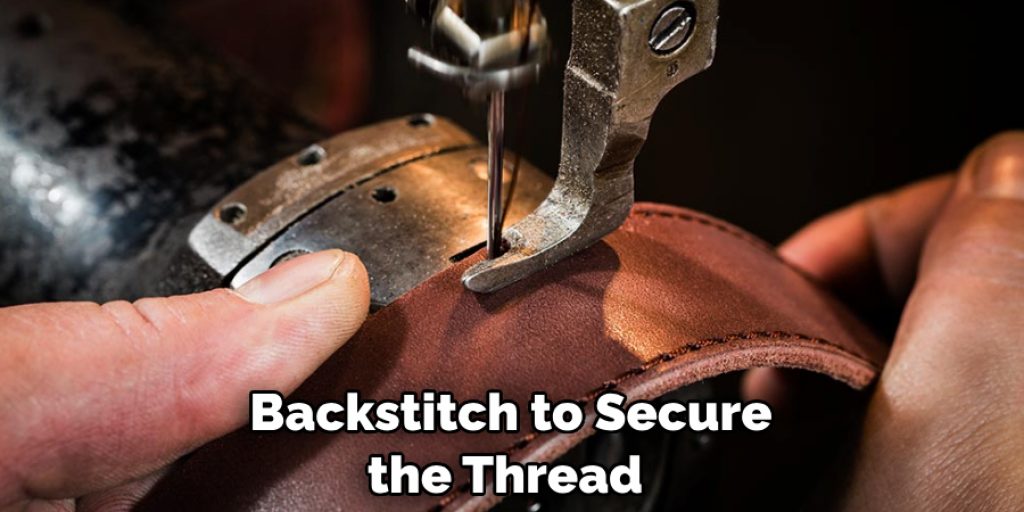
Step 7: Begin Sewing
Start sewing by aligning the marked stitching line with the edge of the presser foot. Begin with a backstitch to secure the thread, then sew along the marked line. Go slowly and steadily, ensuring the leather is fed evenly through the machine. Keep your hands away from the needle and use a gentle pressure on the leather.
Step 8: Maintain Consistent Stitching
As you sew, maintain a consistent stitch length and avoid pulling or pushing the leather. Let the machine’s feed dogs guide the leather through. If you need to stop and readjust, raise the presser foot without removing the fabric to maintain a continuous stitch line.
Step 9: Backstitch and Secure Ends
When you reach the end of your stitching line, backstitch to secure the thread. Trim the excess thread after the backstitch. If your leather piece has multiple sections, leave enough thread between them for trimming.
Step 10: Finishing Touches
After sewing, inspect your stitches for consistency and quality. If desired, you can apply leather conditioner to the sewn edges to keep them supple. Trim any excess thread and remove any clips or pins. Your leather piece is now ready for its intended use.
Things to Consider When Sewing Leather with a Sewing Machine
Sewing leather with a sewing machine is not as complicated or intimidating as it may seem. With the right tools, techniques, and patience, anyone can sew leather with a sewing machine. Below are some tips to keep in mind when sewing leather with a sewing machine:
- Choose Your Needle: When sewing leather, make sure you have the right type of needle for the leather thickness. Generally, a size 90/14 or 100/16 needle works best, but if you are using thicker leather, opt for an even larger needle size.
- Choose Thread: For sewing leather with a sewing machine, choose nylon thread for its strength and durability. Be sure to use the correct weight of thread for the type of leather that you are working with. Thicker leather will usually require thicker thread.
- Mind Your Speed: Sewing at the correct speed is important when sewing leather. Too slow and it can damage the needle, too fast and it could create uneven stitches. Start off by going slow and increase speed as your confidence increases.
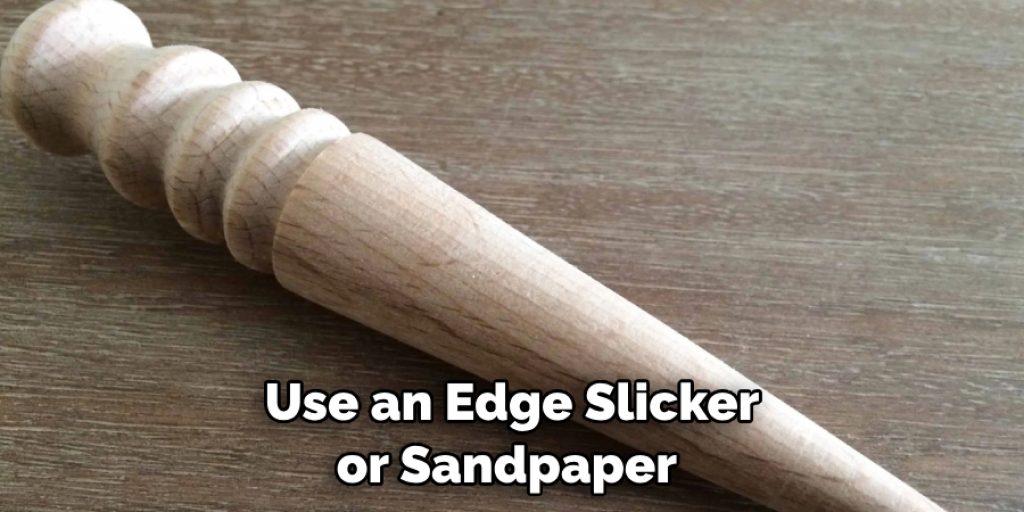
- Prepare Leather Pieces: Before you start sewing, make sure the edges of your leather pieces are cut evenly. You may also want to use an edge slicker or sandpaper to soften the edges and remove any fraying.
Conclusion
Through patience and practice, sewing leather with a sewing machine is achievable. It requires an experienced hand, a specialized leather needle, proper thread tension, and the correct stitch technique for a perfect finish. Don’t be afraid to experiment; try out different stitches and needles to see what works for you.
Always keep in mind that sewing leather is not a race – both of our time and the materials are valuable here. You are now prepared to take on any of your upcoming leather projects; go forth and make something beautiful!
Now, if you’re feeling ready to tackle it yourself or would like to learn more about how to sew leather with a sewing machine, head over to our website where we offer online courses designed especially dedicated for this purpose. So what are you waiting for? Take up the challenge today!
Nancy Behan
Nancy is an embroidery artist, fashion blogger and a full time editor at DIY quickly. Nancy edits the fashion section on DIY quickly, focusing on the embroidery and cross stitch articles, alongside with fabric and other costume design elements. She graduated from the University of Michigan with a Bachelor of Arts in Art History. She loves to work on her own projects, read books and watch romantic movies in her spare time.