How to Star Stitch Crochet
Are you looking for a beautiful crochet stitch that works up quickly and adds texture to projects? The star stitch, also known as the daisy stitch or Marguerite Stitch, can be an excellent way to switch up your next project. With only a few basic stitches and some simple off-set sequence of doubles or trebles, this special kind of stitching is effective in producing stunning fabric pieces. Whether you’re just learning how to crochet or are a seasoned pro looking to add some extra pizazz to your projects, this tutorial will help guide you through creating the perfect star stitch!
Crochet is a versatile and enjoyable craft that can be used to create many different types of projects. One particular stitch, the star stitch, is especially eye-catching and fairly easy to learn. With just a few simple steps you’ll be able to master the star stitch technique and use it in countless creative ways. crochet designs from decorative afghans, sweaters, pillows, or whatever your imagination desires! Keep reading for all of our top tips on how to star stitch crochet.
Why May You Want to Star Stitch Crochet?
1. To Add Texture and Interest to Your Project
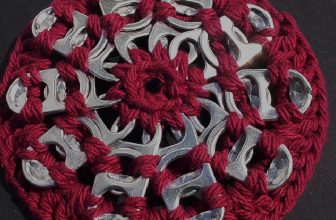
Star stitch crochet adds a unique three-dimensional texture to the piece, which can really make it stand out from regular crochet projects and makes for an interesting design element. Also make sure to use the right type of yarn for your project; a textured or variegated yarn will really show off the star stitch.
2. To Create Warmth and Comfort
The three-dimensional nature of star stitch crochet holds in more air than other stitches, creating a warm fabric that is also comfortable on your skin. This makes it great for baby blankets, sweaters, scarves, and other garments that require a bit of warmth.
3. To Use Up Your Leftover Yarn
Since star stitch crochet requires more yarn than regular stitches, it’s perfect for using up any leftover yarn you have around the house. You can easily create blankets, hats and other items with just a few skeins of yarn!
Now that you know why you may want to star stitch crochet, let’s get into how it’s actually done! The process may seem a bit intimidating at first, but don’t worry—we’ll walk through each step so you can start stitching away in no time.
How to Star Stitch Crochet in 5 Easy Steps
Step 1: Gather All The Materials You Need
The very first step is to gather all the materials you need for star stitching. You’ll need a crochet hook, yarn, scissors, and any other accessories or notions that you might choose to use.
Step 2: Chain Your Foundation
Chain the foundation stitch for your project. Depending on the pattern you are using, this can vary in length. But generally speaking, each point of the star stitch needs at least three chains.
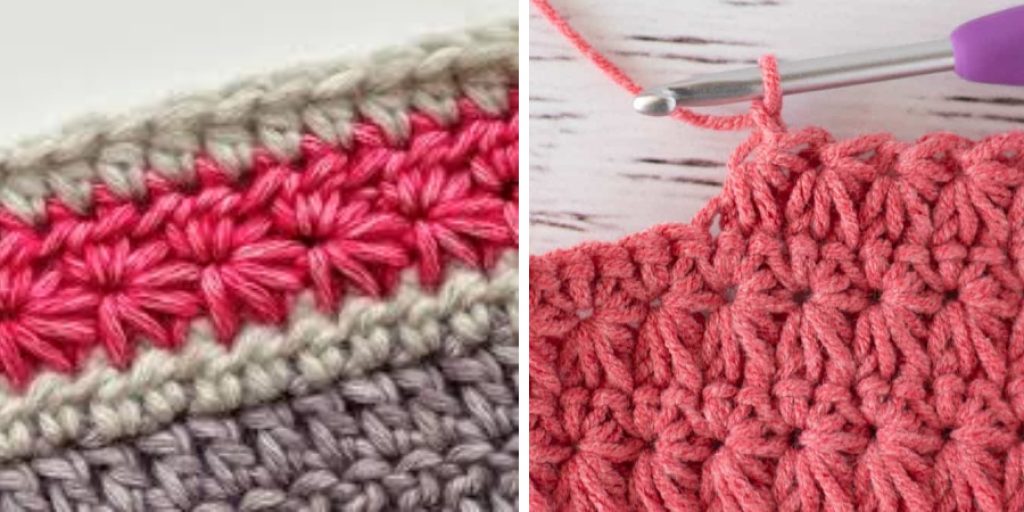
Step 3: Create Your Star Stitch
Creating a star stitch is relatively simple, but can take some practice. Start by inserting your hook into the foundation chain and pull up a loop of yarn. Then, insert the hook into the next chain in the foundation chain and pull up another loop. Now you have three loops on your hook. Yarn over and pull through all three loops, creating a star stitch.
Step 4: Repeat Your Work
To create the star stitch pattern, you’ll need to repeat this process in each chain of the foundation row. Make sure that each star stitch is created with the same tension and consistency. Also make sure that you are not pulling up too tight on the yarn when creating the stitch.
Step 5: Finish Your Work
When your work is complete, it’s time to finish off. You can do this by fastening off your yarn and weaving in any loose ends. Now you have successfully completed a star stitch crochet pattern!
With these five easy steps, you’ll be well on your way to mastering the art of star stitching. Keep practicing and soon you’ll be able to create beautiful projects with this stitch! Good luck!
Some Extra Tips for Star Stitch Crochet
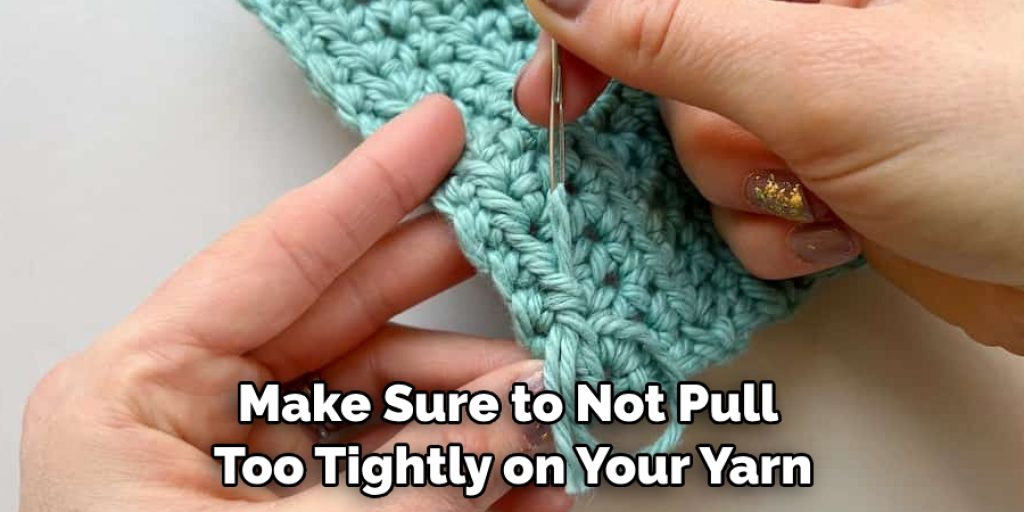
1. Do Not Pull Too Tightly
When forming your stars, make sure to not pull too tightly on your yarn as it may disrupt the stitches. Keep a consistent tension while crocheting for the best results. Also, make sure to not stretch the stitches too much as this can also affect the overall shape.
2. Practice Makes Perfect
Star stitch crochet can be tricky, so practice until you feel confident before starting your project. Make sure to take breaks and assess your progress as needed. It might help to have a friend give you feedback on what’s working and what needs improvement in your technique.
3. Utilize a Locking Stitch Marker
If you want to keep track of your stitches, use a locking stitch marker to easily place markers at the beginning and end of each round. This will help you stay organized and it’ll make counting your stitches much easier in the long run.
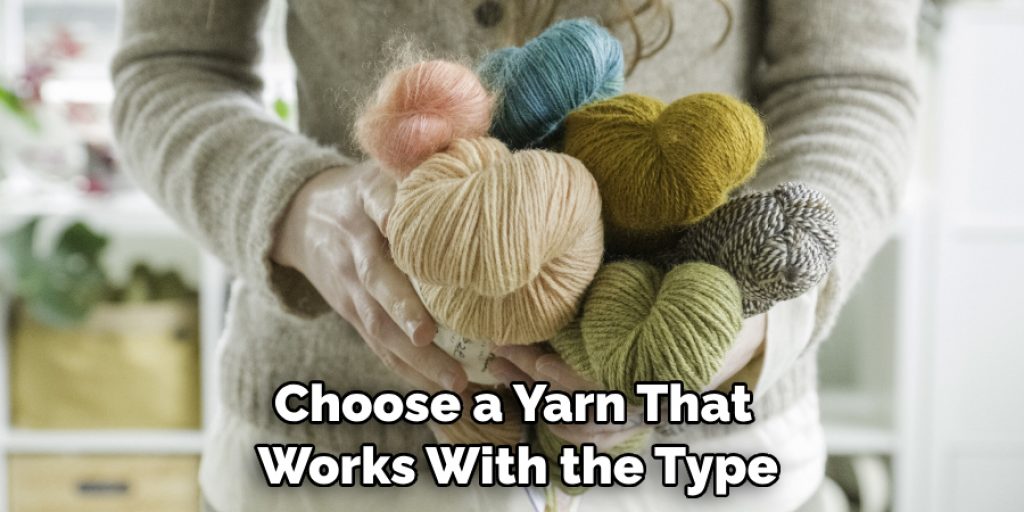
4. Yarn Choice Matters
In order to get the right look and feel for your project, choose a yarn that works with the type of star stitch you are doing. Thinner yarns work best for single-crochet stars, while thicker yarns are better suited for double-crochet stars.
5. Experiment
Finally, don’t be afraid to experiment with different types of stitches in your star stitch crochet projects. Trying out different stitches can help you create unique and creative designs that will make your project stand out.
By following these tips, you’ll be able to master star stitch crochet in no time! Keep practicing and have fun with it you’ll be a pro in no time! Good luck!
Frequently Asked Question
What Precautions Should I Take When Crocheting a Star Stitch?
When crocheting a star stitch, it’s important to be careful when using the yarn. Pulling too tightly can cause the stitches to become uneven and stretched out. Additionally, make sure to securely fasten off each stitch before moving on, as this will help ensure the pattern stays consistent throughout. It’s also a good idea to practice the stitch on a swatch before moving on to bigger projects.
How Do I Bind Off the Star Stitches?
To bind off the star stitches, you want to pull the working yarn through the loops of every single crochet twice. Then, cut off the excess yarn by pulling it through one more time and cinching it tight. To finish, weave in the ends and secure them with a knot.
What Kind of Yarn Works Best for Star Stitches?
Most yarns can be used to crochet star stitches, but lighter-weight yarns tend to work best as they’re easier to manipulate and won’t create large holes between the stitches. Additionally, using a different color yarn for each part of the stitch can make it easier to keep track of where you’re at in the pattern. Finally, practicing with some scrap yarn before beginning your project is always a good idea.
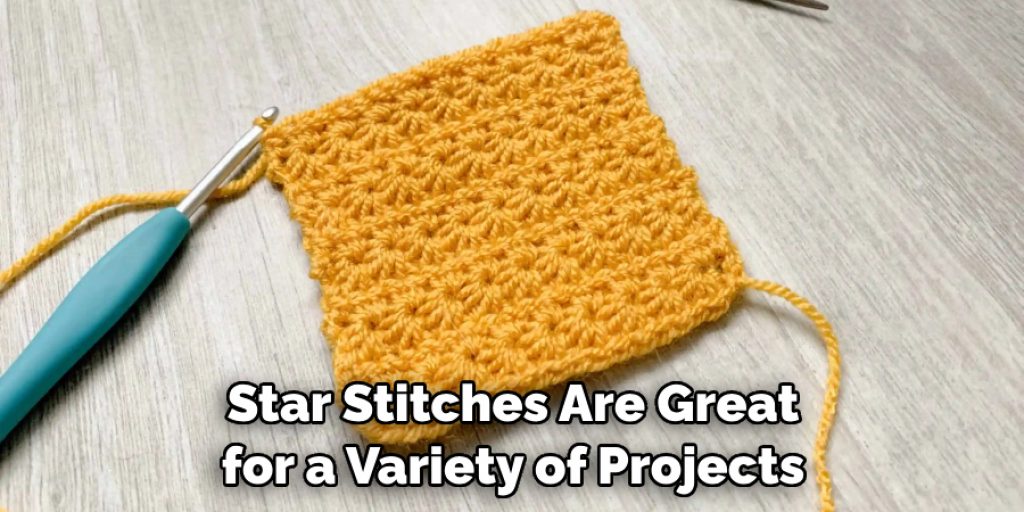
What Other Projects Can I Use Star Stitches For?
Star stitches are great for a variety of projects, as they create an interesting texture and they’re relatively easy to crochet. They can be used in everything from blankets and throws to sweaters and hats. Additionally, star stitches are often used for decorative items such as coasters, placemats, and even jewelry! Get creative with your projects – the possibilities are endless!
Are There Any Tips to Help Me Master the Star Stitch?
Practicing is key when it comes to mastering the star stitch. Once you’ve gotten the hang of it, try experimenting with different colors or sizes of yarn and see how it changes the look of your crochet project. Additionally, if you’re feeling overwhelmed by a project that has lots of star stitches, break it down into smaller steps and focus on one section at a time. This can help make the process seem less intimidating and help you stay more organized as you go along.
Overall, with some patience and practice, anyone can crochet beautiful star stitches! With these tips in mind, you’ll be an expert in no time!
Conclusion
Now you know how to do a running stitch! Thus, to conclude, a running stitch is a simple and functional sewing technique used for hemming garments and can be done with a needle and thread. It’s a versatile approach that can take basic fabric pieces from drab to fab in no time. Whether you’re sprucing up an old t-shirt or creating your own couture, the running stitch is an invaluable tool for any seamstresses’ repertoire.
By mastering this easy stitch, you’ll be able to tackle any sewing project—small or large! With enough practice perfecting the length of each stitch, you’ll be ready to take on more complex techniques such as French seams or smocking for even more impressive results! So don’t wait; give the running stitch a try today and embrace your inner DIY fashionista.
Nancy Behan
Nancy is an embroidery artist, fashion blogger and a full time editor at DIY quickly. Nancy edits the fashion section on DIY quickly, focusing on the embroidery and cross stitch articles, alongside with fabric and other costume design elements. She graduated from the University of Michigan with a Bachelor of Arts in Art History. She loves to work on her own projects, read books and watch romantic movies in her spare time.