How to Tie Two Strings Together Crochet
Crocheting is a versatile and enjoyable craft that allows for the creation of beautiful and functional items. One essential skill every crocheter should master is tying two strings together effectively. This technique not only helps in ensuring that projects remain consistent in colour or texture but also allows for seamless transitions between different yarns.
In this guide, we will explore various methods to tie two strings together securely, providing step-by-step instructions how to tie two strings together crochet. Whether you’re a beginner or an experienced crocheter, mastering this skill will open up new possibilities in your crafting adventures.
Why Tie Strings Together in Crochet?
Tying strings together in crochet is crucial for maintaining the integrity and aesthetics of your projects. When working with different yarns, whether for colour changes, adding new skeins, or blending textures, securely joining strings ensures a smooth transition that prevents unraveling. This technique allows for uninterrupted work flow, enabling crocheters to create intricate patterns without worrying about gaps or inconsistencies.
Additionally, mastering the art of tying strings together can enhance the durability of your finished pieces, making them more resilient to wear and tear over time.
Essential Tools and Materials
To effectively tie two strings together in crochet, having the right tools and materials at hand is essential. Firstly, you’ll need a pair of scissors for trimming yarn ends, ensuring a clean finish. A tapestry needle is also vital, as it allows for easy threading of yarn and facilitates weaving in ends securely. Depending on the type of yarn you are using, having stitch markers can help keep track of your progress and ensure that transitions are smooth.
It is also beneficial to have a variety of yarn weights and textures available, as experimenting with different materials can lead to unique and interesting results in your projects.
10 Methods How to Tie Two Strings Together Crochet
1. Square Knot
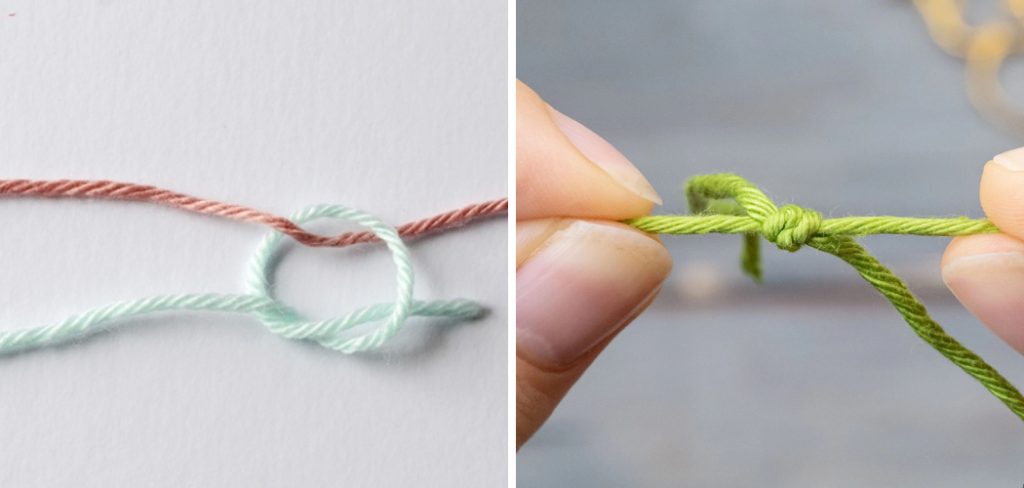
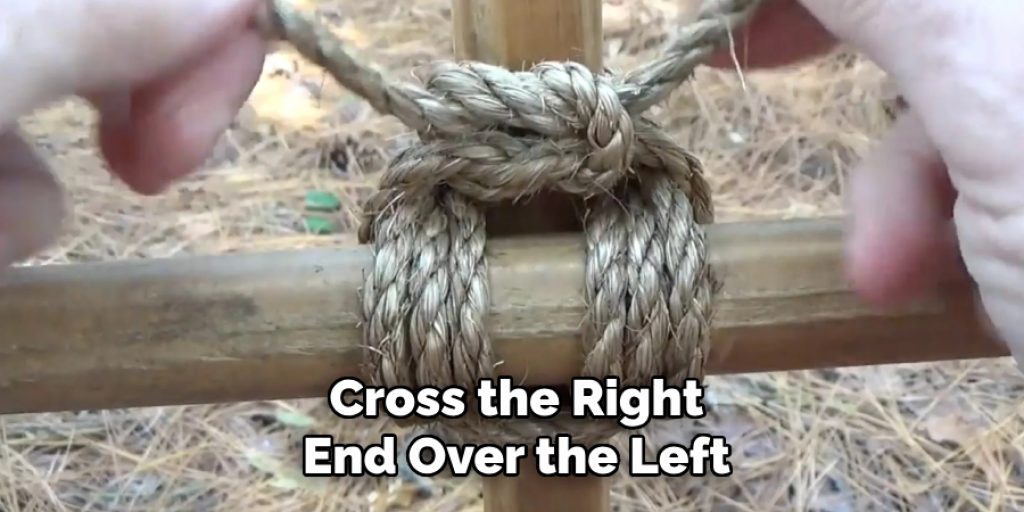
The square knot is one of the most straightforward and secure methods for tying two strings together. To create a square knot, place the ends of two yarns parallel to each other. Cross the right end over the left end, then wrap it under and through the loop created. Next, take the left end, cross it over the right end, wrap it under, and pull it through the loop. Pull both ends tight to secure the knot. The square knot is easy to learn and holds well, making it a reliable choice for joining yarns in crochet.
2. Weaver’s Knot
The weaver’s knot, also known as a sheet bend, is excellent for joining yarns of different thicknesses. To tie a weaver’s knot, form a loop with the end of the first yarn. Pass the end of the second yarn through the loop, wrap it around the loop’s base, and then tuck it back under itself, pulling tight. This knot is particularly useful when transitioning between different yarn weights in a project, ensuring a smooth and secure join.
3. Magic Knot
The magic knot, or invisible knot, creates a seamless join that is practically invisible within your crochet work. To make a magic knot, overlap the ends of the two yarns. Tie a simple knot with one yarn around the other. Repeat with the second yarn, tying it around the first. Pull the yarn ends tight to slide the knots together. Trim the excess yarn close to the knots. The magic knot is perfect for color changes in amigurumi, blankets, and other projects where a clean join is essential.
4. Russian Join
The Russian join is a secure and invisible method for joining yarns without knots. Thread a yarn needle with the first yarn’s end. Weave the needle back through the yarn itself for about two inches, creating a loop. Repeat with the second yarn, weaving it into itself. Insert the second yarn’s tail through the loop of the first yarn, and vice versa. Pull both yarns tight and trim the excess. This method is ideal for creating a smooth, knot-free join in projects where consistency is crucial.
5. Fisherman’s Knot
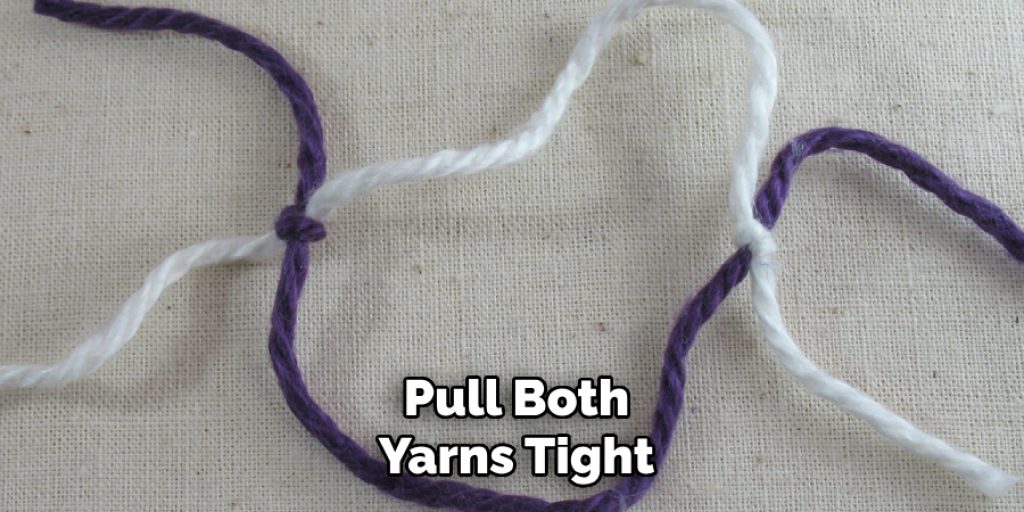
The fisherman’s knot is known for its strength and security, making it suitable for heavy-duty crochet projects. To tie a fisherman’s knot, overlap the ends of two yarns. With the first yarn, tie an overhand knot around the second yarn. Repeat with the second yarn, tying an overhand knot around the first. Pull both yarns to slide the knots together. This knot is robust and can withstand considerable tension, making it ideal for items like market bags and rugs.
6. Slip Knot Join
A slip knot join is a simple and quick method for joining yarns. Make a slip knot with the new yarn and place it on your crochet hook. Insert the hook into the stitch where you want to join the new yarn. Pull the slip knot through the stitch and tighten it. Continue crocheting with the new yarn. This method is useful for adding new yarn in the middle of a row or round and is easy to undo if needed.
7. Spit Splice
The spit splice, or felted join, is a great technique for wool yarns. To perform a spit splice, fray the ends of both yarns and overlap them. Moisten the overlapping section with water or saliva, then rub the yarns together between your palms until they felt and fuse. This method creates a smooth, seamless join that is almost invisible and very secure. It’s perfect for wool projects where you want to avoid knots and tails.
8. Braided Join
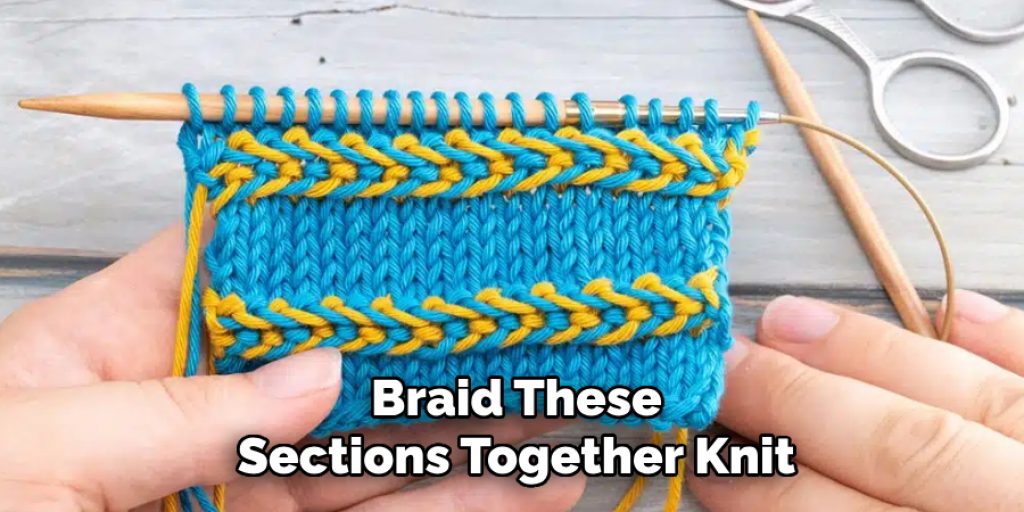
The braided join adds a decorative touch while securely joining yarns. Divide the ends of both yarns into three sections each. Braid these sections together for about an inch, then secure the braid with a small knot. This method not only joins the yarns but also adds an interesting texture to your crochet project. It’s particularly useful for decorative pieces like wall hangings and tassels.
9. Double Knot
The double knot, also known as the surgeon’s knot, is a reinforced version of the simple knot, providing extra security. To tie a double knot, overlap the ends of two yarns. Tie an overhand knot, but instead of pulling tight, wrap the yarn ends around each other one more time before tightening. Repeat with a second overhand knot. This method ensures a strong, secure join that is less likely to slip, making it ideal for high-stress areas in your crochet work.
10. Invisible Knot with Weaving
The invisible knot with weaving method combines a small, secure knot with additional weaving for extra security. Tie a small knot with the two yarn ends, leaving about two inches of tail on each side. Using a yarn needle, weave the tails back into the crochet fabric, following the stitch pattern. This method provides the security of a knot with the added stability of woven tails, ensuring your join is both strong and discreet.
Common Mistakes to Avoid
When tying two strings together in crochet, there are several common mistakes that can compromise the integrity of your work. One mistake is pulling the knots too tightly, which can cause the yarn to kink or lose its elasticity. It’s important to find the right balance—tight enough to secure the join but loose enough to maintain the natural flow of the yarn. Another frequent error is using the wrong knot for your yarn type; for instance, a slippery yarn may benefit from a more secure knot like the fisherman’s knot rather than a simple square knot.
Additionally, neglecting to weave in ends properly can lead to unraveling, so make sure to secure any loose tails effectively. Lastly, overlooking the need to match yarn weights and textures can create noticeable bumps or weak spots in your project, so always ensure compatibility before proceeding with your joins.

Troubleshooting Common Issues
When working with yarn joins, you may encounter a few common issues that can disrupt your crochet projects. One frequent problem is the join slipping or coming undone, which often occurs if the knot is not pulled tight enough or if an inappropriate knot is used for the yarn type. To fix this, ensure you are using a knot that suits your yarn and make it as tight as needed without damaging the fibers.
Another issue is visible joins, which can disrupt the aesthetics of your work. To avoid this, consider using techniques like the magic knot or spit splice, which create smooth, nearly invisible transitions. Additionally, if you notice that your work is becoming lumpy or uneven at the join, it may indicate that the yarn weights or textures are mismatched.
Conclusion
Mastering various methods for tying two strings together can greatly enhance your crochet projects. Each technique offers unique advantages, whether it’s achieving an invisible join, ensuring strength for heavy-duty items, or adding a decorative flair. By selecting the right knot for your specific needs, you can create seamless and durable work that withstands the test of time. Hopefully, this article gave you some helpful tips about how to tie two strings together crochet successfully, so now that you have the proper knowledge on how to get the job done, why not give it a try today?

