How to Turn Embroidery into a Patch
Embroidery has long been appreciated for its intricate designs and the artistry it embodies. However, turning your embroidered creations into patches can elevate their utility and versatility. Not only do patches allow you to showcase your craftsmanship, but they also provide a fun and creative way to personalize clothing, accessories, and home decor items.

This guide will walk you through how to turn embroidery into a patch that can be easily applied and enjoyed for years to come.
Understanding Embroidered Patches
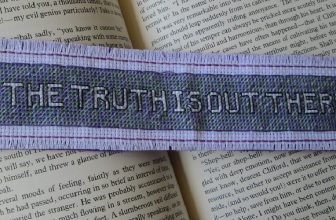
Embroidered patches are decorative embellishments made by stitching designs onto a fabric backing. These patches can be made in various sizes, shapes, and colors, making them highly customizable to suit individual preferences or branding needs. There are two main types of embroidered patches: sew-on patches, which require stitching to attach, and iron-on patches, which utilize a heat-sensitive adhesive on the back for a simpler application.
The durability of embroidered patches makes them an ideal choice for clothing and accessories that endure regular wear and tear, while their aesthetic appeal adds a pop of personality to any item. Understanding the different styles and applications of embroidered patches can help you maximize their potential in both functional and artistic ways.
Materials and Tools Needed
To successfully turn your embroidery into a patch, you’ll need a selection of materials and tools. Here’s a list to get you started:
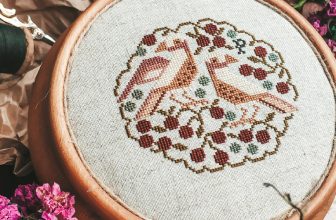
- Embroidery Design: Choose a design that you wish to convert into a patch. This can be hand-stitched or machine-embroidered.
- Fabric Backing: A sturdy fabric such as felt or canvas serves as the base for your patch.
- Iron-on Adhesive (for iron-on patches): This can be purchased as sheets or rolls, and is essential for easy application.
- Sewing Supplies: Scissors, a ruler, measuring tape, and fabric markers for cutting and measuring your patch.
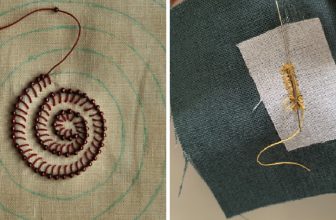
- Embroidery Thread: Select the colors that correspond with your design to ensure vibrant final results.
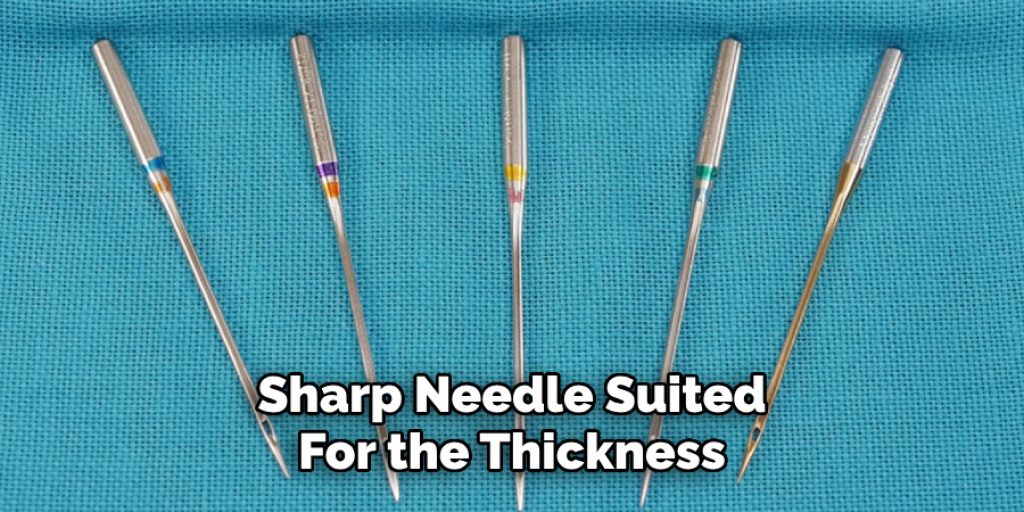
- Needle: A sharp needle suited for the thickness of your fabric and thread.
- Sewing Machine (optional): For those who prefer a quicker method, a sewing machine can be used to stitch your patch.
- Iron: Necessary if you are using iron-on adhesive to bond your patch to a backing fabric.
Having these materials and tools on hand will set you up for a successful project in transforming your embroidery into beautiful, functional patches.
10 Methods How to Turn Embroidery into a Patch
Method 1: Iron-On Backing
One of the simplest and most popular methods for turning embroidery into a patch is by using iron-on backing. Start by completing your embroidery on a piece of fabric. Once finished, trim the fabric to the desired patch shape and size, leaving a small border around the edges. Apply fusible interfacing or iron-on adhesive to the back of the embroidery using an iron set to medium heat.
Place the adhesive side against the wrong side of the fabric, cover with a pressing cloth, and press firmly for about 10-15 seconds. Allow it to cool completely before cutting around the design. This method creates a patch that can be easily applied to various surfaces by simply ironing it on.
Method 2: Sew-On Patch
For a more traditional and durable option, you can create a sew-on patch. Begin by completing your embroidery and trimming the fabric to the desired shape. To ensure the patch holds its shape and is easy to sew, apply a layer of fusible interfacing to the back of the embroidered fabric. Cut around the design, leaving a small seam allowance.
To finish, sew the patch onto your chosen surface using a straight stitch or decorative stitching, making sure to secure all edges. This method provides a robust attachment and allows for customization with different thread colors and stitching techniques.
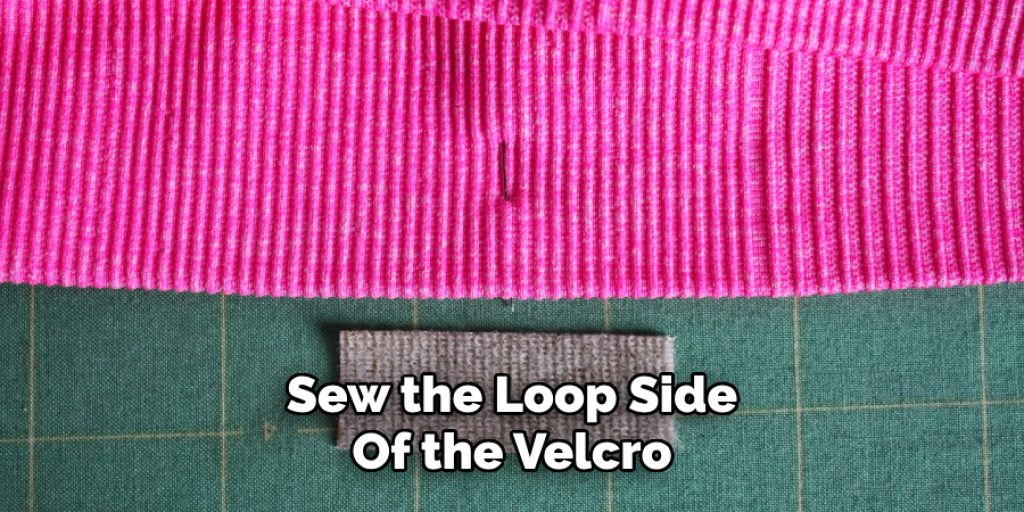
Method 3: Velcro Backing
Creating a patch with Velcro backing adds versatility and convenience, allowing you to switch patches easily. Start by completing your embroidery and trimming it to the desired shape. Cut a piece of adhesive-backed Velcro to match the size of your patch. Attach the hook side of the Velcro to the back of the embroidered fabric using an iron, following the manufacturer’s instructions.
Sew the loop side of the Velcro to the intended surface or garment. This method allows you to remove and replace patches as desired, making it perfect for customizable items like bags and jackets.
Method 4: Fabric Glue Adhesive
Using fabric glue adhesive is an effective way to create a no-sew patch. Complete your embroidery and trim the fabric to the desired shape. Apply a generous amount of fabric glue to the back of the embroidered piece, spreading it evenly over the surface. Press the patch firmly onto the desired surface, smoothing out any wrinkles or bubbles. Allow the glue to dry completely as per the manufacturer’s instructions.
Fabric glue provides a strong bond and is suitable for a variety of fabrics, making it a practical option for quick and easy patch application.
Method 5: Heat Press Vinyl
Transforming embroidery into a patch with heat press vinyl offers a modern and durable solution. Start by completing your embroidery and trimming the fabric to the desired shape. Cut a piece of heat transfer vinyl slightly larger than your embroidery design. Place the vinyl over the back of the embroidery, ensuring it covers the entire area.
Using a heat press or iron, apply heat according to the vinyl manufacturer’s instructions to bond the vinyl to the fabric. Allow it to cool before cutting around the design. This method creates a sleek and professional-looking patch with a smooth, glossy finish.
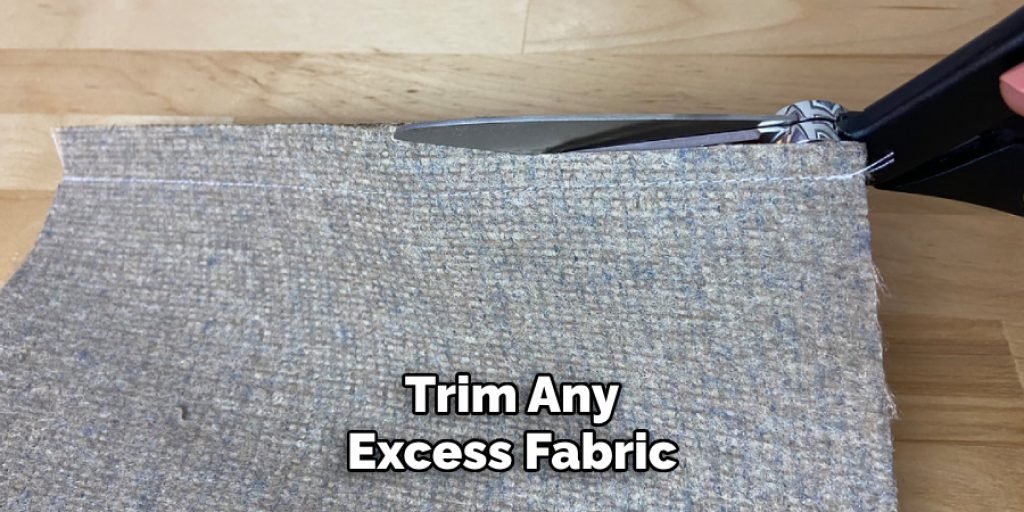
Method 6: Appliqué Technique
The appliqué technique allows you to create a patch by attaching your embroidered design to a base fabric. Begin by completing your embroidery on a piece of fabric. Cut a backing fabric to the size of your patch and apply fusible interfacing to both the embroidered piece and the backing fabric. Position the embroidered piece on the backing fabric and use a sewing machine or hand stitch to secure it in place, sewing around the edges.
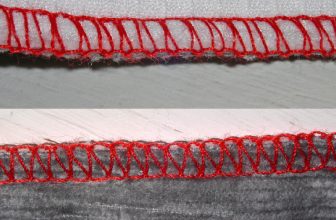
Trim any excess fabric and finish the edges with a zigzag or satin stitch to prevent fraying. This method creates a patch with a layered look and added durability.
Method 7: Fabric Stabilizer Method
Using a fabric stabilizer is an excellent way to ensure your embroidered patch holds its shape and remains intact. Start by completing your embroidery and trimming the fabric to size. Apply a layer of fabric stabilizer or interfacing to the back of the embroidery to provide structure. Cut around the design, leaving a small seam allowance.
Use a sewing machine or hand stitch to attach the patch to your chosen surface, securing all edges. The stabilizer prevents distortion and maintains the patch’s shape, making it ideal for intricate designs.
Method 8: Leather Backing
For a unique and sturdy patch, consider using leather as a backing material. Complete your embroidery on a piece of fabric and trim it to the desired shape. Cut a piece of leather to match the size of your embroidered design. Attach the embroidered fabric to the leather using fabric glue or a sewing machine, making sure to secure all edges. Leather backing adds a rugged and durable element to your patch, making it suitable for heavy-duty applications like jackets and bags.
Method 9: Felt Backing
Felt backing provides a soft and flexible option for creating embroidered patches. Start by completing your embroidery and trimming the fabric to the desired shape. Cut a piece of felt to match the size of your patch. Attach the embroidered fabric to the felt using fabric glue or a sewing machine, securing all edges. Felt backing adds a plush texture and helps to reinforce the patch, making it a great choice for decorative items and apparel.
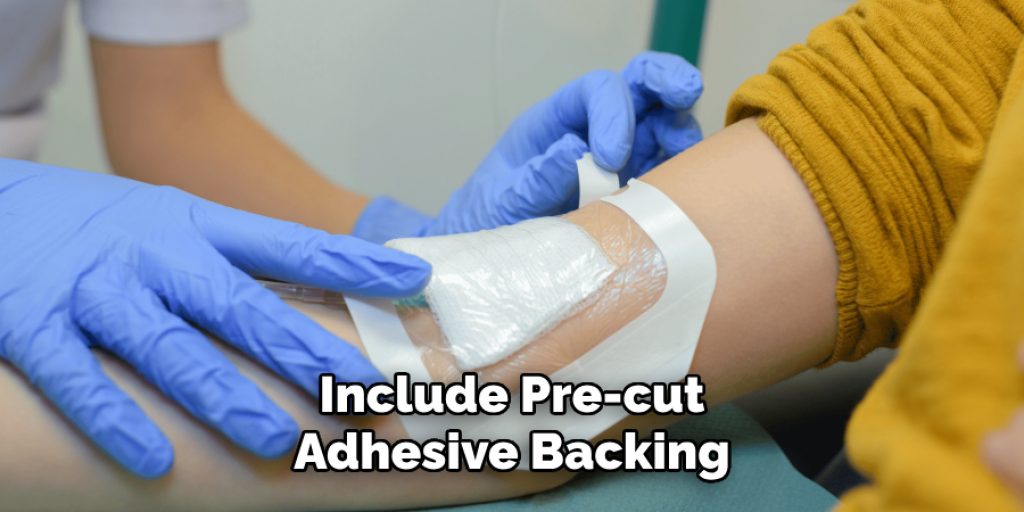
Method 10: Embroidered Patch Kit
Using an embroidered patch kit is a convenient and all-in-one solution for creating patches. These kits typically include pre-cut adhesive backing, embroidery designs, and instructions. Complete your embroidery on the included fabric and trim it to size. Follow the kit instructions to attach the adhesive backing to the embroidered design. Once the backing is in place, the patch can be applied to your chosen surface by ironing or sewing it on. This method simplifies the process and ensures a professional finish.
Conclusion
Transforming embroidery into a patch is a creative way to repurpose your needlework into functional and decorative elements. Each of these ten methods offers a distinct approach, from traditional sew-on patches and iron-on backings to innovative techniques like Velcro and heat press vinyl. By selecting the method that best suits your needs, you can create patches that not only showcase your embroidery skills but also enhance the versatility and appeal of your projects. Be sure to follow all instructions on how to turn embroidery into a patch carefully, and always consult an expert when in doubt.
Elizabeth Davis
Elizabeth is a creative writer and digital editor based in the United States. She has a passion for the arts and crafts, which she developed from a young age. Elizabeth has always loved experimenting with new mediums and sharing her work with others. When she started blogging, she knew that DIYquickly would be the perfect platform to share her tutorials and tips. She's been writing for the blog from the beginning, and her readers love her helpful advice and easy-to-follow instructions. When she's not writing or editing, Elizabeth enjoys spending time with her family and friends.