How to Upcycle Jeans
Are you tired of throwing away your old jeans only because they have a small rip or are out of style? Upcycling is a great solution to give new life to your old jeans!
How to upcycle jeans is a creative way to reduce waste while giving your old denim a new lease on life. With a few simple techniques, you can transform worn, outdated jeans into stylish and functional items that reflect your style. Not only does this process promote sustainability by diverting fabric from landfills, but it also allows you to express your creativity through unique designs and projects.
Whether you’re looking to create trendy accessories, home decor, or even new clothing, upcycling jeans can be a rewarding and enjoyable craft that contributes positively to the environment.
What Will You Need?
Before beginning any upcycling project, gathering all the necessary materials and tools is essential. The great thing about upcycling jeans is that you can use items at home or purchase them inexpensively from thrift stores or craft stores. Here are some basic supplies you will need for most upcycling projects:
- Old Jeans
- Scissors
- Sewing Machine (optional)
- Needles and Thread
- Embellishments (buttons, patches, lace, etc.)
- Fabric Glue (or hot glue gun)
Once you have these supplies, you can start exploring different upcycling techniques and projects.
10 Easy Steps on How to Upcycle Jeans
Step 1. Choose Your Project
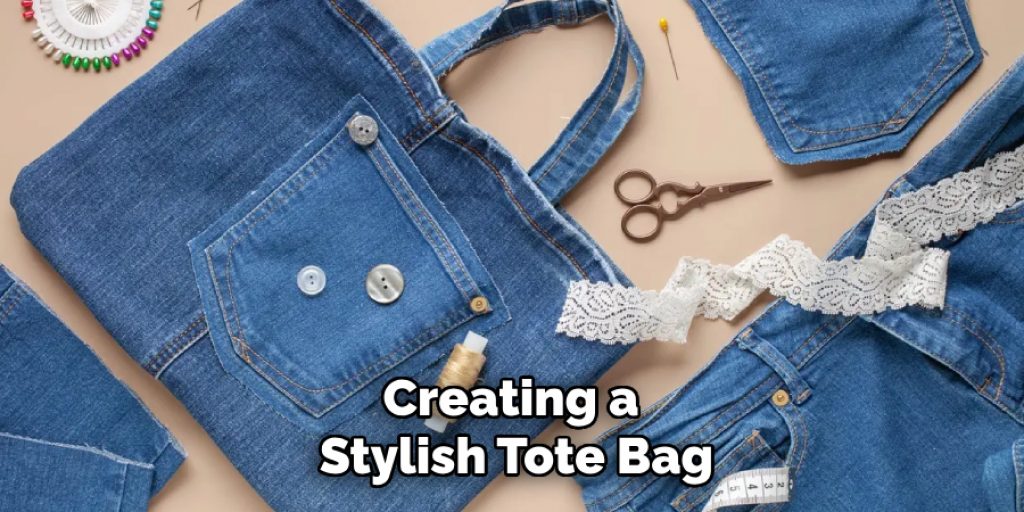
The first and most crucial step in upcycling jeans is to choose a project that resonates with your style and needs. Consider what items would be most helpful or appealing to you—from creating a stylish tote bag, a pair of trendy shorts, or even decorative throw pillows. Think about the condition of your jeans; for example, if they have minor rips or are faded, they might be perfect for a distressed look in a new project. Alternatively, if they are in good condition, you could opt for a structured bag or jacket. Browse online for inspiration, or sketch out your ideas to help visualize your project. Selecting the right project sets the tone for your creative journey, ensuring you remain engaged and excited throughout the upcycling process.
Step 2. Gather Your Supplies
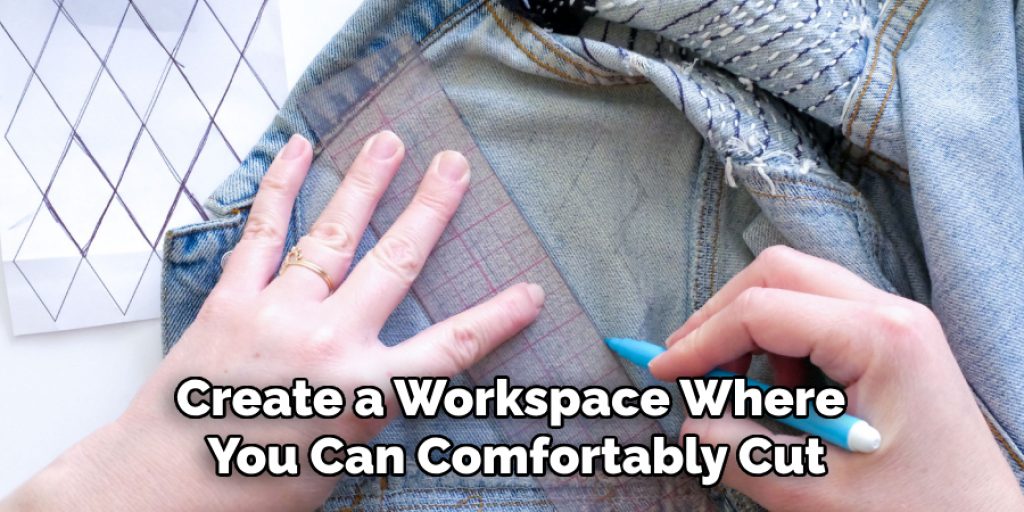
Now that you’ve chosen your project, gathering all the necessary supplies is time. You may need specific materials depending on your chosen design, so review your project plan. If you’ve decided on embellishments, such as patches or buttons, collect these items along with your essential supplies. Create a workspace where you can comfortably cut, sew, and assemble your upcycled pieces. Having everything organized and within reach will streamline the process and create a more enjoyable crafting experience. Consider the tools you’ll need, as some projects may require a sewing machine, while others might just need hand sewing. Take a moment to ensure your workspace is well-lit and inviting, setting the stage for your creative endeavor.
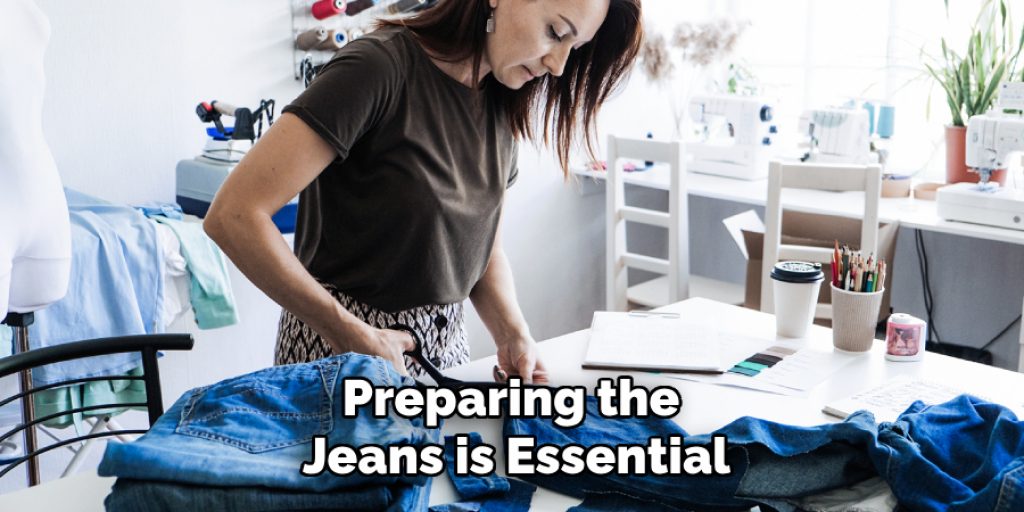
Step 3. Prepare the Jeans
Before diving into your upcycling project, preparing the jeans is essential. Start by inspecting the fabric for any significant damage that may affect the integrity of the finished item. If your jeans have rips, frays, or any areas needing repair, use your sewing machine or hand-sewing techniques to mend them. Additionally, wash the jeans to remove any dirt or grime and allow them to dry completely. Once clean, you can begin cutting and shaping the fabric according to your project requirements. Consider how the existing seams and textures can be utilized creatively in your design. Proper preparation will ensure a smoother crafting experience and enhance the quality of your final upcycled piece.
Step 4. Designing Your Item
With your jeans prepped and ready, it’s time to focus on the design aspect of your upcycling project. Start by drawing a rough sketch of your desired item, or use a pattern if available. This will help you visualize the final product and guide you as you cut and sew. Consider size, shape, and style—whether you want a simple bag or something more intricate. If incorporating embellishments, decide where and how to place them, as this can significantly impact the overall aesthetic. Don’t hesitate to experiment with different design ideas; remember, upcycling is all about creativity and personal expression.
Step 5. Cutting the Fabric
Now that your design is set, cutting the fabric according to your sketches or pattern is time. Start by laying your jeans flat on a clean, sturdy surface. Use sharp scissors to carefully cut out the pieces, following the lines of your design. If your project requires specific shapes or sizes, take your time to measure and mark with fabric chalk or a pen to ensure accuracy. Remember that you may want to save any extra fabric scraps for later embellishments or smaller projects. Always cut slowly and safely to avoid any accidents, and remember to double-check that you’re cutting the right sections of the jeans for your intended design.
Step 6. Assembling Your Item
With all your fabric pieces cut, it’s time to assemble your upcycled creation. Start by laying out your cut pieces in the order you plan to join them. If you’re sewing, use pins to secure the fabric together before stitching, which will help maintain alignment and ensure clean seams. For items requiring a non-sewing approach, such as fabric glue or a hot glue gun, apply the adhesive carefully to avoid mess. Take time with this step; proper assembly is crucial for creating a durable and attractive finished item.
Step 7. Sewing or Gluing the Pieces Together
Now that you have your pieces arranged and secured, it’s time to bring your creation to life by sewing or gluing the fabric together. If you’re using a sewing machine, carefully stitch along the edges of your fabric pieces, reinforcing seams at stress points for added durability. For hand sewing, use tiny, even stitches to achieve a neat finish. If you opted for fabric glue, apply a thin layer along the edges to bond the pieces; press firmly and allow sufficient drying time according to the manufacturer’s instructions. Regardless of your method, take your time to ensure that everything aligns correctly—this will result in a polished look and enhance the longevity of your final project. Keep an eye on the overall structure as you work, adjusting as necessary to maintain your design vision.
Step 8. Adding Finishing Touches
Once your pieces are securely sewn or glued together, it’s time to add the finishing touches that will elevate your upcycled item. Begin by trimming any excess threads and ensuring all edges are neat. If you choose to incorporate embellishments, now is the moment to attach them—whether it’s sewing on patches, attaching buttons, or adding decorative elements like fabric paint or rhinestones. Take a step back to evaluate your creation; sometimes a simple adjustment or addition can significantly impact the overall appearance. Lastly, consider giving your item a final press with an iron, if appropriate, to smooth out any creases and present a polished look.
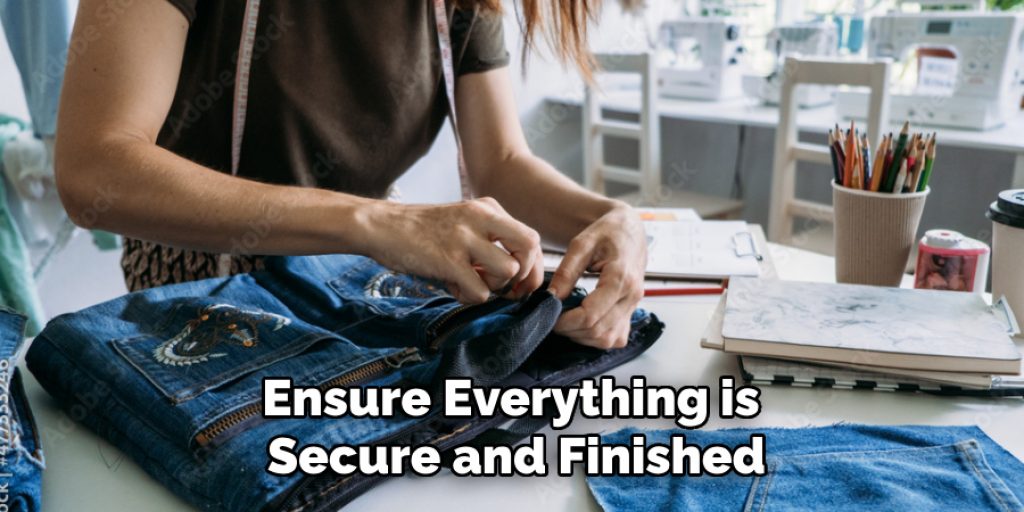
Step 9. Evaluating Your Work
With your upcycled item now complete, it’s essential to take a moment to evaluate your creation. Inspect the seams and embellishments to ensure everything is secure and finished to your satisfaction. Look for any areas that might need reinforcement or touch-ups. If you’re planning to gift or sell your item, consider how it feels regarding comfort and usability. Testing the functionality of pockets, closures, or straps will contribute to a positive final assessment. This step helps you appreciate the craft you’ve achieved and provides valuable insights for future projects, allowing you to learn and improve your upcycling skills over time.
Step 10. Showcasing Your Creation
Now that you’ve completed your upcycled item, it’s time to showcase your hard work and creativity. Consider taking high-quality photographs to highlight your piece’s unique features and craftsmanship. Use natural light to effectively capture the colors and details, and experiment with different angles for the best shots. Once you have your images, share them on social media platforms or within crafting communities to inspire others and share your journey. If you’re looking to sell your creations, consider setting up an online shop or participating in local craft fairs to reach potential buyers. Showcasing your work celebrates your talents and encourages sustainable practices within your community.
By following these steps, you can successfully upcycle your old jeans into a one-of-a-kind creation that reflects your personal style and values.
Conclusion
In summary, how to upcycle jeans into new, creative items is not just a rewarding and sustainable practice; it’s an opportunity to express your individuality and creativity.
By following the steps outlined—from sketching your design to showcasing your completed project—you can transform what might have been an outdated or worn-out pair of jeans into something uniquely yours. Embrace the process, experiment with different techniques and embellishments, and allow your imagination to flourish. Not only will you reduce waste by repurposing fabric, but you’ll also gain a valuable skill set that can be applied to future projects.
The possibilities are endless; each creation tells a story, contributing to a more sustainable lifestyle.
Elizabeth Davis
Elizabeth is a creative writer and digital editor based in the United States. She has a passion for the arts and crafts, which she developed from a young age. Elizabeth has always loved experimenting with new mediums and sharing her work with others. When she started blogging, she knew that DIYquickly would be the perfect platform to share her tutorials and tips. She's been writing for the blog from the beginning, and her readers love her helpful advice and easy-to-follow instructions. When she's not writing or editing, Elizabeth enjoys spending time with her family and friends.