How to Use Embroidery Stabilizer
Embroidery is a beautiful and creative hobby that lets you customize almost anything. However, if you’ve ever tried to embroider without a stabilizer, you know how frustrating it can be. Without a stabilizer, your fabric will pucker, stretch, or bunch up, resulting in poor-quality embroidery. In this blog post, we’ll discuss the different types of embroidery stabilizers and how to use embroidery stabilizer to create perfect embroideries every time.
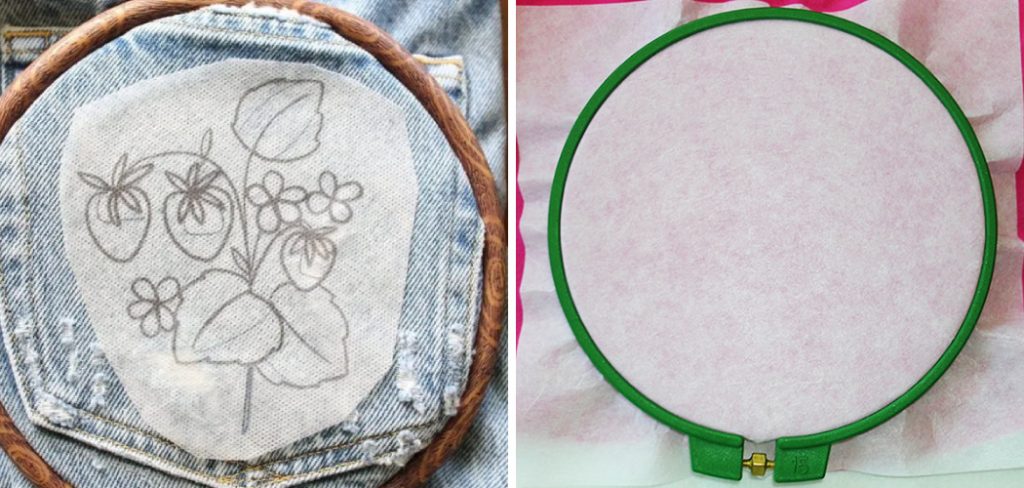
Can You Use an Embroidery Stabilizer?
Embroidery is an interesting art that has been around for centuries. It involves stitching various designs and patterns on cloth using a needle and thread, and as easy as it may seem, achieving the perfect design can be quite challenging.
An embroidery stabilizer plays a vital role in the process, ensuring that the finished product looks clean, neat, and professional. But can you use an embroidery stabilizer? The answer is a resounding yes! Embroidery stabilizers come in different forms, including water-soluble, adhesive, and cut-away.
Choosing the right stabilizer for your project, as well as following the manufacturer’s instructions, can help you achieve the perfect embroidery design. So use an embroidery stabilizer to take your embroidery game to the next level!
Why Should You Use Embroidery Stabilizer?
An embroidery is an art form that requires precision and attention to detail. But, even the best embroiderers might struggle to create the perfect stitch without using an embroidery stabilizer. These tools give your fabric a sturdy foundation to work from, preventing the material from puckering, stretching, or moving around while you stitch.
Using an embroidery stabilizer can help you achieve cleaner lines, crisper designs, and, overall, a more professional-looking finished product. With a little practice and experimentation, you’ll quickly learn that an embroidery stabilizer is an essential tool for any serious embroiderer.
How to Use Embroidery Stabilizer – Your Secret Weapon for Perfect Embroideries
1. Types of Stabilizers
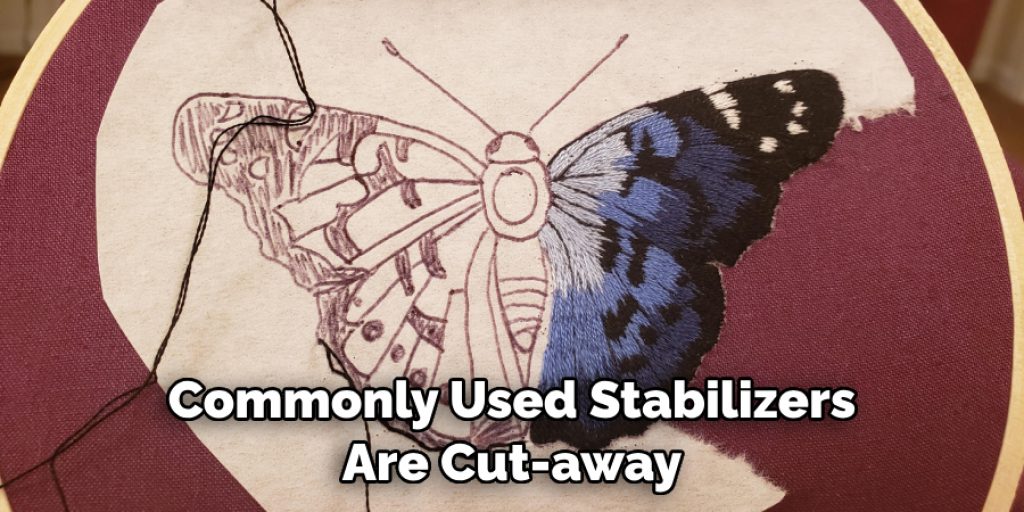
There are many types of embroidery stabilizers available, each designed for different types of fabrics and projects. The most commonly used stabilizers are cut-away, tear-away stabilizers, and water-soluble stabilizers. Cut-away stabilizers are best for stretchy fabrics, while tear-away stabilizers are recommended for stable woven fabrics. Water-soluble stabilizers are ideal for delicate fabrics and embroidering on top of fabric.
2. Choose the Right Stabilizer
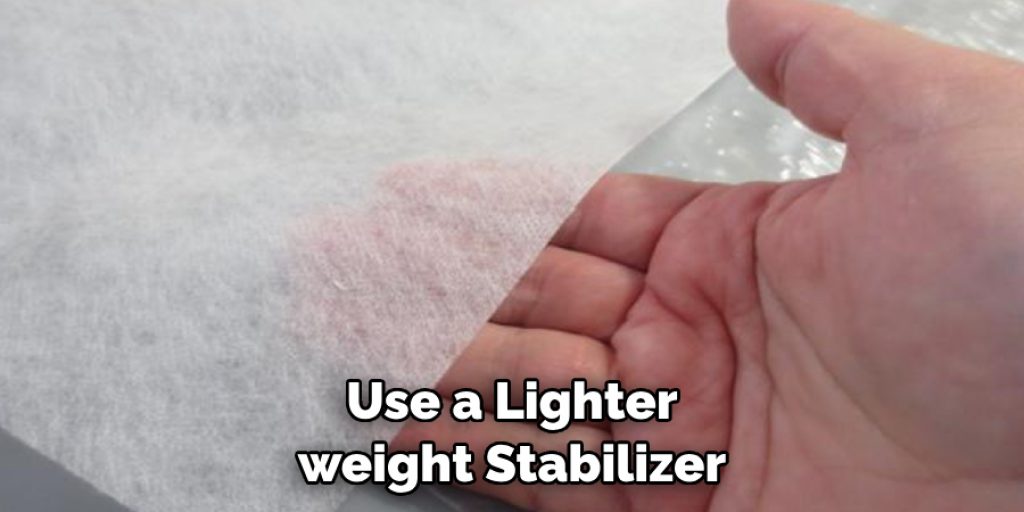
Choosing the right stabilizer largely depends on the type of fabric you are embroidering on and the complexity of the design. A rule of thumb is to go for a heavier stabilizer if your fabric is lightweight and a lighter stabilizer if your fabric is heavy. Additionally, choose a stabilizer based on the complexity of the design you want to embroider. If your design has a lot of embroidery stitches, you may need a thicker stabilizer.
3. Use Stabilizers
Using stabilizers is more straightforward than you may think. First, you need to hoop the stabilizer and fabric together. Next, stitch the design onto the fabric, and when done, remove the excess stabilizer. To remove the cut-away stabilizer, you can simply trim it off, while for tear-away stabilizers, tear them away from the embroidery carefully. For water-soluble stabilizers, dissolve the stabilizer in water, following the manufacturer’s instructions.
4. Store Stabilizers
Proper storage of stabilizers is crucial to ensure their longevity and effectiveness. Always store your stabilizers in a cool, dry place and away from direct sunlight. Also, keep them in their original packaging, and if you cut one, put the remaining in a resealable bag and label it.
5. Troubleshooting
Sometimes, you may encounter problems even when you’re using a stabilizer. For instance, the fabric may still pucker or stretch, or the stitches may not be crisp. If that happens, ensure you’re using the right type of stabilizer for your fabric and design. Also, check that the stabilizer is hooped tightly and the fabric is flat in the hoop.
If you’re still facing problems, try using a heavier stabilizer.
6. Clean-up
An embroidery is an art form that requires patience and can be quite rewarding when done right. However, cleaning up after the embroidery process can be tedious and time-consuming. Always use a lint roller to pick up stray threads to make clean-up easier.
7. Maintenance
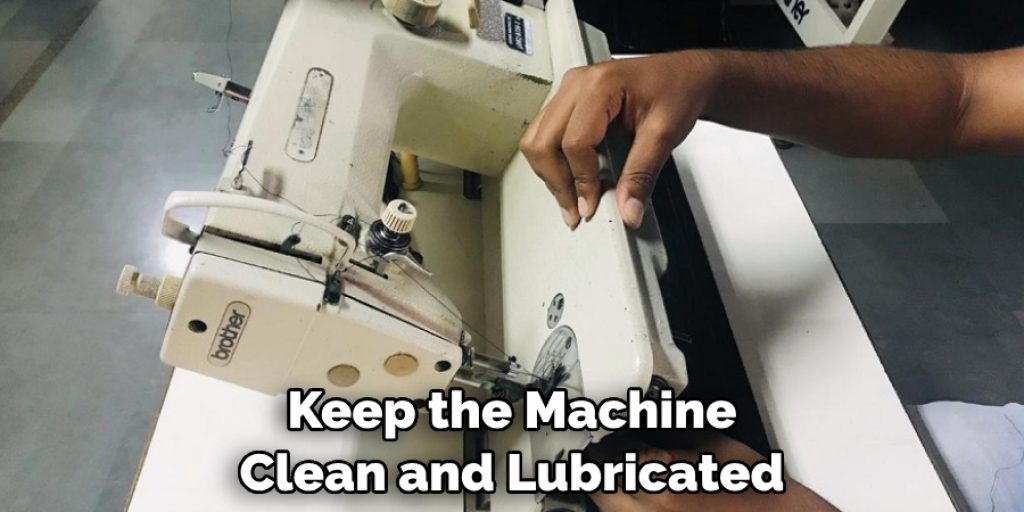
Your embroidery machine needs regular maintenance to stay in top condition and provide you with years of reliable service. Always refer to your machine’s user guide for specific instructions on how best to maintain your particular model, but generally, it’s important to keep the machine clean and lubricated. Additionally, make sure that all parts are tightly secured and that the needles are in good condition.
These tips will help you get perfect results from your embroidery projects every time! With a little practice, you’ll be able to create beautiful embroidered pieces with ease.
5 Considerations Things When You Need to Use Embroidery Stabilizer
1. Type of Embroidery
The type of embroidery you are doing will determine the type of stabilizer you need to use. For example, if you are doing a lightweight or sheer fabric, you will need a lightweight stabilizer such as a tear-away or cut-away stabilizer. On the other hand, if you work with heavier fabrics such as denim or canvas, you may need to use a heavy-weight stabilizer such as a cut-away or adhesive stabilizer.
2. Stitching Requirements
You also need to consider the stitching requirements of your project when selecting an embroidery stabilizer. If your design has intricate details and small lettering, you will likely need a heavier-weight stabilizer that provides more stability and support for the stitches. However, if your design is simpler and has fewer details, you may get away with using a lighter-weight stabilizer.
3. Fabric Type
Another important factor to consider is the type of fabric that you are working with. Different fabrics require different stabilizers to provide adequate support for the stitches and keep them from puckering or pulling on the fabric. For example, heavier fabrics like denim may require a cut-away or adhesive stabilizer, whereas lighter fabrics like silk may only require a tear-away or water-soluble stabilizer.
4. Needle Size
The needle size you are using can also affect which type of embroidery stabilizer is best for your project. If you are using larger needles (such as size 11/75), then it’s best to use a heavier-weight stabilizer that can provide more stability and support for those larger needles and stitches. However, if you are using smaller needles (such as size 9/65), then it’s best to use a lighter weight stabilizer so that it doesn’t add too much bulkiness to your work.
5. Thread Weight
The weight of the thread that you are using should also be taken into consideration when selecting an embroidery stabilizer. Heavier threads tend to require more stability than lighter threads, so it’s important to choose an appropriate stabilizer weight depending on what kind of thread you use in your project. Generally speaking, heavier threads require heavier weights of stabilizers, while lighter threads can get away with lighter weights of stabilizers.
These are just a few things to consider when selecting an embroidery stabilizer for your project. By taking into account the type of embroidery, the stitching requirements, fabric type, needle size, and thread weight of your project, you can ensure that you select the most appropriate stabilizer for your project and achieve the best results.
Benefits of Using Embroidery Stabilizer
Embroidery is a beautiful and intricate art form, but it can also be frustrating when the fabric bunches up, or the stitches don’t go where they’re supposed to. That’s where the embroidery stabilizer comes in. It’s a material that keeps the fabric taut and prevents distortion while you stitch, making for crisp, clean lines and a professional-looking final product.
Not only that, but it also helps improve the accuracy of your embroidery, especially on delicate or stretchy fabrics. So whether you’re a seasoned embroiderer or just starting, using a stabilizer can help take your embroidery to the next level and make the process more enjoyable overall.
Some Common Mistakes People Make When Trying to Use Embroidery Stabilizer
An embroidery stabilizer is a crucial component in any embroidery project. Unfortunately, many people make mistakes when working with it. One of the most common mistakes is not using enough stabilizers, leading to puckering or distorting of the design.
Another mistake is using the wrong kind of stabilizer for the fabric type, which can cause tearing or damage to the material. Additionally, some people forget to remove the stabilizer after embroidering, making the finished product stiff and uncomfortable.
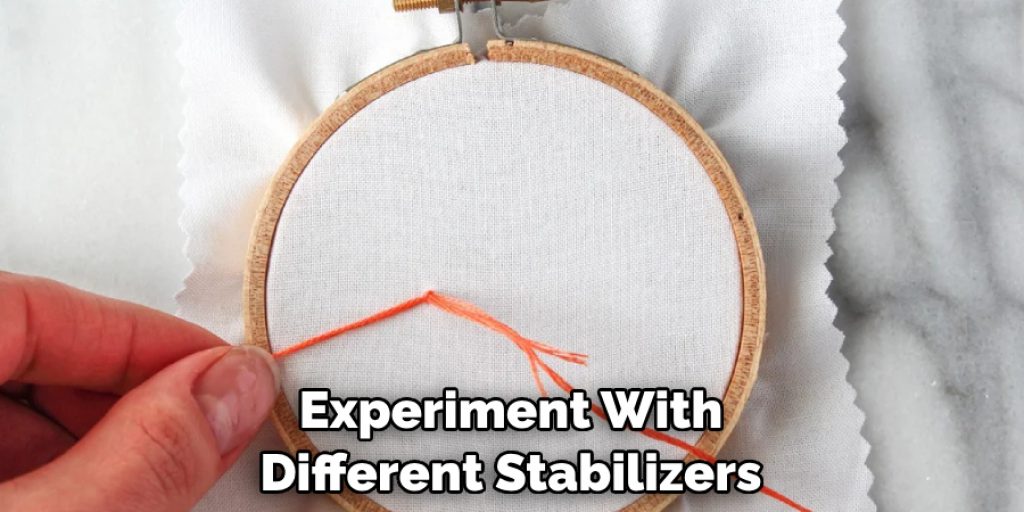
To avoid these mistakes, it’s important to experiment with different stabilizers and fabrics and to follow the instructions carefully. With a little practice, anyone can master the art of using embroidery stabilizers to create beautiful and professional-looking designs.
Conclusion
Embroidery stabilizers are essential for achieving high-quality embroideries. Whether you’re a beginner or an experienced embroiderer, working with the right stabilizer can make all the difference. Select the right stabilizer for your project, and always store them correctly, and you will create stunning and professional-looking embroideries every time.
So, next time you’re ready to embark on a new embroidery project, keep the stabilizer close, and you’ll be impressed by how much of a difference it can make. Thanks for reading our post about how to use embroidery stabilizer.

