
How to Weed Iron on Vinyl
Are you tired of seeing your t-shirts and other fabrics with boring designs? Do you want to add a personal touch and make them stand out? Iron on vinyl is the perfect solution for this problem.
How to weed iron on vinyl is a crucial step in creating custom designs for apparel, accessories, and even home decor. This technique involves removing the excess vinyl around your cut design, leaving only the intended graphic intact. Mastering the weeding process not only ensures a clean and professional finish but also enhances the overall appearance of your project.
In this guide, we will explore the best practices for weeding iron-on vinyl, including the tools you’ll need, helpful tips, and techniques to achieve the best results.
What Will You Need?
To weed iron on vinyl, you’ll need the following items:
- Iron-on vinyl
- Cutting mat or flat surface
- Weeding tools: tweezers, weeder, or craft knife
- Transfer tape (optional)
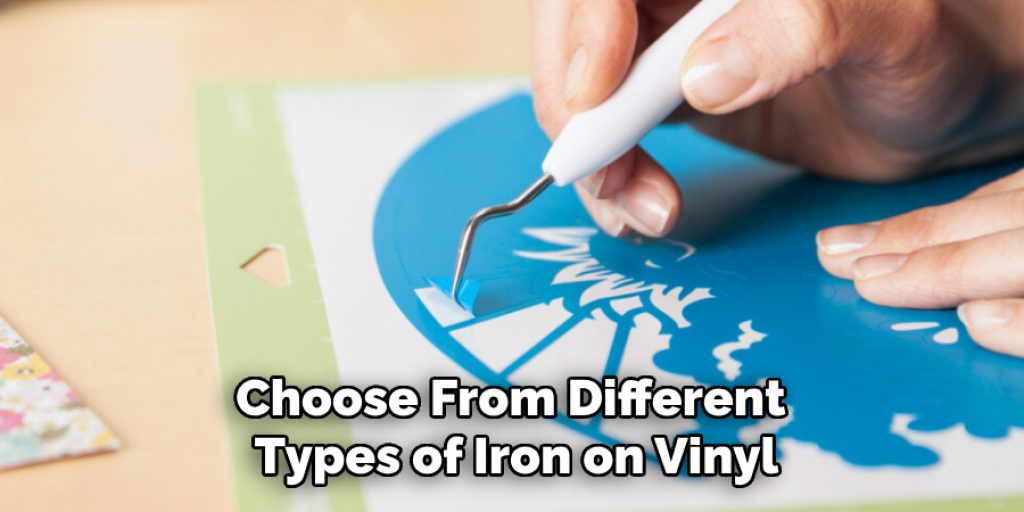
It’s essential to use high-quality iron-on vinyl as it is easier to work with and produces better results. You can choose from different types of iron-on vinyl, including smooth, glitter, holographic, and patterned. Make sure to read the instructions carefully before starting your project.
10 Easy Steps on How to Weed Iron on Vinyl
Step 1: Prepare Your Workspace
Before diving into the weeding process, it’s important to set up a clean and organized workspace. Clear any clutter from your cutting mat or flat surface to avoid mishaps. Ensure you have adequate lighting to clearly see the details of your design, as this will help you identify areas that require careful weeding. Gather all necessary tools, including your vinyl, weeding tools, and any additional items you may need, such as transfer tape.
Everything within arm’s reach will streamline the process and help you work more efficiently. Lastly, consider placing a protective layer underneath your project to prevent any residue or damage to your work surface. A well-prepared workspace enhances your comfort and minimizes the risk of errors while weeding your iron-on vinyl.
Step 2: Cut Your Design
Once your workspace is prepared, the next step is to cut your iron-on vinyl design. Start by loading your chosen vinyl into your cutting machine, ensuring the shiny side is facing down onto the cutting mat. Adjust the settings on your machine according to the type of vinyl you are using, as different materials may require specific blade depth and speed settings. After inputting your design into the cutting software, send the file to the machine to begin cutting. Take care to inspect the cut once it’s completed; the design should be clean, with smooth edges. If there are any imperfections, a quick re-cut may be necessary. This precision in the cutting phase will make the subsequent weeding process much easier and ensure a polished final product.
Step 3: Wait for the Vinyl to Cool
After cutting your design, allowing the vinyl to cool down before proceeding with the weeding process is important. Removing the design while it’s still hot can lead to distortion or damage, making it difficult to weed effectively. Allow a few minutes for the vinyl to reach a manageable temperature. Once cool, gently peel back the vinyl from the cutting mat—using your weeder tool if necessary—to ensure that the design remains intact and does not lift off the mat prematurely. This waiting period protects your design and sets the stage for a smoother weeding experience.
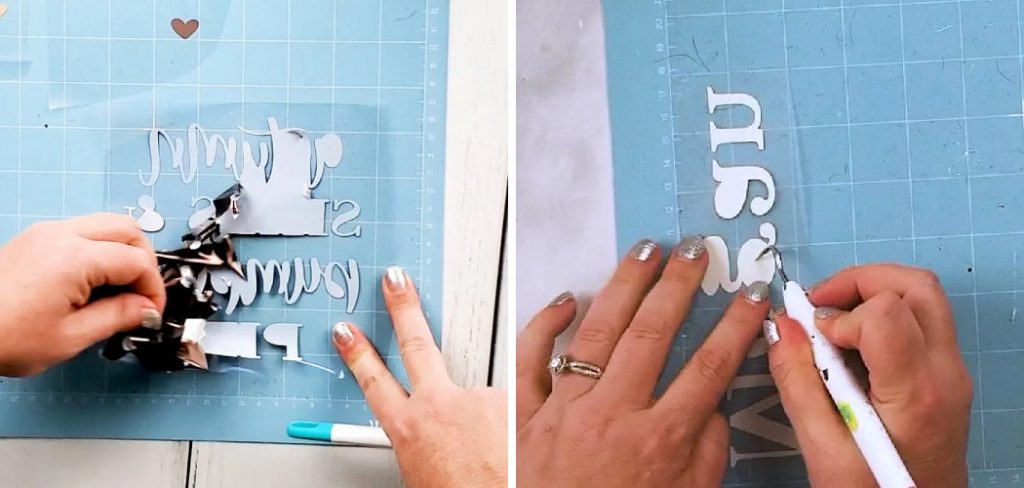
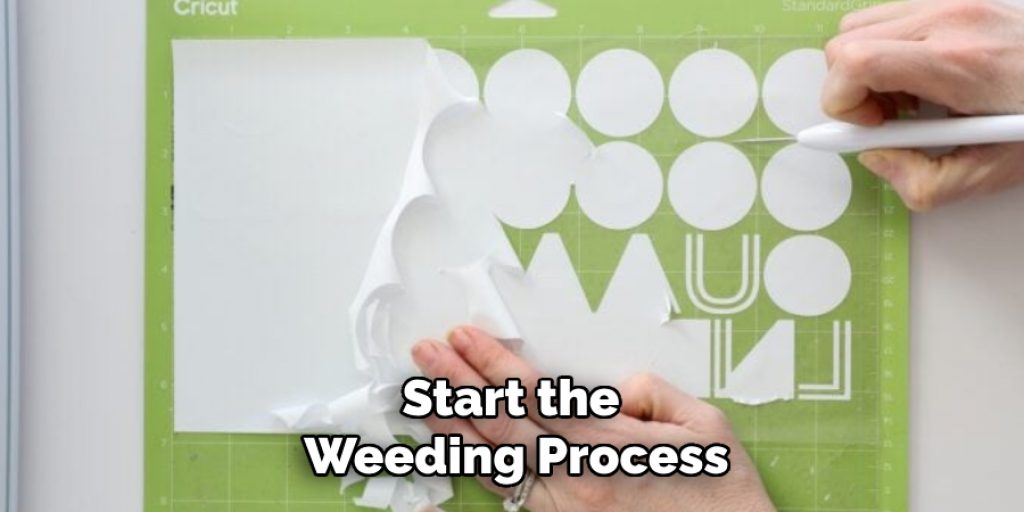
Step 4: Begin Weeding
Now that your vinyl has cooled, it’s time to start the weeding process. Using your weeding tool, carefully lift one corner of the vinyl away from the design. Gently pull the excess vinyl back, making sure not to disturb the parts of the design that you want to keep. If you’re working with intricate designs, take your time to peel away small pieces gradually. For larger areas, you can use your fingers to grasp and lift the vinyl. Be attentive to any small details or inner sections of the design, as these can easily lift or tear if not handled properly. Weeding can be a meticulous task, but patience will earn you a clean final design ready for transfer.
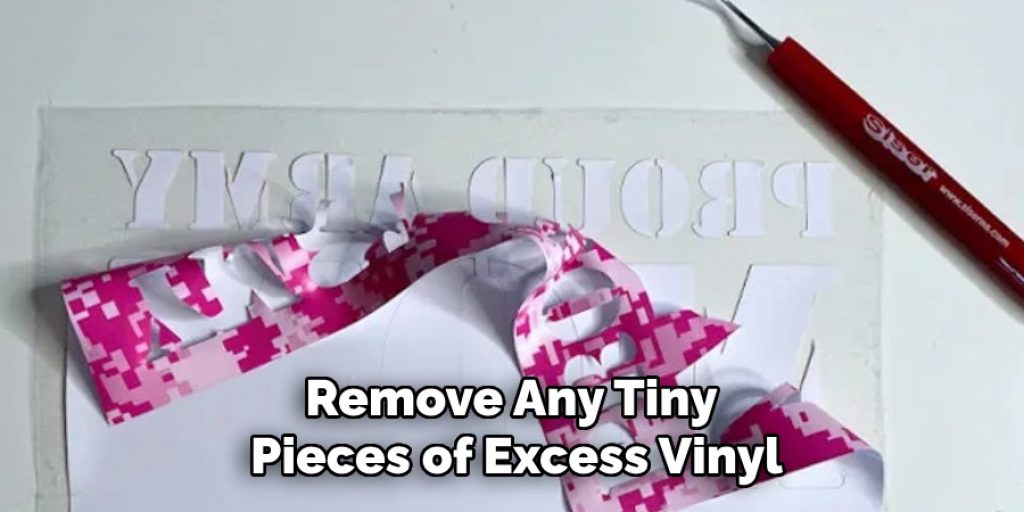
Step 5: Remove Small Details
As you continue the weeding process, pay close attention to the small details of your design. This is the stage where you’ll need to remove any tiny pieces of excess vinyl that might be left within the design itself, such as the centers of letters or intricate patterns. Using your weeding tool, carefully poke at these delicate areas to release the vinyl bits without damaging the overall graphic. Take your time here; removing these small details is crucial for achieving a polished and professional look.
Step 6: Inspect Your Work
Once you’ve completed the weeding process, it’s essential to thoroughly inspect your design for any leftover bits of excess vinyl. Carefully examine all areas, especially the intricate details and small cutouts, as these can sometimes be overlooked. If you spot any stray pieces, gently remove them using your weeding tool to ensure an immaculate design. A meticulous inspection at this stage helps guarantee that your final result will look professional and polished once it’s applied to your fabric. Taking the time to perfect your design during this step will contribute significantly to the overall quality of your project.
Step 7: Prepare Transfer Tape
To ensure a seamless transfer of your weeded design onto your fabric, the next step is to prepare your transfer tape. Cut a piece of transfer tape slightly larger than your design, allowing for some overlap on all sides. Carefully peel the backing off the tape, being cautious not to touch the adhesive side with your fingers, as this may reduce its effectiveness. Position the tape over your weeded design, pressing down gently to smooth out any air bubbles that may form. Once securely adhered, use a scraper tool or a flat edge to firmly press the tape onto the vinyl, ensuring all parts of the design are well stuck. This preparation is crucial for maintaining the integrity of your design during the transfer process.
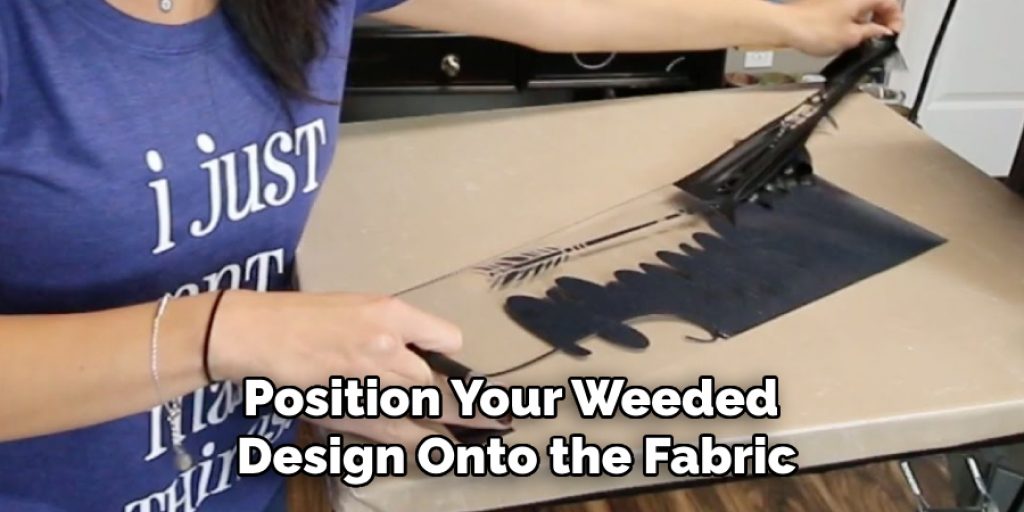
Step 8: Position Your Design on the Fabric
With your transfer tape ready, it’s time to position your weeded design onto the fabric. Begin by determining the desired placement of your design on the fabric surface. Consider using a ruler or measuring tape to ensure it is centered or aligned according to your project specifications. Once you are satisfied with the position, gently place the design – still attached to the transfer tape – onto the fabric, being careful not to shift it once it makes contact. Take a moment to double-check the alignment before proceeding to the next step, as repositioning may not be possible once the design is pressed down. Proper placement is critical to achieving a professional and visually appealing outcome for your project.
Step 9: Press the Design
Now that your design is positioned on the fabric, it’s time to secure it using heat. Preheat your iron or heat press according to the manufacturer’s instructions for the type of iron-on vinyl you use. Once heated, place a pressing cloth or parchment paper over the design to protect both the vinyl and the fabric. Apply firm pressure and heat to the design for the recommended amount of time, ensuring that the entire design receives even heat. If using a heat press, follow the pressure and time guidelines specific to your vinyl. After pressing, carefully peel away the transfer tape while the design is still warm, ensuring that all parts of the design adhere properly to the fabric. This step is crucial for ensuring a long-lasting and durable application.
Step 10: Allow to Cool and Set
After pressing your design onto the fabric, it’s essential to allow it to cool down completely. Letting the design set for a few minutes ensures that the adhesive bonds firmly with the fabric, guaranteeing a reliable hold. Avoid any unnecessary movement during this cooling period to prevent disturbance to the design. Once it has cooled, you can lightly touch the edges of the design to confirm that everything has adhered well. This crucial step ensures that your creation maintains its quality and stays securely in place, providing a professional finish to your project.
By following these steps and investing time and patience, you can quickly achieve professional results when working with iron-on vinyl.
5 Things You Should Avoid
- Rushing the Process: Weeding requires patience and precision. Avoid speeding through the process, as this can lead to mistakes, such as tearing your design or leaving behind excess vinyl that will compromise the final result.
- Not Properly Inspecting the Design: It’s crucial to carefully examine your design for any small pieces of excess vinyl before transferring it onto your fabric. Overlooking these details can impact the overall appearance and durability of your project.
- Using Fingers to Grasp Vinyl: Your fingers may damage or stretch the vinyl, leading to a less-than-perfect final design. Instead, use appropriate tools like tweezers or a weeding tool to grasp and lift the vinyl as needed.
- Neglecting Transfer Tape Preparation: Properly preparing your transfer tape ensures that it adheres correctly to your design, making it easier to transfer onto fabric without any shifting or misalignment.
- Not Allowing Enough Cooling Time: Let your design cool completely before peeling away the transfer tape. Disturbing the design too soon can affect its adhesion and durability, resulting in a less professional outcome.
By avoiding these common mistakes, you can ensure a smooth and successful weeding process when working with iron-on vinyl.
Conclusion
How to weed iron on vinyl is a crucial step that can significantly impact the quality of your final project.
By carefully inspecting your design, removing any excess vinyl, and preparing your transfer tape correctly, you set the stage for a successful transfer to your fabric. Remember to position your design accurately, apply even heat, and allow it to cool properly for the best results. Avoiding common pitfalls like rushing the process or neglecting details will not only enhance your design’s durability but also elevate your work’s professional finish.
With practice and attention to detail, mastering the weeding process will lead to stunning creations with iron-on vinyl that you can be proud of.


