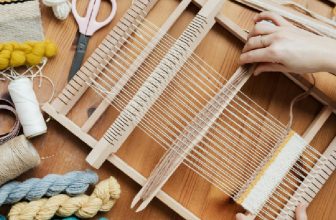
How to Wind Yarn without a Swift
Winding yarn can often seem like a daunting task, especially without the help of tools like a yarn swift. However, with a few simple techniques, you can easily transform your skeins into tidy cakes or balls. This guide will walk you through how to wind yarn without a swift, ensuring that the process is both straightforward and enjoyable.

Whether you’re a seasoned crafter or just starting out, mastering the art of winding yarn will enhance your knitting or crocheting experience, keeping your workspace organized and your project flowing smoothly.
What is Yarn Winding?
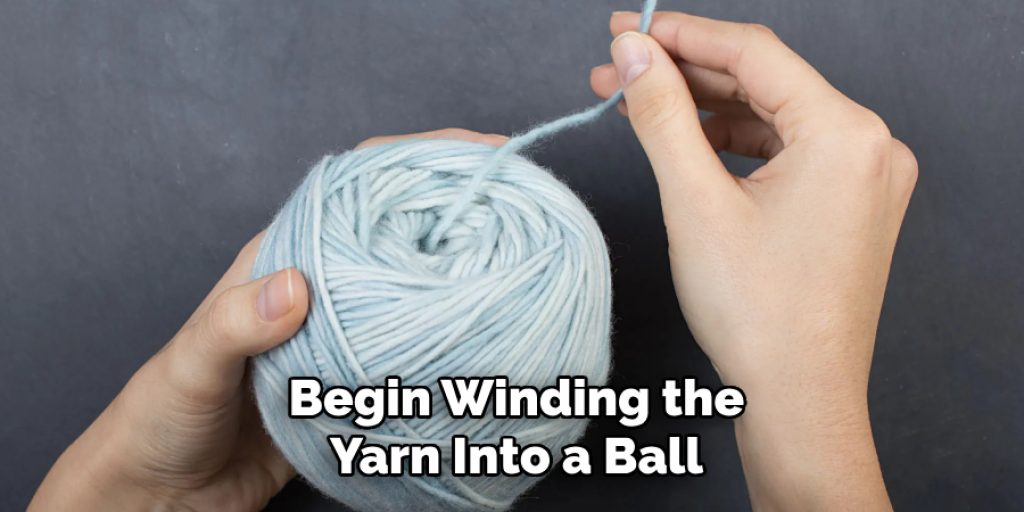
Yarn winding is the process of transforming skeins of yarn into more manageable shapes, typically cakes or balls. This technique eliminates the tangles and knots that can occur when working with loose skeins, making it easier to pull the yarn while knitting or crocheting. Properly wound yarn helps in maintaining an organized workspace and ensures that the yarn feeds smoothly during your crafting projects. In essence, yarn winding not only prepares your materials for use but also enhances your overall crafting experience by reducing frustration and interruptions.
Why Wind Yarn without a Swift?
Winding yarn without a swift can be an essential skill for crafters, particularly for those who may not have access to this specialized tool. Firstly, it allows for greater flexibility and convenience, enabling you to wind yarn at home or while traveling without needing additional equipment. This method also encourages a hands-on approach, as you’ll develop a more intimate understanding of your yarn and its properties.
Additionally, winding yarn manually can foster creativity, allowing you to experiment with different winding techniques or even create custom shapes for unique projects.
10 Methods How to Wind Yarn without a Swift
1. Using Your Hands
One of the simplest ways to wind yarn without a swift is to use your hands. Begin by placing the skein of yarn on a flat surface or draping it over your knees. Hold one end of the yarn between your thumb and forefinger, then use your other hand to wrap the yarn around your fingers in a loose figure-eight pattern.
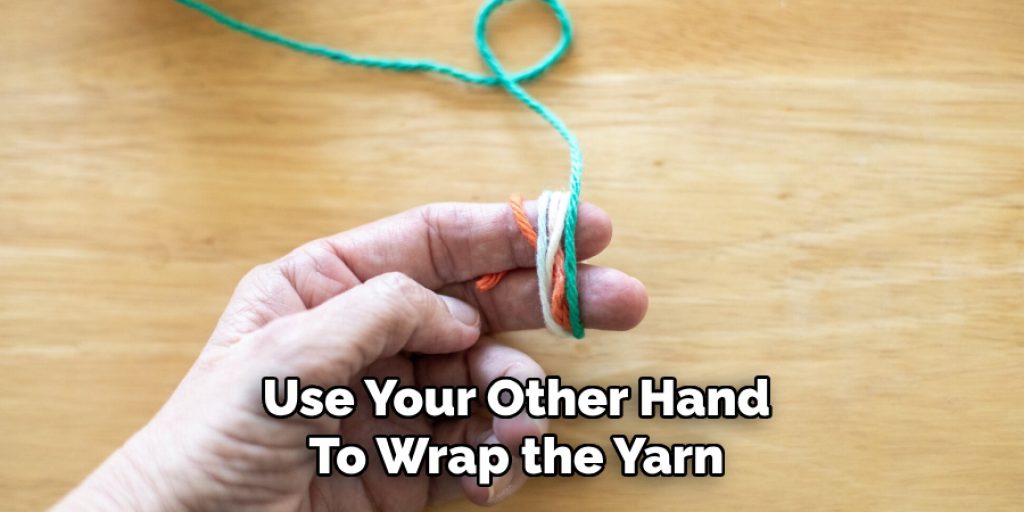
Continue wrapping until you have a manageable amount of yarn. Once you have the desired amount, carefully slide the yarn off your fingers and shape it into a ball or cake. This method is intuitive and doesn’t require additional tools, making it ideal for quick yarn winding tasks.
2. Using a Chair Back
A chair back can serve as an improvised yarn swift. Place the skein of yarn around the back of a sturdy chair, allowing the yarn to hang freely. Hold the end of the yarn and start wrapping it around the chair’s back, keeping the tension even and the yarn from tangling. As you wind, rotate the chair occasionally to ensure that the yarn is distributed evenly.
When you have wound the entire skein, remove it from the chair and shape it into a ball or cake. This method uses a common piece of furniture to mimic the function of a swift, providing stability and ease of use.
3. Using a Family Member or Friend
Another effective method involves enlisting the help of a family member or friend. Have them hold the skein of yarn in their hands or wrap it around their arms to create a makeshift swift. Ask them to hold the yarn taut while you wind it into a ball or cake. To ensure an even wind, communicate with your helper to adjust the tension and prevent tangling. This collaborative approach allows you to wind yarn efficiently while engaging with others, making it a fun and interactive solution.
4. Using a Tensioning Device
A tensioning device, such as a yarn holder or tensioner, can be used to keep the yarn from tangling while you wind it. Place the skein of yarn through the tensioner and ensure that it feeds smoothly. Begin winding the yarn into a ball or cake, keeping an eye on the tension to prevent any snags. Tensioning devices come in various forms, including clamp-on versions and those that attach to a table.
This method helps maintain an even tension and reduces the likelihood of yarn tangling, making it a useful tool for winding yarn without a swift.
5. Using a Cardboard Tube
A cardboard tube, such as one from a roll of paper towels or toilet paper, can be repurposed as a yarn winding aid. Insert one end of the skein through the tube, allowing the yarn to feed through easily. Hold the tube in one hand and use your other hand to wind the yarn around it in a loose, even manner. Once the skein is fully wound, slide the yarn off the tube and shape it into a ball or cake. This method is a clever way to utilize everyday items and create a functional yarn winding tool.
6. Using a Lazy Susan
A lazy Susan, often found in kitchen cabinets, can be adapted for yarn winding. Place the skein of yarn on the rotating platform and hold one end of the yarn. As you wind the yarn, rotate the lazy Susan to allow the yarn to unwind smoothly and evenly. This method provides a steady, rotating surface that mimics the action of a swift, helping to prevent tangles and ensure a neat wind. A lazy Susan is particularly useful for winding large quantities of yarn, offering both convenience and efficiency.
7. Using a Hair Dryer Stand
A hair dryer stand, which is adjustable and often has a clamp or base, can be repurposed for yarn winding. Attach the skein of yarn to the stand or place it on the stand’s base. Adjust the height and angle of the stand to suit your needs, then begin winding the yarn around it. The stand’s stability and adjustability allow for smooth and controlled winding, making it an effective alternative to a traditional yarn swift. This method is especially useful if you already have a hair dryer stand on hand.
8. Using a Knitting Needle or Dowel
A knitting needle or wooden dowel can be used as a substitute for a yarn swift. Secure one end of the yarn to the needle or dowel and start wrapping the yarn around it in a loose, even manner. Hold the needle or dowel steady with one hand while winding the yarn with the other. As you wind, keep the yarn from tangling by maintaining an even tension and regularly adjusting the position of the yarn.

Once the skein is fully wound, remove the yarn from the needle or dowel and shape it into a ball or cake. This method is simple and effective, providing a makeshift solution for yarn winding.
9. Using a Vertical Surface
A vertical surface, such as a door frame or a wall-mounted hook, can be utilized for yarn winding. Hang or secure the skein of yarn on the vertical surface, allowing the yarn to dangle freely. Hold the end of the yarn and start winding it around the surface, keeping the tension even and preventing tangles. As you wind, rotate the yarn to distribute it evenly. This method leverages available space and provides a stable surface for winding yarn, making it a practical alternative to a yarn swift.
10. Using a Homemade Yarn Winder
A homemade yarn winder can be crafted from simple materials to create a functional yarn winding tool. Use a wooden spool or dowel as the base and attach a rotating mechanism, such as a small wheel or turntable, to facilitate smooth winding. Mount the base securely and place the skein of yarn on the winder. Turn the mechanism to rotate the yarn while you wind it into a ball or cake.
This DIY approach allows you to customize the winder to your needs and create a useful tool for yarn winding. Instructions for building a homemade yarn winder can be found online, offering detailed guidance for crafting your own.
Common Mistakes to Avoid
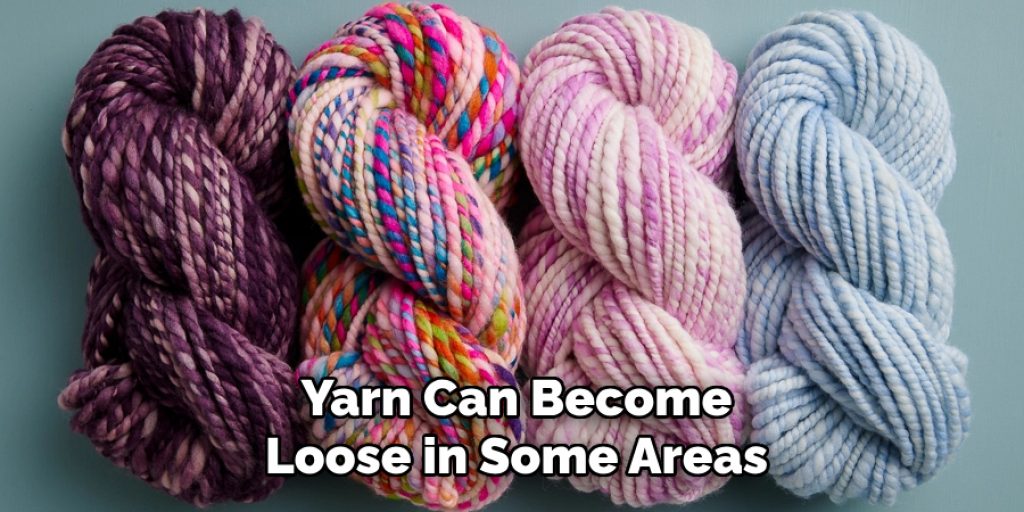
When winding yarn, several common mistakes can hinder the process and lead to tangles or uneven winding. Firstly, failing to maintain even tension is a common issue; without consistent tension, the yarn can become loose in some areas and tight in others, leading to a messy ball or cake. Secondly, not properly securing the skein can result in it slipping or tangling as it unwinds, causing frustration during the winding process.
Additionally, over-wrapping the yarn too tightly can create stress on the fibers, potentially damaging the yarn. Lastly, neglecting to regularly check for tangles while winding can lead to larger problems down the line; always pause to untwist any knots to ensure a smooth winding experience.
Conclusion
Winding yarn without a swift requires a bit of creativity and resourcefulness, but there are numerous effective methods to achieve a neatly wound ball or cake. By experimenting with these ten methods—using your hands, a chair back, a family member or friend, a tensioning device, a cardboard tube, a lazy Susan, a hair dryer stand, a knitting needle or dowel, a vertical surface, and a homemade yarn winder—you can find the techniques that work best for your needs. Thanks for reading, and we hope this has given you some inspiration on how to wind yarn without a swift!
Elizabeth Davis
Elizabeth is a creative writer and digital editor based in the United States. She has a passion for the arts and crafts, which she developed from a young age. Elizabeth has always loved experimenting with new mediums and sharing her work with others. When she started blogging, she knew that DIYquickly would be the perfect platform to share her tutorials and tips. She's been writing for the blog from the beginning, and her readers love her helpful advice and easy-to-follow instructions. When she's not writing or editing, Elizabeth enjoys spending time with her family and friends.