How to Work with Polymer Clay
Polymer clay has emerged as a beloved material among crafters and artists, renowned for its versatility and ease of use. Unlike traditional clay, polymer clay remains pliable until baked in an oven, allowing for endless creativity without the need for complex firing processes. Its wide range of colors and finishes enables crafters to create intricate designs with relative simplicity, from jewelry to home décor items. This article aims to serve as a comprehensive guide on how to work with polymer clay, covering everything from essential materials and tools to advanced techniques. Whether you are a beginner looking to start a new hobby or an experienced artist seeking fresh inspiration, this guide will help you navigate the exciting world of polymer clay crafting.
Materials and Tools Needed
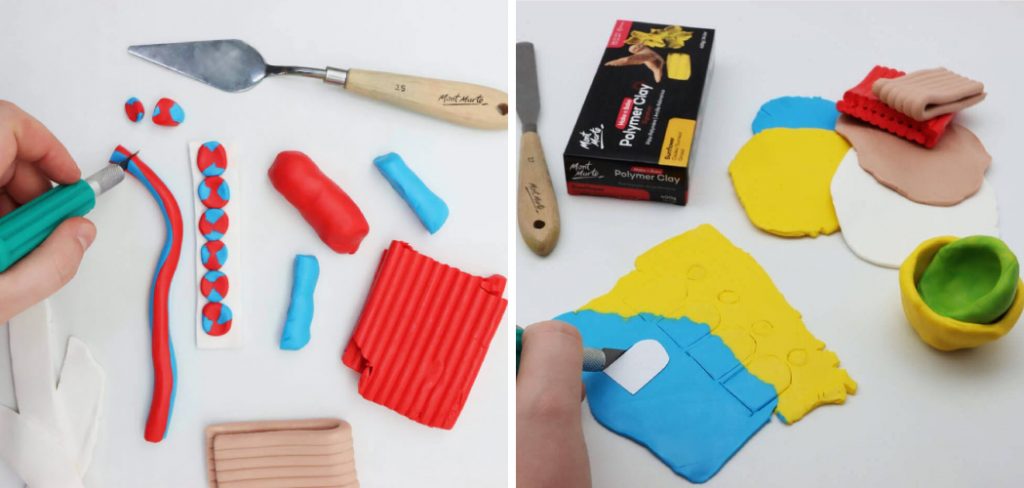
You’ll need various materials and tools to get started with your polymer clay projects. The essential materials include:
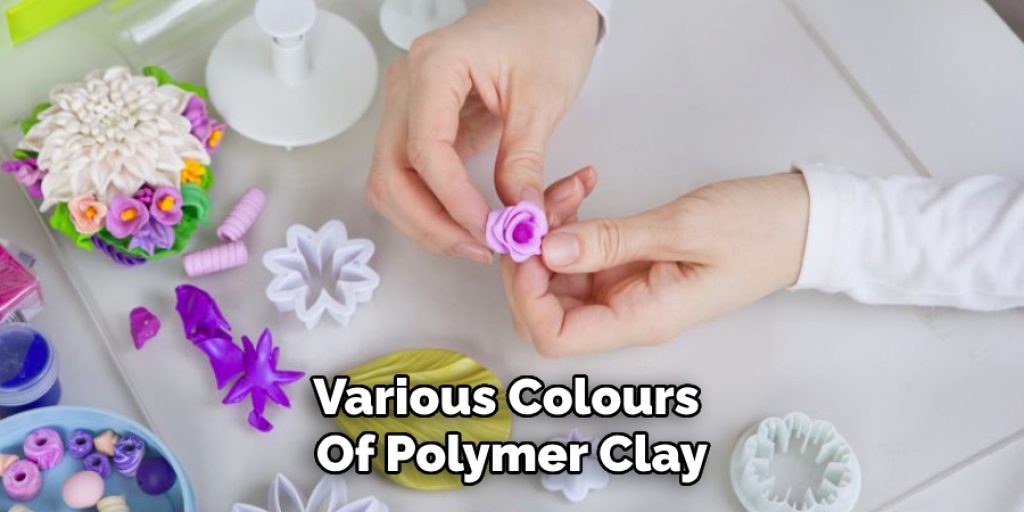
- Various colours of polymer clay: These can be purchased as blocks, allowing you to mix and match for your desired shades.
- Clay conditioner: This helps soften the clay, making it easier to work with, especially if it has been sitting for a while.
In addition to materials, having the right tools is crucial. Key tools include:
- Rolling pin: This is used to flatten your clay to an even thickness.
- Cutting blades: Ideal for cutting shapes and intricate designs.
- Clay extruder: A handy tool for creating consistent shapes and detailed designs.
- Texture tools: These allow you to add patterns and details to your creations.
Don’t forget to include safety gear such as gloves to protect your hands and a work surface protector to keep your workspace clean and safe while crafting.
Choosing and Conditioning Polymer Clay
Various brands offer unique qualities when it comes to selecting polymer clay. Popular brands like Fimo, Sculpey, and Premo provide a range of options, including different firmness levels and colours. Consider the purpose of your project: thicker clays are often better suited for sculptural pieces, while softer clays may be ideal for intricate details. To choose the right clay, evaluate its consistency and flexibility. High-quality clays will be pliable and hold shapes well.
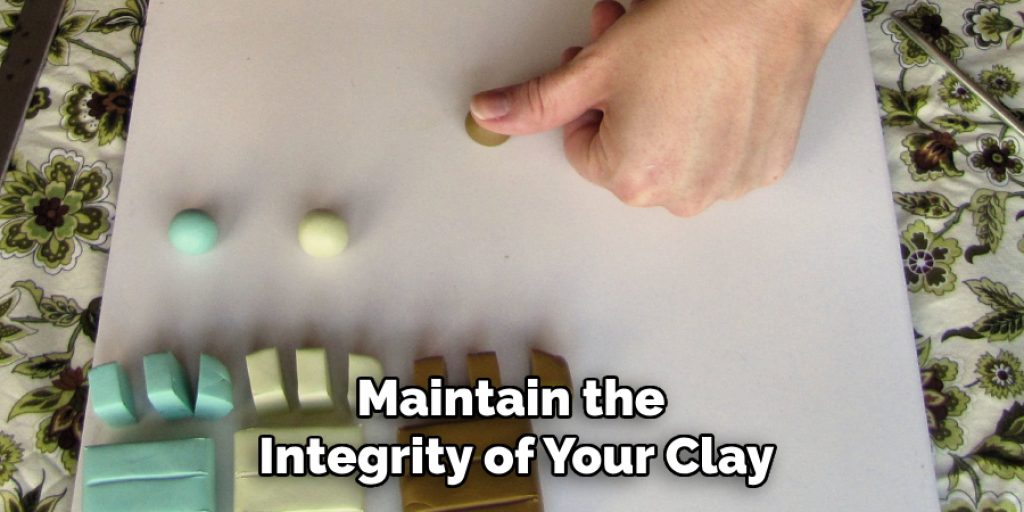
Conditioning your polymer clay is an essential step that enhances its workability. This process involves kneading the clay until it becomes soft and pliable, preventing breakage during sculpting. Proper conditioning helps to eliminate air bubbles, which can lead to imperfections. To condition clay effectively, break it into smaller pieces and work it in your hands, or use a pasta machine to achieve a uniform consistency. Additionally, don’t forget to keep your workspace clean and ensure your tools are free from residue to maintain the integrity of your clay.
How to Work with Polymer Clay: Basic Techniques
Rolling and Flattening
Rolling and flattening polymer clay is fundamental to many projects. You can use a rolling pin or a pasta machine to achieve the desired thickness. When using a rolling pin, place your conditioned clay between two sheets of parchment paper to keep the surface clean and prevent sticking. Roll the clay evenly, applying consistent pressure to achieve a uniform thickness across the entire piece. If you have multiple layers of clay or are combining colors, ensure that each layer is of similar thickness to avoid uneven results.
A pasta machine is an invaluable tool for this task. Set the machine to the widest setting and pass the clay through several times, gradually reducing the thickness with each pass. This method not only creates a smoother surface but also helps to incorporate the colors effectively if you’re blending or layering clay.
Cutting and Shaping
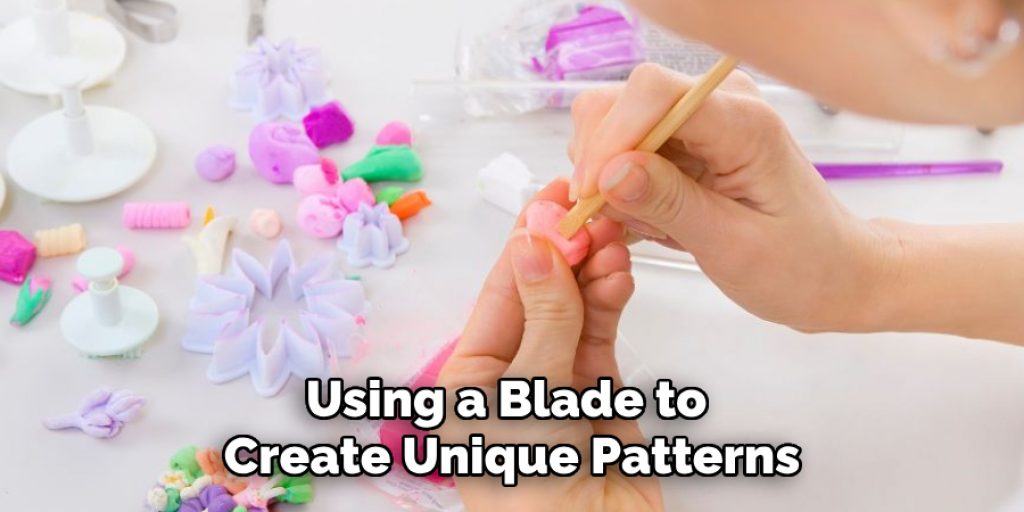
Once your polymer clay is rolled out, the next step is cutting and shaping it. Use sharp cutting blades or shape cutters to create the desired forms. Simple cookie cutters can quickly make circles, squares, or other geometric designs for basic shapes. Consider investing in adjustable shape cutters for more intricate pieces, which allow for nuanced shapes.
When working on detailed designs, be mindful of the direction in which you cut, as it can affect the overall appearance of your project. Additionally, you can use sculpting tools to refine edges or add curves to your pieces. Experiment with cutting techniques, such as using a blade to create unique patterns or layering multiple cut pieces together to form depth and texture.
Texturing and Detailing
Adding texture and detailing to your polymer clay creations can enhance their visual appeal significantly. Utilize texture tools such as stamps, embossing mats, or found objects like leaves and fabric to imprint designs onto the surface of the clay. This technique elevates your work by providing a tactile quality that mimics natural elements.

Experiment with techniques like burnishing or layering different textures for realistic effects. Remember that intricate detailing can also be achieved by applying smaller pieces of clay over larger components, allowing for creative combinations that showcase your original design.
Creating and Combining Colors
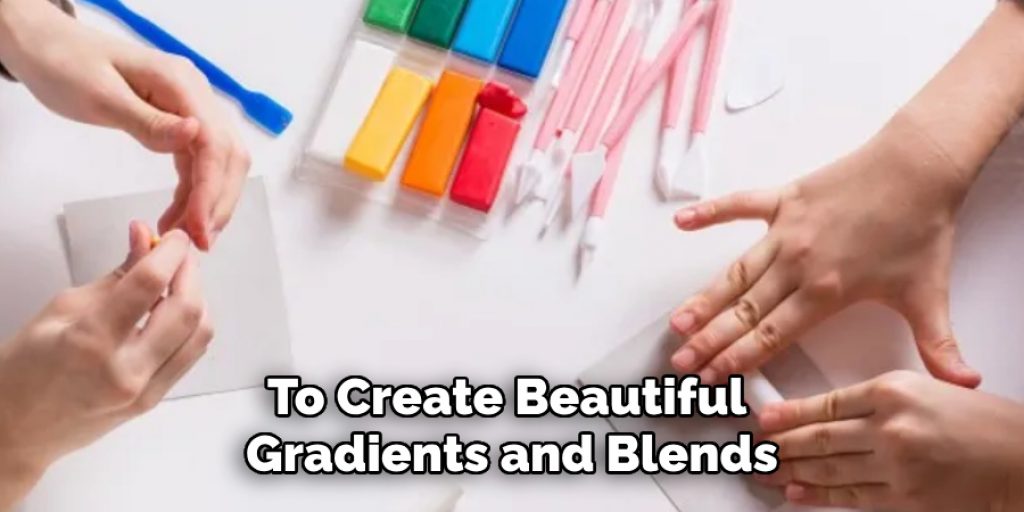
One of the most exciting aspects of working with polymer clay is the ability to mix colors to create custom shades tailored to your projects. Begin by selecting two or more colors of polymer clay; to achieve your desired hue, knead them together thoroughly until they are evenly blended. For more complex shades, try adding a small amount of a contrasting color, like white to lighten or black to darken.
To create beautiful gradients and blends, roll out a thin sheet of each color and layer them together. Then, use a blade to slice through the layers and gently twist them together before rolling. This technique can produce stunning marbled effects that add depth to your creations. Additionally, consider using color combinations strategically to enhance your projects. Contrasting colors can create striking visuals, while analogous colors can yield a more harmonious feel. Experimentation is key, so don’t hesitate to try different proportions and techniques to discover what best suits your creative vision.
Baking and Curing Polymer Clay
Once you’ve completed your polymer clay projects, the next critical step is baking them to ensure they are properly cured. Begin by preheating your oven to the recommended temperature based on the brand of clay you’re using—typically between 265°F to 275°F (130°C to 135°C). It’s essential to consult the packaging for specific instructions, as different brands have varying requirements. Preparing your baking surface is also crucial; place your items on a ceramic tile or parchment paper to prevent direct contact with a metal surface that can lead to uneven baking.
Baking times generally range from 15 to 30 minutes, depending on the thickness of your pieces. A good rule of thumb is to bake for 15 minutes per 1/4 inch (6mm) of thickness. To help prevent cracks, avoid over-baking and ensure your pieces are fully supported during the process. If you’re concerned about scorching, consider using an oven thermometer to verify the accuracy of your oven’s temperature.
To achieve even curing, rotate the baking surface halfway through the baking time. Once the timer goes off, let your pieces cool in the oven instead of removing them immediately. This gradual cooling process will help minimize stress on the clay, resulting in a smoother, more durable final product.
Finishing Techniques
To ensure your polymer clay creations have a professional appearance, various finishing techniques can improve their overall look and durability. Sanding and smoothing rough edges is a vital step, particularly when working with intricate designs. Use fine-grit sandpaper to carefully smooth out any uneven surfaces after baking, ensuring to wipe away the dust with a damp cloth for a pristine finish.
Polishing for a glossy finish can enhance the vibrancy of your colors and provide a smooth, glass-like surface. You can use a soft cloth or a dedicated polymer clay polish to achieve this effect. Simply buff the surface gently, applying consistent pressure to enhance the shine without damaging the underlying clay.
Additionally, consider applying sealants or varnishes for added protection against wear and moisture. A clear acrylic spray or a varnish specifically designed for polymer clay can offer durability, making your pieces suitable for everyday use. Apply in thin layers and allow adequate drying time between coats for the best results.
Troubleshooting Common Issues
Even seasoned artists may encounter challenges with polymer clay projects. Addressing common problems like cracks, air bubbles, or uneven baking is essential to achieving high-quality results. Cracks can often be prevented by kneading the clay thoroughly and avoiding over-baking, but if they occur, a simple remedy is to fill them in with a little fresh clay and rebake.
Air bubbles can be deflated by gently pressing the clay while working; alternatively, you can use a needle to prick smaller bubbles before baking.
For uneven baking, ensure that pieces are adequately supported and that the oven temperature is accurate. Using an oven thermometer can provide better results.
Implementing these preventative measures can help avoid many issues, so always follow recommended baking guidelines, store your clay properly, and maintain a clean workspace to ensure flawless creations.
Advanced Techniques and Projects
Once you’ve mastered the basics, you can explore advanced techniques like caning and mokume gane, which can elevate your polymer clay creations. Caning involves shaping and layering different colors to create unique patterns, which can then be sliced to reveal intricate designs. Mokume gane, on the other hand, combines layers of different colors to produce a wood-like appearance once manipulated and sliced. Both methods require patience and precision but yield stunning results.
Incorporating mixed media elements can also open new avenues for creativity. Consider adding materials such as metal, wood, or fabric to complement your clay pieces. This can create intriguing contrasts and enhance the overall aesthetic of your projects. Seek inspiration from online resources, community groups, and art shows to fuel your imagination. Complex projects such as jewelry, automotive models, or intricate sculptures can challenge your skills and lead to unique creations that showcase your artistic journey.
Maintenance and Storage of Polymer Clay
Proper storage is essential to keeping your polymer clay fresh and workable. To prevent drying out, ensure that your clay is sealed tightly in its original packaging or stored in airtight containers. Keep the clay in a cool, dry place away from direct sunlight to maintain its quality.
Maintaining your tools and equipment is equally important for achieving the best results. Clean your tools after each use to avoid cross-contamination of colors and ensure their longevity. Additionally, organize your workspace for easy access to frequently used items, which can enhance your efficiency while working on projects.
Store finished creations carefully, using padded boxes or bubble wrap to protect them from damage.
Conclusion
In summary, exploring how to work with polymer clay opens up a world of creative possibilities. From mastering basic techniques to delving into advanced methods like caning and mokume gane, every project provides an opportunity for artistic expression. Don’t hesitate to experiment with mixed media and complex designs, as they can yield extraordinary results. As you continue your polymer clay journey, remember to maintain your materials and tools while caring for your finished pieces. Embrace the fun and fascination of working with polymer clay, and let your imagination lead the way!
Elizabeth Davis
Elizabeth is a creative writer and digital editor based in the United States. She has a passion for the arts and crafts, which she developed from a young age. Elizabeth has always loved experimenting with new mediums and sharing her work with others. When she started blogging, she knew that DIYquickly would be the perfect platform to share her tutorials and tips. She's been writing for the blog from the beginning, and her readers love her helpful advice and easy-to-follow instructions. When she's not writing or editing, Elizabeth enjoys spending time with her family and friends.