How to Make a Laminated Placemat
This guide will teach you how to make a laminated placemat that doubles (on one edge) as just a children’s practice table placemat and (from the other edge) as an innovative tabletop placemat for parents. Simple, it’s hassle-free.

Instructions:
• Utilize construction paper to make it easy (no slicing) and to keep it toddler-sized.
• Utilize construction paper to make it easy (no slicing) and to keep it toddler-sized.
• If you want a bigger placemat, you can start with a bigger piece of paper. I started with a square that was 12×12 inches and applied additional paper to it until it was 11×17 inches.

• To create a rectangular, I cut it down to 11 x 12. Mark and slice out a sheet, fork, spoon, scissors, and napkin using cardboaothera cutting-out template of your preference. Here is a relation to a prototype for the accessories that I produced.
• That’s the hilarious part. For the placemat, build a “table setting” until you have individual components and fix it in position. Usually, the fork is to the left. Usually, the knife and spoon are on the top. I kept things truly easy for my placemats. But I designed the plates, so everyone had the required functionality, which was completely unusual.
• Customize things more until the essentials are in order. For example, when you have children, have them attach something to the plate, sketch, or compose on the surfaces. They would like to put photos on it of themselves.
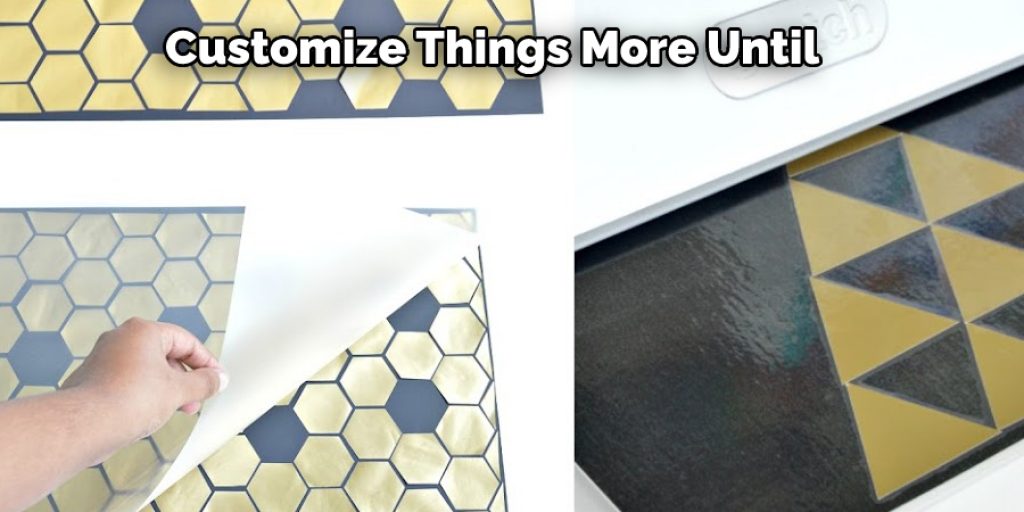
Or the Puppy of the Household. Logos are an enjoyable accessory. Any of these is coming! The pleasure ends. Mom could now share her artistic and smart nature here. I kept the adult part “as is” for me since the shades represent a sense of warm months in the house.
• Even so, every moment I have it, I’m certainly going to incorporate loads of adornments, use those colors, slice out assorted forms, attach family images, etc. I enjoy scrolling via magazine collections or looking for ideas on websites for color combinations. Choose a laminating tool when you have one or carry it to the workplace.
What Things You’ll Need?
- A placemat template or design
- Parchment paper
- Iron
- Ironing board
- Fabric
- Tape measure or ruler
- Scissors
Step by Step Guide: How to Make a Laminated Placemat
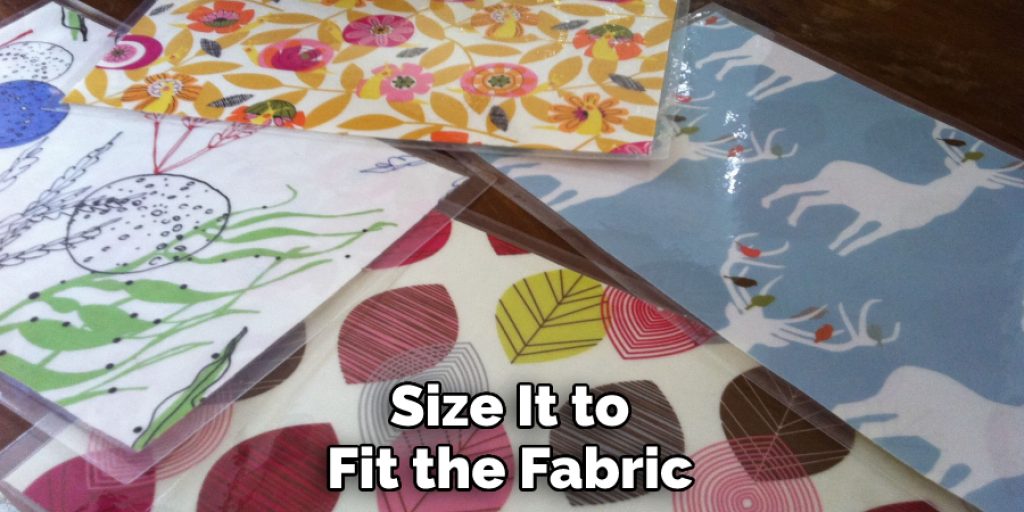
Step 1: Choose a Placemat Template or Design.
Before you start, you need to choose a placemat template or design. This can be something you find online or in a magazine, or you can create your own. If you’re creating your own, make sure to size it to fit the fabric you’re using.
Step 2: Cut the Fabric.
Next, you need to cut the fabric to size. If using a placemat template, place it on the fabric and cut around it. When creating your design, you’ll need to measure and cut the fabric accordingly.
Step 3: Iron the Fabric.
Once the fabric is cut, you’ll need to iron it. This will help it to lay flat and make the finished placemat look neater. Facing the wrong side of your fabric, place a piece of iron-on interfacing on top.
If you don’t have any interfacing, you can use a pressing cloth to protect your fabric from the heat of the iron. Then, iron the fabric for about 15 seconds or until it is hot to the touch. This will fuse the interfacing to the fabric and help it to stay in place when you laminate it.
Step 4: Laminate the Fabric.
Now it’s time to laminate the fabric. This will make it waterproof and protect it from spills and stains. Place a piece of paper on your work surface and place the fabric on top, right side up. Carefully smooth out any wrinkles or bubbles, and then secure it in place with some tape.
Step 5: Lay the Parchment Paper on Top.
After you’ve ironed the fabric, place a piece of parchment paper on top. This will help to protect the fabric from the heat of the iron when you’re laminating it.
Step 6: Iron the Placemat.
Iron the placemat on top of the parchment paper for about 1-2 minutes until it is hot and slightly shiny. Be careful not to move the placemat around too much, or you’ll have wrinkles.
Step 7: Trim the Fabric.
Once the placemat is cool, use scissors to trim away any excess fabric. Leave about 1/2″ of fabric around the edge to make it easier to sew.
Step 8: Sew the Edges.
Finally, sew the placemat edges with a zigzag stitch or other decorative stitches. This will keep the fabric in place and prevent it from fraying. And that’s it! You’ve now made a laminated placemat!
Some Helpful Tips and Suggestions:
1. Make sure that your placemat is large enough to fit your needs.
2. If you use a fabric placemat, ensure it is sturdy and can withstand lamination.
3. Trim any excess fabric from the placemat before laminating it.
4. If you use a paper placemat, ensure it is not too thin or flimsy.
5. If you are using a design or image on your placemat, make sure it is photocopied onto the correct side of the paper before laminating it.
6. Always use a high-quality laminating pouch to protect your placemat from wear and tear.
7. Place your placemat on a flat surface and laminate it in the reverse direction.
8. Use a warm iron to press any creases or wrinkles in the placemat.
What Are the Benefits of Using a Laminated Placemat?
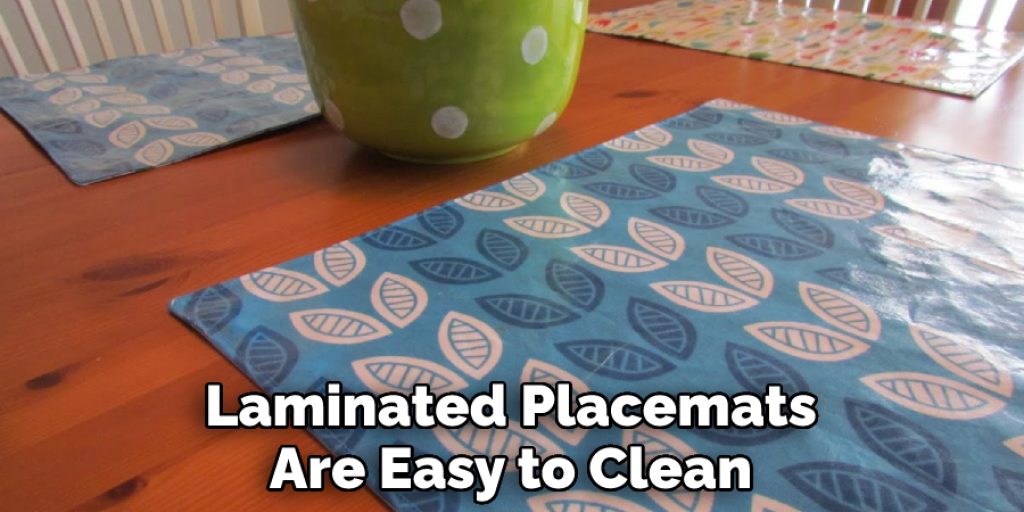
There are many benefits to using a laminated placemat. First, they’re waterproof, which means they can be used anywhere and won’t absorb liquids or spills. They’re also stain-resistant to easily wipe up food and drink spills.
Laminated placemats are easy to clean; you need a damp cloth. Finally, they’re durable and will last for years with proper care. So if you’re looking for a placemat that is versatile, durable, and easy to clean, a laminated placemat is a great option!
How Long Does it Take to Make a Laminated Placemat?
It usually takes about an hour to make a laminated placemat. This includes the time it takes to iron the fabric, laminate it, and sew the edges. However, if you have a lot of fabric, you may need to allow for more time to sew the edges. One of the best things about laminated placemats is incredibly easy to make.
Most of the time is spent waiting for the fabric to cool down after being laminated. When choosing a placemat, there are many factors you should consider. Placemats come in various materials, including fabric, paper, and vinyl. They also come in various shapes and sizes, so it’s essential to choose one that is the right fit for your needs.
Can You Design Your Own Placemats Online?
Creating custom placemats is now easier than ever, thanks to modern technology! With just a few clicks of your mouse, you can design your own unique placemats with whatever personalization or customization you desire. Choose from hundreds of premade layouts or customize them to suit your style.
Select colors that match your home decor and add elements like stripes, polka dots, or other shapes for added interest. You can also include personalization by uploading images, text, and other graphics and adding a special message or quote that will be remembered every time someone uses the placemat.
Once you’ve designed it exactly how you want it, place your order and wait for delivery! Designing custom placemats online is an easy and fun experience – just remember to be creative and have fun while creating something one-of-a-kind!
Frequently Asked Question
What Material Is Laminate?
Laminate is a type of flooring made from a composite material composed of two or more layers. The top layer is usually hardwood or other natural wood, while the bottom layer is a plastic or synthetic material. The benefits of laminate flooring include:
• It is easy to clean.
• It has a low cost of ownership.
• It can last for many years without needing to be replaced.
Is Laminate Waterproof?
There is no such thing as a waterproof laminate floor. Laminate floors are made of wood panels that are glued together and then covered with a layer of plastic. This type of floor is not waterproof and will not protect you from moisture damage.
Can You Fix Water Damaged Laminate?
Water-damaged laminate can be fixed with the help of a professional. If the water damage is limited to the surface of the laminate, then it can be repaired by simply applying a drywall compound and sanding it down. If deeper water damage has occurred, a more extensive repair may be necessary, in which case a new sheet of drywall may need to be installed.
What Is Cheaper Laminate or Tile?
Laminate or tile is a type of flooring made up of several layers of wood, plastic, or other materials. The top layer is usually hardwood or composite material finished with a protective coating. The benefits of laminate or tile over other types of flooring include:
• It is easy to clean.
• It is affordable.
• It can be installed in any room in your home.
• It has a long lifespan.
Conclusion:
When you are finished, be sure to trim the placemat around the edges of the cardboard using scissors. If you have a laminated placemat that becomes dirty or stained, you can usually wipe it clean with a damp cloth. To keep your placemat looking new, consider storing it in a protective sleeve when it is not in use.
Now that you know how to make a laminated placemat, why not try one for your next dinner party? With careful planning and preparation, you can create a beautiful and unique table setting that will impress your guests. We hope this guide has been helpful for you. If you have any questions or want to know more, then feel free to comment below!
You May Also Read – How Do You Cut a Doggie Door in a Glass Door
Elizabeth Davis
Elizabeth is a creative writer and digital editor based in the United States. She has a passion for the arts and crafts, which she developed from a young age. Elizabeth has always loved experimenting with new mediums and sharing her work with others. When she started blogging, she knew that DIYquickly would be the perfect platform to share her tutorials and tips. She's been writing for the blog from the beginning, and her readers love her helpful advice and easy-to-follow instructions. When she's not writing or editing, Elizabeth enjoys spending time with her family and friends.