
How to Grey Wash Wood Paneling
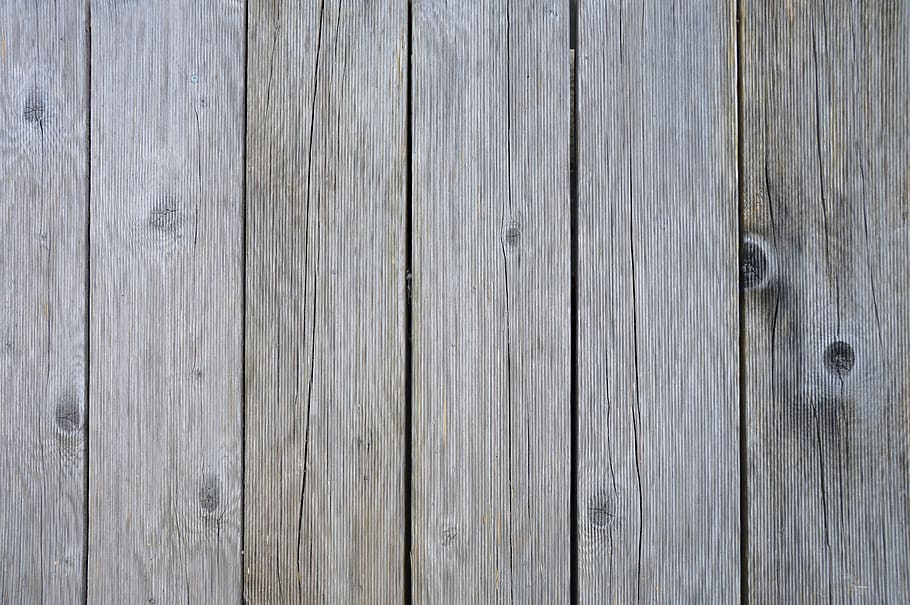
Having a wooden wall will sometimes make your house look dull and dark. While you can take other measurements, one of the most popular and cheap ways you can get bright up your wooden interior is by giving it a grey wash. If you want to do the construction work yourself, then we will tell you how to grey wash wood paneling.
The thing about grey wash is that it will work not only inside but also outside. While you can turn your whole house grey, you will not feel like you did something wrong. The grey color is not only for aesthetic purposes, but it will also bring out some of the most positive changes in your household. You will feel the first change, as you will see how your house is brighter than ever.
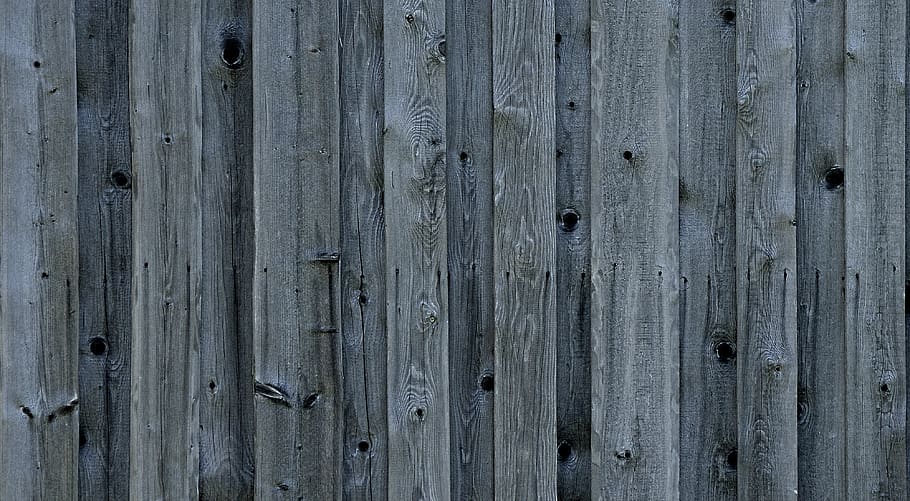
While you can paint your house all the time, doing it on wood panels can be tough. That is why everyone loves the method of grey washing. Also, the color grey is a better match on wood. Another reason everyone likes to do grey wash is that anyone can do it as it does not require any professional skills.
Summary: First, make sure to cover the entire surface of the paneling with a Thick Bedliner or another protective coating. This will help prevent any water or dirt from damaging the surface of the wood. Next, mix up a grey wash solution according to the manufacturer’s instructions. Apply the wash to the surface of the paneling, using a cloth or a brush. Be careful not to scrub the wood too hard, as this could damage the surface.
Materials Needed for Grey Wash
To start the process of how to grey wash wood paneling, you will want to have all the necessary materials first. The things you will need is not some hard to find products. Instead, they are always available around. You will need-
- Wood
- Grey paint
- Paintbrush
- 100 grit sandpaper
- Plastic wraps
- Painter’s tape
- Putty
- Rags
There are two kinds of things here. Some will help you to do the painting where some of the items are needed for safety purposes.
Steps: How to Grey Wash Wood Paneling
Now that you have all the things you needed at your hand, you can start with the process. The entire process can be divided into two parts. The first part will consist of setting the area up, and the second part will have the actual painting procedure. Without any further ado, let’s move only knowing all the instructions.
Part One: Prepare the Area
You may want to turn your whole house into a grey wash, or maybe you just want to do it in one room. Either way, you will have to select the particular room you want to start with. Start with the ceiling and work your way down. A good tip is to start at the top of the room, so you can avoid any drips or smudges. When you are finished with the ceiling, move on to the walls and then the trim.
The first thing you will do is remove all the furniture from the room. If you are only doing the wall, not the floor, you can leave the furniture in the same room. And if you are doing both but do not have any space to move the furniture, you better wrap them up. You will need to cover all the floor with drop cloths. Next, you will want to cover any areas where you do not want paint on, like outlets and windows.
To wrap up the furniture to save it from paint and dust, you will have to use the plastic wrapping papers. Wrap each of the furniture properly and keep them at one side of the wall or opposite side of the wall that you are going to start from.
Also, if you are not going to do the floor, you will have to cover up the story with plastic wrap as well, or otherwise, your floor will get messy.
Part Two: Begin the Painting
Now that you have all the items appropriately secured, you can start working with sandpaper and paint. This is the central part of how to grey wash wood paneling.
The first thing you have to do is clean the wood panel. You can work them up section by section or clean the whole area altogether.
If your wall has dirt and grease, you need to wipe them up using a towel and some mild detergent. If the stain is healthy, then you can apply some heavy-duty cleaner as well. After washing the panels, dry them properly, so nothing stays wet. Cutting Tile Panels If you want to cut the panels in half, then you need to use a utility knife. Put the panel on a flat surface and start cutting it from top to bottom. Use a ruler as well to make sure that the lines are straight.
The next step is to repair any cracks or holes in the panels. Some of these may be small, but they need to be filled in with putty to make the surface smooth.
After you fill the holes and cracks, you will need to set them up for drying. Using putty is the most effortlessly and speedy way to do the work.
For the next step, you will have to sand the paneling. With the 100-grit sandpaper, you need to sand correctly. You do not have to sand the wood but the areas where it is required. If your wood is very thick, you have to use 200 grit or 220 grit sandpaper. Remove the Dust Particles After you have sanded the paneling, it is time to remove the dust particles. You need to use a vacuum cleaner for this. If there are small areas where the vacuum cleaner cannot reach, you can use a brush.
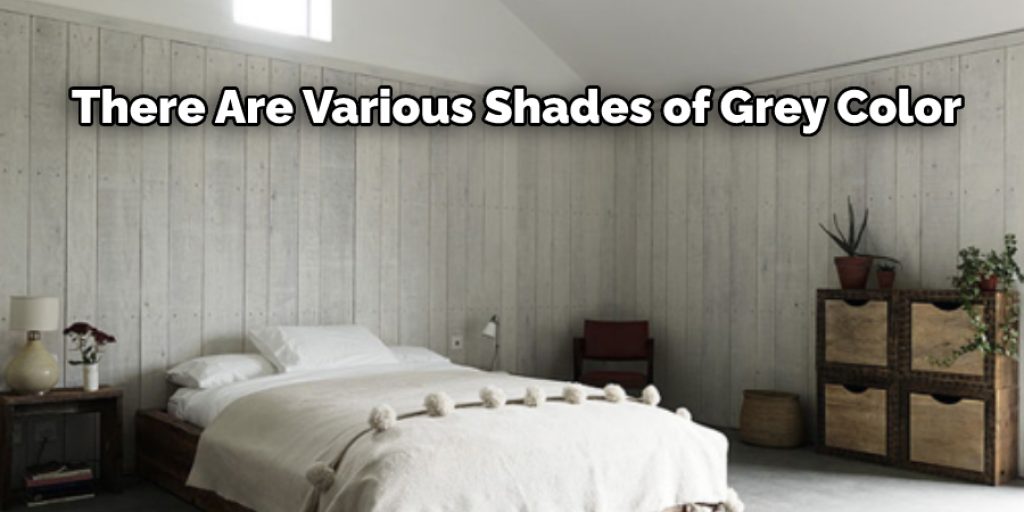
In the next step, you will have to start painting the wood. Before you begin applying the paint, make sure the paint you are using is the one you want. There are various shades of grey color, and each will have their differences. To choose the right one, you better swatch it properly in the store.
To create the paint, you will have to mix the paint with water. The consistency of the color needs to have a runny batter of pancake-like. You have to remember that if the paint is too runny or liquidized, it will take a few coats to get to the right consistency of color.
Once your paint is ready to use, get the right size of the brush and evenly start coating the wooden panel with the grey color. You need to wipe the wall afterward with a flannel sheet or cotton clothes. If the part of the wall is too light, put more paint and clean it again. Now, let it dry overnight, and you are done with grey washing your wood panels.
Frequently Asked Questions
Can You Gray Wash Wood?
Gray washing wood is a process that can be used to make wooden furniture, signs, and other products look like they are made of metal.
The process involves applying an iron oxide-based stain to the surface of the wood. The stain will react with moisture in the air and turn into a dark gray color.
To gray wash wood, you need:
1. A heat gun or oven set at 200 degrees Fahrenheit.
2. Rust-oleum oil-based paint stripper.
3. Wood oil-based stain (or any other oil-based product).
Can you paint over fake wood paneling?
Paint over fake wood paneling is possible but not recommended. It would help if you never painted over anything you cannot remove because it will most likely peel and chip off with the first rain or humid day.
To ensure that your painting job lasts, use a primer such as Kilz Primer to protect the paneling’s surface before painting.
What Is the Best Color to Paint Wood Paneling?
The best color to paint wood paneling is dark brown. This will provide the most amount of contrast for your room and prevent any light from shining through the paneling.
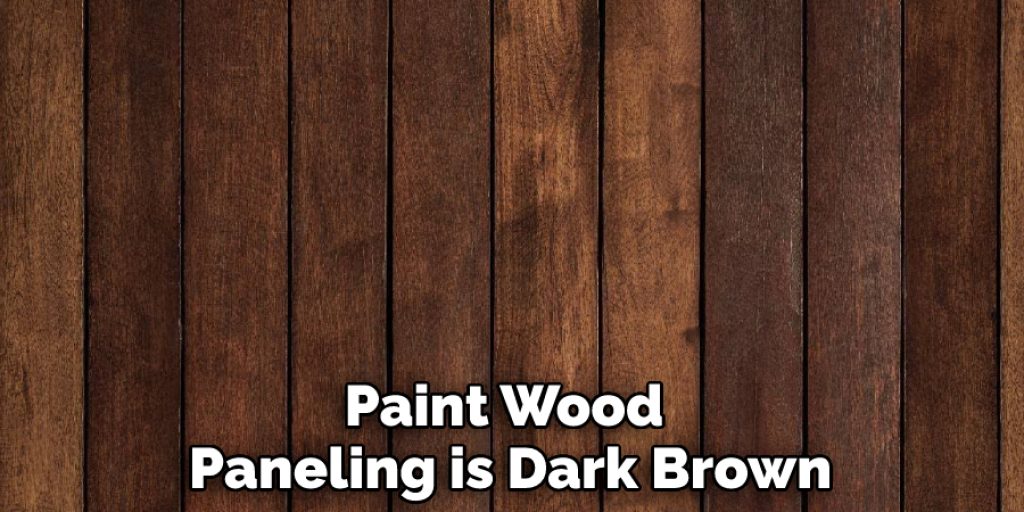
There are many other colors that you can use, but this will give you the best contrast for your room.
Final Thoughts
There you have it, the entire completed guideline on how to grey wash wood paneling. When things get a little too dull at your house, you can always make changes to brighten up. Nothing could ever beat grey cleaning the wooden part of your home. It is a straightforward process that does not require too much of your time. You can be done with one room even within a day if you put on your energy. That is why it is a lot more popular around the people who live in a wooden house.


