How to Tint Rear Window With Strips
Introduction
Tinting in the window is a method of adding dark to your windows to make them cooler inside. There are lots of ways to do so. Some people use colored films, paint with special colors, or even tinted glasses. While using any of these methods will be effective enough for making your car cool inside during the hot season (when used properly), if you have a rear window that is larger than most and wants to tint it also so that you can see outside without having problem driving your car because of the heat. Today I will discuss a technique to tint the rear window with strips.
Step-wise Guide on How to Tint Rear Window With Strips
Step 1:
Check the window of your car, whether it is a single or dual pane. If it is a single pane, you need to replace it with dual-pane glass and ensure that it has tinting on both sides. However, you can bypass this step if you do not wish to replace your existing rear window.
Step 2:
Clean the outside of the window surface using soapy warm water and wipe it down using a dry cotton cloth till all traces of dirt are gone. Also, ensure that there are no fingerprints or any other grease marks left behind on the windshield, as they will leave tiny bubbles when the tinting process begins, which may turn into scratches over time. Finally, to maintain privacy from outsiders, glaze each side of the glass with dark glaze.
Step 3:
You may skip this step if your rear window glass is a single pane. However, if it is a dual-pane, it should have an adhesive layer on both sides of the glass to hold the tinting film in place. To remove this adhesive layer, put some liquid soap over it and scrub it with a cloth till all the glue is gone. Then allow it to air dry for 2 hours as this process will leave behind rust particles that must be dried off completely before proceeding.
Step 4:
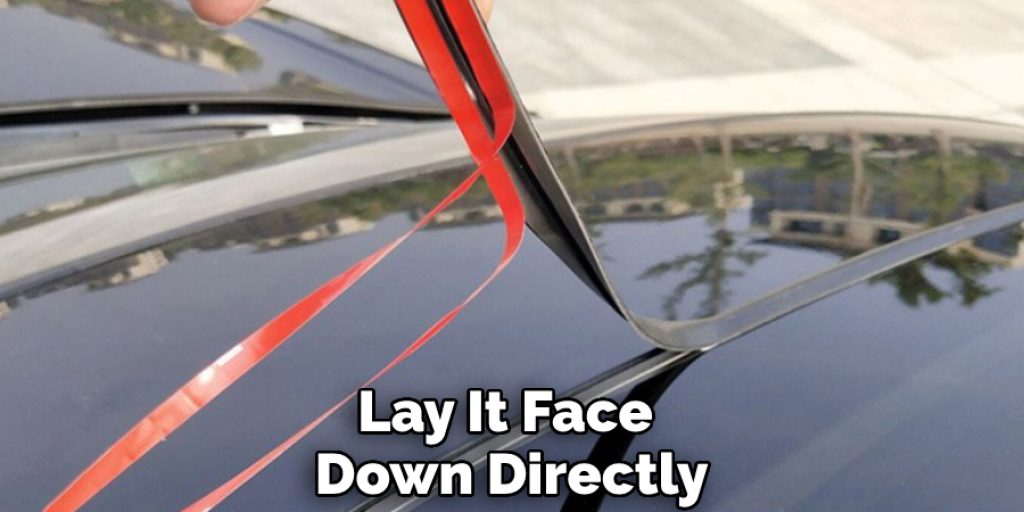
Peel out the Glue (Yellow) lining from its backing cover and lay it face down directly onto the windshield starting from the inside corner towards the outer edge so that each line overlaps the previous one. Ensure that you do not stretch the adhesive liner while applying it, or else it will lift when being removed after the tinting process is done.
Step 5:
Peel out Backing paper (White) from its backing cover and lay it face down directly on top of the Glue Lining, which was applied in step 4 above.
Step 6:
Press both back papers together firmly to eliminate air bubbles between them and leave the film stuck to the rear window for 10 minutes allowing the self-adhesive layer to create a strong bond with the glass. After 10 minutes, slowly peel off Backing Paper from its top to avoid peeling off along with film glued to the glass surface.
Step 7:
Cut the extra film with scissors or a sharp knife. Ensure you cut the film by following the bevels created while placing these two pieces together on the glass surface.
Step 8:
Now, remove the tinting film from its packaging and separate it into two parts, i.e., Outside Film and Inside Film. Cut the extra Outside Film using a sharp knife so that it is of the same size as glued sheet applied in Step 6 above; however, make sure to leave a small margin of approximately 2-3 inches all around the edges for trimming later during the installation process (make use of both hands when doing this).
Step 9:
Peel off Backing Paper from outside Tinted Film by applying moderate force. Then apply self-adhesive Glue Lining on top of the glued layer of the tinted film by lining up the edges and pressing them tightly with your fingers for 10 seconds.
Step 10:
Peel off Backing Paper from Inside Tinted Film by applying moderate force. Then apply self-adhesive Glue Lining on top of the inside tinted film by following the same procedure as in step 9 above. After 10 minutes, slowly peel off the Backing paper from inside Tinted Film and then place it carefully over Outside Tinted Film, which is stuck to Glass Surface, using instructions in step 5 above.
Step 11:
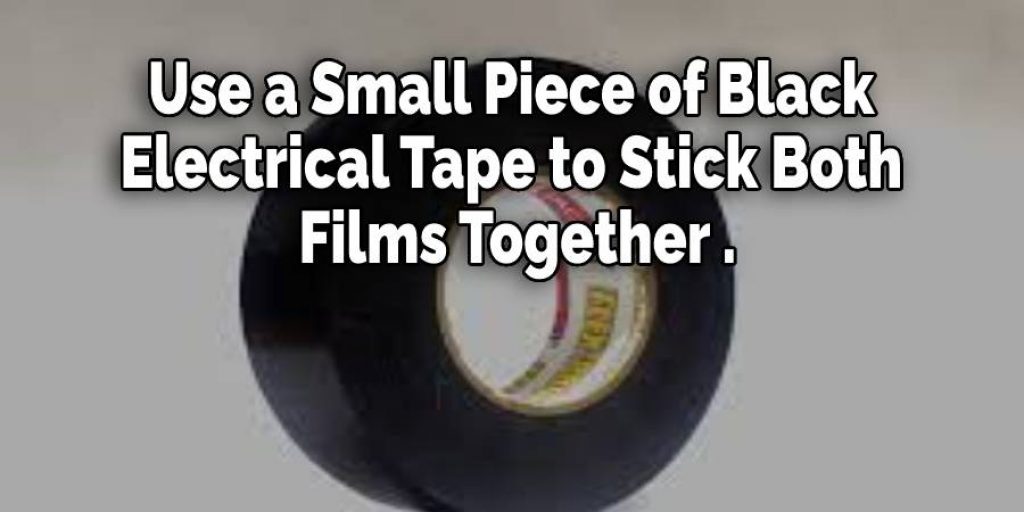
While holding both films together at the exact position, use a small piece of black electrical tape to stick them together at right angles, then cut excess films so they both have the same size.
Step 12:
Tinting is now done, and you can start enjoying privacy from the outside world and, simultaneously, block heat build-up inside your car. However, if you need to remove the tinted film later on, use a hairdryer to warm the glass surface first and then peel off the tinting film as carefully as possible, starting from the outer edges towards the center so that it does not leave any residue behind.
You may read – How to Test Power Window Switch With Multimeter
Precautions While Learning How to Tint Rear Window With Strips
Always wear gloves to protect your hands. Second, do not try to tint the window when it’s hot outside; it will be better if you wait for a few hours until the car is cool down. Finally, be careful while handling glass and tint strips, as they can break or crack easily.
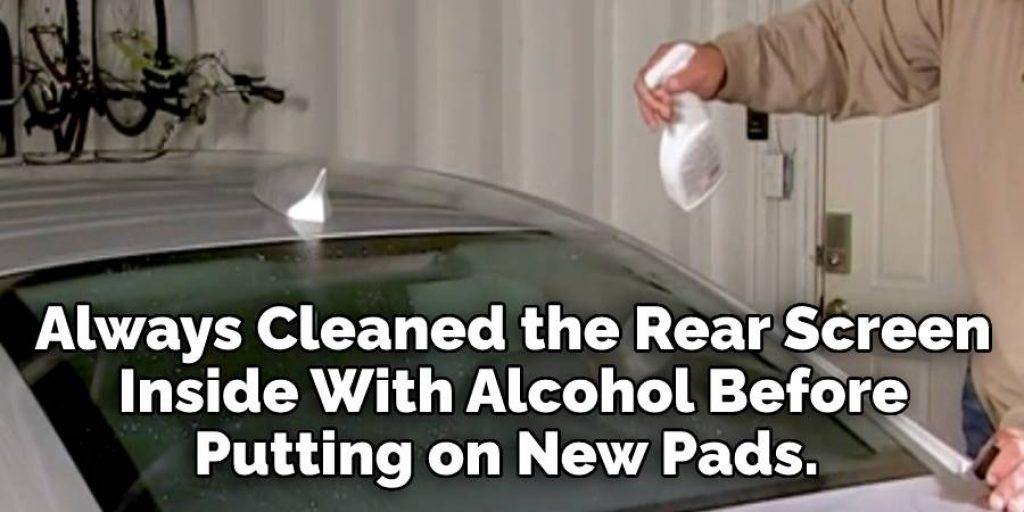
It would help if you always cleaned the rear screen inside with alcohol before putting on new pads. If any dirt is found, clean it with paper towels before applying chemicals.
All types of window film require a professional application so professional help will be required in this step. Also, don’t forget to purchase higher grades of excellent quality window films, which last longer than other lower grades available on the market. It’s worth spending some extra money to get lifetime protection because, as earlier said, it is an expensive job.
If your Audi has a factory-tinted rear window, it will be hard to peel off. There are more chances that it may leave a permanent stain on the glass, which you don’t want. So always check for any leaks before starting the process of tinting the rear window with strips.
To remove the film from your screen, start by spraying the inside of the glass with water. This will help soften the remaining film, making it easier to remove when you remove the bottom strip. Once the bottom strip is off, use alcohol, paper towels, or a cloth to clean up any residue left behind. Once the inside of the screen is clean, you can remove the film on top.
What Strip Should I Choose?
Aside from choosing a good tint color for yourself, there’s another thing you will need to consider when deciding on which kind of strip to get:
It’s thickness. A 2 mm or 3 mm strip will be almost invisible once applied on a window, but such tiny stuff is tough to apply, and if you are not familiar with these, it might end up in a crap job. You can also forget about using rollers for applying them since they won’t work (not enough pressure). So my advice is to go with 5 mm ones only.
These come as pre-cut, self adhesive strips and you need to choose from a choice of different colors/thicknesses available: Dark Smoke Grey / Light Smoke Grey / Medium Brown (1) / Medium Brown (2) / Blue Black +10% (2,3) / Deep Green +20% (4) / Red +30% (5) . I also keep in stock Clear ones for making light tints like SIV or Limo tint, and Black 1M is a good option. Basically, they are all 3 mm thick (4mm for Gray/1M), but Gray 1 is not self-adhesive – you will need to use glue or double-sided tape to attach them to the window ourselves.
They come as single strips per bag, but it’s better to go with a few smaller bags than one big one since it would be easier for us if we had more small strips to choose from different colors when tinting.
Conclusion
Lastly, I hope you have learned how to tint the rear window with strips from this article. Maintain safety precautions while applying tints. Thank you, and have a nice day!