
How to Get Sap Off Car Window
Introduction:
Tree sap is a sweet, sticky substance that oozes out of the trunk or branches of many plants to protect them from insects and disease. It’s made by glucose in plant cells being released into the environment. Unfortunately, like honeydew and pesticides, tree sap becomes an eyesore on your vehicle’s paint job when you drive through areas where sap-producing plants are growing.
Fortunately, it won’t damage your car if you remove it soon after coming into contact with it. Today I will discuss a technique to get sap off the car window.
Step-wise Guide on How to Get Sap Off Car Window:
1)Prepare material:
To clean your car windows, select a container that is non-toxic and safe for plastic and glass. Be careful when using vinegar or rubbing alcohol, as they may affect the appearance of your car windows. Make sure the container is large enough to fit your head into so you can get a good view.
2)Soak up as much sap from the windshield with paper towels or rags:
Place some paper towels on the cleared area and rub them across the surface in circular movements. After about 15 minutes, rags made of old t-shirts will do just fine, although they don’t leave behind a clear residue like paper towels normally would. Don’t forget to keep changing these every once in a while because the sap will soon get sticky. You should apply light pressure to remove as much sap as possible. However, try not to scratch your car window surface.
3)Get it wet:
Once you have gotten most of the sap off, take a rag and soak it in water. Press this against your car windows for 10-15 seconds and leave it there for a little while, getting the surface damp. The goal is to loosen up any remaining pieces or residue from the dried sap by leaving them moistened for some time.
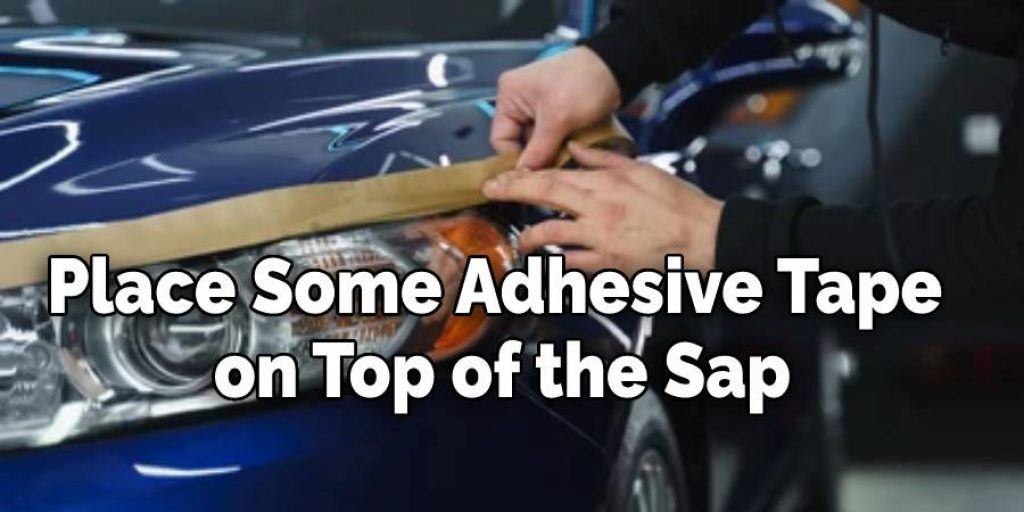
4)If any more residue remains after that, use adhesive tape:
This has been my favorite way to clean the remaining contents off my windshield because I don’t even need to leave the house. Place some adhesive tape on the sap you see and press firmly against the glass to soak it up.
5)Wipe it all off:
After you’ve removed any pieces or residue with your rag, wipe off any leftover water with another clean rag or paper towel. I don’t think you’ll have any problem at this stage since most of the sap will be gone by now.
6)Clean off remaining glue:
If there’s still some sticky substance left behind after drying (it could be just when cold), sprinkle some baking soda over it and leave for a while again.- This step is optional but, if done correctly, can reduce the time required to do this entire process. You can try other ingredients, such as corn starch, but baking soda is the most effective in my experience. Unless there’s some residue left after the water dries, you’re pretty much done and can be on your way with a clear windshield!
Precautions While Performing How to Get Sap Off Car Window
- You can use solvent, which can dissolve paint, lacquer, plastics, rubber, or other materials. So please be careful when using it.
- When the solution comes into contact with skin or eyes, immediately wash them off with plenty of water to avoid being hurt. If you feel discomfort from [Sap Off], stop using it and immediately seek a professional medical opinion.
- When washing by hand in a sink, use a plastic bucket filled with warm water to dissolve the sap as much as possible before pouring the bucket into the drainpipe to prevent sap from going down the drainpipe and causing blockage of drains or septic tanks due to sap clogging up pipes and valves.
- Keep away from fire or heat sources.
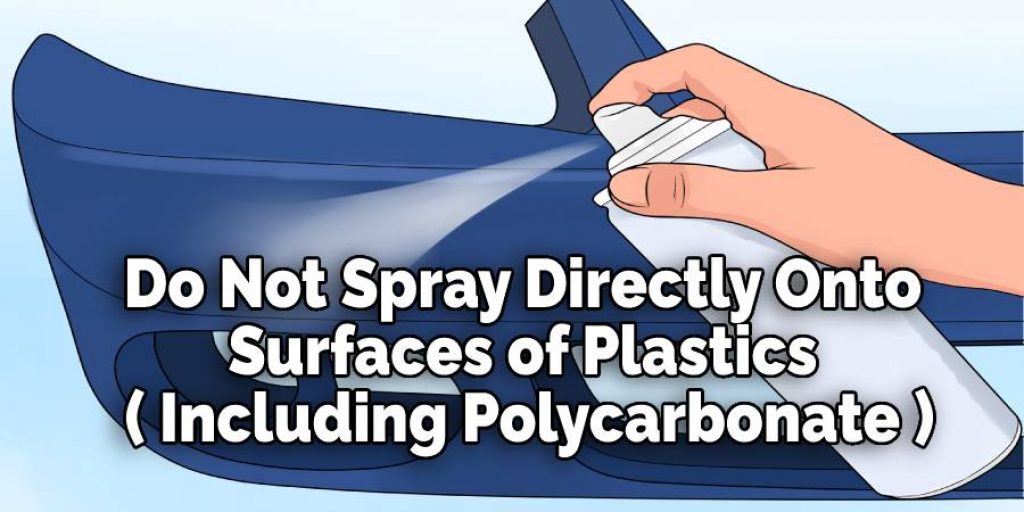
- If you use solvent in a warm place, vapor may occur when the lid is opened suddenly, so please avoid being hurt by the vapor if you open it too quickly. Note: Do not spray directly onto plastic surfaces (including polycarbonate), synthetic rubber, and vinyl.
How to Wash a Car?
Before washing your car, you must clean and dry the exterior body of the vehicle. You might need to wax if it’s a new car or applies some polish for extra shine, but don’t wait too long before doing these things because dirt can easily be scratched away from the paint. Depending on the weather conditions, use a sponge mitt or an extra-thick wash mitt in warm water to scrub at stubborn stains.
Step 1 –
Ensure All Exterior Parts Are Clean And Dry: The first step to follow is to ensure that all parts are free of contaminants and thoroughly dried. This will ensure you obtain the best results whenever you want to wash your vehicles. This may include washing off any stains or keeping it safe from dust.
Step 2 –
Clean The Wheels And Tires: Next, you should clean the wheels and tires of your vehicle. Use a tire cleaner for stubborn grime, but ensure all dirt is removed. You may also polish up to add some extra shine to your vehicles.
Step 3 –
Apply Wax Or Polish To Exterior Paintwork: You can also use waxes or polishes on the exterior paintwork of your car for added protection against UV rays that make the paint dull with prolonged exposure, and thus washing alone will not be enough anymore. Cleaning this part every week is necessary; however, if you want to keep it looking brand new, no matter how old the car is.
Step 4 –
Make Use Of A Sponge Mitt: Now, you can use a soft sponge mitt to start washing off the dirt and grime that may be stuck on the surface of your vehicle. Wash this with warm water and ensure that both sides are cleaned. You can also use a high-pressure hose in places where soap is tough to reach for a better cleaning result.
Step 5 –
Rinse The Surface With Water: After all these steps have been carried out, you can rinse your vehicle with cool water to kick off any excess soap or wax residue from the previous step and keep it looking shiny all through wherever you go.
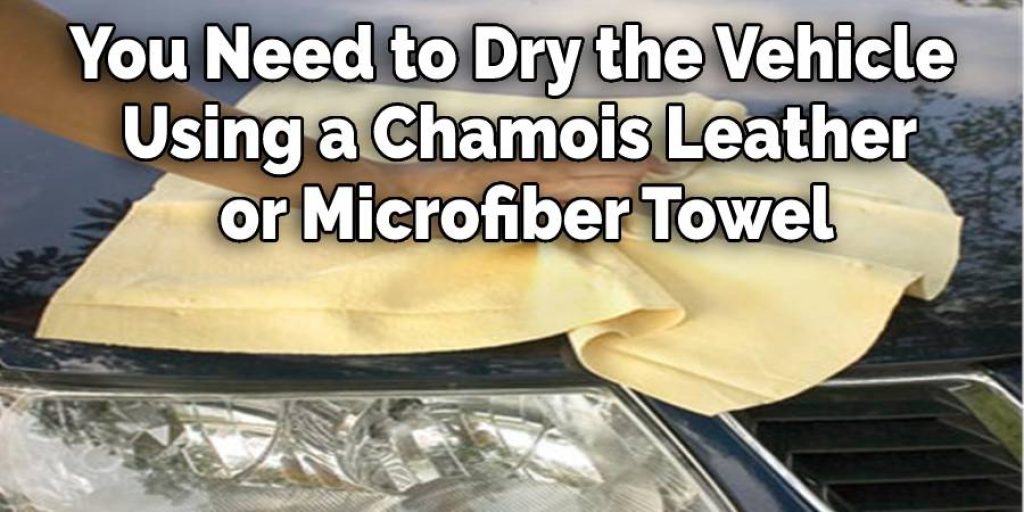
Step 6 –
Dry The Surface: Once this is done, you must dry the vehicle from the exterior. You can use a chamois leather or microfiber towel to ensure that it’s scorched before you go on any further.
Step 7 –
Buff To Enhance Shine: Lastly, use a good grade polish or wax to enhance shine and give your car surface that final touch it needs to keep looking new for that long drive in style. Waxes will protect your car paint better than polishes and thus give it an extra sheen if you dry properly after using these steps.
Conclusion
Use these steps as needed until all sap has been removed from your car windows. Usually, this should only take a few minutes, but it may take longer to get things clean again if any additional measures are required. Overall, ensure that anything you use will not harm or affect the appearance of your car window surfaces before resorting to extreme measures because if not thoroughly cleaned afterward, they can damage them for good and leave behind bad streaks or stains that cannot be removed.
I hope you have learned the process of how to get sap off car window from this article. Thank you, and have a good day!
You may read also – How to Remove Window Paint From Car Body


