How to Frame an Arched Window
Introduction
The arched window has the shape of an arch or semicircle. It can be seen in castles, churches, and other historical buildings as classical elements. Even though the shapes are different with those arches, it is good to know how to frame an arched window when remodeling your house since most people want their room more flattering and elegant-looking by adding this stuff. As our homes become more technologically advanced, and we use computers and smartphones to do most of the things that were once done manually,
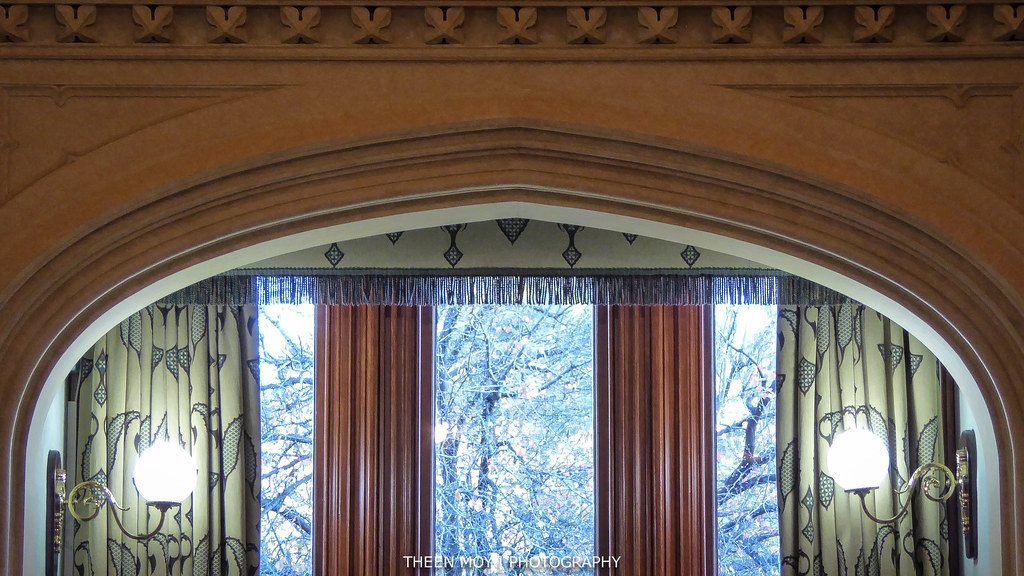
there is a growing tendency for modern houses to be designed with enormous window openings. This makes them look bigger and excellent while accentuating their elegant architectural structure.
However, as important as it may be to have ample natural lighting in your home or office spaces, which is available through the numerous windows used around such areas, you also need to ensure much better ventilation within the building premises to make it comfortable enough people inside. That can only be achieved by fitting those wonderfully large windows with sophisticated frames that are attractive and serve several purposes simultaneously.
Why Framing an Arched Window?
Most older homes have one-over-one, double-hung windows. They are great for replacement windows because they are readily available and inexpensive compared to other styles. But they do require a little bit of framing around the window itself that can be difficult to achieve. That is where an arched window comes in handy. An arch makes framing around the window easier and more attractive.
By creating an “arched frame” through the bottom half or so of the installed window, you can make it look like you framed it. However, by attaching a jamb extension to your existing window jambs, you can make an arched window any size without building new jambs bigger than those on your house – which would cost much more money. The overall cost will still be less than that of an all-new replacement window.
The arched frame made out of wood attached to a jamb extension is more attractive and aesthetically pleasing than a builder-grade one. It is also so much easier for the beginner DIYer who has never done any framing before but wants to do it right.
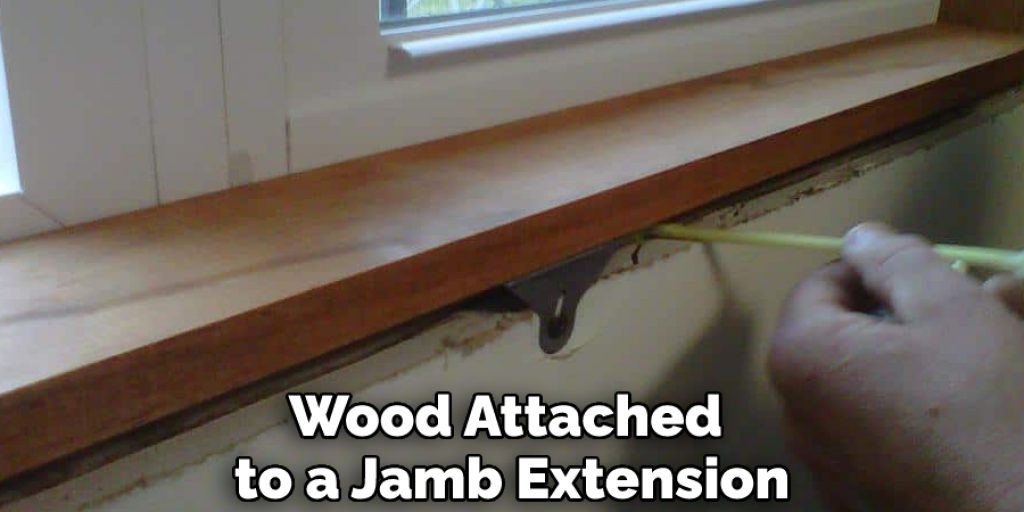
Step-wise Guide on How to Frame an Arched Window:
Step One: Select Your Materials –
Depending on their intended use, you must select the right material for framing each of your arches. While aluminum framed windows are ideal if used within a commercial setting like offices and malls, where many people frequent these places throughout the day, wood-based frames are better suited for use at home.
Also, if you are looking to frame an arched window smaller in size, a good way to go about it would be using a material like aluminum or steel, which can be easily cut into the required size without hampering its integrity and sturdiness. On the other hand, wood-based panels will have to do the job if you are looking to fit larger arched frames since these materials allow for more flexibility than metal-framed windows.
Step Two: Get Your Measurements Right –
After determining what material you should use to frame each of your arches, you need to get their exact dimensions to fit within the wall structure properly and provide sufficient ventilation within the premises. This can be done by measuring each arch’s length and width and deciding upon the height required for it to function optimally.
Some people who want unique frames for their arches will often have to get these customized, so you should also decide on a particular design beforehand, from among those readily available in the market, or even create your own if you’re an experienced designer.
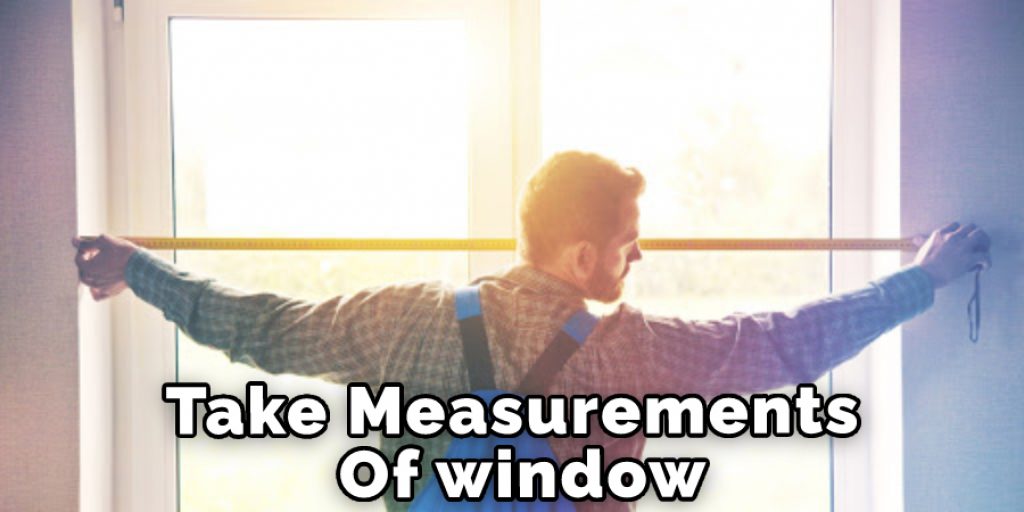
Step Three: Cut the Material According to Your Measurements –
Now that all the dimensions for framing your arches are ready, it’s time to cut them into smaller sizes using appropriate tools. They may need heat treatment before being cut into shape through specialized machines or folded overusing hand-operated devices/tools if you are working with metals. Once this is done, you can stick them into position on the walls where the arches are installed. The same process may need to be repeated if the frame for your arch is huge and will require multiple cuts to fit it within the wall structure.
Step Four: Install the Material –
This step requires that you secure each cut piece of material using nails or screws if they are made from metals, wood, or other hard materials. However, there’s a need to ensure utmost precision when doing this since even a slight deviation from your measurements could spoil the overall effect when viewing from the inside or outside.
For example, if you have decided upon an arched window as part of your house’s façade, it will definitely mar the overall picture if it doesn’t have an asymmetrical look. This is why you should measure each portion carefully and then mark them on the walls’ surface before nailing or screwing them into position.
Step Five: Fill Any Gaps –
While you may not be required to fill in any gaps between your arches and the wall structure as these windows are only ventilation based, there is always a chance that small spaces develop between these two parts owing to human error during installation or from wear and tear over time.
The best way to do this would be by using an adhesive like epoxy, which can be applied uniformly before setting it firmly within place through techniques like laminating or clamping. By doing it in this manner, you can be assured that the adhesive will get fully set within a short time, thus providing you with the desired firmness and stability for your arches so that they don’t fall off during storms or heavy wind conditions.
Step Six: Install the Hardware –
While some people may take a fancy to their windows because of their large size or unique design patterns, others install them not only as ventilation systems within buildings but also add decorative hardware like curtains, grills, and other such devices to improve their ambiance. However, if you are going to use these types of accessories and arched windows, make sure that they are installed first before taking up any work related to framing each arch since this will make it easier for you to do so.
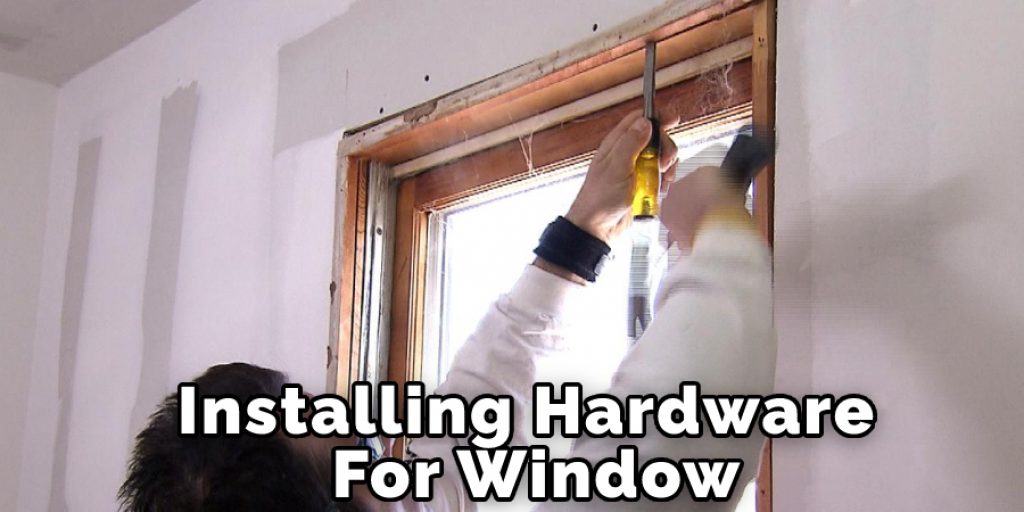
Step Seven: Gather Your Equipment and Tools Together –
Once all the work related to framing each arch in your house is finally complete, it’s time to gather all the required tools and instruments like hammers, screwdrivers, rulers, pencils, and measuring tapes, along with accessory pieces like seals if they are needed at this stage. This may seem a bit of an anticlimax after having worked hard on making those exact cuts into shape, but there might be some small additions that need doing before any further steps can be taken.
For example, till now, you have only been looking at the final product from the outside while installing them within walls or windows; however, once every part has been into its respective place, you will be able to get a nice view of each window and test them out by opening/closing them or even looking through them. However, this won’t mean you can start using them for ventilation until the necessary cautions have been taken to keep moisture from forming within your home.
Step Eight: Prepare the Surface –
Since some frames may not require any coating over their surfaces, whereas others may need some special kind of paint applied all over their structure, it’s important that before you begin installing such arches into your house’s walls, make sure that they are clean enough to be resistant towards water damage as well as other types of stains and blemishes which could spoil their overall look.
One way of doing so would be using a good quality water-based paint that can keep the structure clean and doesn’t require too much effort or time to dry out fully, helping it stay within the place for longer. However, this is only applicable in wooden frames since you wouldn’t want to apply any coating over metal surfaces. They may end up corroding from exposure to moisture and other elements within your home.
Precautions While Learning How to Frame an Arched Window:
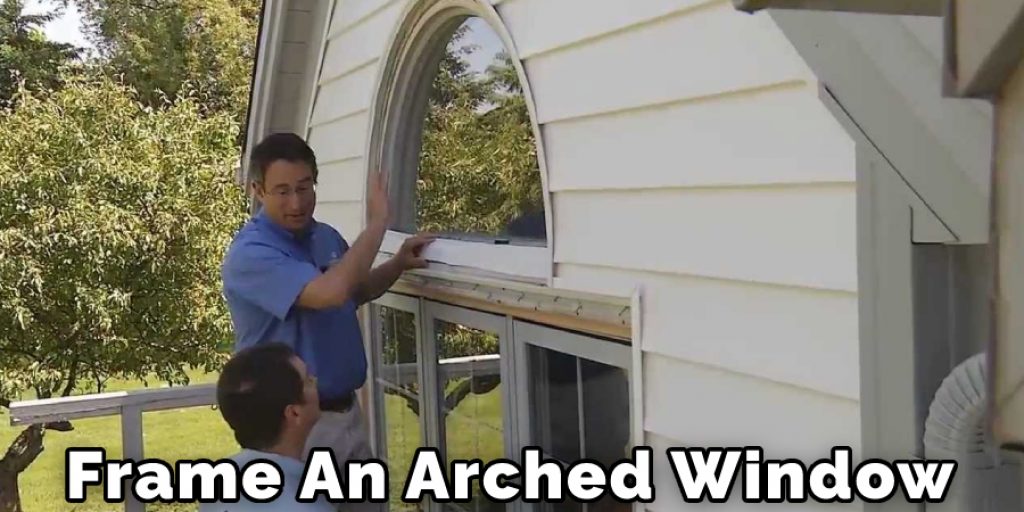
- The arched window should be framed from the inside. There is no need to frame in any portion of the arch since there are already two edges framing it from the outside. If you try framing the arch from the outside, you will have difficulty cutting out wood pieces, which may pop outward due to pressure exerted by saw blades or plane blades.
- Before starting, take an accurate measurement of room space available for an arched window within your home. It would help if you used wood strips thinner than a wooden board commonly used in building construction so that every supporting piece has equal weight on both sides of a corner joint (top rim). It would otherwise cause bending at one point, which may, in turn, break the wood piece.
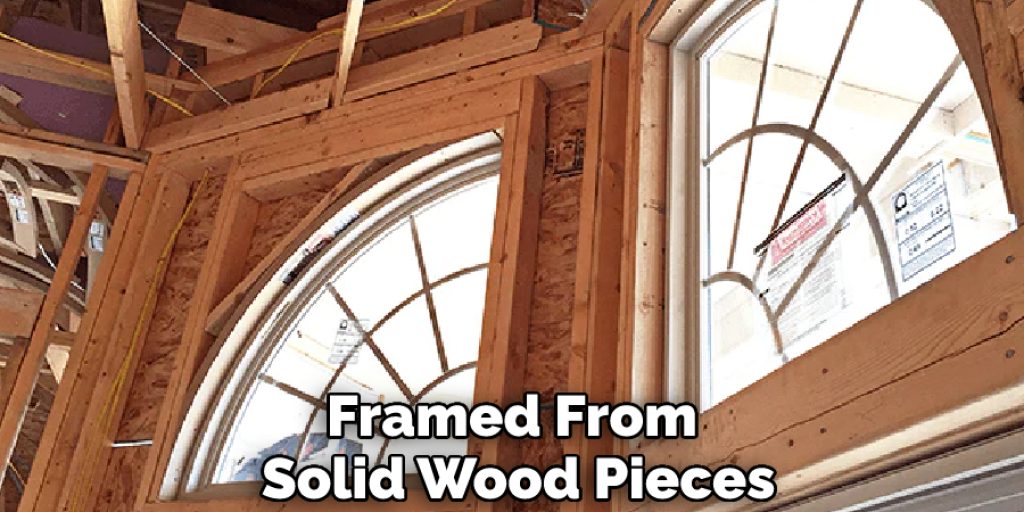
- The top rim and the arch must be framed from solid wood pieces because the arch will support them. Using plywood for this purpose might not hold up when saw cuts are made on two sides of the arched opening. In addition, the arched window should have pointed ends that give strength to every supporting wooden piece within its frame since it is susceptible to pressure exerted by saw blades or plane blades during cutting edges.
Conclusion:
Lastly, I hope you have obtained all the necessary information about how to frame an arched window. Ensure all the precautions while performing the process. Thank you and have a nice day!


